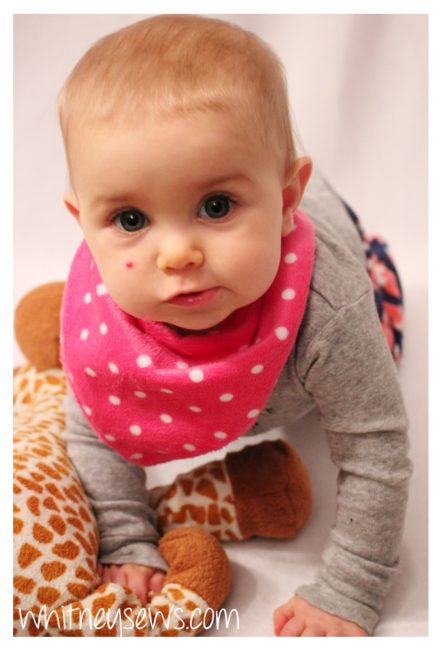

My youngest daughter Skyler is right in the thick of teething; she even managed to cut 3 new teeth in a single day! If you’re a parent then you know that means there is a lot of drool going on. In an effort to keep Skyler’s clothes dry she is usually wearing what I call a ‘drooly bib’ but is otherwise known as a bandana bib.
This style of bibs are super easy to make and completely reversible.
Grab two absorbent materials (minky, flannel, etc) and you’re ready to get started.
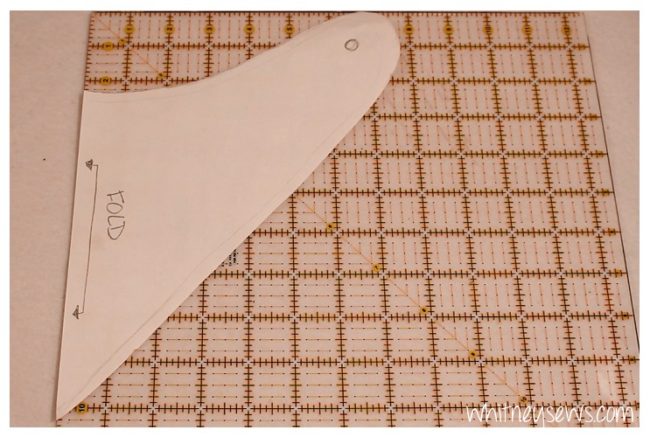
You will need a pattern. I made mine by folding a bib in half and tracing it then added a 1/4 inch seam allowance all the way around, except the side with the fold. (The bib I traced was given to use by a wonderful Whitney Sews viewer!) Below I have a photo of my pattern on a gridded ruler if you want to use it as a reference to make your own. If you don’t want to make a pattern, you can look for one to print online.
Cut one bib on fold from each of your materials. Then place the two right sides together and sew around with a 1/4 inch seam allowance. Leave an opening along the straight section for turning through. Make sure to backstitch at the beginning and ending.
Trim the seam allowance down along the curved edges and turn right sides out through the opening. Top stitch all the way around to close up the opening.
Then select your closure of choice and add it. I have been enjoying using plastic snaps lately and have added them to many different projects. Here’s the one I use if you want to check it out.
It’s easy to use and finishes off projects with a clean and professional look!
Want to watch the full video how to?!? Click HERE to check it out!
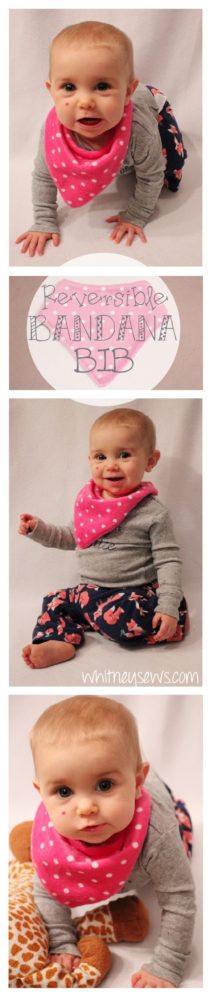
And that’s it! These bibs are very easy to make and make great baby shower gifts!
I hope this has been helpful and you try making a few of these bibs for the babies in your life. Until next time, Happy Sewing!
-Whitney-
Cute. What kind of frabic please
I used minky and flannel, but use whatever you like that is absorbent.
Comments are closed.