
This week I wanted to share a fun quilt I made recently for a youTuber friend who had a baby in December. I was looking for a fairly easy quilt, but one that is visually interesting. I found a fun quilt on Pinterest, and decided to make a similar one. But instead of tracking down the original post I just referenced the photo and quilt layout and came up with the measurements that worked best for a crib size quilt.
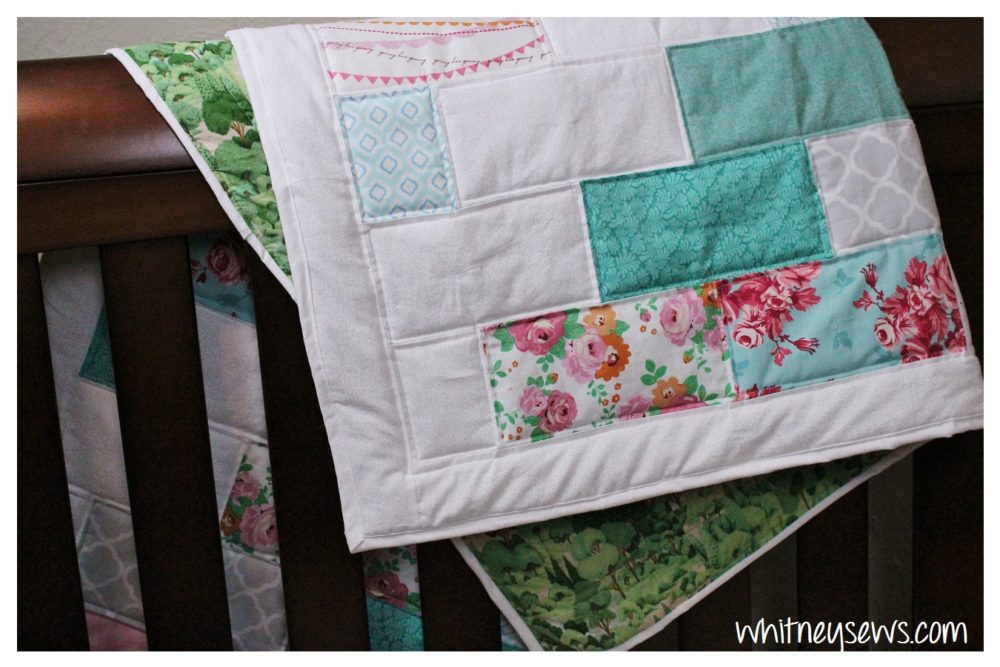
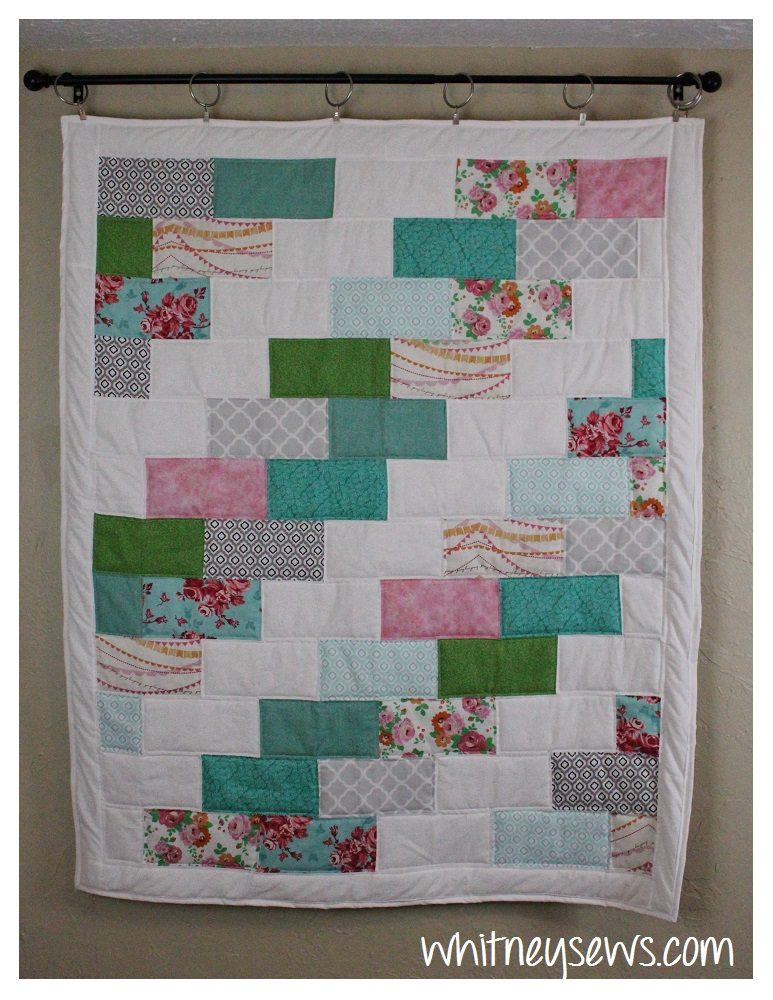
The entire quilt is made of only two different sized pieces – BRICKS that are 8.5 by 4.5 inches and BLOCKS that are 4.5 by 4.5 inches. Because there are only two different sized pieces you can focus on creating a pattern or design with the fabrics you use. I went with a diagonal white stripe design among colored/printed fabrics, but you can chose other layouts or go with a totally random design.
The quilt can be made with 10 to 14 different fabrics; using only 4.5 inches by the width of fabric for the prints so this is a great stash project! By the way….YES I am still doing the Sew Your Stash Challenge even though we are in a new year (more on that later)!
To get started select your fabrics and cut 14 strips measuring 4.5 inches by the width of the fabric. Then subcut those down into 4 Bricks (4.5 x 8.5 inches) and 1 Block (4.5 x 4.5 inches). Then lay them out in a design you like and start sewing the rows together. It is really that simple! You will end up with a couple of pieces left over after you have sewn all 12 rows together. You can toss them into your scrap pile, or incorporate them into your backing or binding like I did on my Charming Rainbows Quilt.
Below is a graphic you can Pin or save to refer to when piecing if you want to create the same layout as my quilt.
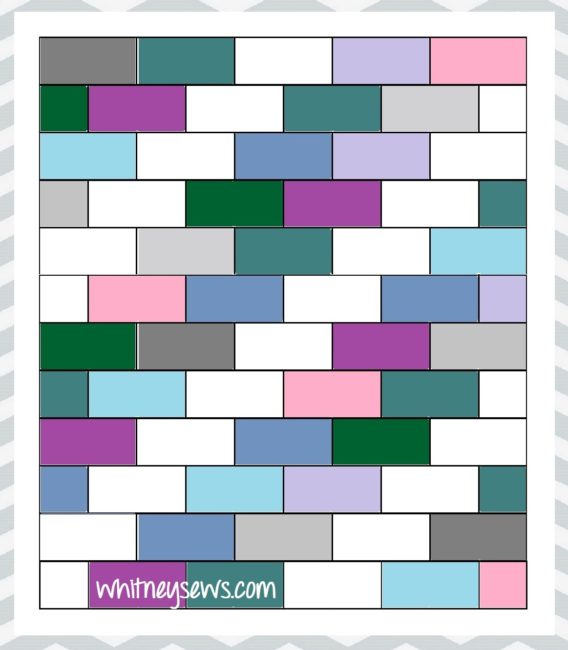
But as I mentioned earlier you can create any design (or no design at all) and still have a beautiful quilt. The only ‘rules’ for this quilt is to stick to the layout of 5 bricks in the first row, then a block, 4 bricks, and a block in the second row. Repeat that pattern 6 times to have a quilt top.
Watch the full step-by-step video tutorial HERE!
And that is it! A simple, but beautiful baby quilt! You can make it for a boy or girl depending on the fabrics you choose.
If you liked this tutorial please share the link with your friends. Come back next Wednesday for another new tutorial. Until then, Happy Sewing!
-Whitney-
Comments are closed.