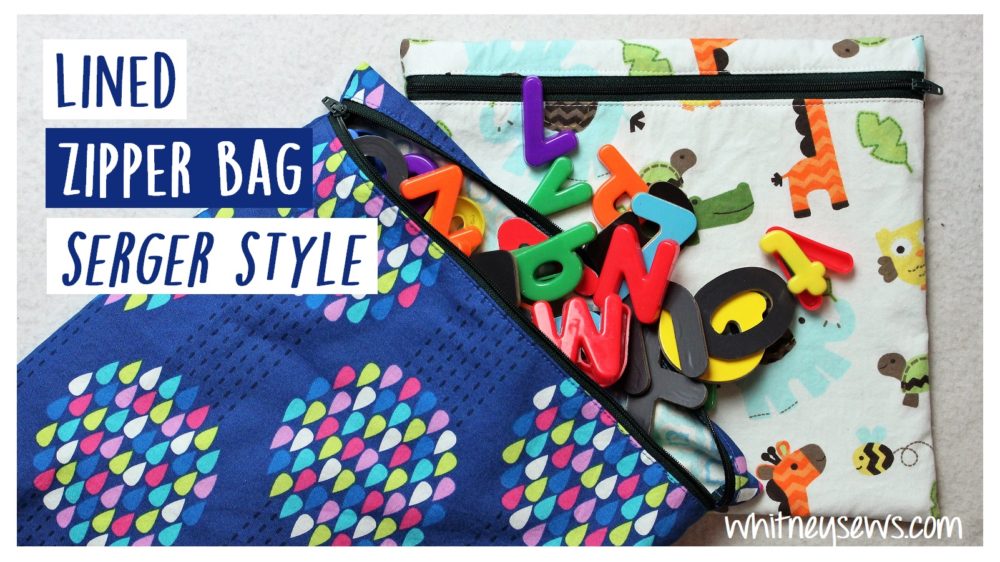

When it comes to homeschooling we have a LOT of items that need to be organized. Buttons, beads, magnetic letters, game pieces and much more! A few months ago I started making “cheater” zipper bags to hold everything. I call them cheater bags because even though the bags are lined there are serged seam allowances on the inside. They are a hybrid of my five minute zipper bag and the lined version, but even quicker because I skip the french seams. So let me show you how to make my lined zipper bags with a serger.
If you don’t have a serger, don’t worry! You can overlock the edges with your regular sewing machine using a zig zag stitch.
With this type of zipper bag I prefer to have the zipper on the front instead of right on top like a traditional zipper bag. This makes it easier for my kids to open and close the bags themselves.
Decide approximately what size you want your bag to be. Cut the bag front the height and width you want. Then cut the back the same width and 2 inches taller. This allows the back fabric to wrap around to the front for that lower zipper look. Speaking of zippers, any length will work as long as it is longer than the fabric width. Any excess length can be trimmed off later.
Lets get into the tutorial so you can see just how quick and easy these bags are to make. Watch the step-by-step video HERE!
Are you going to give these bags a try?? What I love the most is they can be made in any size imaginable and my kids can open and close them with easy. Check out more of the zipper bags I’ve made in my last Sew Your Stash update HERE!
Until next time, Happy Sewing!
-Whitney-