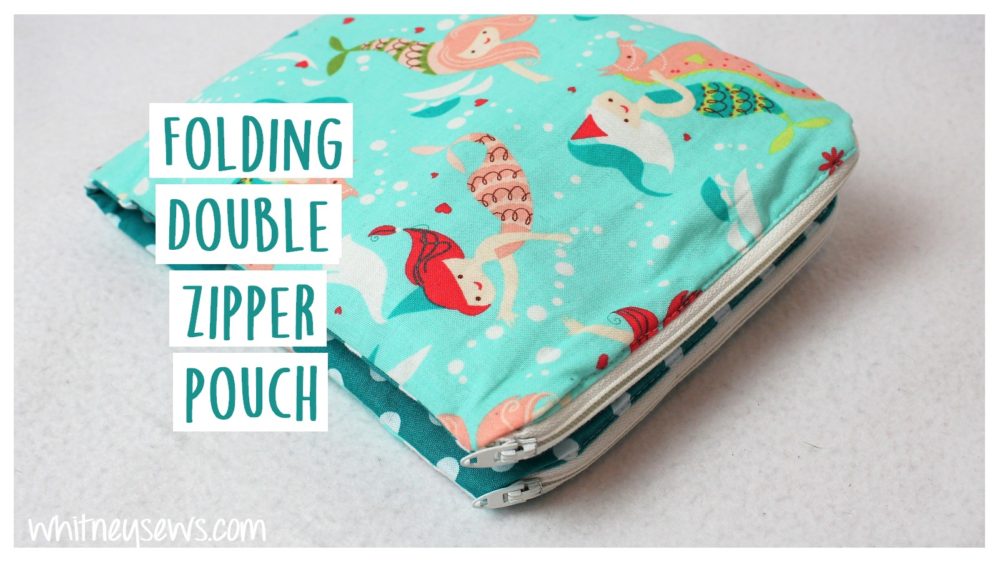
Last week I mentioned dreaming up a unique zipper bag while laying in bed too sick to sew. As soon as I felt better I tested out my project idea and it turned out EXACTLY how I wanted! The bag is a long double zipper pouch with a zipper on each end and stitching lines in the center to divide it into two separate lined pockets. It folds over and snaps into a nice, compact size. Anyway, enough talk, let’s get into this double zipper foldover bag tutorial.
For this project you will need 4 pieces of fabric – 2 for the lining and 2 for the outer. I used different fabrics for each of my outer pieces for a little bit of visual interest, but you can use matching fabrics if you prefer. When I was first picturing this bag I thought I would keep it for myself. But I ended up picking an adorable mermaid print and other bright fabrics from my stash that my kids love. So it seems this bag is destined to become a busy bag of sorts for my kids. Really it works out perfectly because I can tuck activities for Peyton in one side and activities for Skyler in the other side. Then it can be tucked into a backpack or tote bag for some on the go activities to keep the kiddos occupied.
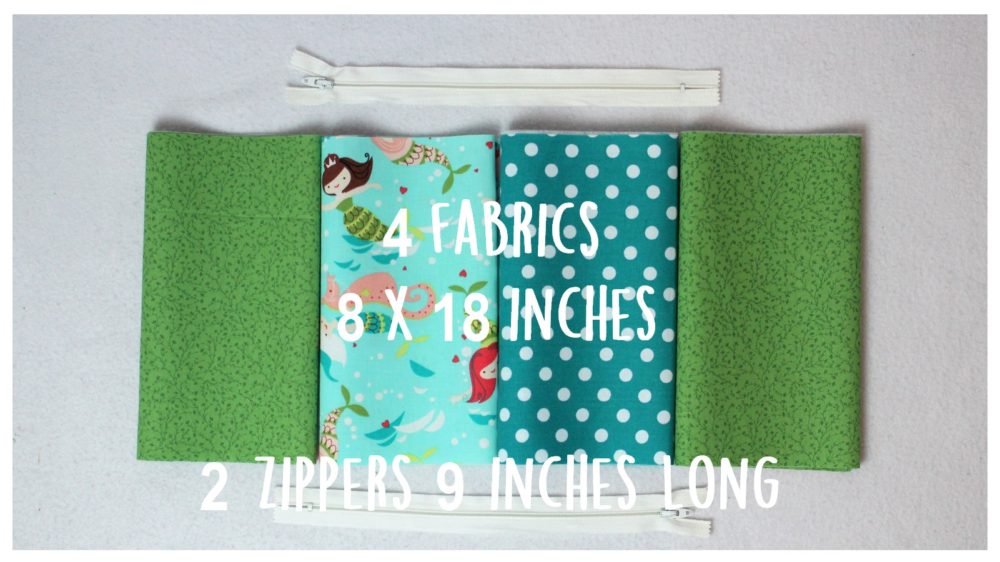
You’ll notice the zippers are longer than the width of the fabric. This is on purpose and important. The zippers need to be at least one inch longer than the fabric width because they will need to be unzipped to keep the excess material out of the way while top stitching certain parts. The wider you can open the piece up at that point the better.
You can find the entire step by step sewing tutorial HERE!
This is probably one of the most in depth (I want to say complicated, but it’s really not hard, just lots of steps) zipper bag tutorials I’ve shared on my channel. But I had such a blast making it and really hope you will give it a try! Let me know if you want to see more tutorials like this one on my channel. You can find some of my previous zipper bag tutorials HERE.
That is all I have for this week, I’ll be back next Wednesday with another sewing how to. Until then, Happy Sewing!
-Whitney-