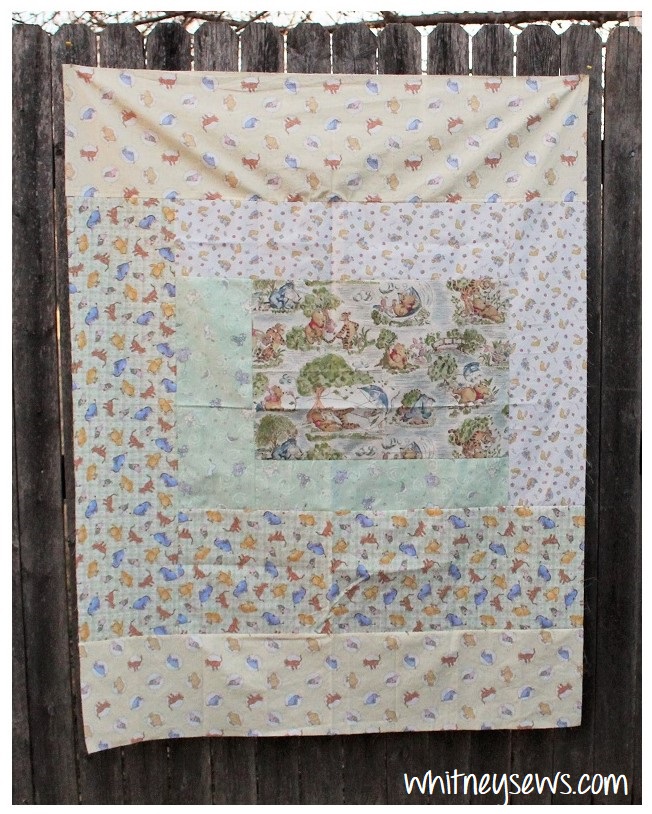

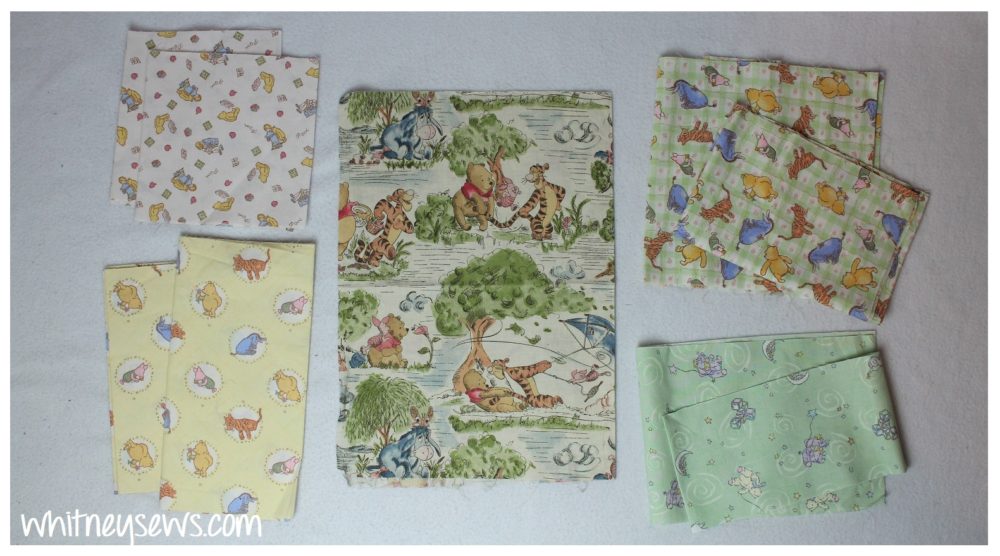
When I was pregnant with one of my daughters a kind viewer sent a box full of fabrics to me. There were five Winnie the Pooh fabrics in the box (along with lots of other goodies!). For a long time I couldn’t decide what to do with the fabrics. I wanted to use them all for one project and be able to show off all the prints. I finally came up with an idea for a quilt top that uses all the prints together to create one large block. This one block quilt top can be sewn together in about an hour.
The top may be super quick to sew together…but it took me a year and a half to get around to it. That’s right, I cut the fabrics for this quilt about a year and a half ago (during the first year of my Sew Your Stash challenge), but I didn’t have a large enough area to film a quilt tutorial. So I put it off and put it off. Then the second week we were in our new house I cleared off the floor and sewed my quilt together! Felt so good to finally check it off my to-do list!
My quilt design is based off a traditional log cabin quilt block (one of my favorite quilt blocks). The key to making it all work was playing with the scale of the prints – smallest next to largest, as well as colors so the block design can stand out. This allowed me to use all five prints without any solids or low volume prints to break up the design.
Because there are quite a few cutting measurements for the one block quilt I made a PDF to go along with this project. You can find it by clicking HERE.
Once you have the PDF click HERE to watch the step by step sewing tutorial.
So what do you think?? Do you like sewing one block quilt tops or do you prefer to create several blocks that are sewn together to make a pieced top? I like both because sometimes I feel like sewing lots of individual blocks and including many different fabrics and other times I just want to whip up a quick project.
I’ll be back next week with another new tutorial. Until then, Happy Sewing!
-Whitney-