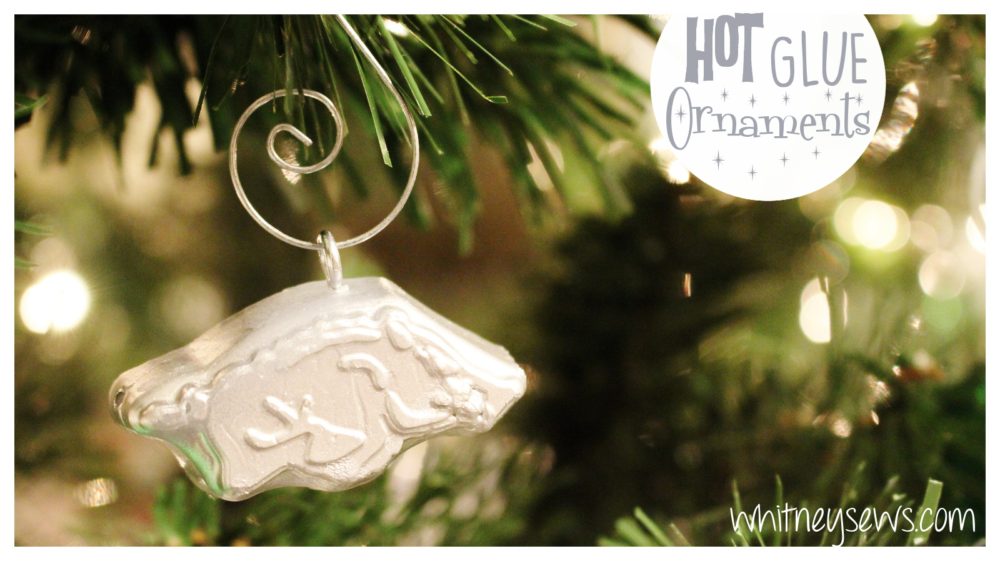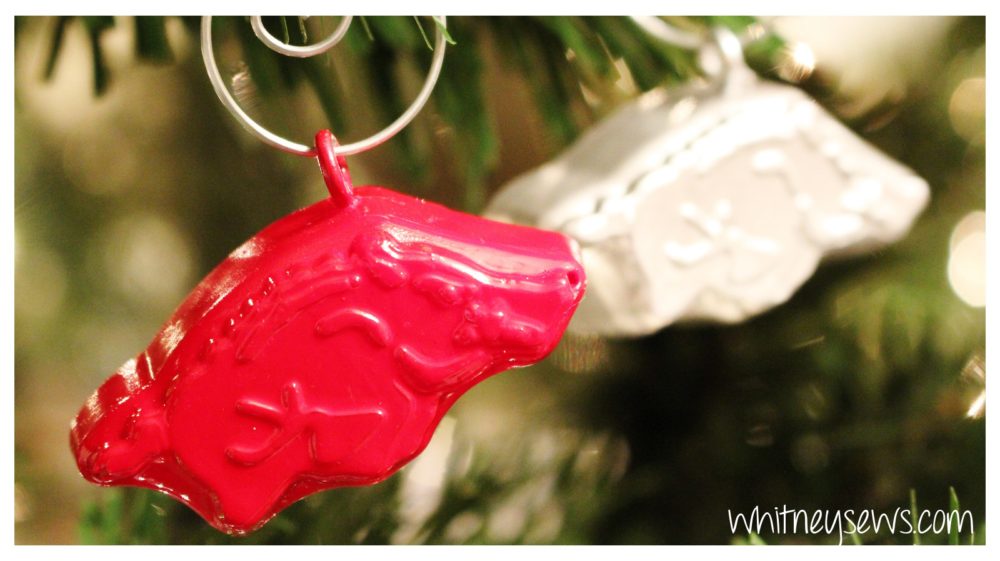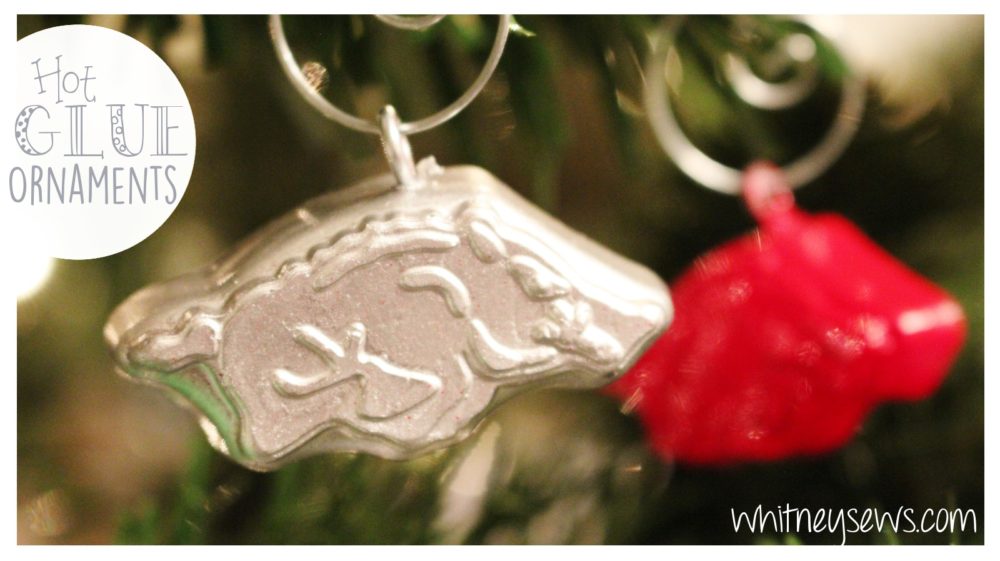

Ever wonder what happens when you squeeze hot glue into candy molds?!? You get some really neat looking Christmas ornaments (or wreath baubles, jewelry charms, etc)!
I found some Arkansas Razorback candy molds that I had to get since my dad is a huge Razorbacks fan. He even teaches all the grandkids to whoo pig 🙂
I had the molds sitting around for a few months then one day an idea popped into my head. What would happen if I used hot glue to fill the molds…would it turn out cool or be a disaster??
I did a test run of two ornaments, one with cooking spray and one without. The one using cooking spray came out perfectly and the other didn’t come out at all.
The hot glue captured all the details from the mold and looked awesome. It was a little hard to see the details though when it was just the glue. So I added some spray paint to finish them off and they look amazing! If you have colored glue sticks you could give those a try and skip the spray painting.
You can find the how to with all the details and step-by-step instructions HERE!
Now that I know how fun and easy these are to make I’m going to keep an eye out at thrift stores for interesting molds. The same technique can be used to make keychain charms, jewelry, pretend gems for dress up, and more.
Interested in the supplies I used? Here are links to exact ones I used.
Razorback Mold – http://amzn.to/2h2ao8t
Glue Gun – http://amzn.to/2g6Wi3B
Glue Sticks – http://amzn.to/2gh03XE
Eye Pins – http://amzn.to/2gNmX9P
What shape molds would you like to make hot glue ornaments from?? Let me know in the comments below.
Next week I’ll be back with my last Holiday How to for the year! Make sure you’ve hit that subscribe button so you don’t miss out on that post!
Until next time, Happy Sewing!
-Whitney-

