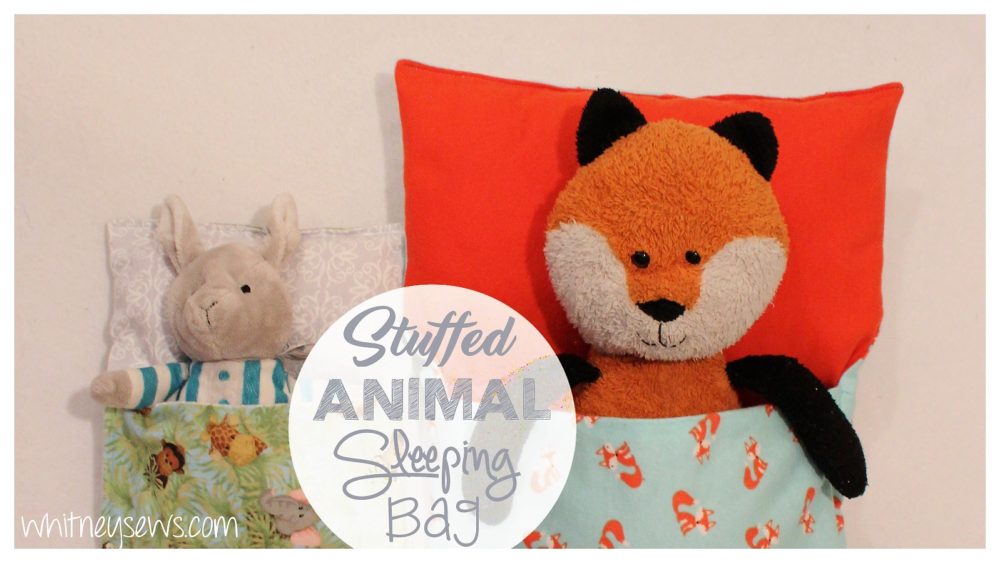
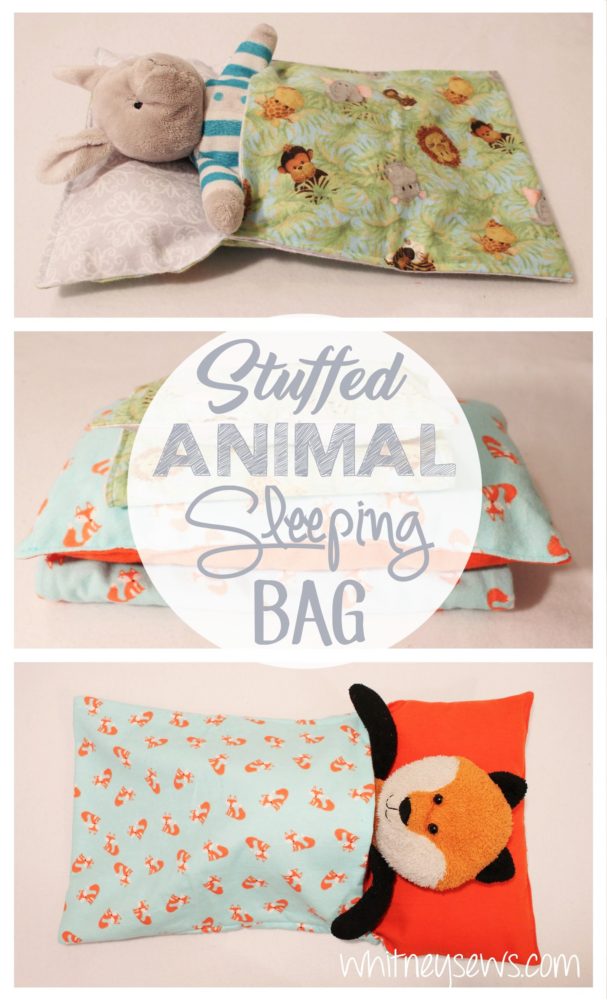
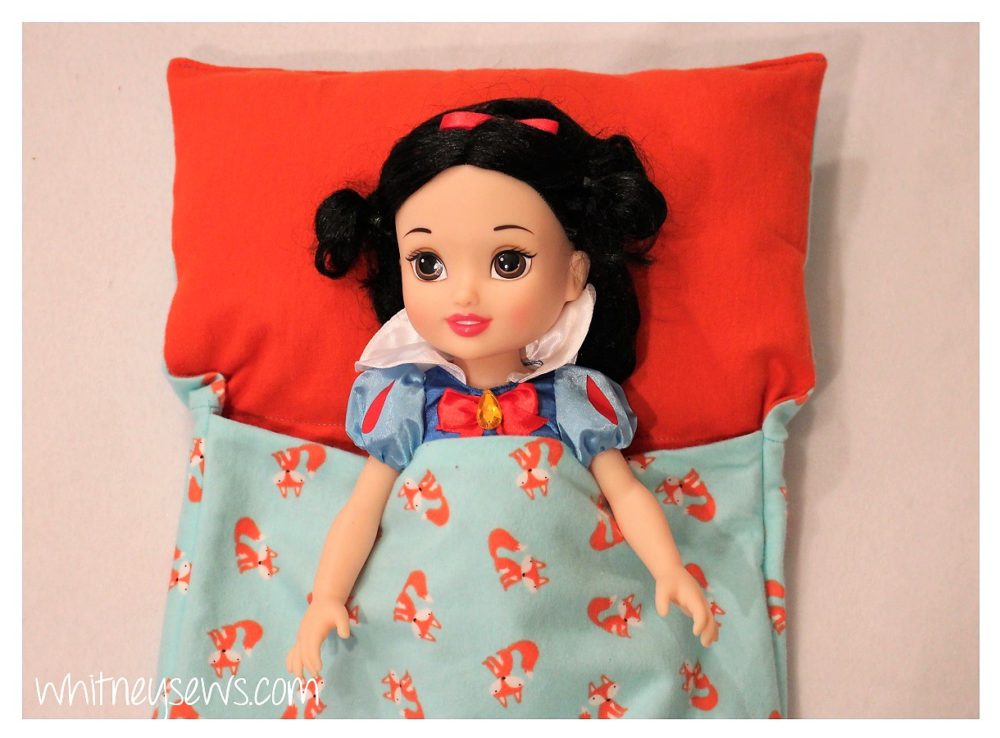
I had so much fun reminiscing about my #FiveFav sewing projects last week! So this week I wanted to share a project inspired by something my mom made for me as a child. When I was little TY beanie babies were very popular and I had a handful of them. My mom made beanie baby sleeping bags for all of them. So this week I took inspiration from them and created a how to for stuffed animal (and doll) sleeping bags in two sizes!
This is an easy, beginner friendly project that can be made in under 30 minutes!
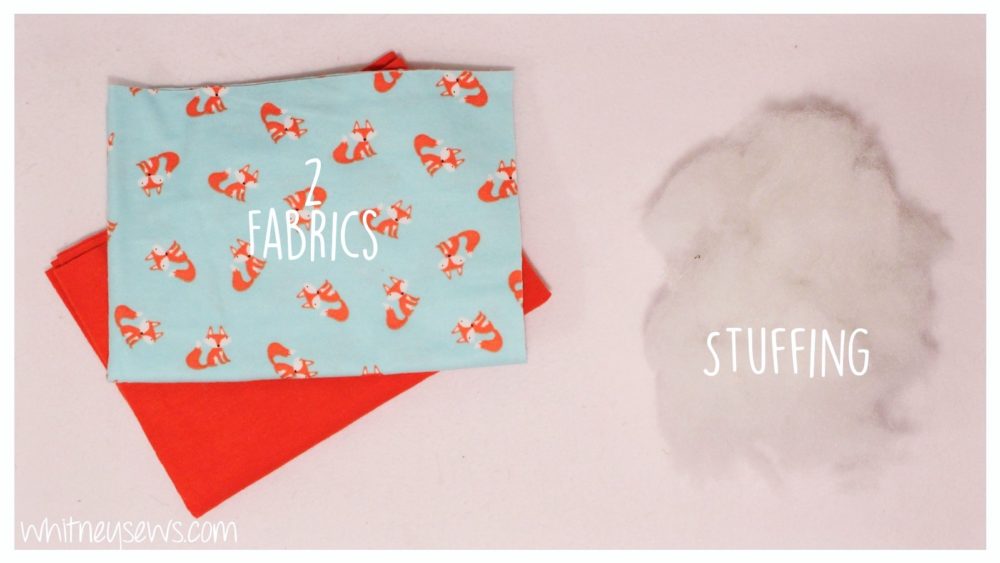
To make the sleeping bags you need two fabrics, flannel or quilting cotton are best and stuffing for the pillow portion of the bag, along with your sewing machine and basic sewing supplies.
My newest (and favorite) sewing supplies are craft clips! They are use instead of straight pins to hold the fabrics together.
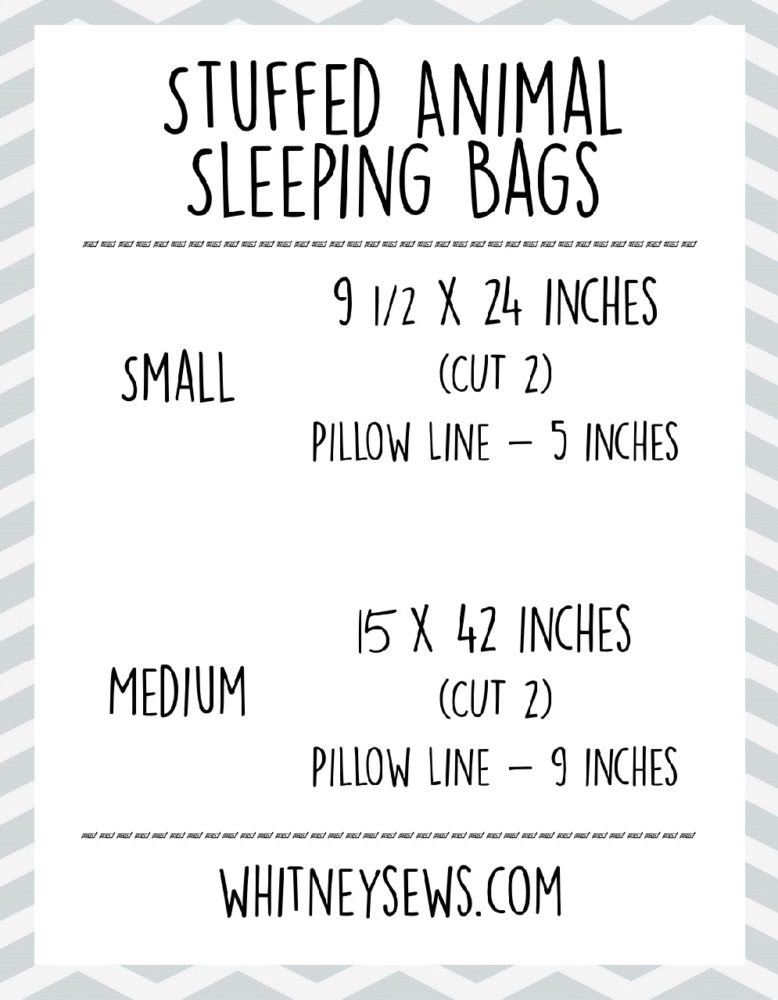
Once you have selected your fabrics you’re ready to start! The cutting measurements are listed below for each bag size.
After your fabrics are cut you can use my easy to follow video tutorial to sew your sleeping bags together! Click HERE to watch!
Wasn’t that super easy?!? I know Peyton is going to love these and I’ll probably have to make several more because she has lots of fluffy friends and a few dolls too.
Well, that is it for this week! I hope you enjoyed this fun little project. I have tons of cute flannels I picked up a while back on sale. You can see them all in this haul video! So this year I’m challenging myself to come up with some new projects incorporating flannels.
Make sure to subscribe to my youTube channel so you don’t miss out on any of the upcoming projects and help get our Whitney Sews family to 100,000 subscribers!
Until next time, Happy Sewing!
-Whitney-
