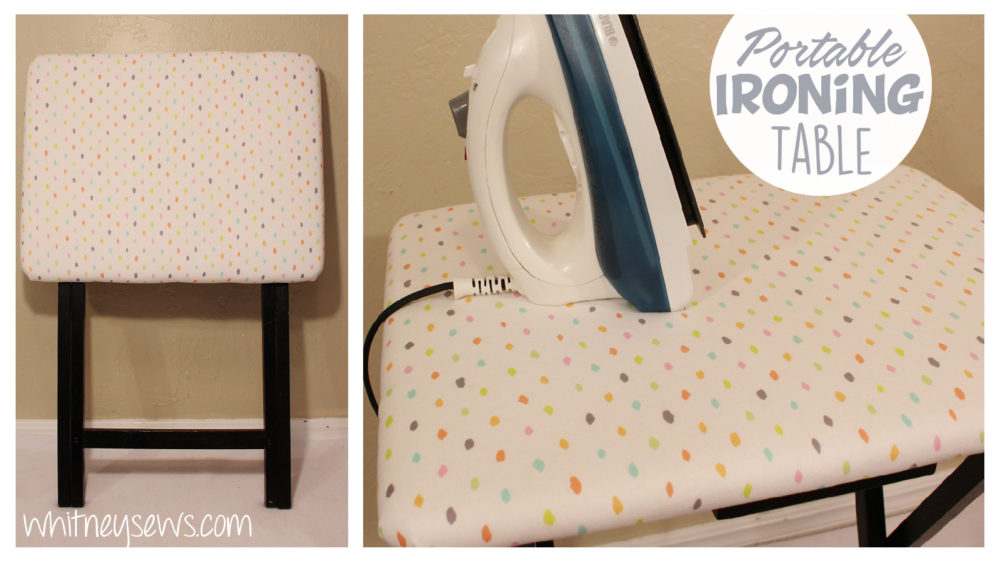
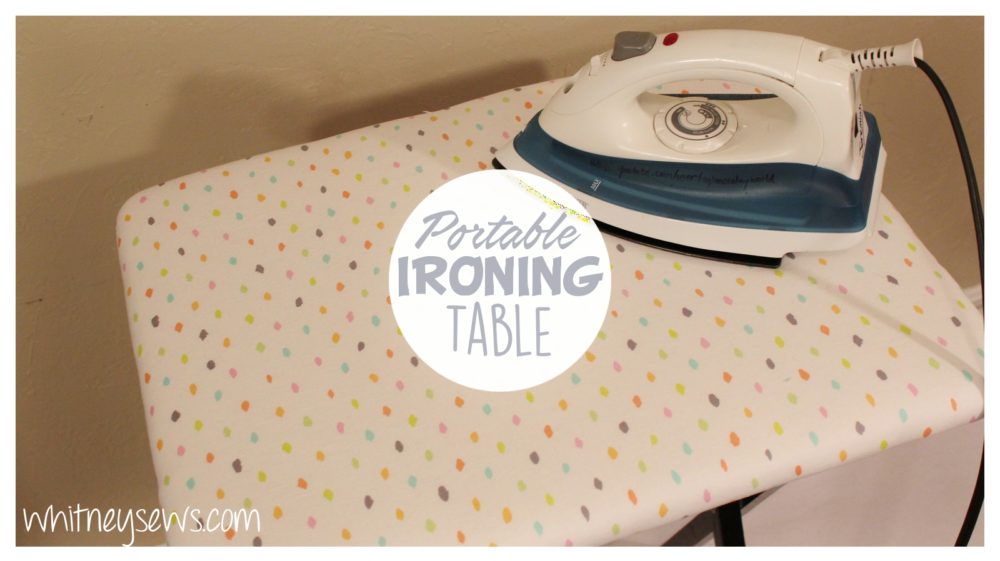
I’ll be honest, my sewing room is usually a HUGE mess! Half of the room is my sewing/filming space and the other half houses our guest bed. Because of that I am constantly having to come up with space saving solutions. One idea I thought of recently was to make a portable ironing table. I wanted something I can set up next to my sewing table or in my filming area, but could be stored flat when we have a guest stay the night.
I got the idea of using one of the folding TV tray tables that can be found just about everyone. I happened to find mine at the Goodwill Midnight Madness 50% off sale, so it was only $1.50! Once I had the table I just needed to pick up the other supplies and I was ready to start.
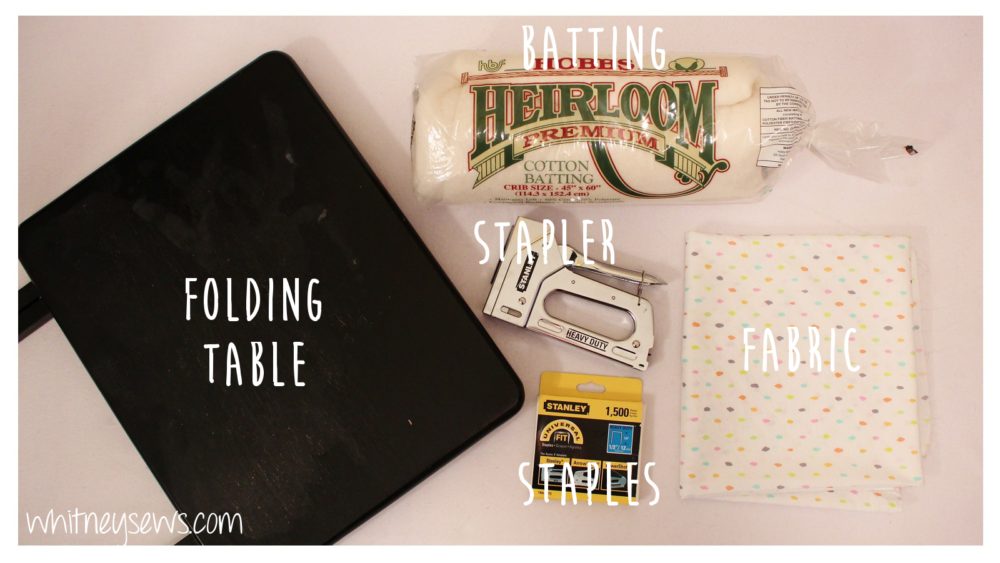
When selecting your supplies you want to look for natural materials (such as cotton) instead of anything man made. They will hold up better to the heat from the iron. Your fabric will need to be prewashed before starting. Listed below are the cutting measurements I used for an 18 x 14 inch table.
Table Size 18 x 14 inches

Outer Fabric - 23 x 18 inches
Batting (3 layers) - 21 x 16 inches
After your fabrics are cut you are ready to start! Follow my step-by-step video tutorial to learn how to make your ironing table. Check out the how to HERE!
Want more details on the supplies I used? You can check them out here:
Batting – http://amzn.to/2hQ5P1E
Heavy Duty Stapler – http://amzn.to/2hQ8nN0
I LOVE my ironing table so much and have already used with a couple of other projects!
Those projects and MANY, MANY more are coming up in 2017! But next Wednesday I have a fun vlog coming for you all 🙂
I hope you all have a wonderful Christmas/Holiday and until next time, Happy Sewing!
-Whitney-


