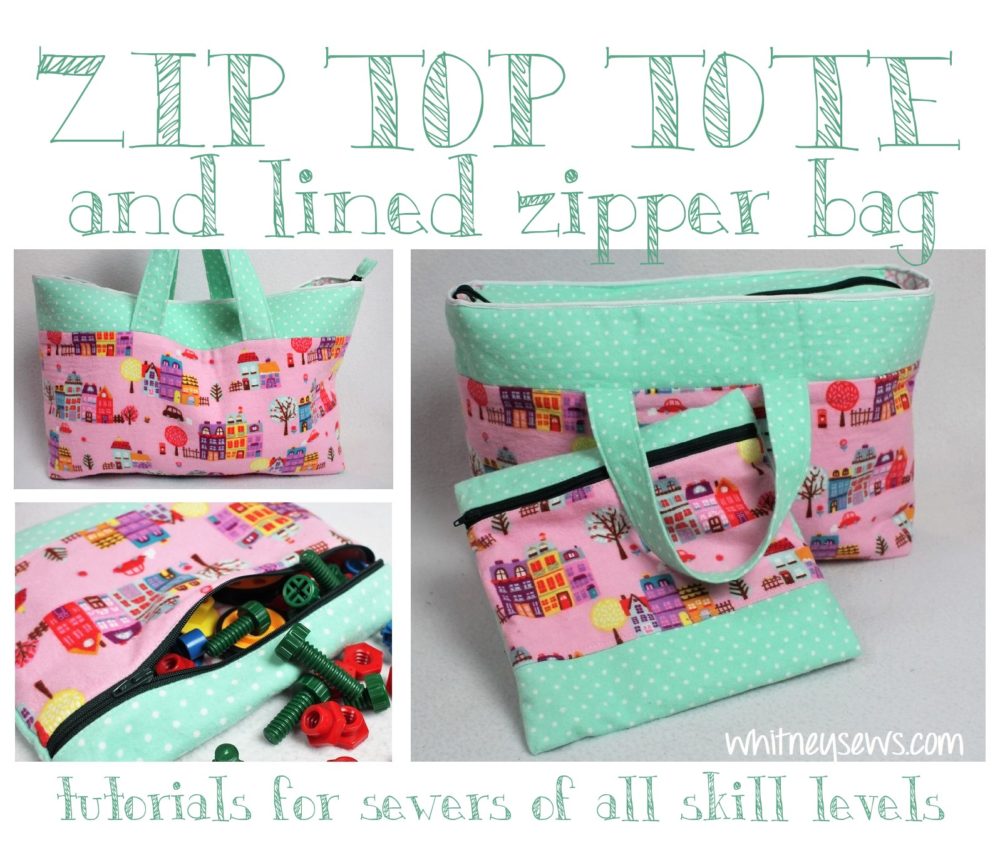
This week I have a fun project to share! I recently picked up a set of tinker type toys at the thrift store for my youngest daughter (She LOVES working with her hands). One of my favorite things to create are all sorts of bags for my kids to keep their toys organized. Drawstring bags to hold wooden animals, zipper bags to store game pieces and more. So I definitely I wanted to create a set of bags to hold all these new pieces. The idea popped in my mind to make a tote bag with zipper top (which is one of my highest requested tutorials and next week’s project!). Since there are a TON of smaller plastic connector pieces it seemed like a good idea to make a separate bag to hold those as well.
This week’s tutorial is the smaller lined zipper bag with bound seams. This means all the seam allowances inside the bag are bound with bias tape. It’s inspired by my 5 Minute Zipper Bag and the lined version that incorporated french seams. The french seams add quite a bit of bulk to the edges of the bag, so this time I tried out binding them instead. Cuts out all the bulk and finishes the raw edges so nicely. Some of you may be wondering why I love this style of zipper bags so much instead of lining them in the traditional method, that is because I like making sure the lining won’t be moving around and trying to come out each time the bag is dumped over.
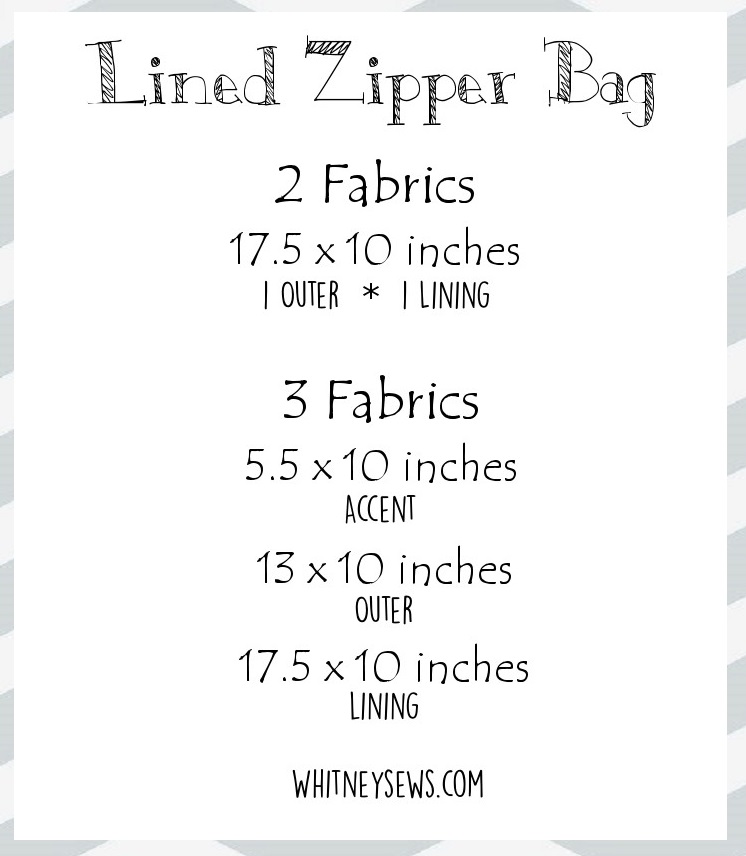
Pick out the two (or three) fabrics you want to use and grab some seam binding (or make your own using THIS tutorial) and cut out the pieces using the measurements listed below.
Now you’re ready to sew the bag together! Watch the full how to HERE!
I would love to see pics of the bags (and other projects you make) so make sure to share them on the Whitney Sews Facebook page or on Instagram with #WhitneySews.
Until next time, Happy Sewing!
-Whitney-