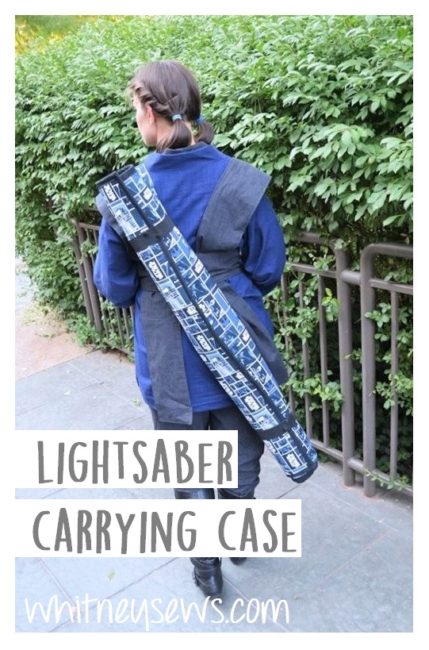

This week I wanted to share a fun project I made when my hubby requested a bag to carry his lightsabers in to and from JediOKC events. I put the project off for a while because I was nervous about coming up with a design that would work well for the large size. We finally came up with the idea of a carrying case that rolls up and fastens similar to a makeup brush roll or a crochet hook roll.
Check out my video all about the carrying case HERE and below will be some written directions for anyone wanting to make their own.
I started with a package of Bosal In-R Foam Plus measuring 36 x 58 inches. It is a foam stabilizer that is fusible on both sides and easy to sew through. I laid the lightsaber pieces out on the foam and marked the design I wanted around them with a marker. The carrying case needed a large pocket along the bottom, one smaller pocket up higher, a small zipper bag, elastic to secure the longer items, and a flap at the top to make sure everything stays in place and is protected. Then I used those markings to get the measurements for all the pieces.
The outer and lining fabrics are fused to the foam stabilizer then trimmed to the 36 x 58 inch size.
The remaining pieces were cut using the following measurements-
Bottom Pocket – 25 x 36 inches (1) fabric & (1) interfacing
Top Flap – 16 x 34 inches (2) fabric & (1) interfacing
Small Upper Pocket – 8 x 8 inches (2) fabric & (1) interfacing
Zipper Pocket – 6 x 15 inches (1) fabric & (1) interfacing –
Fuse the interfacing onto the corresponding pieces. I like to purchase THIS interfacing by the bolt and use it for lots of projects. Fold the large pocket piece in half with the right sides on the outside and press the folded edge. Place the two flap pieces right sides together and sew along one long side and both short sides. Turn right sides out, press, and top stitch those three sides. Lay the two small pocket pieces right sides together and sew around leaving a small opening in one of the sides. Turn right sides out, press, and top stitch. Follow THIS tutorial to create zipper pocket.
After the outer and lining fabrics have been fused to the foam lay the large pocket along the bottom lining up the short sides and the bottom edge. Sew along those three sides leaving the top folded edge of the pocket open. Center the flap along the top edge and sew the long side to attach. Lay out your lightsaber pieces and mark where the large pocket needs to be sewn to divide it into multiple pockets. Also pin and sew the small pocket and zipper pocket into place with a top stitch. Add extra stitching at the top edges of the small pocket so it doesn’t start coming off later. Then cut 2 inch wide elastic so it is long enough to go over each piece and be securely sewn on each side. Sew each elastic piece into place.
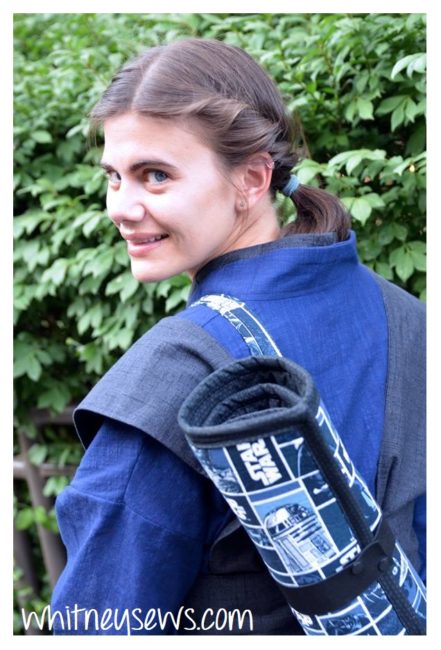
Trim up the outer edges if needed then use 3 inch side strips of fabric to bind the edges as shown in THIS tutorial. Create a carrying strap as shown in THIS video, just skip the step where the clips are added in the video. I would recommend adding bosal in-r foam to the strap. I didn’t and wish that I had! Lastly cut two elastic straps that are long enough to wrap around the case with a couple of inches of overlap. Sew the elastic to the case with the ends of the strap tucked underneath. Refer to the video for closeups on this step.
I hope this was helpful! I know not everyone is interested in Star Wars DIYS and even less people need a lightsaber bag, but it was a fun project and I wanted to share it. If you found this post helpful please let me know in a comment down below. Until next time, Happy Sewing!
-Whitney-