

Last week I shared a tutorial for easy lined drawstring bags. I got a request for a drawstring bag with contrast casing at the top. So that is exactly what I’m showing how to make today!
I’ve been working on a 1950s style pleated skirt using this adorable Christmas plaid. I had a few scraps left and knew they would make an adorable, reusable gift bag! I pulled a couple of other holiday fabrics and ribbon from my stash and was ready to sew.
The bag body finishes approximately 8 x 9.5 inches (uncenched). Below are the measurements I used-

You can make a bag in any size you like to suit your needs. Decide on your finished bag size (accounting for ease and dimension of the items that will be inside) and add a half inch to the height and width for seam allowances. The casing pieces are cut to the exact width you want the bag to finish by 2.5 inches. This will work for ribbons 3/8 to 5/8 inches wide. After the pieces are cut you are ready to sew!
Watch the full step-by-step tutorial HERE!
After last week’s post I made two more bags to hold Peyton and Skyler’s wooden animal sets. I selected fabrics I knew the girls would like. 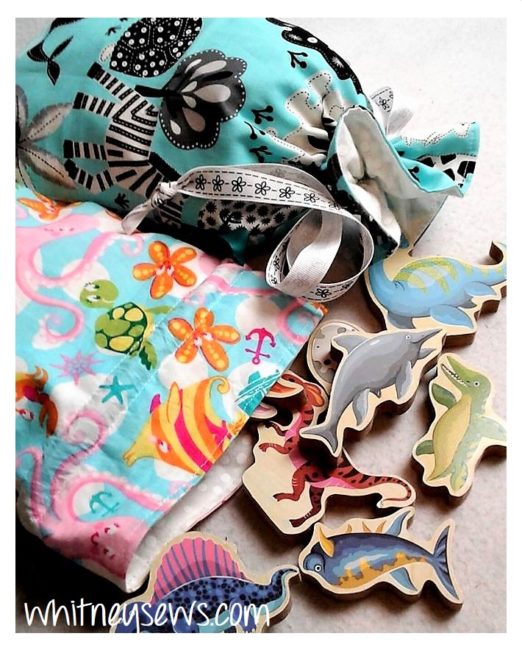 I’m having so much fun making drawstring bags that I’m considering making some for everyone on our Christmas gift list. So if I make bags for Christmas gifts should I use holiday prints or fabrics that suit each person’s tastes? With the later type it’s more likely the bags would be used year round.
I would love to know if you use traditional wrapping paper and boxes for gift giving or reusable options? With reusable options do you personalize them for the receiver to use in other ways or prefer them to be used as wrapping again the next year??
Well, that is it for today. Until next time, Happy Sewing!
-Whitney-