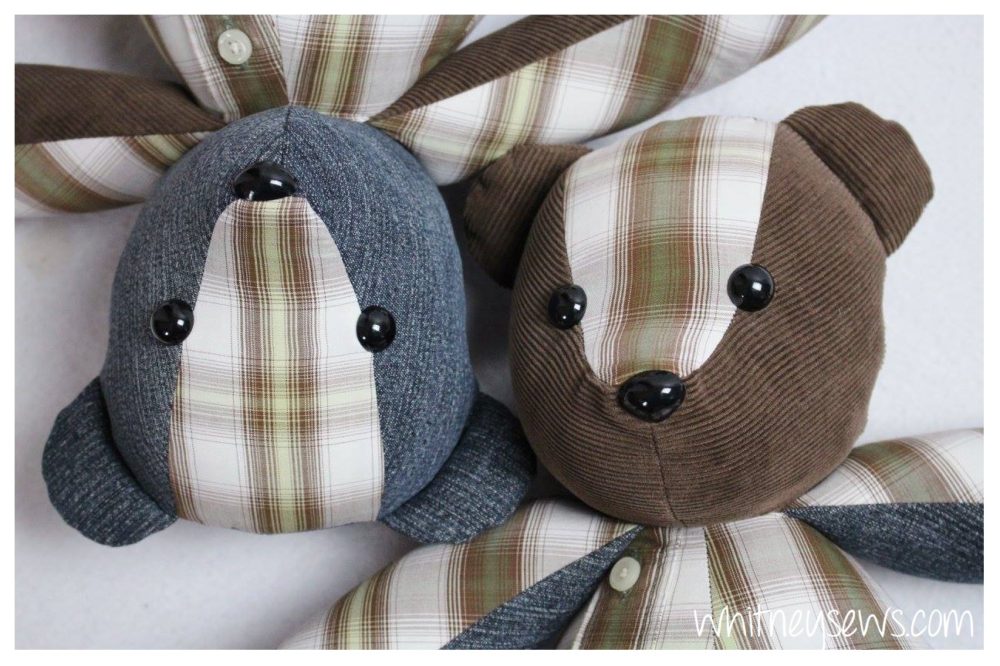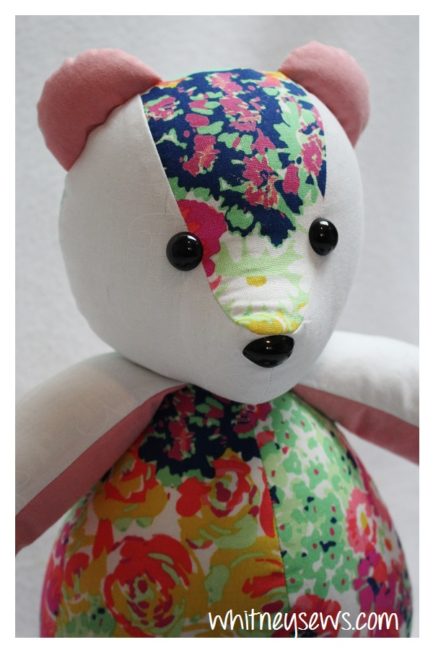

This week I’m kicking off my memory bear series! I am so excited to be able to share all my tips and tricks so you can make your own beautiful memory bears! In the series I’ll be covering all my tips and info for actually sewing the bears, as well as some techniques like installing safety eyes, how to sew a ladder stitch, and even a step-by-step tutorial for my favorite bear pattern.
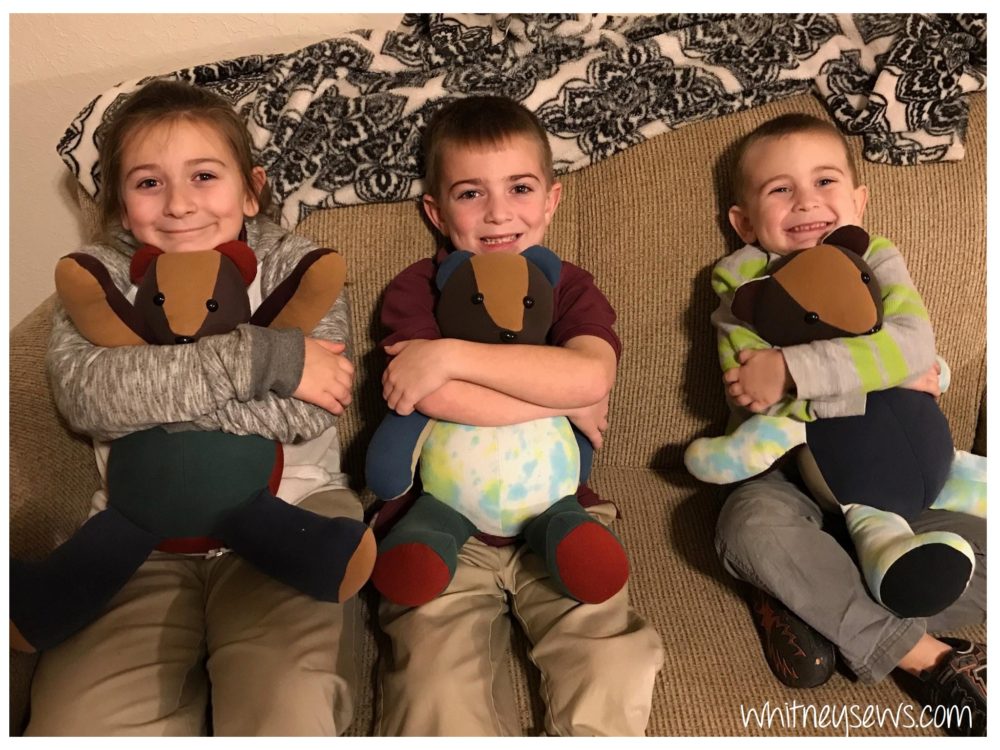
I started making these bears a couple of months ago as a surprise for a friend whose father had passed away. I made three bears for the grandchildren so they have a grandpa bear to snuggle when they start missing him.
There happy faces made every second spent making the bears worth it and I knew I wanted to put more smiles on faces. I ended up starting a Facebook page called Whitney Sews Memories and started making more bears for other people!
So my point is I LOVE making these bears and want to teach you how to make them too!
I’m starting off the series with a few of the techniques that are needed for making bears. This week I’m showing how to install safety snaps and next week how to hand sew a ladder stitch to finish off the bears after they are stuffed. So once I get to the actual bear tutorials the entire video will be focused on making the bears themselves. Then if you need to refer back to the bear tutorial a few times you won’t have to rewatch (or skip over) the basics every time.

I have found that the easiest time to install safety eyes and noses are when only the front of the face is sewn together. I attach the face sides and center then add the facial features then continue sewing the rest of the head and the bear together.
Check out the video HERE to see step-by-step the best way to perfectly install safety eyes!
See, not hard at all! If there are other techniques you want me to cover in this series, make sure to leave them in the comments below! Come back next week for the next tutorial in the #memorybear series. Until then, Happy Sewing!
-Whitney-
