It’s time for the final Holiday How to of 2016! I can not believe how quickly Christmas is approaching!
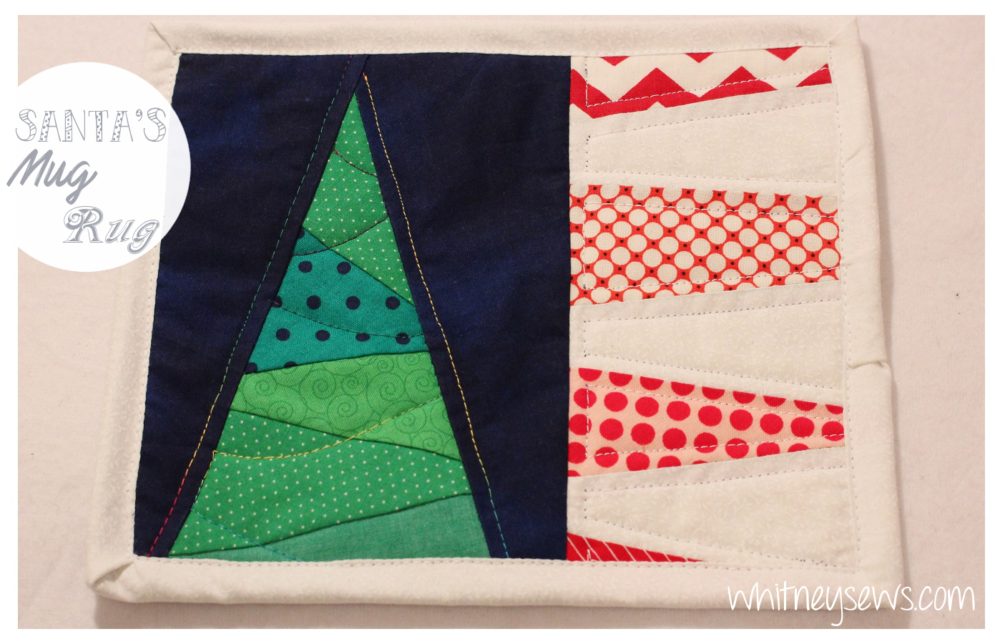
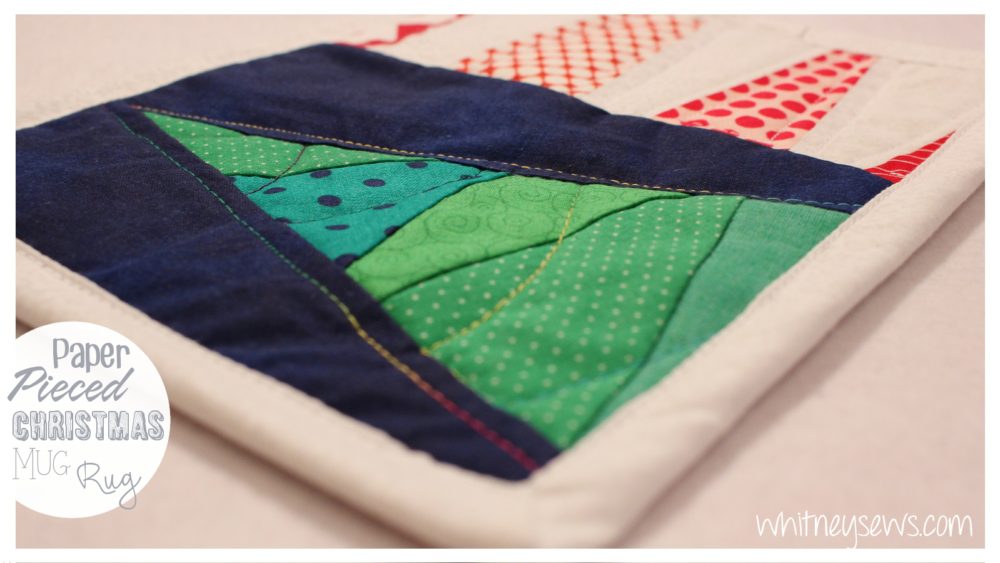
A few people requested a mug rug tutorial, so I thought it would be fun to make a festive one to set out with Santa’s milk and cookies. The design features a Christmas tree and a peppermint inspired section. It’s a paper piecing project and perfect for using up some of the scraps I know we all have laying around.
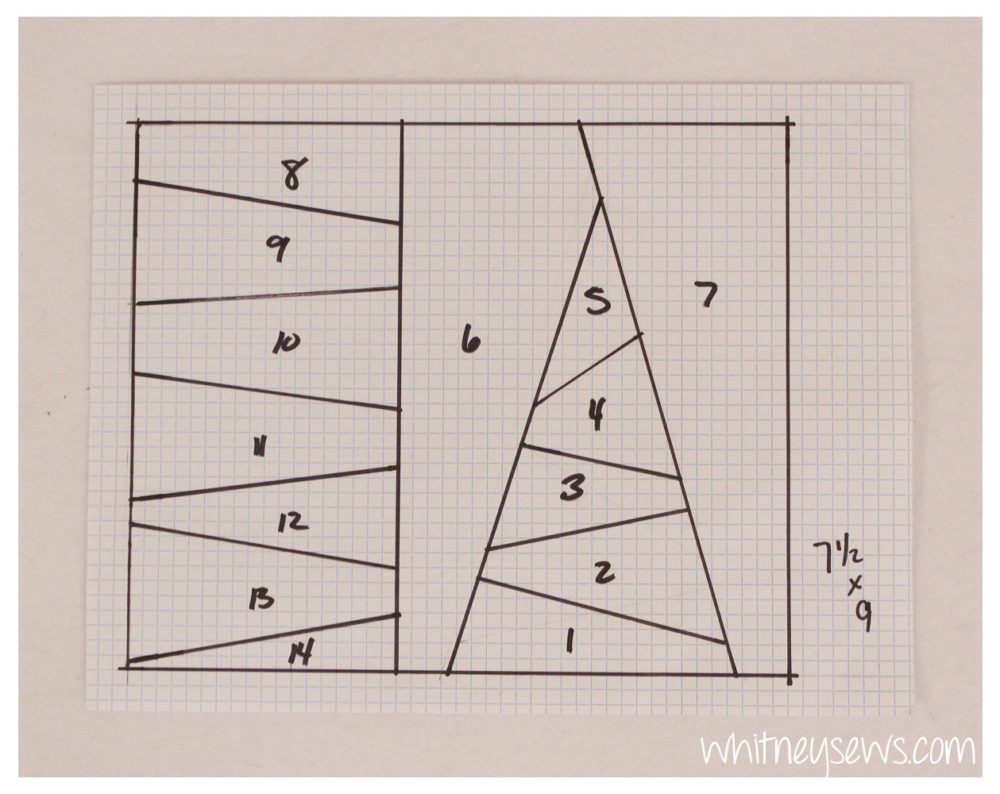
To start this project you need to draw out your design. You can save the one pictured below and draw it out yourself or try to print it. It was designed to measure 7 1/2 by 9 inches.
If you want to try something new you can design your own pattern. Remember that your pattern needs to be a mirror image of how you want the final piecing to look since the fabric is sewn onto the back side.
Once you have the design you are ready to start piecing. Follow to step-by-step video tutorial to learn how to sew it all together. Click HERE to watch!
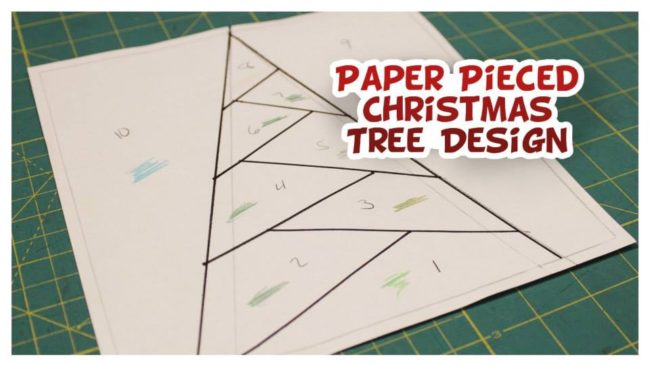
A couple of years ago I shared a different paper pieced Christmas tree design that would also make a great mug rug.
Click HERE to learn more about this design!
Paper piecing is one of my favorite quilting styles! It allows you to create endless patchwork designs without all the precise cutting and measuring. I have a playlist FULL of other paper piecing videos, including one with tips for designing your own paper piecing patterns. You can find that playlist HERE!
If you’re interested in other mug rug projects you can find my previous mug rug tutorial HERE!
Let me know in the comments if you want to see more mug rug tutorials on my channel. Also don’t forget to share pics of your projects on your favorite social media site with #WhitneySews
Even though this was the final Holiday How to I will still be back next week with another great tutorial! So I will see you back here next Wednesday and until then, Happy Sewing!
-Whitney-


