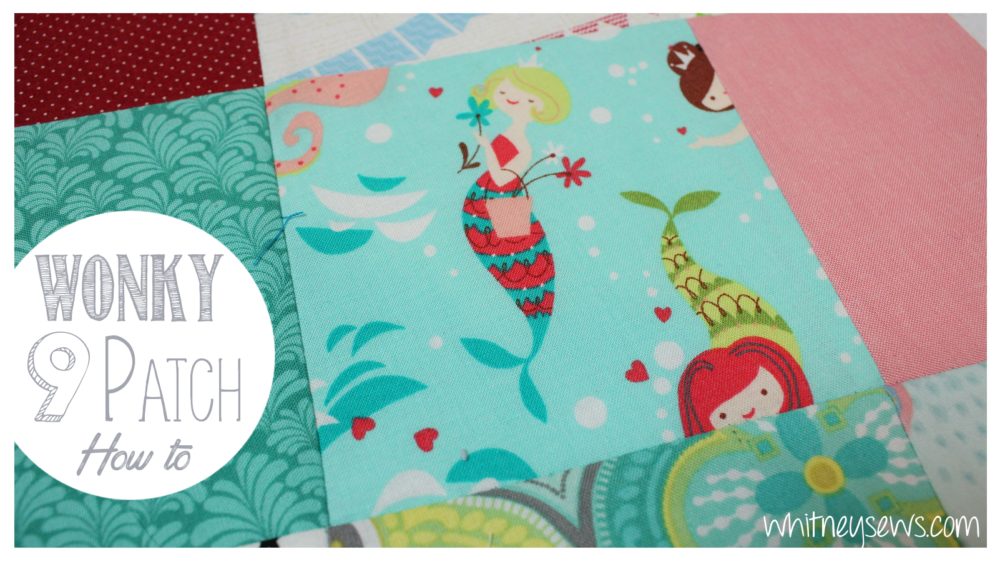

Last week I finished a scrappy quilt project I started 3.5 years ago! How awesome is it to finish WIPs from your stash?!? Successfully finishing one quilt top made me want to start a new one, so I decided to finally make a wonky 9 patch design.
I went to work gathering 9 coordinating fabrics from my stash (since I am doing the Sew Your Stash Challenge this year!) and set to work! I have an adorable piece of mermaid fabric I wanted to feature so I fussy cut my square using a rotary cutter and square ruler. Then I made sure all my cuts framed the center mermaid. This gave my wonky blocks a very symmetrical look, but you can make all your cuts at different angles for a totally different look.
Check out the full step-by-step video tutorial HERE! Make sure to stick around for the end of the video because I share 4 tips to make your quilt blocks more successful!
Let me know in the comments if you have made wonky style blocks before! Also make sure to leave any other quilting tips you have so we can all learn from each other.
If you haven’t already, make sure to check out the Sew Your Stash group on facebook and come back here next Wednesday for another new sewing tutorial! Until then, Happy Sewing!
-Whitney-