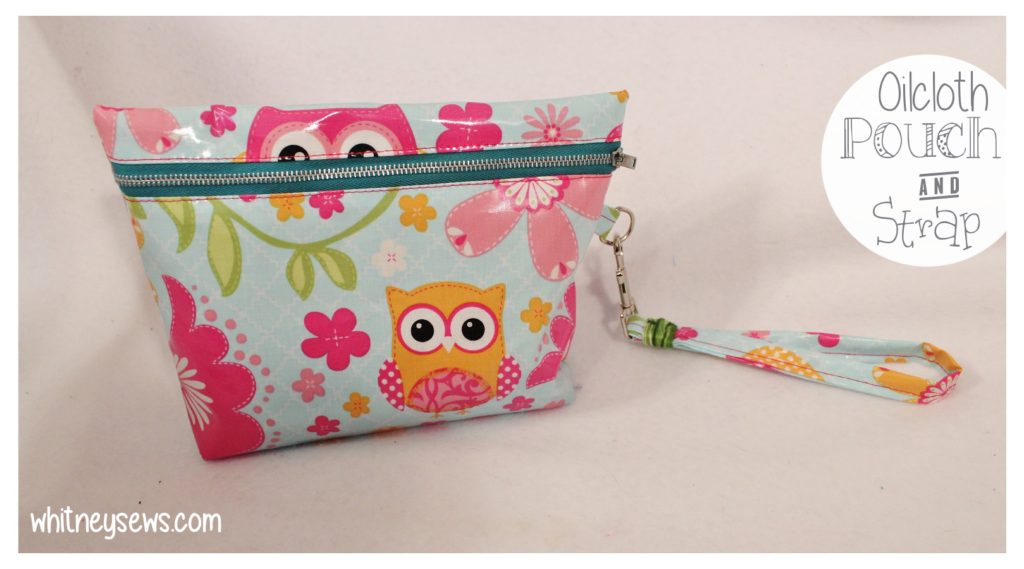
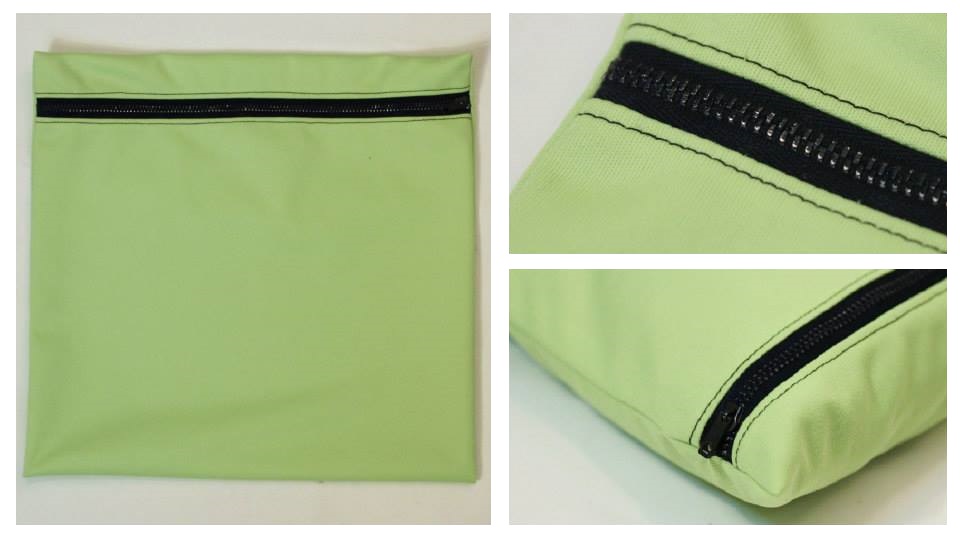
A couple of months ago I came across some adorable oilcloth (opps…it;s actually laminated cotton, but the project will work the same for both materials) fabric marked down to only $4 per yard at Hobby Lobby. I picked up a couple of yards with no real plans other than at least one little bag. So, here is the bag! It is based off my 5 Minute Zipper Bag, but takes it up several notches!
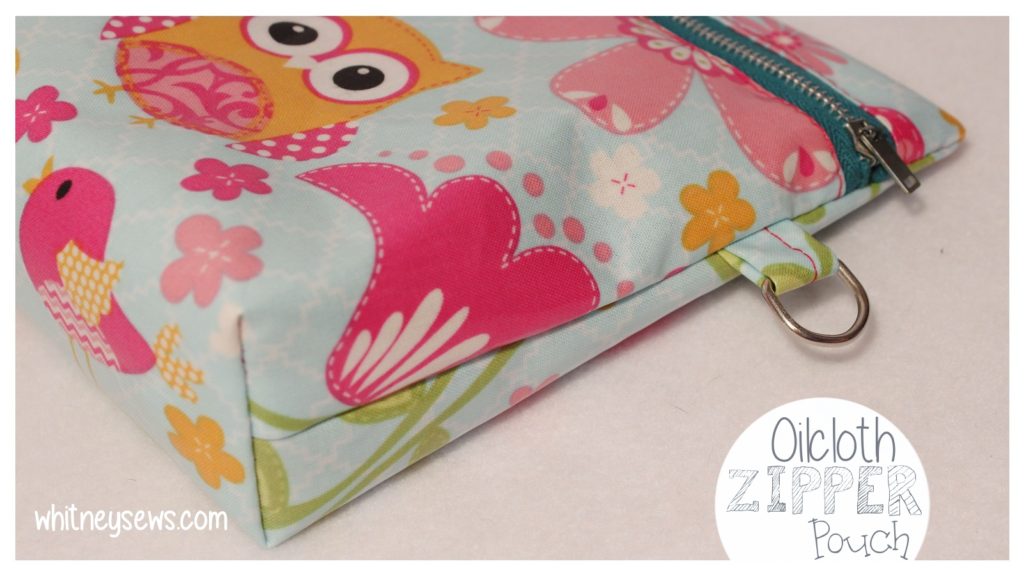
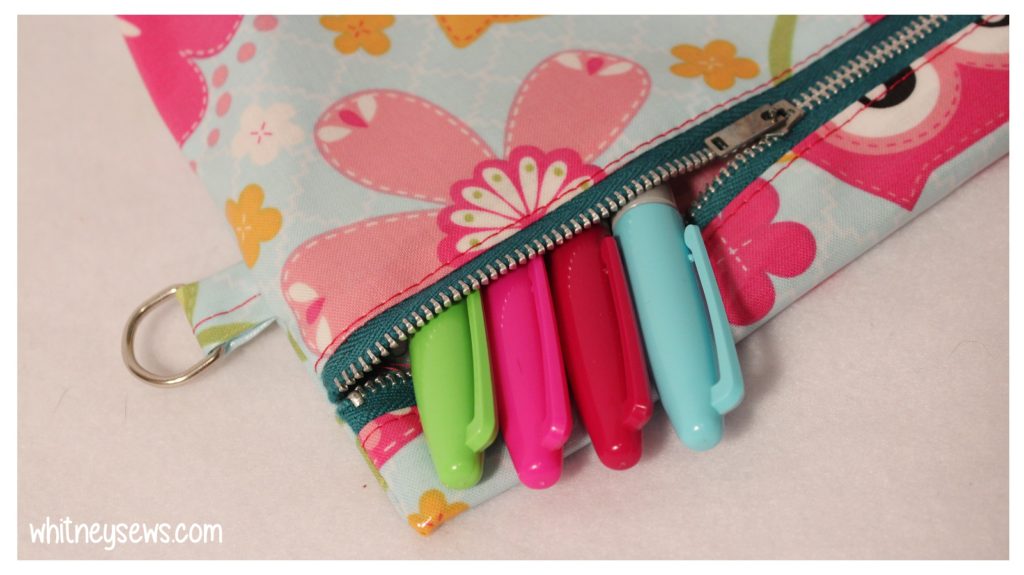
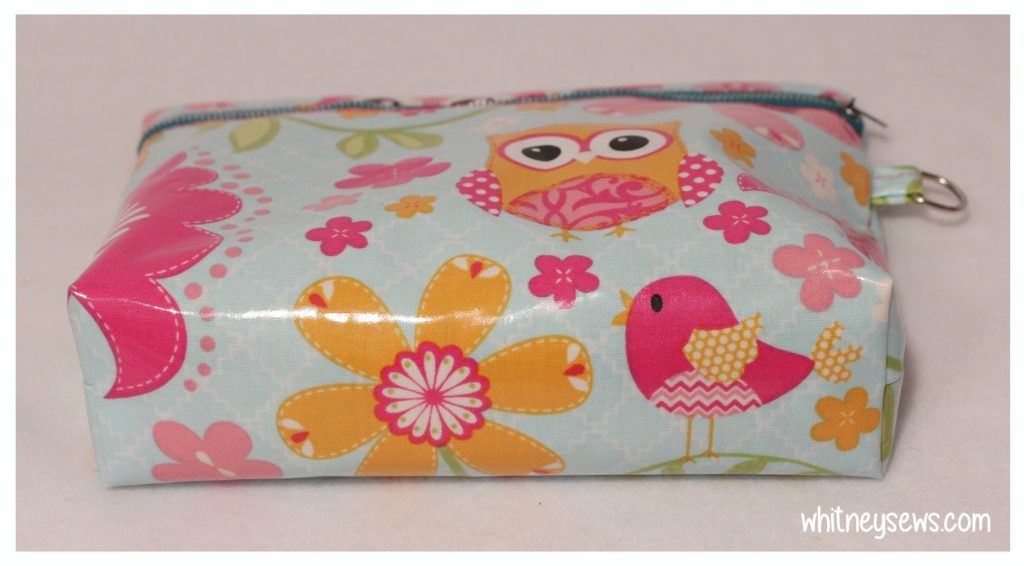
The bag body is made from one piece of fabric and features a zipper near the top (just like the 5 minute bag – watch that tutorial HERE). The bottom corners are boxed, allowing the bag to stand up on its own. There is a small D-ring at the side where a strap, key ring, or charm can be added.
This little bag finishes about 6.25 x 7 x 2 inches, making it the perfect size for a travel cosmetics bag, to hold some school supplies in a backpack, or to help organize a purse or diaper bag.
Click HERE to learn how to create your own oilcloth zipper bag!
Supplies:

Oilcloth or Laminated Cotton

Zipper - 10 inches or longer

1/2 inch D ring

Spring clip
Cutting Measurements:

Body Piece - 10 x 15 inches

(Non-directional prints are best)

D-ring Loop - 2 x 4 inches

Strap - 14 x 2 inches
Tips for Sewing Oilcloth and Laminated Cotton
- Using a teflon foot will help the laminated material feed evenly while sewing.
- If you don’t have a teflon foot (I don’t!) stick a piece of clear tape on the bottom of your regular presser foot.
- Set your sewing machine to a larger stitch length to minimize the number of holes poked into the material.
- Use clips instead of pins. Once a hole is poked in oilcloth it is there forever.
- When sewing use a 14/90 or 16/100 needle in your machine.
- Start sewing with your presser foot all the way on the fabric, sew a stitch or two, backstitch to the fabric edge, then switch back to forward stitching and sew to the other end. Backstitch to finish off the seam.
- The most difficult sewing will be when the oilcloth’s shiny side is against the presser foot (when sewing the loop and strap in the first step of the tutorial) because it will want to stick, but just take your time and you’ll make it through! Sewing the actual bag together will be easier!
- Oilcloth doesn’t fray so you don’t have to worry about finishing your seams on the inside.
If you have any other tips for sewing with oilcloth make sure to leave them in the comments for others to read. Check out my most recent fabric haul that included this oilcloth material by clicking HERE.
Another similar tutorial I have on my channel is for this DIY wet bag using PUL fabric. This bag is very quick and easy to sew. Wet bags are perfect for holding dirty/wet cloth diapers, swimsuits, play clothes, gym clothes, and more. After using the bag you simply throw it in the wash and it’s ready to use again. I keep one in my diaper bag in case there is a mess or accident while we are out and about. You can find the wet bag full video tutorial HERE.
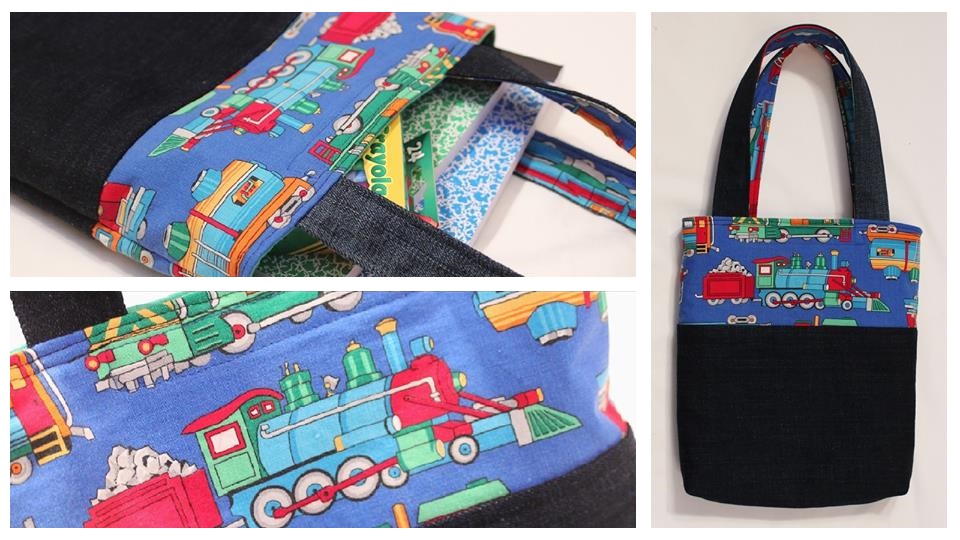
Interested in learning how to make other types of bags?? My tote bag series on youTube is a great place to start! There are currently seven videos in the playlist that range from a very easy unlined tote to a lined, pieced and quilted tote bag and everything in between. Check out the entire playlist HERE.
Ok, I think that is it for today! I hope you were inspired in some way by this post to create a bag or pouch of your own! Don’t forget to subscribe so you don’t miss any of my upcoming how tos!
Happy Sewing!
-Whitney-
