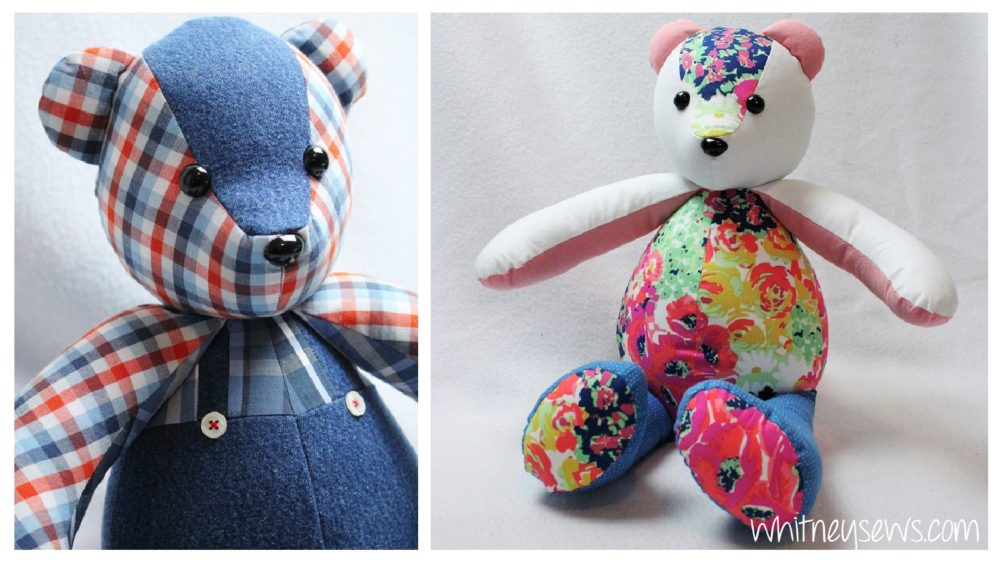

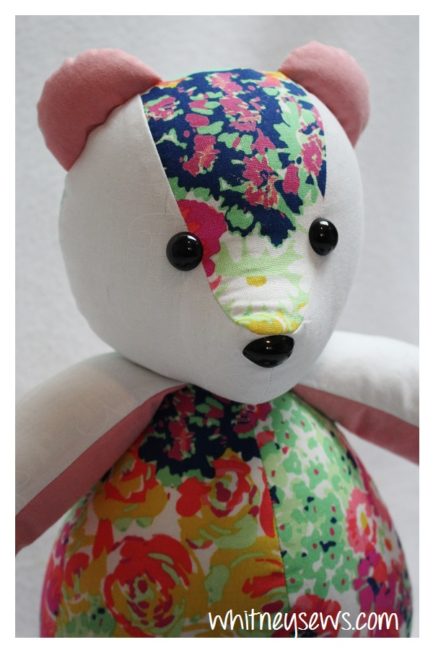
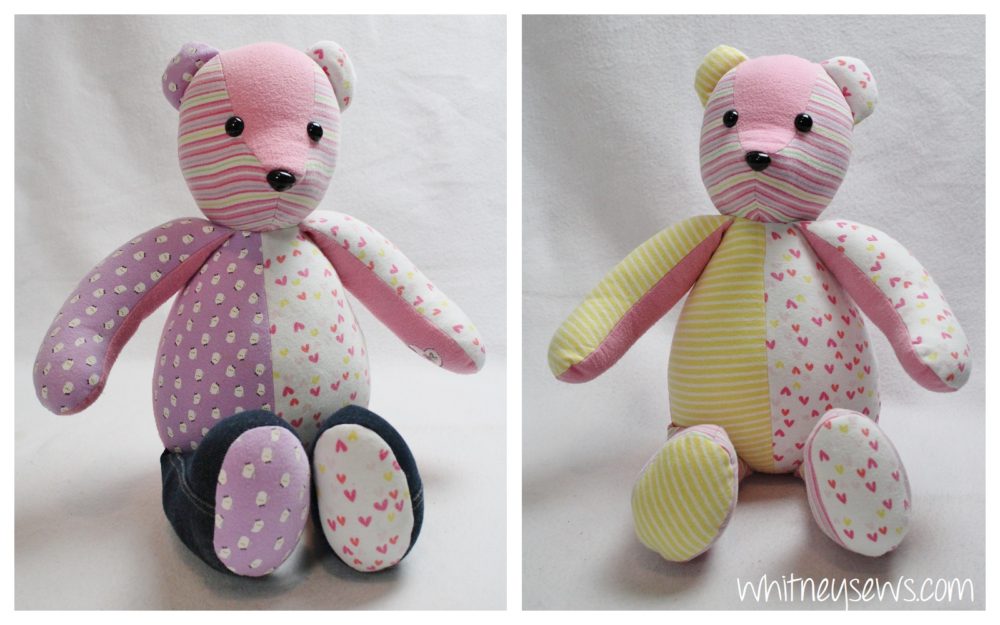
It’s finally here; the week I know you all have been waiting for! This week I’m showing step-by-step how to sew a memory bear! I have been making tons of bears for Whitney Sews Memories and can’t wait to teach you all how to make your own.
I use Simplicity A2115 for my bears, but the pattern is out of print, so unless you happen onto some old copies at Walmart (like I did!) you may have to select another similar pattern. The Simplicity Rare Bear pattern is a great option that is VERY similar to the one I used. You can find that pattern HERE. But no matter what pattern you are using this video will still be helpful because a lot of techniques will be similar.
If you haven’t been following along with the entire series I already shared videos showing how to select a pattern, copying the pattern onto plastic templates (if you want a sturdier pattern to use again and again), how to install safety eyes and how to sew a ladder stitch to finish your bears. You can find all those videos in a playlist HERE!
So now it’s time to sew your precious memory bear together! In the video I show from cutting the fabrics to finishing the bear off with a ladder stitch, following right along with the pattern directions. Not great at using sewing patterns?!? No problem! I explain each step and what it means as we go along!
Click HERE to watch the Memory Bear How to!
Next week I have another video where I’ll be showing all of my tips and tricks for taking your memory bears from good to great! You’ll learn those little details that will make your bears look professional! Make sure you are subscribed to Whitney Sews on youTube so you don’t miss out on that video!
Until next time, Happy Sewing!
-Whitney-