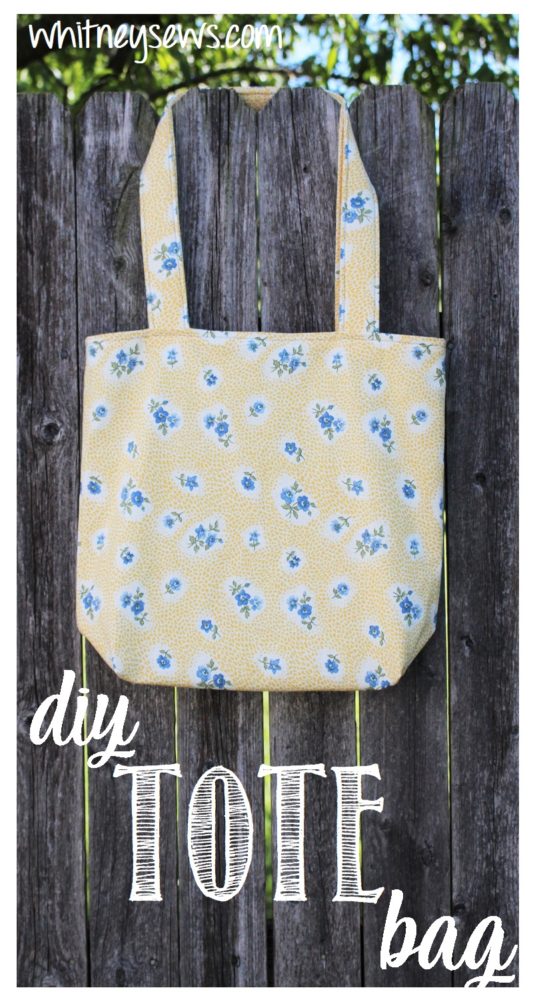
Whew! It has been so long since I shared one of my regular sewing tutorials! Last week I was feeling sort restless and realized it had been several weeks since I had worked on a project. So I decided it was about time that I filmed a new tutorial. Some of the most popular videos I’ve shared over the years were bag tutorials – specifically tote bag tutorials. So I thought that would be a good place to start.
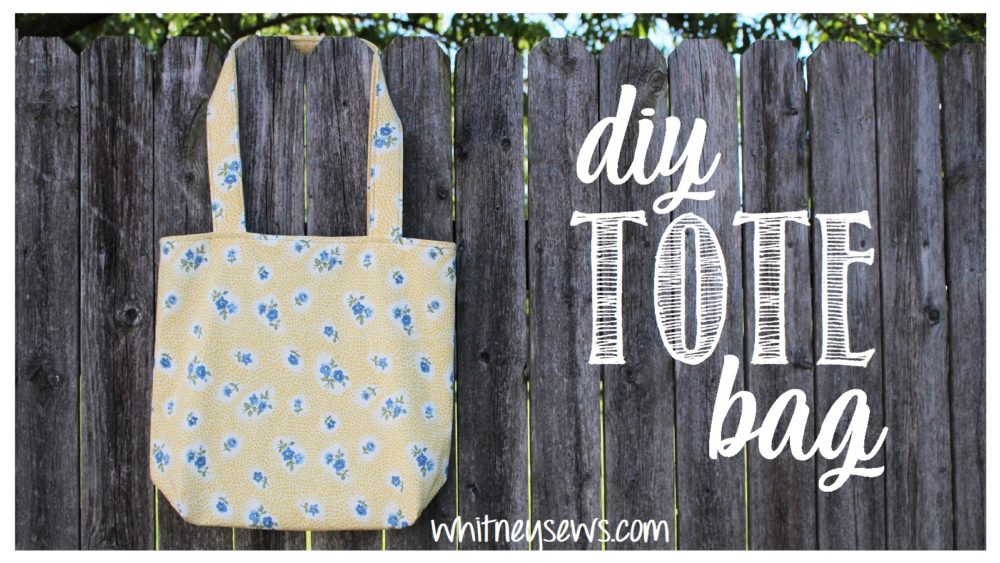
The bag I’m showing how to make today is easy – GREAT FOR BEGINNERS – and only takes a few supplies! The bag finishes about 12.5 x 11 x 4 inches, but once you know how to make one you can customize the bag to be any size you want/need.
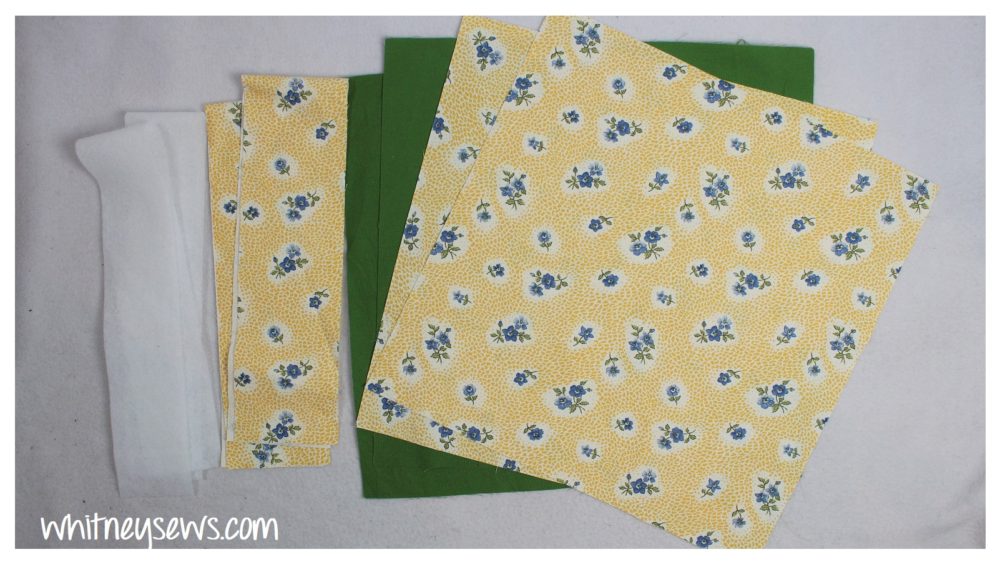
You will need:
- 4 body pieces (2 for outer and 2 for lining) – 16 x 16 inches
- 2 strap pieces – 28 x 4 inches
- 2 stabilizer pieces – 28 x 3 inches

Notes –
- The fabric I chose was a lightweight upholstery fabric, a little thicker than regular cotton.
- I really like using fusible fleece for this. It is easy to work with and gives the straps just a bit of thickness and structure, without being hard to sew through. You can find fusible fleece HERE.
- I cut all my materials with a rotary cutter, acrylic rulers, a rotary safe glove, and cutting mat. This insures nice straight edges making the entire project easier to sew. You can find all my favorites HERE. *Shopping through my Amazon links helps support my sewing tutorials**
You can watch the step-by-step sewing tutorial HERE! Below is the written directions to go along with the video.
Sewing Instructions –
- Start by laying two bag body pieces right sides together matching up all the raw edges.
- Add craft clips to hold the layers together then sew around the sides and bottom with a half inch seam allowance.
- Repeat for the lining matching the pieces up right sides together and clipping.
- This time sew the sides and bottom, but remember to leave a 5 or 6 inch opening in one side for turning the bag through later.
- Make sure to backstitch at the beginning and ending of each seam you sew. This keeps the stitching from coming undone.
- Put your hand inside and flatten the corner so it forms a V shape with the seam going down toward the center.
- The seam allowance on the top side and the under side need to go in opposite directions so they can nest together and lay flat.
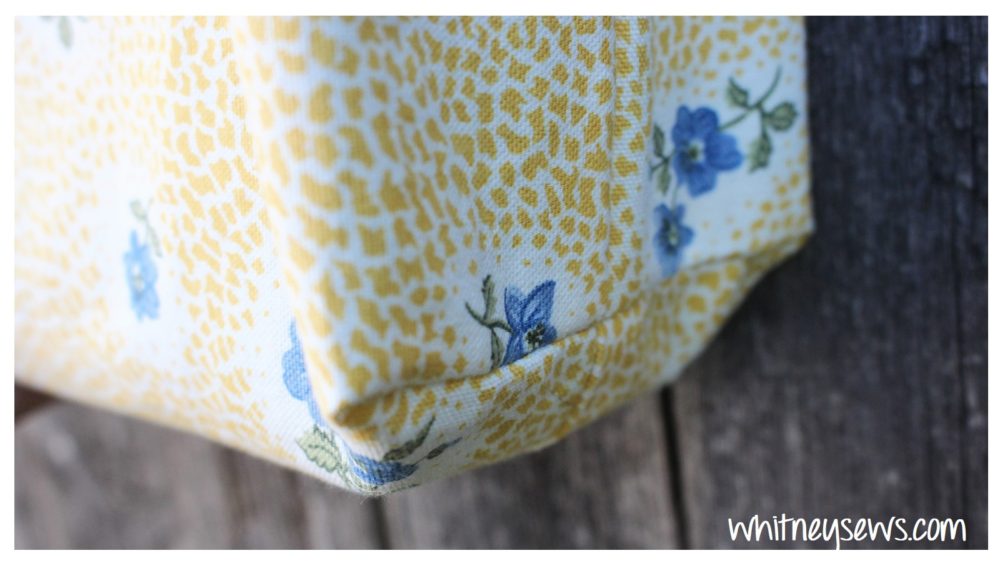
- Once everything is lined up add a couple of craft clips near the corner.Line an acrylic ruler up with the seam line and adjust until the corner of the bag takes up 4 inches along the side of the ruler.
- Use a pencil or other marking tool to draw a line along the ruler edge. Add a couple more clips and repeat this process for each corner on the bag outer and lining.
- Sew directly on the marked line on each corner. Then trim off the corners leaving a half inch of seam allowance next to the sewn line.
- Boxing the corners is what gives the bag depth in addition to height and width.

- Now onto the straps. Find the textured side of the stabilizer and lay it against the back side of the strap fabric.
- The stabilizer needs to be centered as nicely as possible with a half inch of fabric uncovered along each long side.
- Set your iron according to the stabilizer instructions and use it to fuse the two together.
- When using the iron I’m setting it in one spot, giving it several seconds, picking it up and setting down in the next spot. I’m not sliding it around because that can stretch things out of shape.
- Once both straps have been fused begin to fold over the edges toward the inside. Use the edge of the stabilizer as a guide and as long as you cut it straight and centered it fairly well you’ll get nice, even edges.
- This is a quick and easy way to make straps that doesn’t involve having to turn a tube of fabric right sides out.
- After both sides are folded over and pressed fold the entire thing in half, lining up the folded edges and press again. Add craft clips along the open side if needed to keep it all lined up.
- Sew down both long sides to close up the open side and give the strap a nice look.
- Turn the bag outer right sides out and we’ll get the straps attached.
- Lay the strap on so the short ends are sticking up just above the top edge of the bag and the strap isn’t twisted.
- Measure so each end is the same distance away from the side seam. I like mine 3 inches from the side.
- Clip or pin in place. After the first strap is in place flip the bag over and repeat on the other side.
- Take it to your sewing machine and sew across the strap ends to attach about a quarter inch away from the top edge of the bag.
- Your bag lining should still be inside out.
- You want to place the outer in the lining so they are right sides together.
- Match up the side seams and top edges and clip them together.
- Sew all the way around the top with a half inch seam allowance.
- Remember the hole that was left in the side of the lining? Time to reach in and pull the entire bag right sides out through it.
- Then tuck the seam allowance in at the opening, line up the edges and sew a top stitch near the edge to close it up or you can hand sew a ladder stitch if you don’t want any visible stitching there.
- Grab the lining and push it down inside the bag body. Make sure the corners of the lining are sitting correctly in the corners of the outer.
- Then adjust the top edges so they look nice. I actually took it over to my iron and pressed it so the outer fabric actually wrapped around to the inside just a small amount giving it a really nice look.
- Then sew a top stitch all the way around about a quarter inch away from the edge.

And you’re done! I love that this bag is beginner friendly and perfect for everything from groceries to library books. I hope you give it a try, share a pic, and make sure to tag me so I see it.
Until next time, Happy Sewing!
-Whitney-