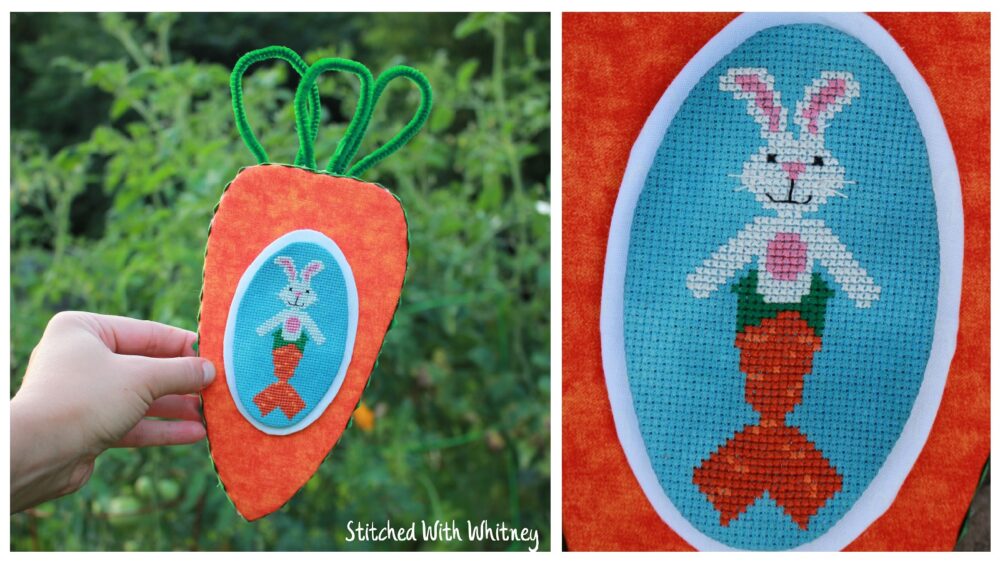
A few weeks ago I shared my newest cross stitch pattern – a Bunny Mermaid! In that post I shared some of the inspiration behind the design. Today I wanted to share how I did the finishing to take the project from a basic cross stitch to a fully finished, and ready to display, decor piece.
Fully finishing projects can be as low or high budget as you make it. For this one I decided to see how affordably I could do it. I knew I wanted the cross stitch displayed on a carrot. I could have splurged and bought a premade wooden carrot. I could have used a piece of scrap piece of wood, cut out a carrot shape, and painted it. Or I could use a piece of foam core (foam board) that I already had, cut out the carrot shape twice (for extra thickness), cover with fabric and use it. The last option is the one I chose – it’s was the lowest price and didn’t require digging out the power tools.
You can watch the entire process (other than cutting the foam) in my finishing video HERE!
I’m really happy with how well it turned out and will keep this style in mind for future finishings.
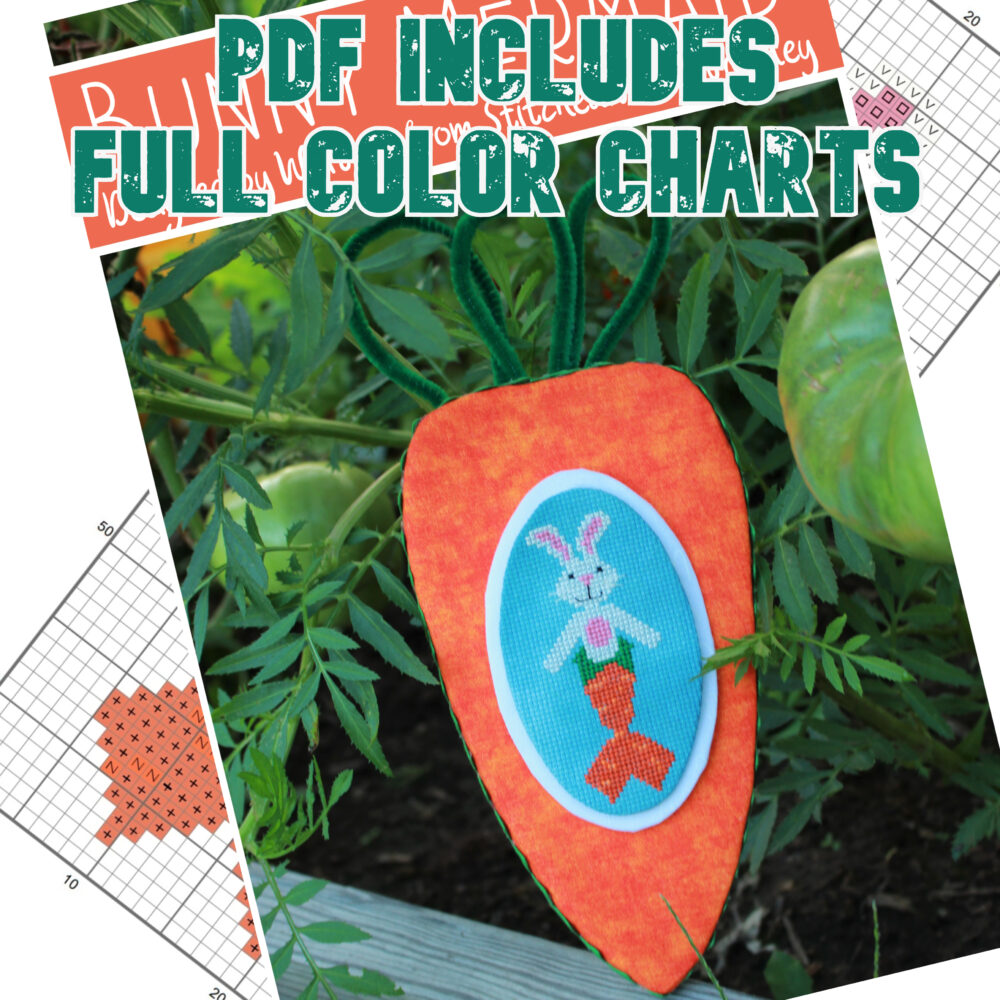
The full color cross stitch pattern is now available in my etsy shop!
Will you give this finishing style a try for any of your projects?
If you stitch this or any of my other designs I would LOVE to see them! Please share pics using #StitchedWithWhitney
Until next time, Keep Stitching!
Whitney