Christmas Mug Rug – Holiday How to

Christmas Mug Rug How to with Pattern from Whitney Sews

It’s time for the final Holiday How to of 2016!  I can not believe how quickly Christmas is approaching!

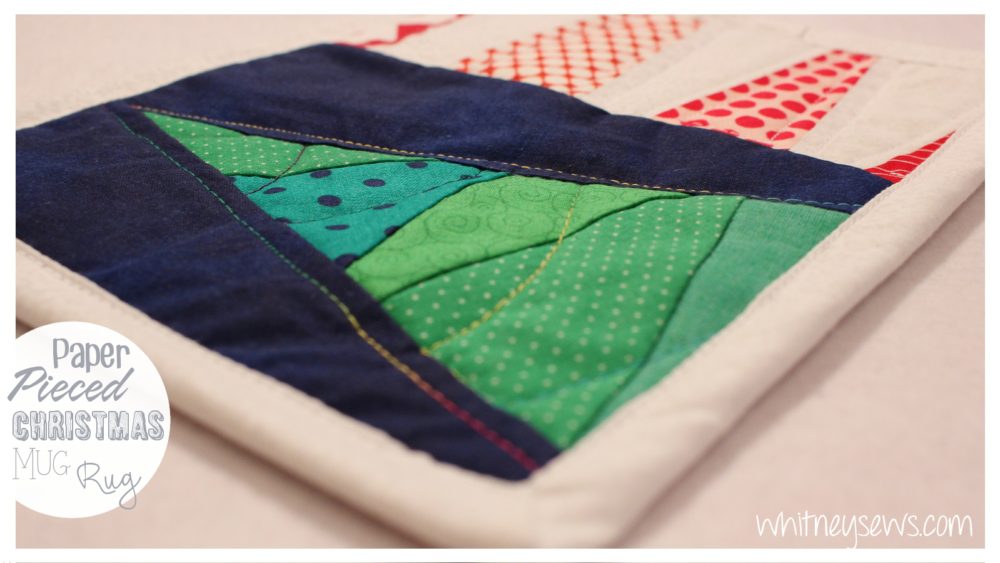
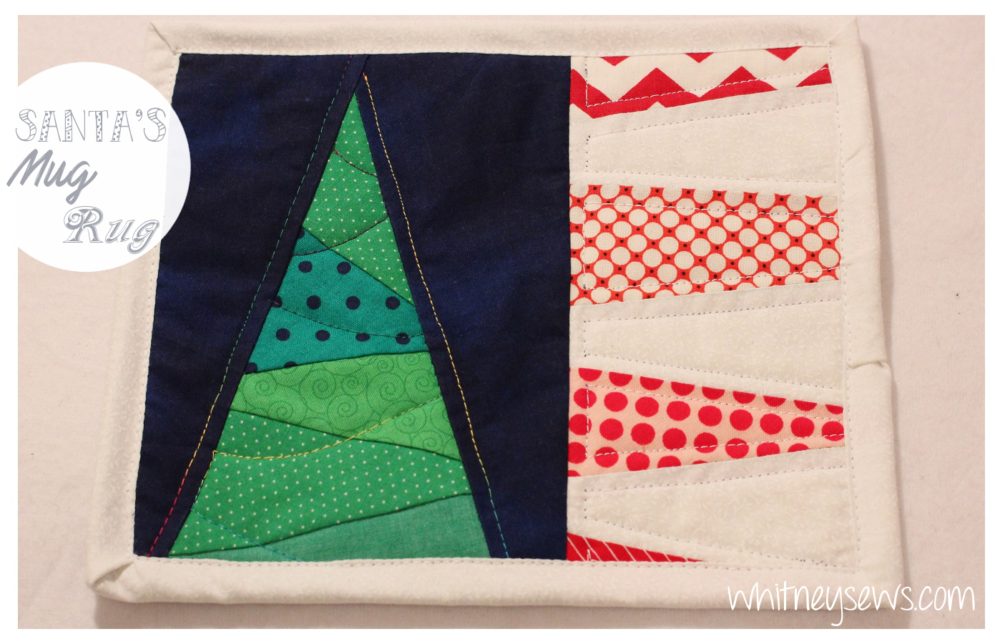
A few people requested a mug rug tutorial, so I thought it would be fun to make a festive one to set out with Santa’s milk and cookies.  The design features a Christmas tree and a peppermint inspired section.  It’s a paper piecing project and perfect for using up some of the scraps I know we all have laying around.

Mug Rug How to from Whitney Sews. Includes FREE video tutorial!

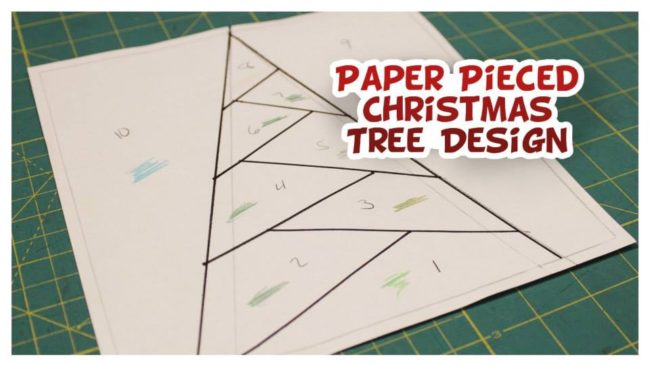
To start this project you need to draw out your design.  You can save the one pictured below and draw it out yourself or try to print it.  It was designed to measure 7 1/2 by 9 inches.Paper Pieced Christmas Mug Rug Pattern from Whitney Sews
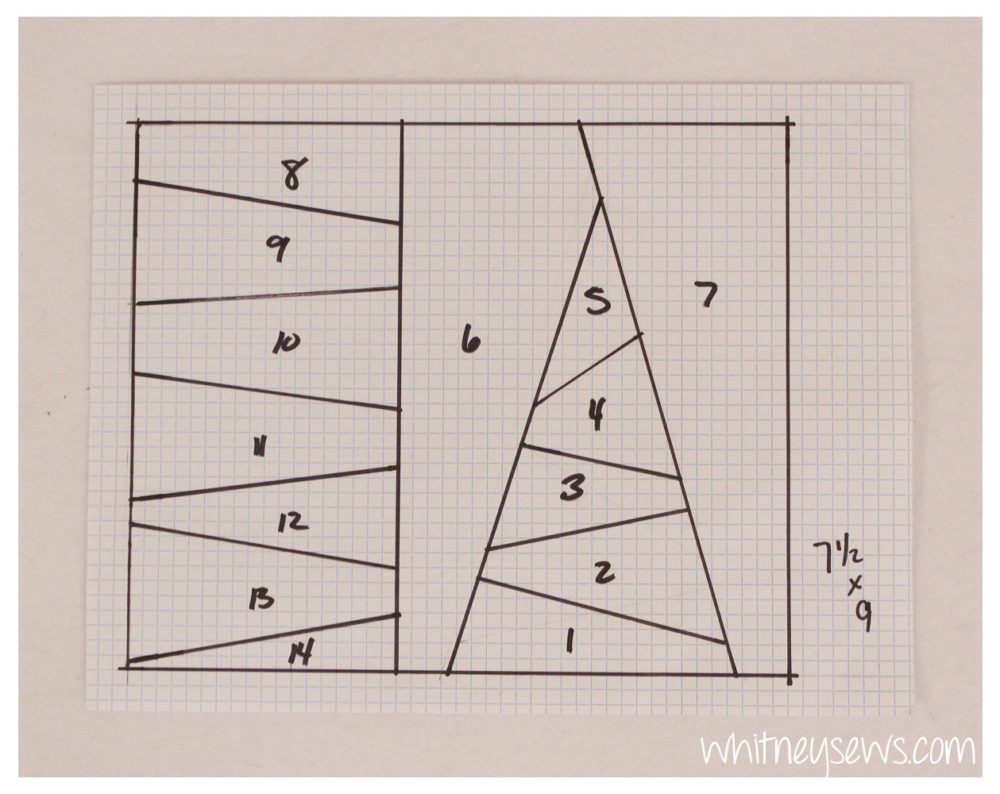
If you want to try something new you can design your own pattern.  Remember that your pattern needs to be a mirror image of how you want the final piecing to look since the fabric is sewn onto the back side.

Once you have the design you are ready to start piecing.  Follow to step-by-step video tutorial to learn how to sew it all together.  Click HERE to watch!

A couple of years ago I shared a different paper pieced Christmas tree design that would also make a great mug rug.

Christmas Tree Paper Piecing Design from Whitney Sews

Click HERE to learn more about this design!

Paper piecing is one of my favorite quilting styles!  It allows you to create endless patchwork designs without all the precise cutting and measuring.  I have a playlist FULL of other paper piecing videos, including one with tips for designing your own paper piecing patterns.  You can find that playlist HERE!

If you’re interested in other mug rug projects you can find my previous mug rug tutorial HERE!

Let me know in the comments if you want to see more mug rug tutorials on my channel.  Also don’t forget to share pics of your projects on your favorite social media site with #WhitneySews

Even though this was the final Holiday How to I will still be back next week with another great tutorial!  So I will see you back here next Wednesday and until then, Happy Sewing!

-Whitney-
Hot Glue Christmas Ornaments – Holiday How to

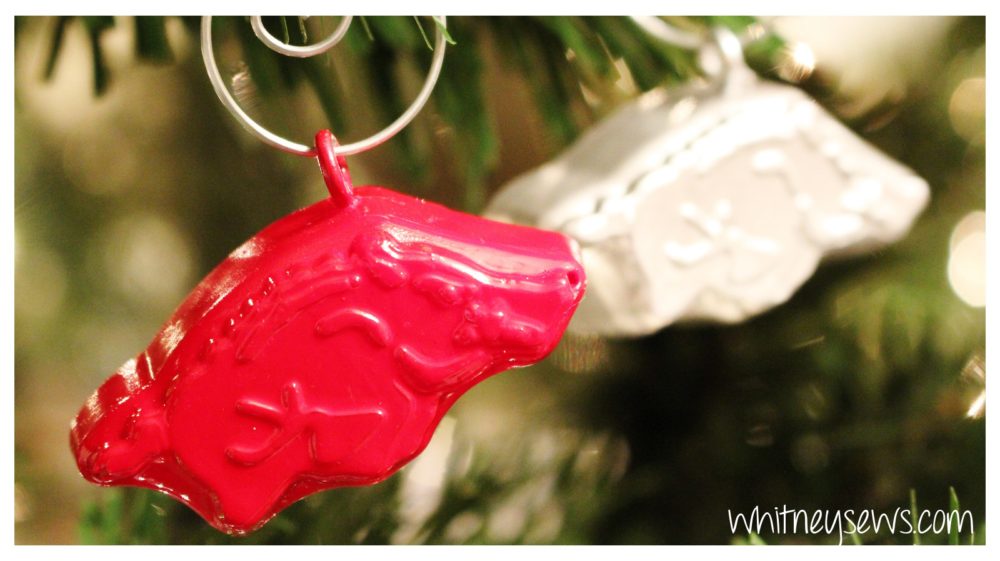
DIY Christmas ornaments made from hot glue and candy molds! Endless possibilities!

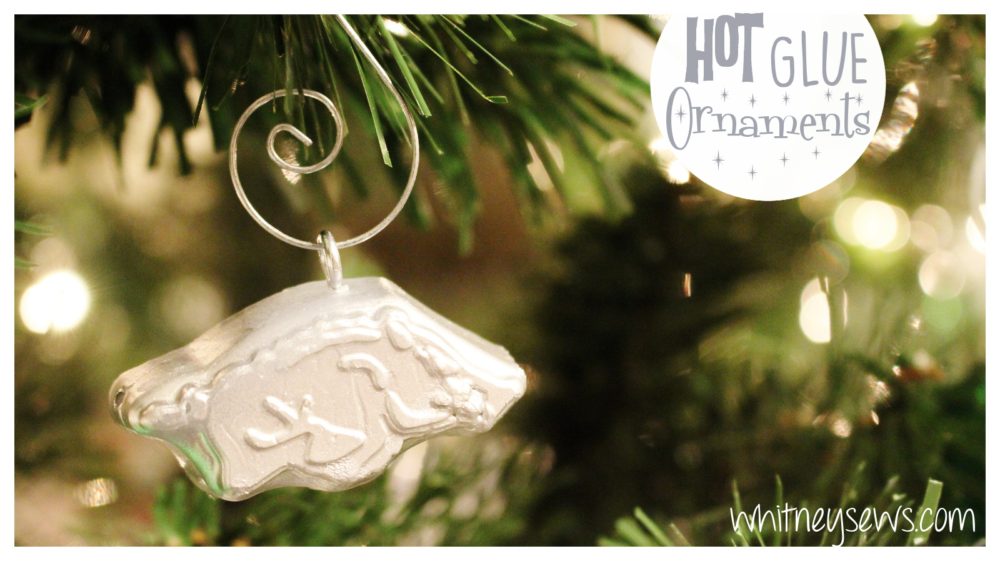
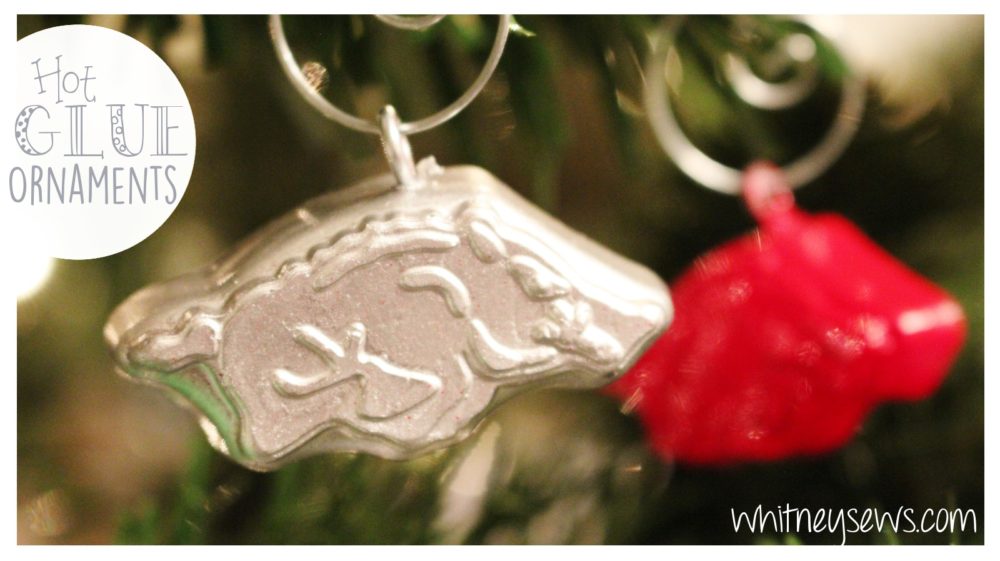
Ever wonder what happens when you squeeze hot glue into candy molds?!? You get some really neat looking Christmas ornaments (or wreath baubles, jewelry charms, etc)!

I found some Arkansas Razorback candy molds that I had to get since my dad is a huge Razorbacks fan.  He even teaches all the grandkids to whoo pig 🙂

I had the molds sitting around for a few months then one day an idea popped into my head.  What would happen if I used hot glue to fill the molds…would it turn out cool or be a disaster??

I did a test run of two ornaments, one with cooking spray and one without.  The one using cooking spray came out perfectly and the other didn’t come out at all.

The hot glue captured all the details from the mold and looked awesome.  It was a little hard to see the details though when it was just the glue. So I added some spray paint to finish them off and they look amazing!  If you have colored glue sticks you could give those a try and skip the spray painting.

DIY Christmas ornaments made from hot glue and candy molds! Endless possibilities!

You can find the how to with all the details and step-by-step instructions HERE!

Now that I know how fun and easy these are to make I’m going to keep an eye out at thrift stores for interesting molds.  The same technique can be used to make keychain charms, jewelry, pretend gems for dress up, and more.

Interested in the supplies I used?  Here are links to exact ones I used.

Razorback Mold – http://amzn.to/2h2ao8t
Glue Gun – http://amzn.to/2g6Wi3B
Glue Sticks – http://amzn.to/2gh03XE
Eye Pins – http://amzn.to/2gNmX9P

DIY Christmas ornaments made from hot glue and candy molds! Endless possibilities!

What shape molds would you like to make hot glue ornaments from??  Let me know in the comments below.

Next week I’ll be back with my last Holiday How to for the year!  Make sure you’ve hit that subscribe button so you don’t miss out on that post!

Until next time, Happy Sewing!

-Whitney-

Handmade Holiday Gift Guide

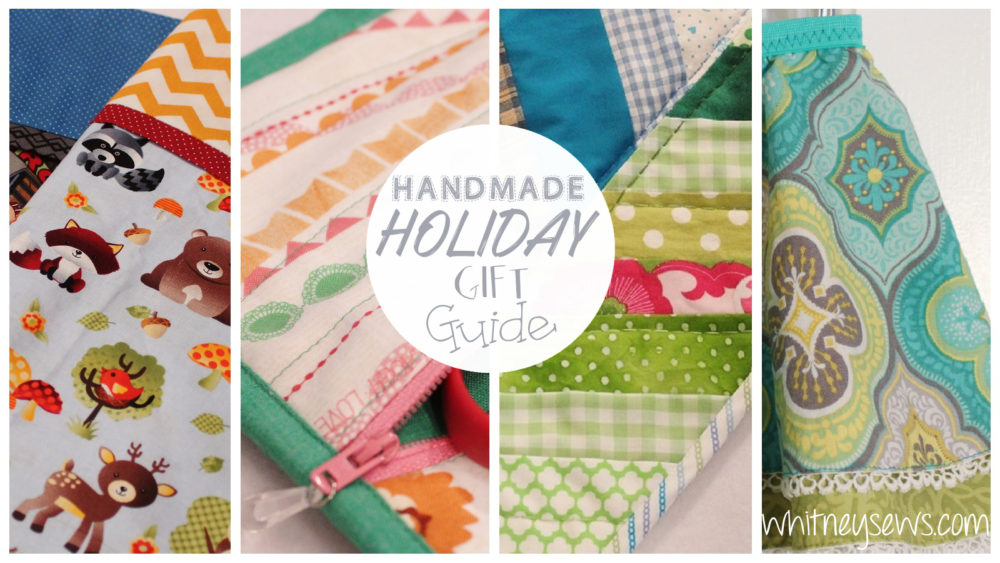
Handmade Holiday Gift Guide full of ideas and how tos from Whitney Sews


It’s time again for a new Handmade Holiday Gift Guide!  I love doing this videos where I recommend handmade items that would make great gifts for the upcoming holidays.

You can find the video full of all the handmade ideas HERE!

This year’s ideas are mostly geared toward the females, but don’t worry, I have a playlist full of HHGGs from previous years!  You can find that playlist HERE!

I hope this has given you some great ideas for gifts to make for the special people in your life!  You can also follow me on Pinterest if you want even more great ideas!  You can find me HERE!

I would love to know what you all are making this year (both gifts and decor) so feel free to let me know in the comments.  Until next time, Happy Sewing!

-Whitney-

DIY Snowman Mini Quilt – Holiday How to

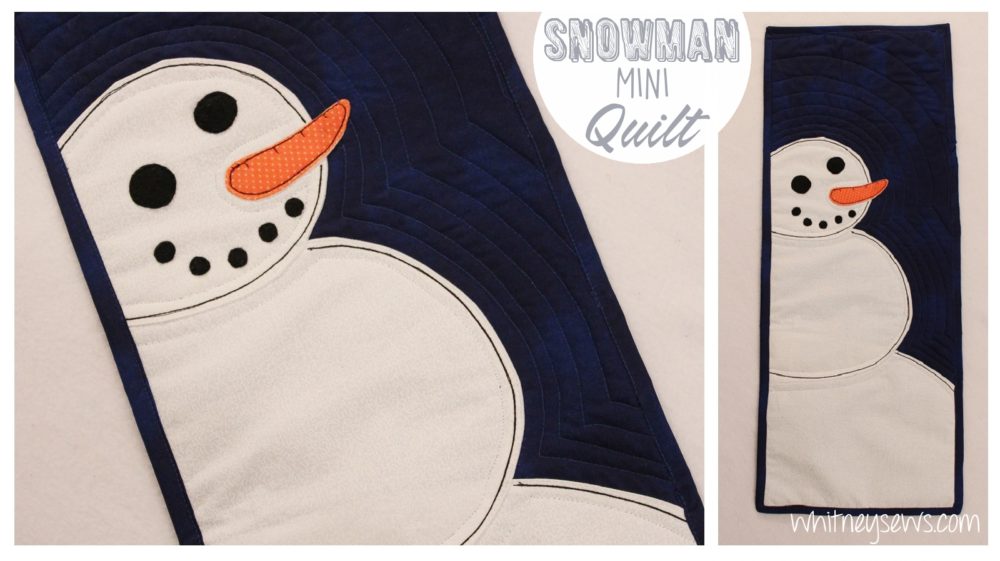
DIY Snowman Mini Quilt how to from Whitney Sews. Perfect edition to your Christmas decor!


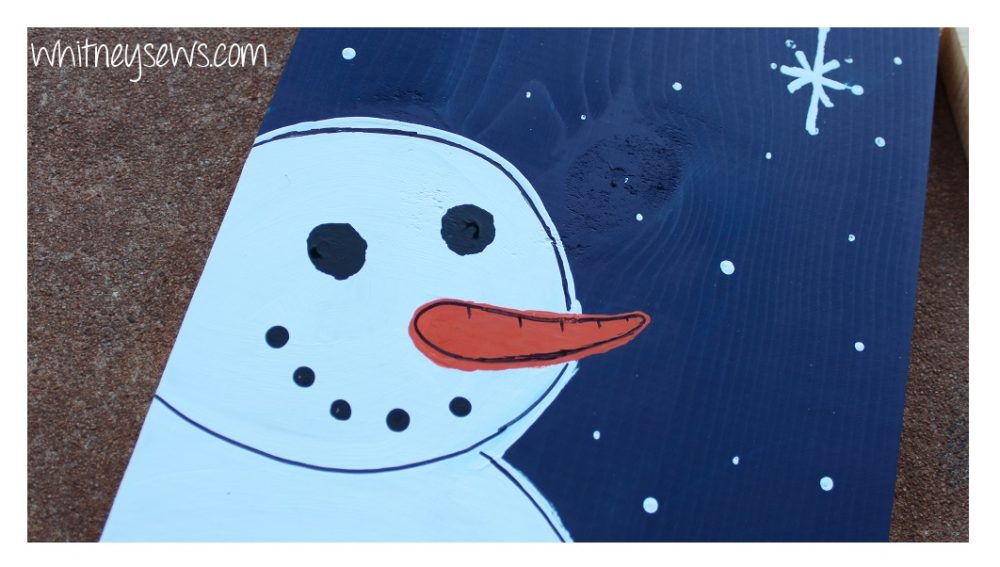
It’s time for another Holiday How to!  This week I show how to make a mini quilt to match the painting from last week.

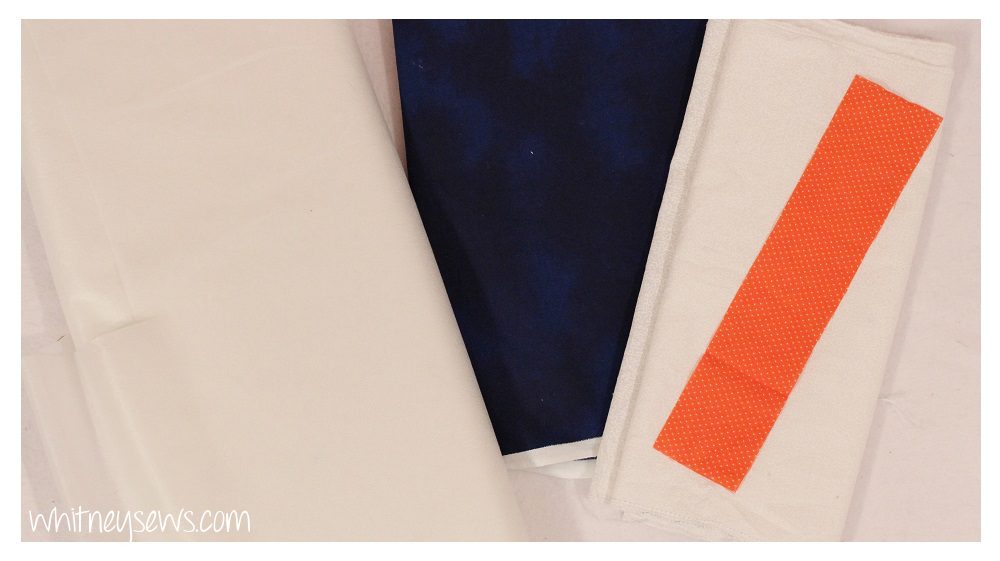
Snowman Mini Quilt Supplies

To make the quilt you need

  • 1/2 yard of blue cotton
  • 1/3 yard of tone on tone white cotton
  • 1/3 yard of cotton for backing
  • Small piece of orange cotton
  • 2 yards of light to medium weight fusible interfacing
  • Black felt or buttons for the eyes and mouth
  • Spray basting – http://amzn.to/29JmFex
  • Batting – http://amzn.to/29erX4u
  • Walking foot – http://amzn.to/2fIN65l


Once you have your supplies you are ready to get started!  Click HERE to see the full how to!

Small quilted projects like this are perfect for practicing a variety of skills!  If you want to try some other quilted projects you can check them all out in my playlist HERE!

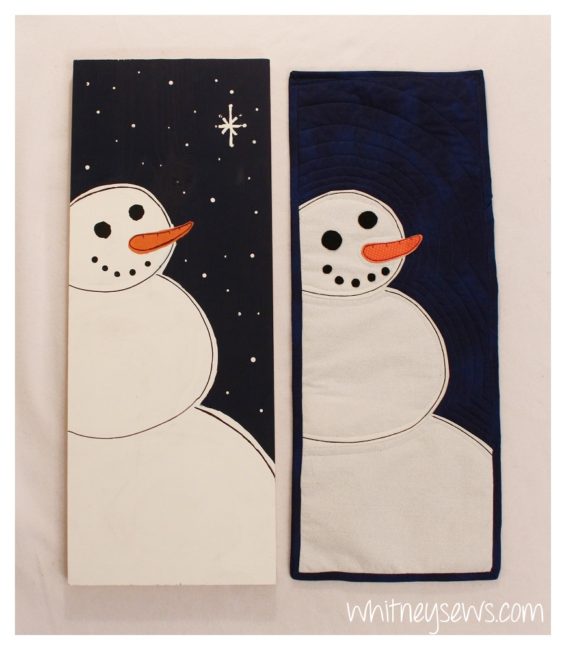
As I mentioned earlier, this mini quilt was completely inspired by my snowman painting I shared last week.  It was a fun challenge to see how similar I could make them!

Matching Snowman Painting and Mini Quilt with how tos by Whitney Sews

You can find the snowman painting how to HERE!

There are more Holiday How tos and quilting projects coming, so make sure to hit that subscribe button on youTube.  Next week will be a unique Christmas ornament idea so come back for that. Until then, Happy Sewing!

-Whitney-


DIY Snowman Painting – Holiday How To

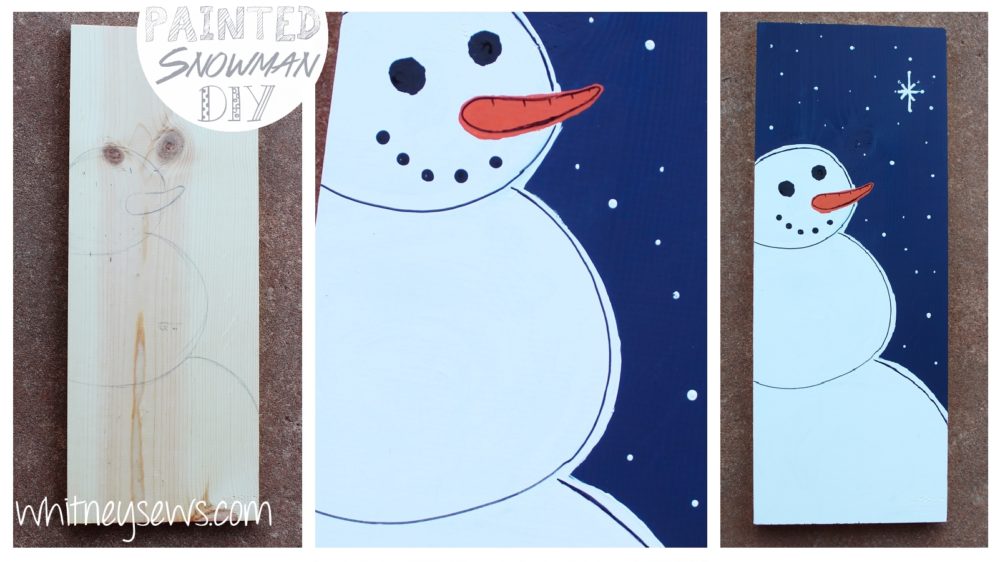
DIY Snowman Painting how to from Whitney Sews. Perfect edition to your Christmas decor!

It’s that time of year again!  The time for Christmas and Winter DIYs!  I am so excited about everything I have planned for the next few weeks!  You actually get TWO awesome Holiday How tos this week (more on that below)!

To kick off the holiday how tos I show how to make a simple but adorable snowman painting.

Snowman Painting - Holiday How to from Whitney Sews

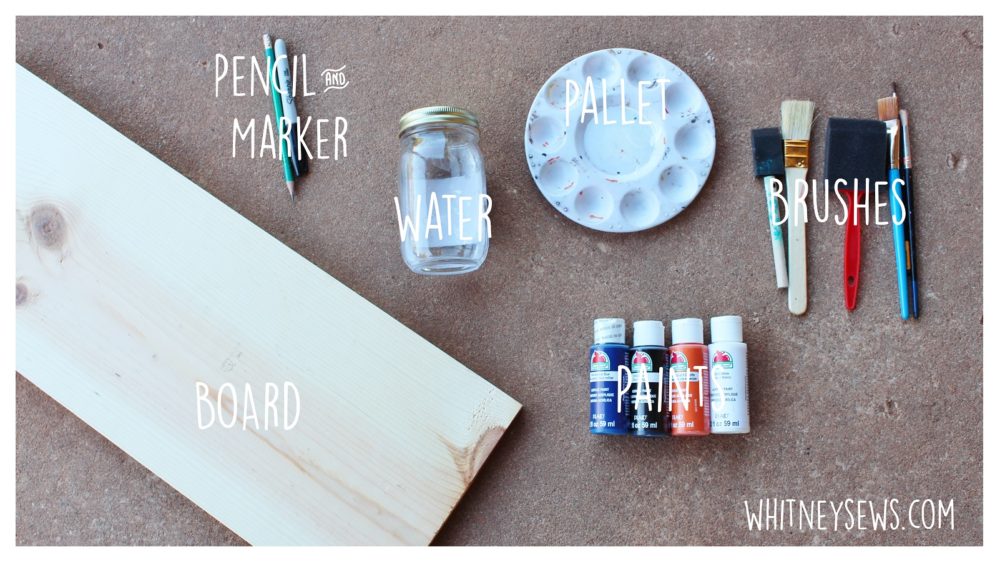
You can use any piece of scrap lumber you can find, an old wooden cutting board, a deconstructed pallet, a canvas, or whatever you want .  Once you have picked what your snowman will be on, gather up a few basic painting supplies and you’re ready to start.Snowman Painting Supplies

Then watch the easy to follow painting tutorial and start painting your snowman.  Click HERE to find the how to!

As I mentioned earlier, you get two how tos this week!  That’s because I teamed up with Arianna Pflederer for a Christmas DIY collab! Arianna is a mom with two daughters who are the same ages as my two girls (22 months and 7 months)!  She shares her perspective about being a mom and wife as well as some DIYs on her youTube channel.

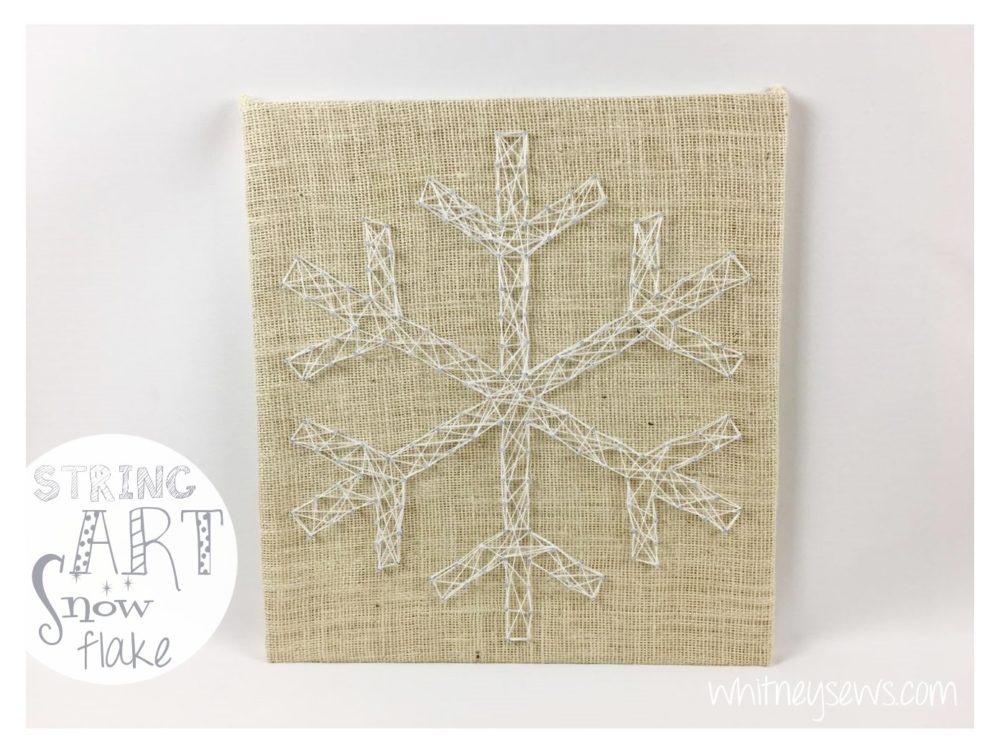
Snowflake string art - Holiday how to

Arianna made a beautiful snowflake string art piece for our collab!  I know you’ll want to check out her video to learn how to make it. You can find that video HERE!

I hope you enjoyed both of these holiday decor ideas!  Next week I’ll be showing how to create a mini quilt identical to my snowman painting (or yours if you paint your own)!  So make sure to subscribe and come back for that.

Until then, Happy Sewing!

-Whitney-
Happy Birthday Mickey Mouse!

Steamboat Willie Mickey Mouse (1928)

I happen to notice last week that my Mickey Mouse calendar had today marked as Mickey Mouse’s birthday.  So I looked it up and sure enough, this day in 1928 Mickey made his first appearance on the big screen as Steamboat Willie.

Since then he has appeared in 21 short films, 10 full length films, and 5 television series (with one more coming next year).

I don’t think you can find a single person in the U.S. who doesn’t at least know who Mickey is.  My not-quite two year old knows him (even though we don’t have the Disney channel or cable).

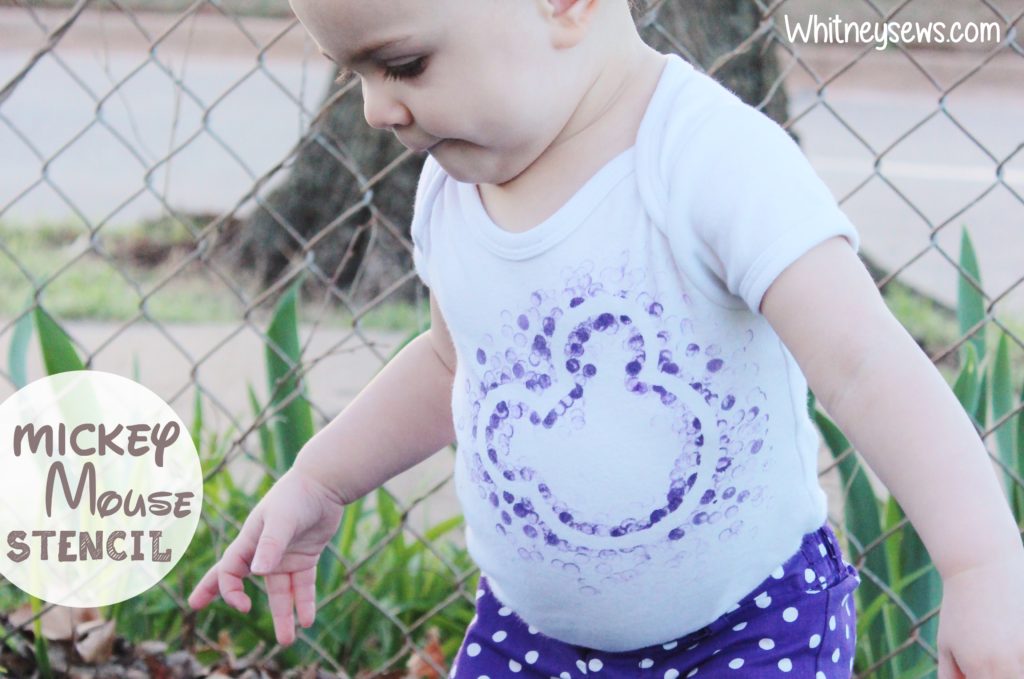
DIY-Disney-Mickey-Stencil-Whitney-Sews

In honor of Mickey I wanted to share my Mickey Stencil How to.  It’s a quick and easy painting project (that takes zero painting skills!) that is a great way to show Mickey some birthday love!

You can find the video tutorial HERE!

Interested in seeing my huge Disney Store Haul from earlier this year?  Check that video out HERE!

I hope Mickey has a wonderful 88th birthday and I hope you have a great weekend!

-Whitney-

Mickey photo source.

Recover a Padded Chair | How to

How to Easily Recover a Padded Folding Chair - video tutorial from Whitney Sews


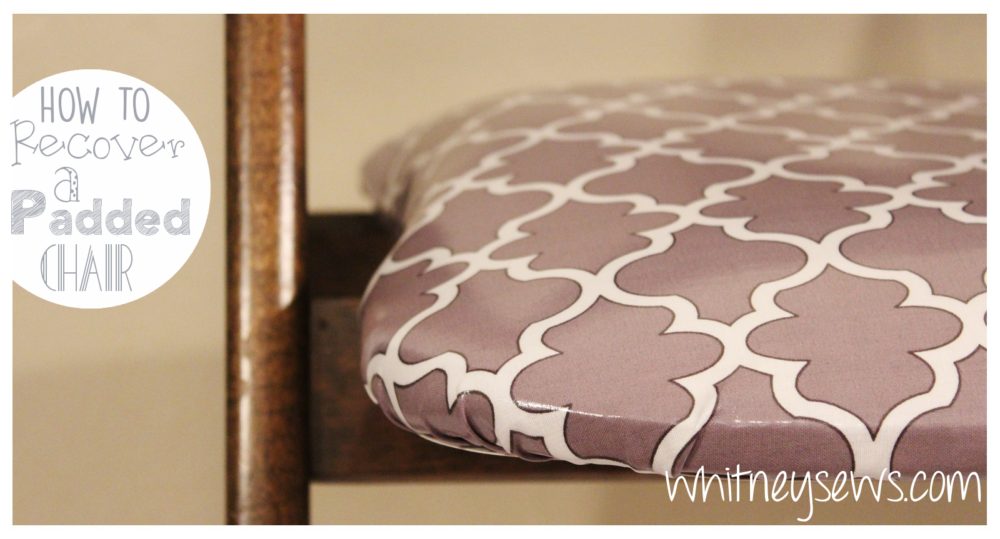
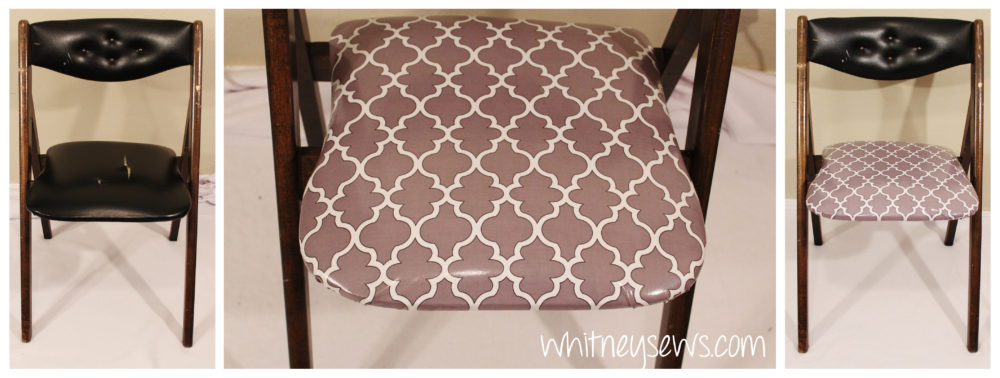
A few years ago I picked up a great sewing table and padded chair at a garage sale.  I have used both countless times since then and the vinyl on the chair started to split open.  After several months of intending to recover the seat I fiiiiinally got around to it…and it turned out perfect!

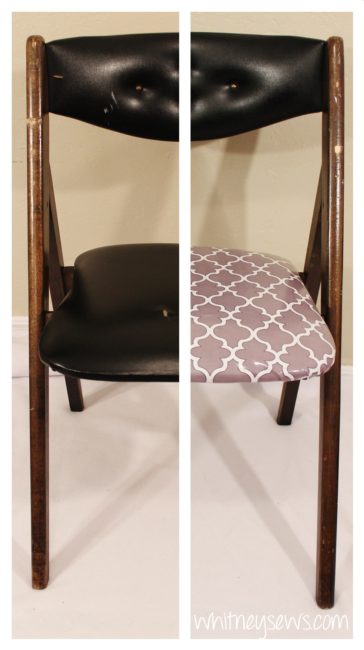
Chair redo before and after by Whitney Sews

I used a quatrefoil printed laminated cotton that I found on clearance at Hobby Lobby.  It’s durable and can be wiped clean when needed.

The recovering process is really simple.  I only recovered the seat itself and left the back rest as is since it was still in good shape.

Padded chair makeover before and after.  Full how to from Whitney Sews.

Click HERE to watch the full step-by-step tutorial!

If you have dining room chairs in need of a makeover check out the video where I show how to do that.  You can find that tutorial HERE!

If you haven’t already, make sure to subscribe to this blog by entering your email address in the box in the upper right side of the screen.

Next Wednesday I have a fun painting DIY that will be the first of my Christmas/Holiday DIYs!  I have several planned for this year that I hope you all will like!  Until next time, happy sewing!

-Whitney-


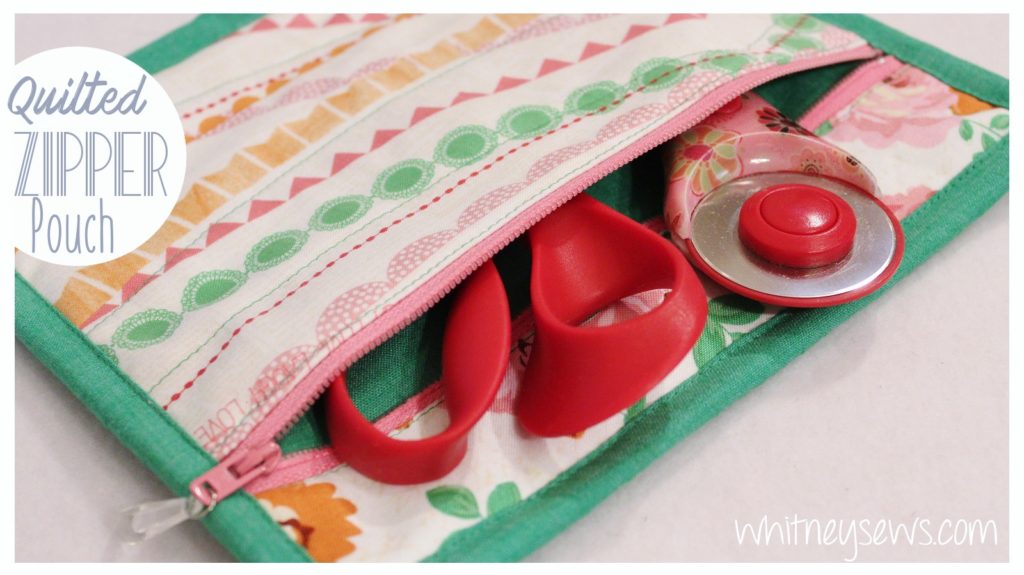
Quilted Zipper Pouch How to


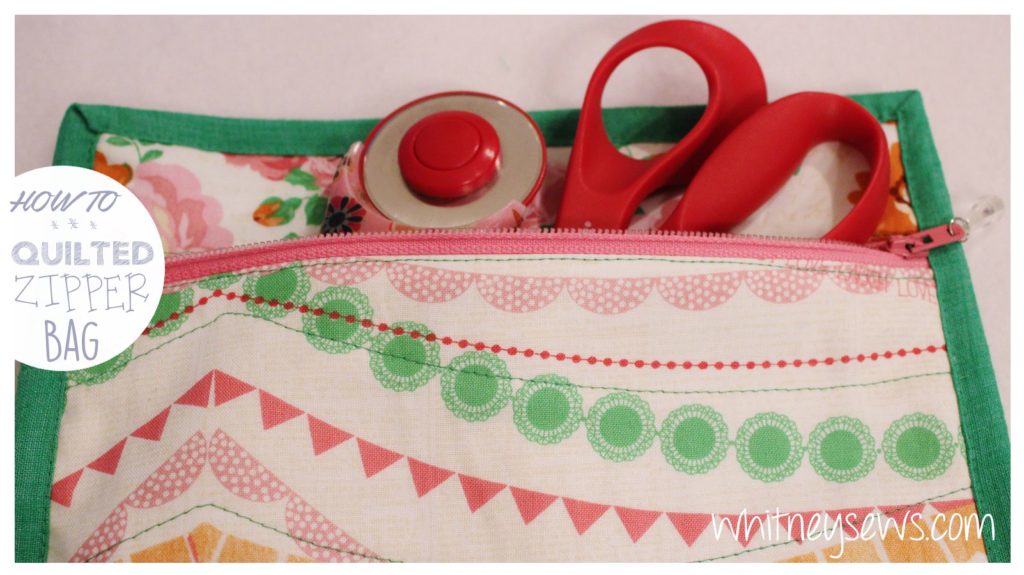
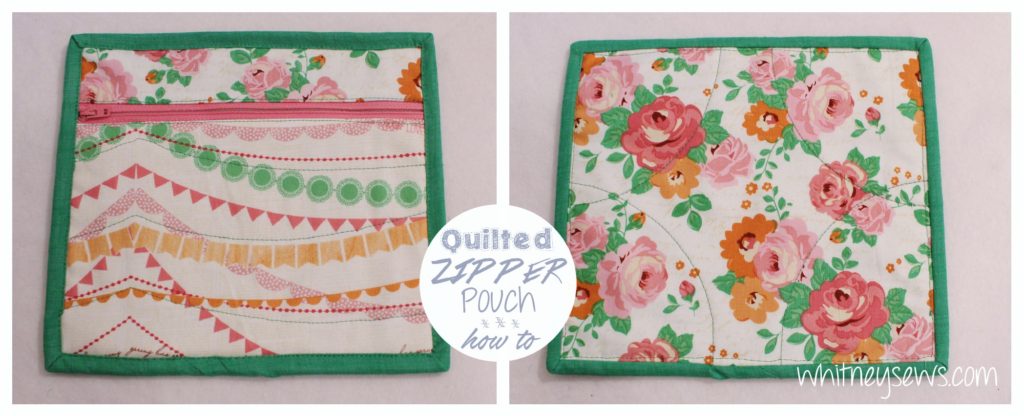
Sometimes I buy fabrics that I love, but have no idea what I’m going to do with them. Lately I have been trying my best to use things that have been sitting in my sewing room too long (more on that goal later). So for this bag I used two beautiful prints I was saving and it turned out lovely and perfect!

I designed this bag to be quilted and bound like an actual quilt, but has all the functionality of a regular zipper bag. So it is a great project if you want to practice some basic quilting skills.

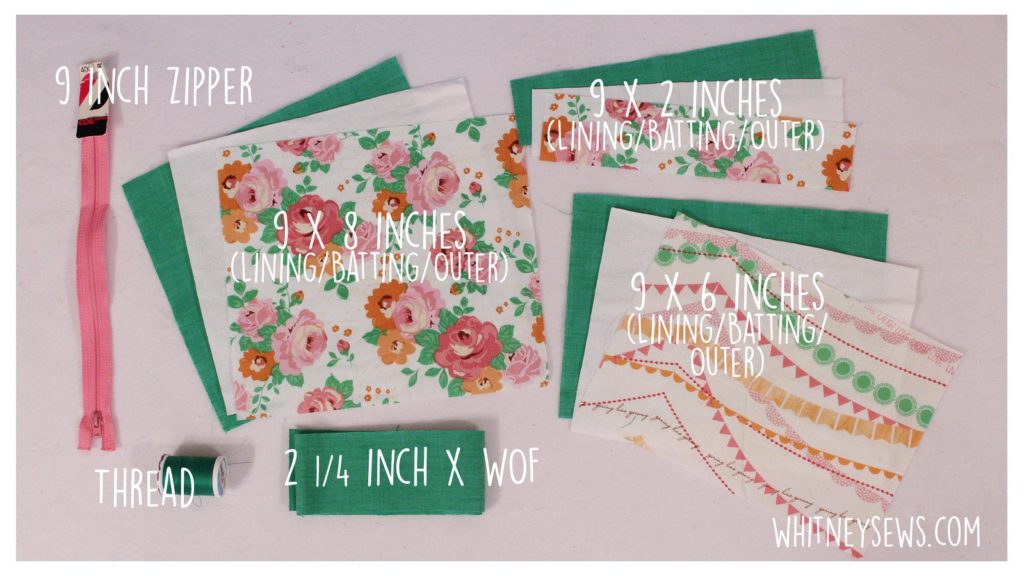
Piece Measurements:
Bag Back – Outer | Lining | Batting
9 x 8 inches
Bag Front Upper – Outer | Lining | Batting
9 x 2 inches
Bag Front Lower – Outer | Lining | Batting
9 x 6 inches
Binding 
2 1/4 inches x Width of Fabric

Other Supplies:
9 inch zipper & coordinating thread

I chose to use white flannel as my batting, mostly because I have tons of it and it’s easy to work with but use whatever you have available. Once your pieces are all cut out follow my step-by-step video tutorial to but your bag together.

Click HERE to find the full how to!

If you want to learn how to make some other bags check out my playlist full of easy bag projects. You can find those videos HERE!

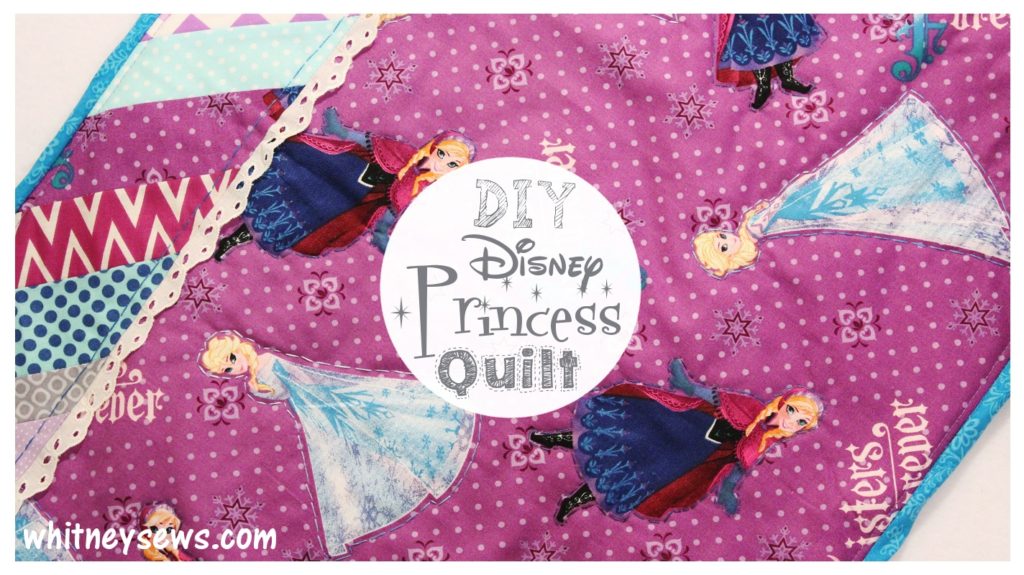
DIY Disney Princess Mini Quilt FREE How to from Whitney Sews

Or if you’re interested in my other quilting tutorials you can find that playlist HERE!

Hit that subscribe button so you don’t miss out on any of my youTube how tos.

I hope you all have a lovely week and until next Wednesday, Happy Sewing!

-Whitney-
Midweek Sneak Peek – Nov 2

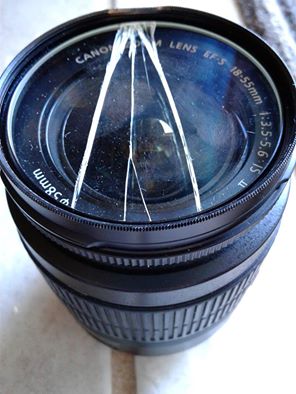
Sometimes things don’t go as planned…that seems to be the the story of my life this last week and a half!  It started with a busted camera lens and finished up with Skyler coming down with a terrible stomach bug and dehydration.

Busted camera filter and jammed lens

Because of all that I need to take a week off from my regularly scheduled tutorials.  Thankfully Skyler is doing better and a lens can be replaced, so life (and Whitney Sews) will move on after I’ve had my break.  But I didn’t want to leave you all completely hanging without a little update, so HERE it is!

You can find out a little more of what I’ve been up to and see what next week’s tutorial will be.  Click HERE to see it!

I’m so excited about next week’s project, so I hope it’s worth the wait for you all!

Oh, back to the subject of the busted camera lens.  I will be needing to replace it, and there’s a way you all can help without costing you anything!  I am an Amazon Affiliate, so if you use my custom link to purchase ANYTHING on Amazon it helps support Whitney Sews.  I earn a small percentage for each purchase made using the custom link and those funds help me purchase supplies (in this case camera equipment) that then benefits you in the form of more and better how tos!  It doesn’t cost you anything at all, but is a huge help to me.  I’m sure a lot of you will be ordering presents and supplies online for the holidays so please consider using my custom link for any Amazon purchases!  Thank you so much for everyone who has already used it!

Here is the actual link – https://www.amazon.com/?ie=UTF8&tag=whitsews-20 

Amazon

Ok. I think that is it for this week.  I’m trying to get my sewing room more organized, so I’m off to work on that then back to filming more videos for you all!  Until next week, Happy Sewing!

-Whitney-

Raccoon Costume – DIY Inspiration

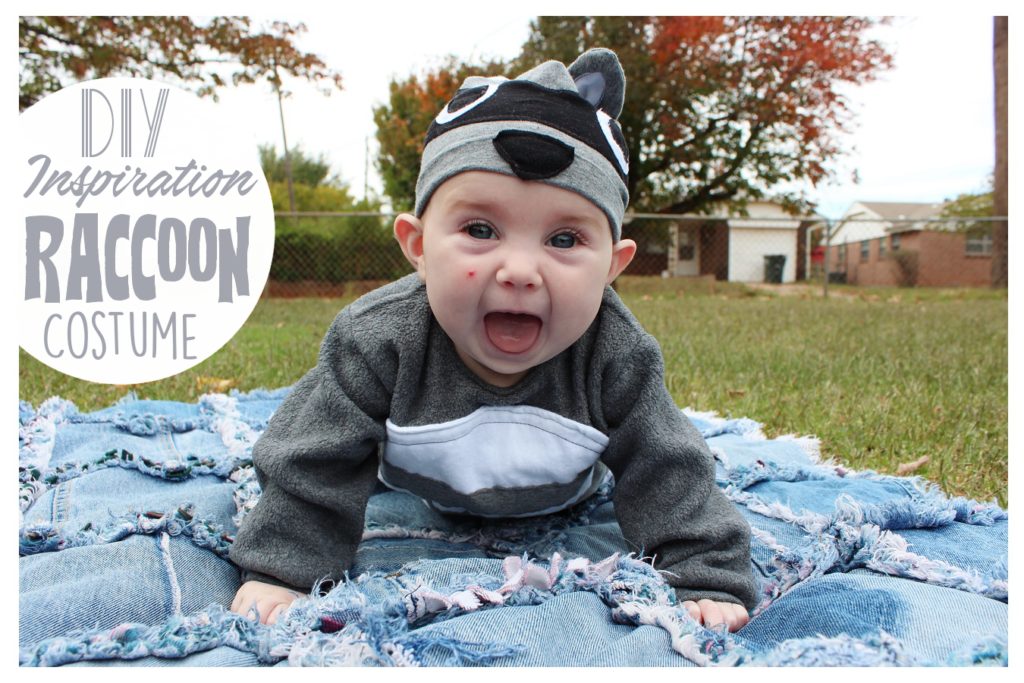
Raccoon Halloween Costume DIY Inspiration from Whitney Sews


This year for Halloween we wanted to make use of the fox costume I made for Peyton last year (it finally fits) so we decided to go for a woodland theme!  Skyler is dressing as a raccoon, Jeremiah is a lumberjack, and I was going to be a gnome, but ran out of time and am wearing my Totoro costume instead.

I used a thrifted one piece outfit for the base of Skyler’s costume then added the tummy patch on and made a hat.  The hat turned out smaller than it was supposed to because I added so much on it, but it’s still cute!

Check out the video HERE to see more pics of the costume and Skyler!

If you missed any of my Halloween videos for this year, you can find them all HERE!

Next week we are getting back to regular sewing videos and I have a quilted zipper pouch how to that I know you will LOVE!  Until then, happy sewing!

-Whitney-