Hello everyone! Today I’m showinig how I made an easy quilted drawstring bag. A little while back my mom gifted me with a nice stitching lamp to use while I’m cross stitching. I wanted to make a bag to store the lamp in to keep it safe and protected, so that is what I’m sharing today.
I took a few measurements and sketched out a quick design then went to my fabric stash to see what I had to use. I found some leftover pieces from a jelly roll I had been gifted (a jelly roll is precut fabrics that are 2.5 inches by the width of the fabric). I sewed the pieces together until they were a bit larger than I needed for the bag. Anytime I’m quilting something I start a little bigger and trim it down later after it has been quilted.
This project was really about using what I had on hand. Instead of a traditional quilt batting, I used fusible fleece. It’s what I had on hand and it worked just fine. I cut the fusible fleece and a lining fabric the same size as each outer piece, about 20 x 14 inches. I ironed the fusible fleece to the back side of the outer fabric then got ready for quilting. After quilting I used a couple of rulers to trim the pieces down to 17 x 12 inches.
You can find all my favorite sewing supplies HERE on Amazon!
Affiliate link helps support Whitney sews
My bag will finish 16.5 x 11.5 inches (not including the casings). If you want to make your bag in a different size you can do so by deciding the size you want/need (don’t forget to add some ease if you are making it to fit a certain item) then adding a half inch to the height and width for seam allowances. Then resize the casings to fit your bag.
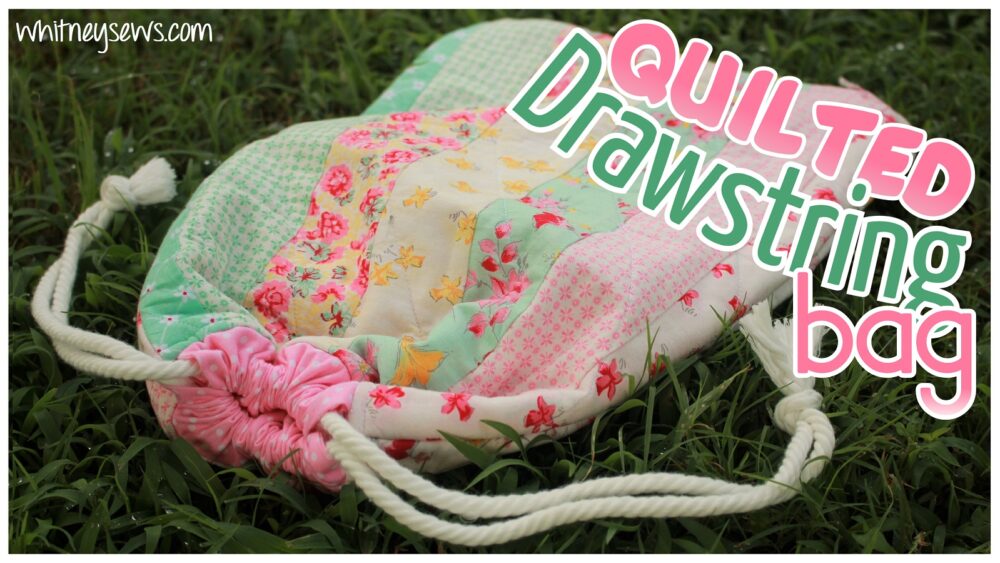
Speaking of the casings, I cut 4 pieces 11.5 x 3 inches. The trick I’ve learned over the years is to cut my casing pieces the same width as the bag will finish. Then after the casing pieces are sewn together they will be a half inch smaller. This leaves a little gap on each side of the casings at the top of the bag. It’s just enough room to feed the drawstrings in and look really nice.

You can also see in the photo that I have bound seam allowances. When a project is quilted the outer and lining layers are treated as one unit, instead of having a separate lining that can be inserted to hide seam allowances. So the seam allowances need to be treated differently. I wanted to bind mine so they look nice and the bag will last longer. I cut two pieces from my lining fabric measuring 1.5 inches by the width of the fabric. I was a little unsure about using pieces cut on the straight of grain instead of on the bias, but it actually worked out perfectly!
You can watch the step by step tutorial HERE to make your own quilted drawstring bag!
If you make a bag using this tutorial (or any of my tutorials!) I would love to see pics! Please share them with me on my Facebook page or tag me on Instagram!
Until next time, Happy Sewing!
Whitney