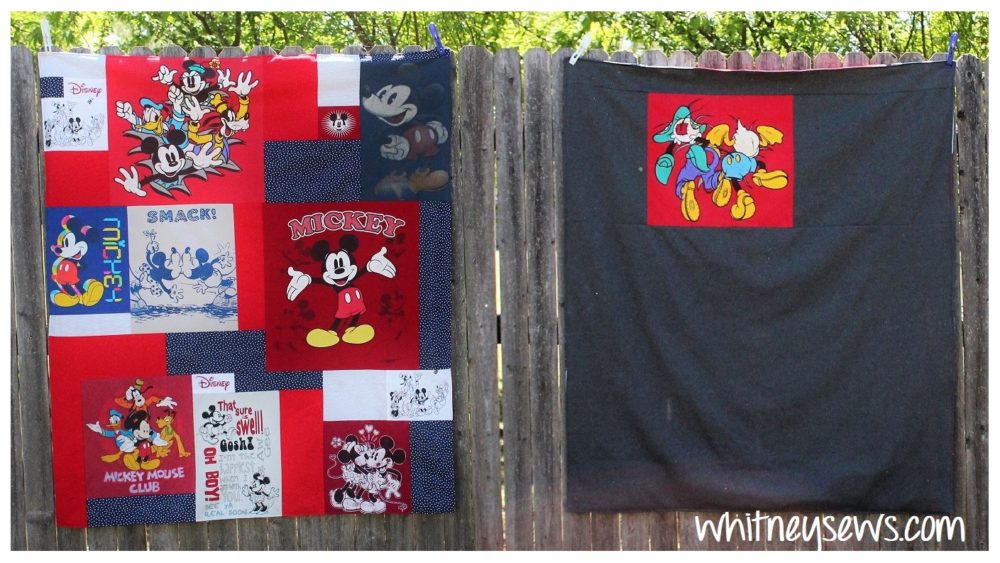
My youngest daughter just turned 3 years old and she LOVES Minnie Mouse! She requested a Minnie Mouse birthday party and I wanted to make something special for her gift. I had spent years collecting Mickey and Minnie Mouse shirts for other projects (that never happened) so I decided to finally put them to use in a t-shirt quilt.
I made a t-shirt quilt for my husband a couple of years ago and to be honest it took a LOT of math! I cut each shirt to a size that suited the design (instead of cutting them all to the same size EX – 12 inch squares) and I didn’t include any other material in the quilt top. You can find that t-shirt quilt tutorial HERE!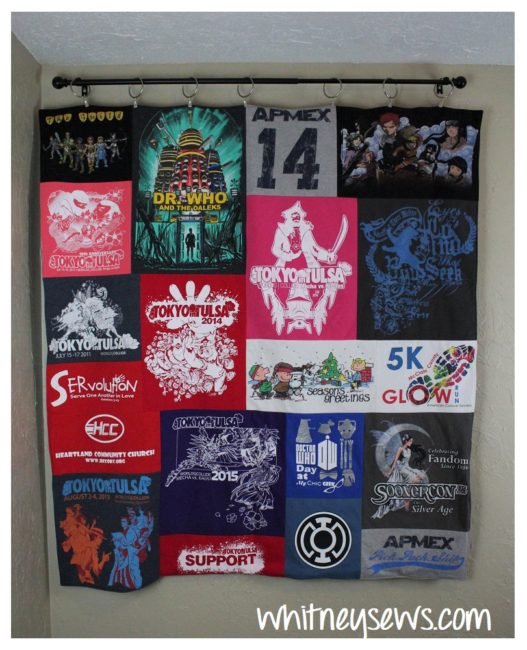
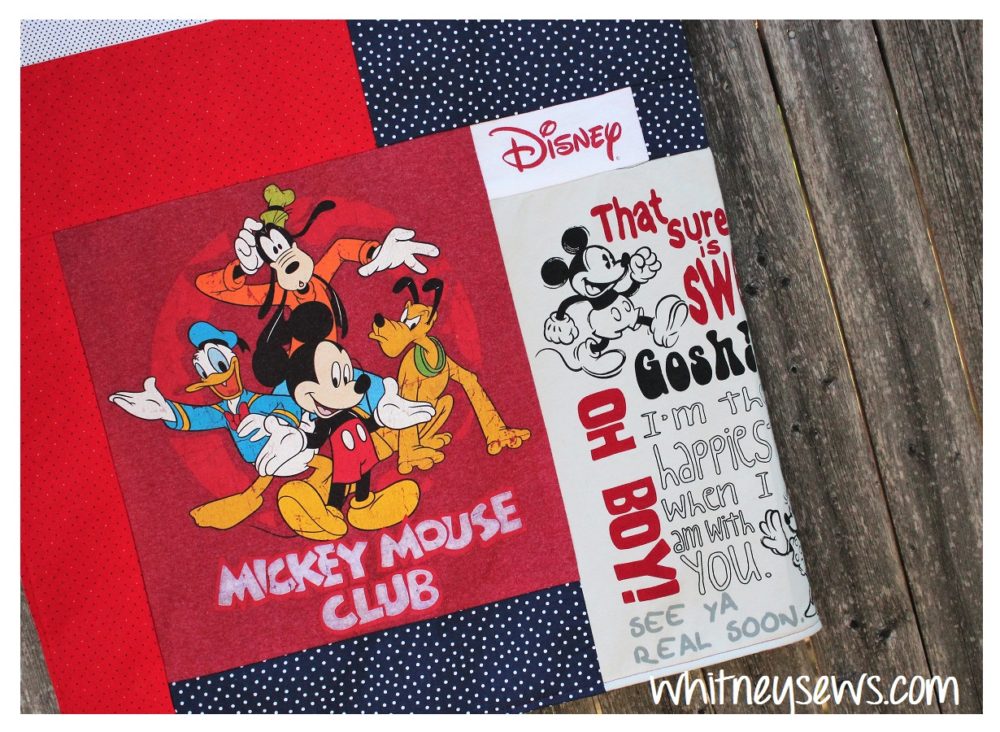
I happen to enjoy doing math sometimes, but I know not everyone does. So for the Minnie quilt I decided to try improve piecing. Improve piecing is where you add fabric to a project without it being precut or measured. It can be whatever shape and size you want. For my quilt I did have particular areas I wanted certain fabrics to fill, so I made sure each piece was larger than needed and cut down to fit after sewing.
I wasn’t sure if I would like this quilt as much since it doesn’t focus solely on the t-shirts, but I love it and so does my daughter! You can see the step by step tutorial HERE!
Which t-shirt quilt style do you prefer? The one that only uses t-shirts or the one with filler fabric mixed in with the shirts? I prefer the first for school/convention/sports shirts because it really shows off those milestones and memories. Whereas the second nicely displays large character graphics and allows the low volume filler fabrics to break it up a bit.
I hope you enjoyed the t-shirt quilt tutorial! I will be back next week with another new sewing tutorial and until then, happy sewing!
-Whitney-