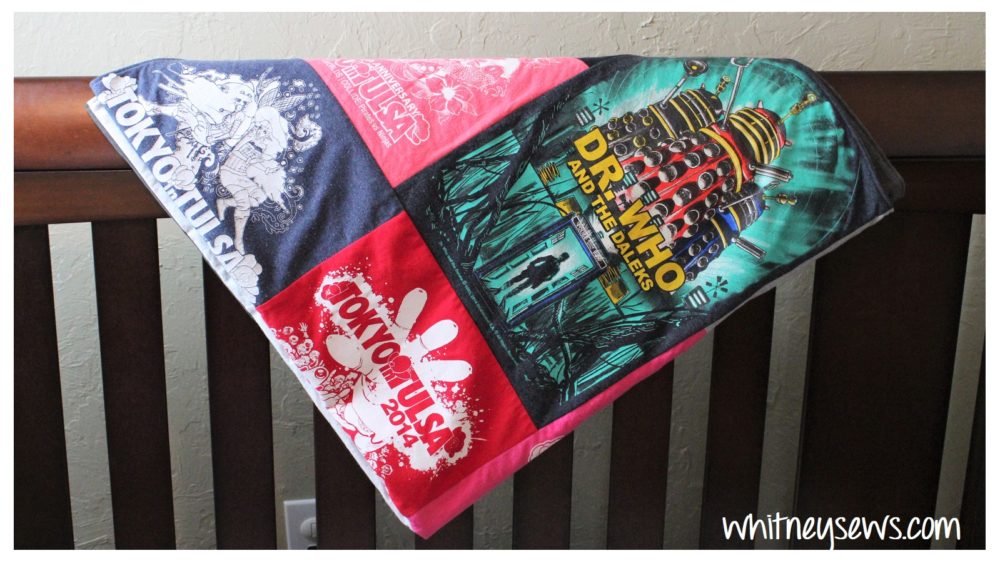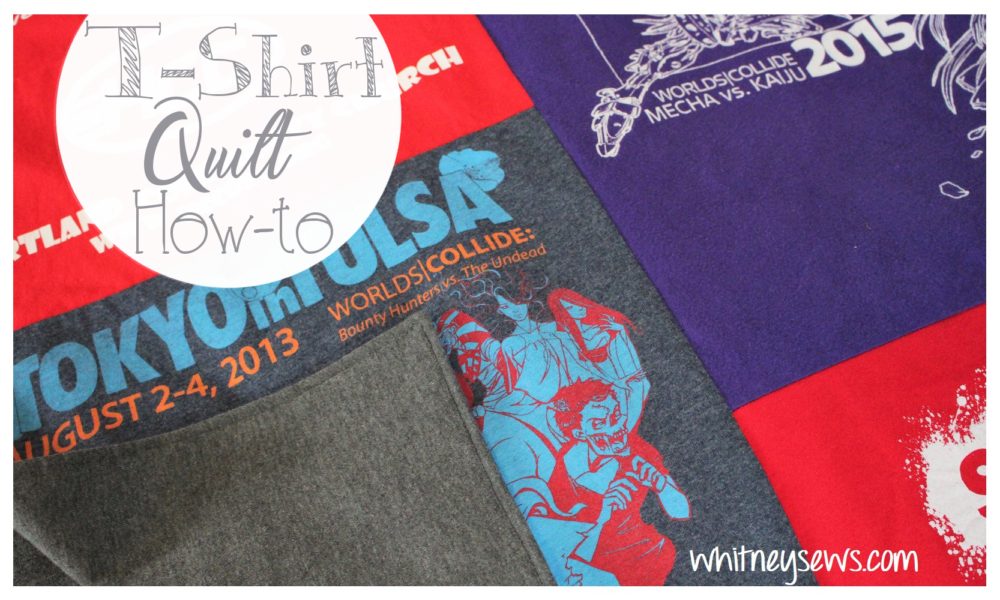

We all have that pile of t-shirts that are so special to us, but we no longer wear them. Today I’ll be showing how to transform those shirts into an amazing one of a kind quilt full of memories.
My husband had a pile of shirts, mostly from conventions he had worked at, that he wanted to make into a quilt. He never got the time to make it so I offered to take over the project.
Because the shirts are from all different places and events the graphics are all different sizes, so cutting the shirts to uniform sizes was not going to work. If your shirts have similar sized graphics/logos check out my tips down below!
I made some notes with the sizes I wanted each shirt to be cut down to allowing about 1 to 1.5 inches outside the graphic on each side. Then cut the shirts to a little larger than those measurements and cut a piece of fusible interfacing to the same size.
HERE is the interfacing I like to use!
Fuse them together from the back side. You do NOT want to place your iron on any screen prints because the heat will damage them! Once each piece has been fused use a couple of rulers and a rotary cutter to cut each block down to the correct size. At this point you can start improve piecing them together…but I’m not brave enough to do that…so I planned mine out on graph paper. If you improve piece (or plan ahead and your t-shirts just don’t all match up to make a rectangle shape you will need to add filler pieces. Filler is leftover t-shirt pieces that have been interfaced). I show my sketch in the video linked below.
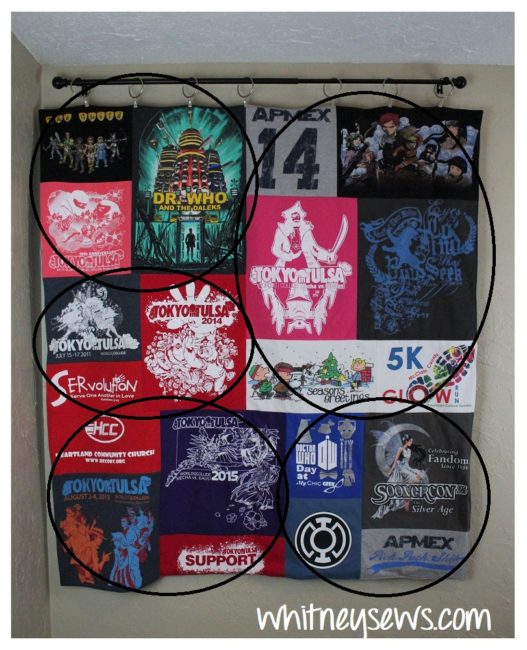
I planned my quilt out so it had 5 different rectangular units that all fit together to form the entire quilt top. It took a few tries to get all the numbers to line up and I had to adjust the pieces a half inch here and there to get them to all fit together right, but got it all to work out. Below is a photo with the units circled so you can see how they all fit together.
Each unit was pieced using a 1/4 inch seam allowance like a typical quilt and because the pieces have been interfaced they can be treated like regular fabric. After each unit is pieced, sew them all together to form the quilt top.
After the top is completed you can finish a t-shirt quilt in a few different ways. I chose to sew mine like a blanket with the backing and top right sides together, sew around the outer edge, turn through an opening and top stitch. We chose a sweatshirt type material for the backing, but you can interface the backs of the t-shirts, sew them together until it is larger than the quilt top and use that for the backing. Another option is adding a batting and backing, quilt and bind like a traditional quilt.
You can watch my full step-by-step T-shirt quilt tutorial HERE!
As I mentioned earlier, if your t-shirts are all similar you can make your quilt a little differently. Instead of needing to measure each shirt and cut to different sizes, you can decide on one size for them all. Trim the shirts a little bigger than you want the finished square to be and fuse the interfacing, as shown in the video, then trim to the final size. Then sew the pieces together to create rows. So if you have 20 shirts you can sew them into 5 rows with 4 shirts in each row. Then sew the rows together. My favorite way is to sew the quilt into two big pieces and lastly sew those together to have the entire quilt top.
This style of quilt is better for beginners because you aren’t having to do a lot of math and figuring, you simply just sew squares together in any order until you have a full row.
If you are more advanced you can add other fabrics and create designs, add sashing, borders, etc to make your t-shirt quilt even more unique.
I hope you found this tutorial helpful! Make sure to come back next Wednesday for another new tutorial. Until then, Happy Sewing!
-Whitney-

