It is that time of year again! Time for another Handmade Holiday Gift Guide! This is my 8th year sharing a gift guide full of ideas for projects you can make to gift this holiday season. Each year there is a whole new batch of ideas with a step by step tutorial already looked on my youTube channel.
This year’s ideas range from a gift idea to another sewer in your life (or yourself!), some eco friendly gifts and wrapping ideas, decor, and more!
You can find all the tutorials mentioned in the video HERE!
Aaannnnnndd If you’re still needing some more inspiration you can find all my previous years gift guides HERE.
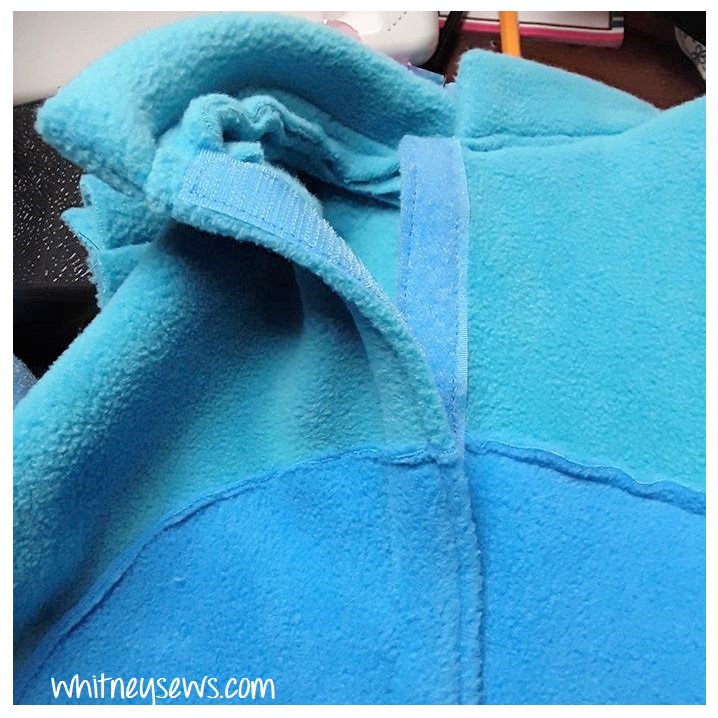
Phew, that was a lot of links and ideas! I would love to know what you are making this year for Christmas. Here’s a little “clue” as to what I’m working on for Skyler.
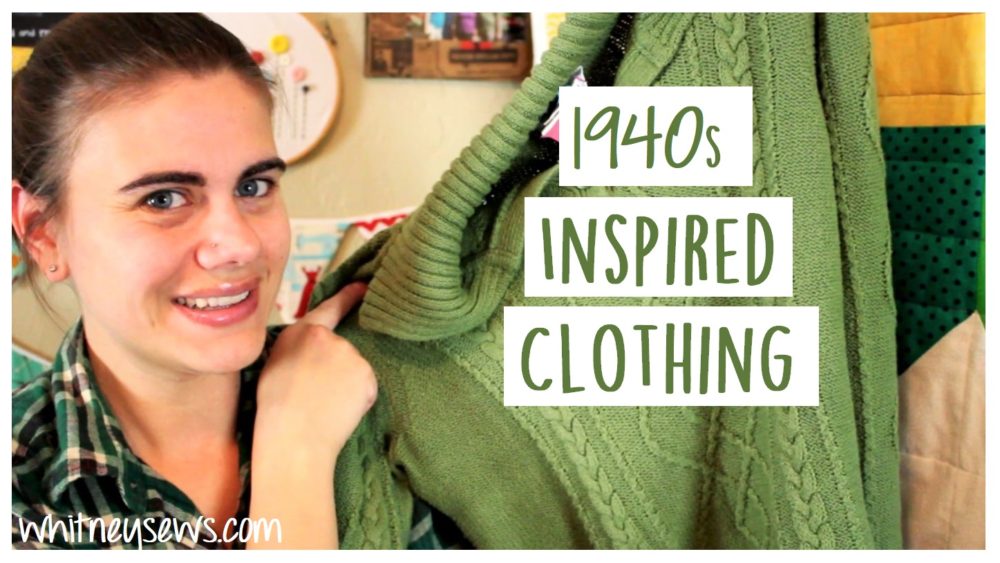
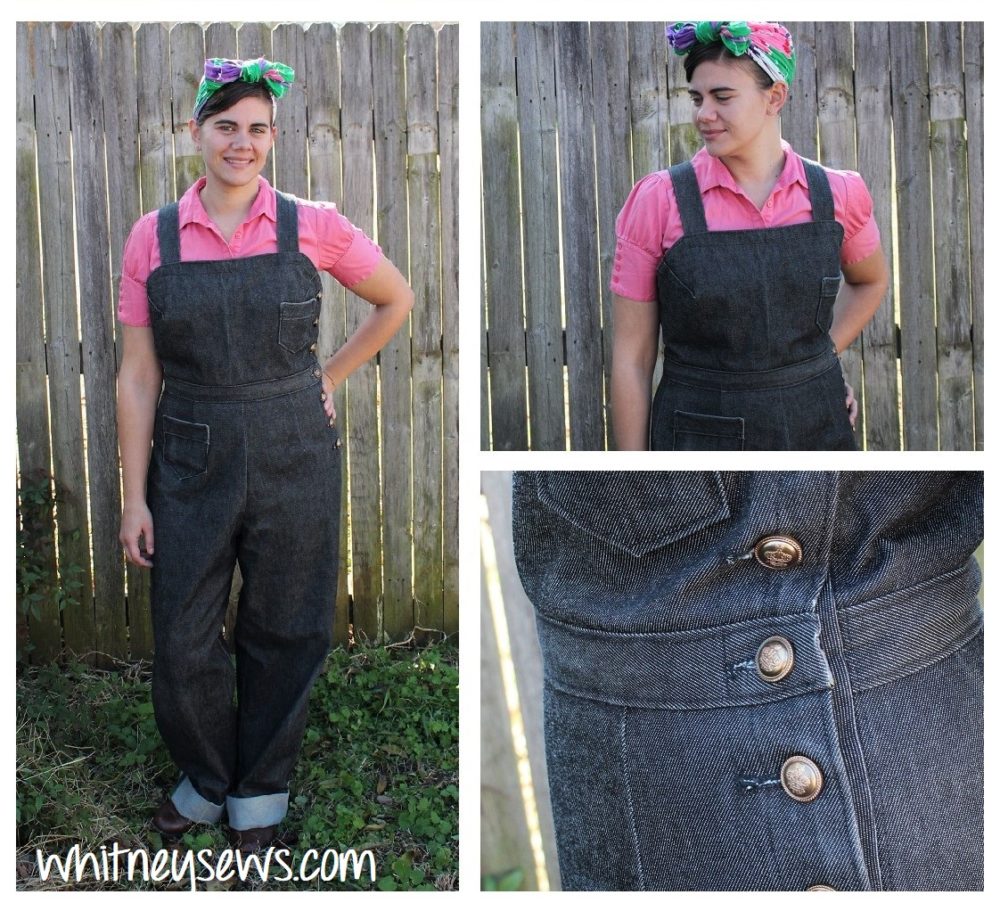
During Summer 2018 I decided I wanted to make a change to my style. I pretty much wore skinny jeans and t-shirts all the time, put zero effort into my hair, and just didn’t like how I looked or felt in my clothes. Then I started watching channels like Rachel Maksey and What Abi Makes and finding tons of people on Instagram who wear vintage/vintage inspired clothing on a daily basis. I kept thinking how amazing and confident they looked. I wanted to try vintage for myself and see if it helped me find myself and my style.
The first thing I did was make a trip to the thrift store. I looked for items that weren’t actually vintage, but could pass for ’40s when styled right. I also learned a couple of vintage hairstyles from a youTube video. Then I dove in and started trying out my “new” look. I LOVED it! I get compliments from random people, but most of all, I feel better about myself and how I look!
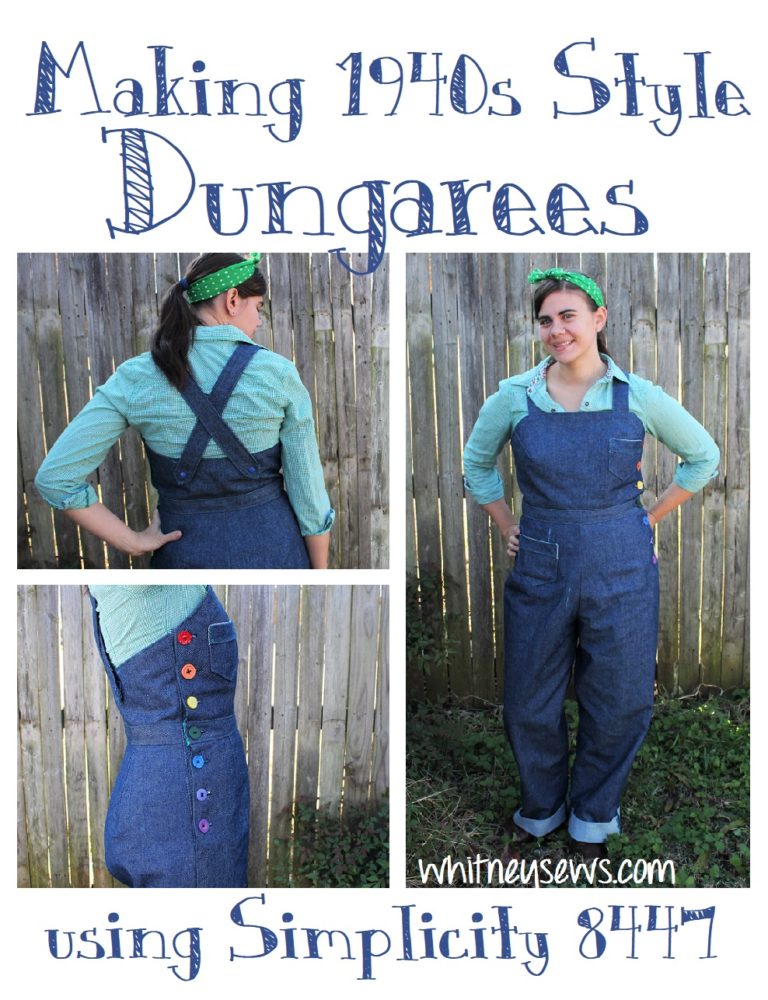
So I’m sure you’re wondering what that has to do with today…well last Winter I resorted to wearing my same old skinny jeans and t-shirts every day because I didn’t have anything else that worked for the cold weather. My plan last Fall was to make a pair of dungarees from Simplicity 8447, but I never found the time to actually get them made.
So fast forward to this year. I don’t want to go through another Winter without wearing the clothes I feel best in. Since I have slowed down from youTube I have had the time to tackle some of my personal projects – one of which is the dungarees from Simplicity 8447. I whipped up the first pair over the course of two days with 8-9 working hours. I LOVE them and wore them five days in a row!
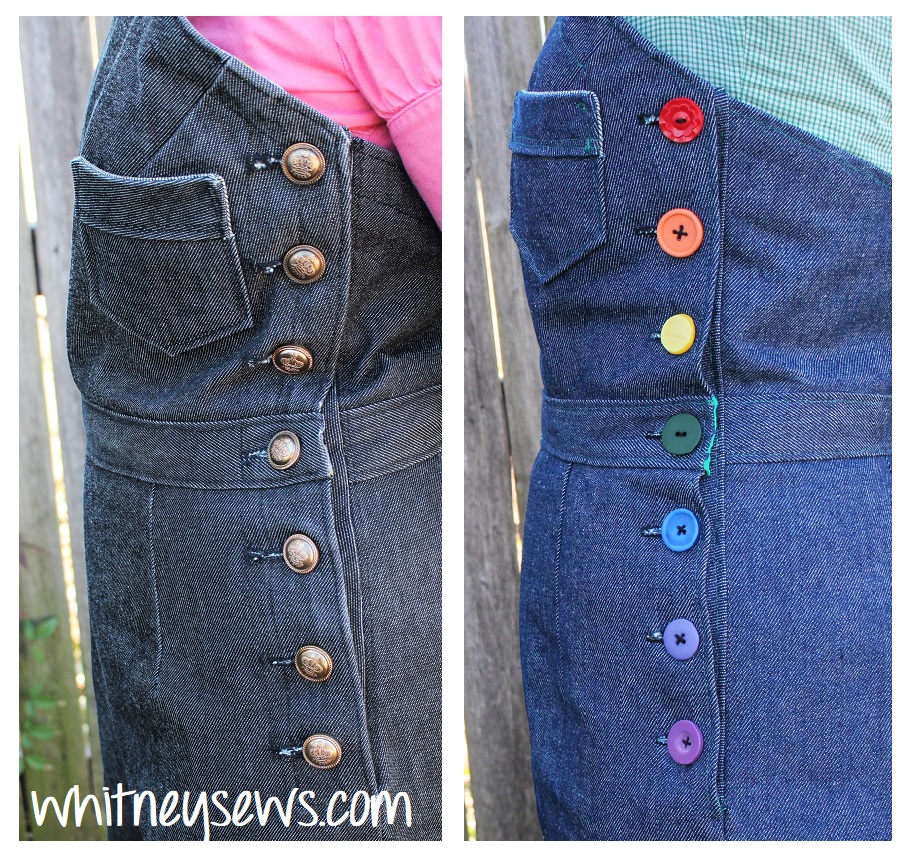
As I wore the dungarees I found a few details I wanted to change to improve on a second pair. So two weeks after making the first pair I made another! It is so rare for me to have the time to take on two clothing items like this in such a short time frame!
I made the desired changes and altered the pattern for a better fit and they turned out exactly how I wanted!
In today’s video I’m sharing a Sew & Tell about the process of making both pairs of dungarees along with a pattern review for Simplicity 8447. You can watch it HERE!
If you give this pattern a try please share a pic to my Facebook page or tag me on Instagram! I hope you enjoy this style of video, I really enjoyed chatting all about my dungarees. Until next time, Happy Sewing!
I have been posting on youTube weekly (sometimes twice a week!) for the past ten and a half years! There are countless hours upon hours of time and energy I pour into my tutorials each week. I love being able to reach people all over the world and inspire them to create amazing things.
But I have come to a point where I feel like I am no longer creating amazing things for myself. I spend every spare moment of time (when I’m not homeschooling my kids, cooking, sleeping, etc) working on youTube videos. Planning projects, filming, editing, etc. That leaves ZERO time to work on things for me. Projects I don’t want to film and just get to enjoy making. Earlier this year I made my “big cosplay” for the year and it took me 4 months to make when it really should have only taken 2 or 3 weeks. I have several dream cosplays (and other types of projects) I really want to make. I get very excited about them and start planning what all needs to be done…then begin to talk myself out of them before I ever even start. I realize if my other cosplay took 4 months and didn’t involve any mockups and things went smoothly I know I will never have time to make other projects that WILL need mockups and require all sorts of techniques I’ve never done before.
I’m tired of telling myself no when it comes to things I really want to do. I don’t want to grow old and think back on my life and wish I would have dressed up with my kids more, made the costumes I was excited about, and done more fun things when I could have. This all came to head a couple of months ago when my website crashed and was down for about a week. I didn’t post a video that week because I couldn’t get the accompanying PDF up on my site. During that week I realized how stressed I was on a regular basis to the point that I wasn’t even sure I wanted to continue with any of it.
But I know there is no way I could walk about from youTube! I have so many amazing viewers I love interacting with. I love seeing what you all are creating, I love being able to teach people all around the world! So I’m not quitting; but I am slowing down. I just can’t keep up with posting every single week any longer. I’m going to work on the projects that make me happy and post videos when I can. I have a feeling I’ll fall into a rhythm of a video every other week after a while. The videos themselves won’t all be tutorials. Some will be tutorials, others will be pattern reviews, or just sewing related chit chats. I might eventually get back to weekly videos, but no guarantees.
Since making my decision to cut back I already completed one project I had planned on making a year ago. For an entire year I never had a chance to make one pair of 1940s style dungarees. A week and a half ago I decided it was now or never. I didn’t want to go through another winter without them. So I spent 8 or 9 hours working on them (over the course of two days) and I LOVE them! They are my current favorite clothing item and I’ve worn them at least 5 times already. I will have a video all about the dungarees (pattern review, things I love, things I didn’t quite love, etc) and it will be up…when I get a chance.
But for now I do have this week’s video where I pour my heart out even more than I have in this post already. You can watch it HERE!
So, long story short. I need to take some time for me to do some happy sewing. You can find me on Facebook and Instagram in the meantime where I will post more day to day and current project updates. I will see you when I see you and in the meantime I hope you are doing what makes you happy! Happy Sewing!
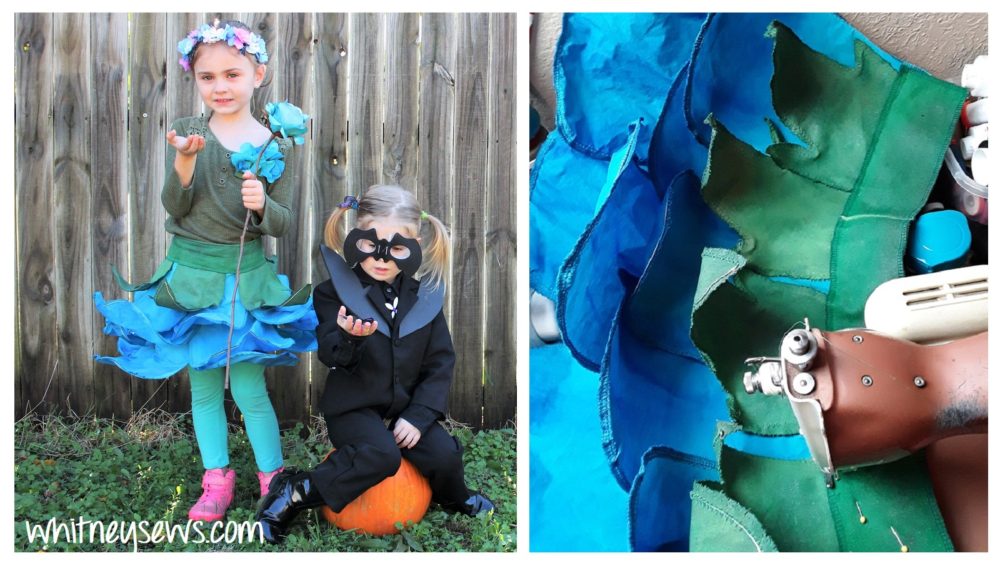
This year for Halloween my girls had some interesting ideas on what they wanted to wear. Peyton came up with a flower princess idea (because she loves princesses and anything pretty) and Skyler wanted to be Hawk Moth (the villain on a show she likes). Neither of these are costumes we could easily go out and buy, so I got to be very creative.
I brainstormed the flower princess idea for a couple of weeks before remembering an awesome dress/tutorial I had seen several years before. The dress I remembered basically looked like an upside down flower and was stunning. I used it as the inspiration for Peyton’s skirt and it was a lot of fun to make. When I started I was very unsure how it would turn out, but it went really well and Peyton loves it!
Skyler’s costume involved a lot less DIYing. We started with some thrifted clothing and added in a few handmade details.
You can check out my video HERE where I share step by step progress photos and much more!
Let me know if you’re dressing up this year. If so, what is your costume?? Until next time, Happy Sewing!
It’s time again for a Sew Your Stash update! If you aren’t familiar with the Whitney Sews Sew Your Stash Challenge you can find out more about it HERE! It’s a challenge I set for myself to focus on using the fabrics and supplies from my stash before buying new. I extended the challenge to anyone else who has their own fabrics stash and wants to join in.
It’s a good thing I keep a running list of items I make using my stash because I had definitely already forgotten a few of these. I used everything from flannel to clear vinyl and lots of bias tape this time around!
BTW do you do any online shopping!? Did you know you can use that shopping to help support the Whitney Sews content you enjoy?!?
If you are shopping through Amazon I would love for you to use my Amazon referral link. By clicking the link first (then continue to shop on Amazon as normal) Amazon knows I referred you and sends me a small percentage. That money goes right back into creating high quality sewing tutorials for you to enjoy!
I greatly appreciate your support in any form, from using my referral links to sharing my videos with your friends!
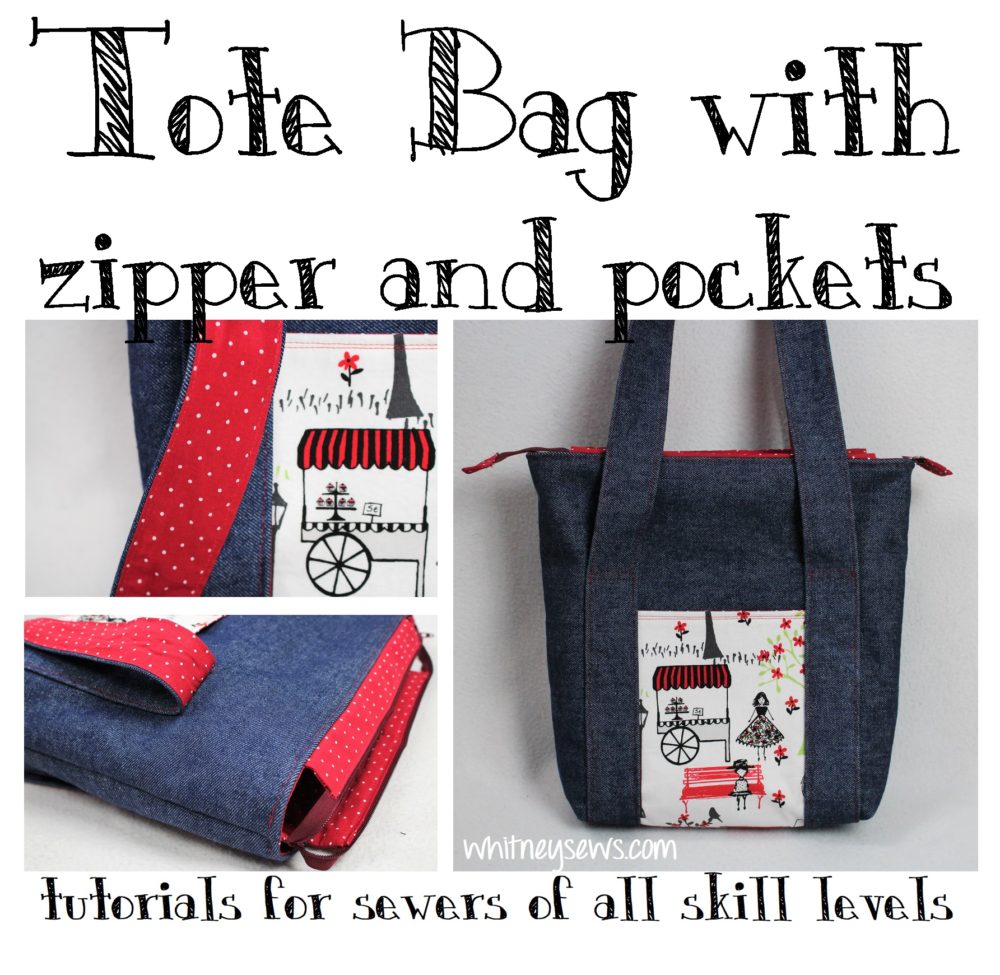
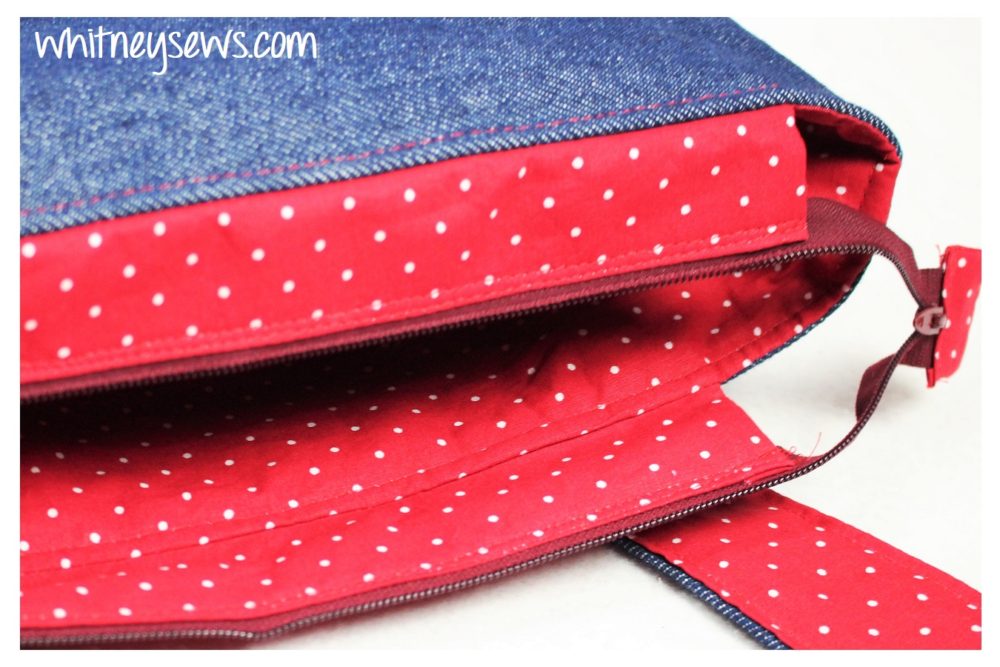
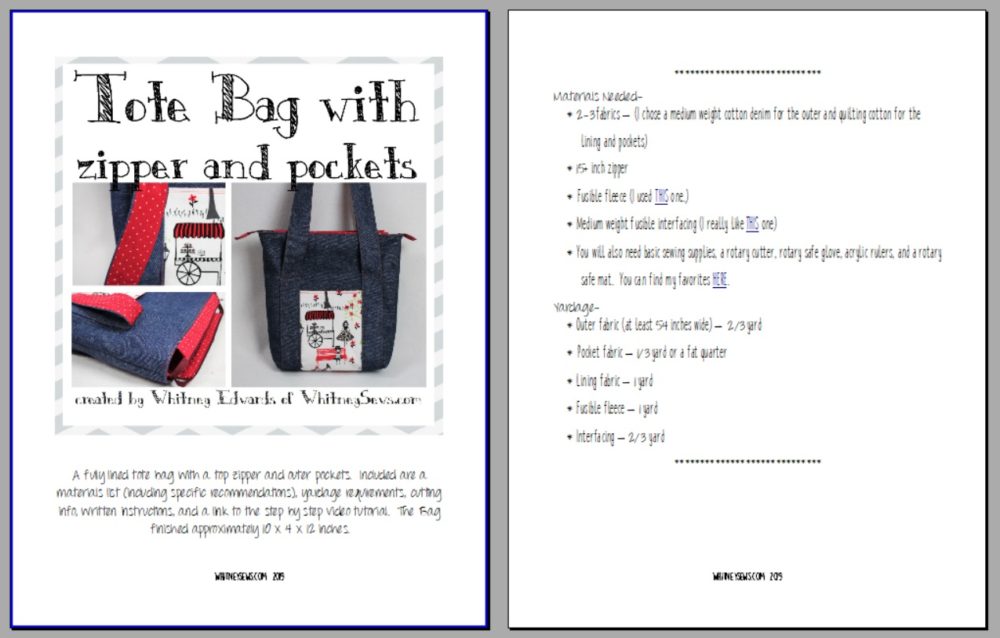
I LOVE when a project turns out exactly as planned! Shortly after my last zipper tote bag tutorial I was inspired to design another zippered tote bag in a completely different style AND WITH POCKETS! A couple of weeks ago some fabrics in my stash motivated me to finally give this design a try and it turned out EXACTLY how I wanted! So today I’m sharing the step-by-step tutorial for a zippered tote bag with pockets.
This bag includes a fully finished pocket on the front and back, a unique strap design and of course the zipper on top.
As you can imagine, a bag like this does require quite a lot of pieces in all different sizes. So I made a separate 6 page PDF with everything from the yardage requirements to cutting details and much more. You can pick up your copy over on my shop page or on Patreon if you are a second tier or higher Patron.
You will need three fabrics for the tote along with some stabilizer and a zipper. For my main body fabric I used a medium weight denim. I actually bought an entire bolt of denim last Summer because I wanted to make myself some 40s inspired jeans and a few other projects. I actually wore those jeans this past Sunday! Can’t wait to wear them more now that the weather is finally cooling off again.
Anyway, the leftover denim was perfect for this project and looks great with the two cotton prints I picked out. Click HERE to watch the step by step sewing tutorial!
I would love to see pics of the bags (and other projects you make) so make sure to share them on the Whitney Sews Facebook page or tag me on Instagram @Whitney_Sews
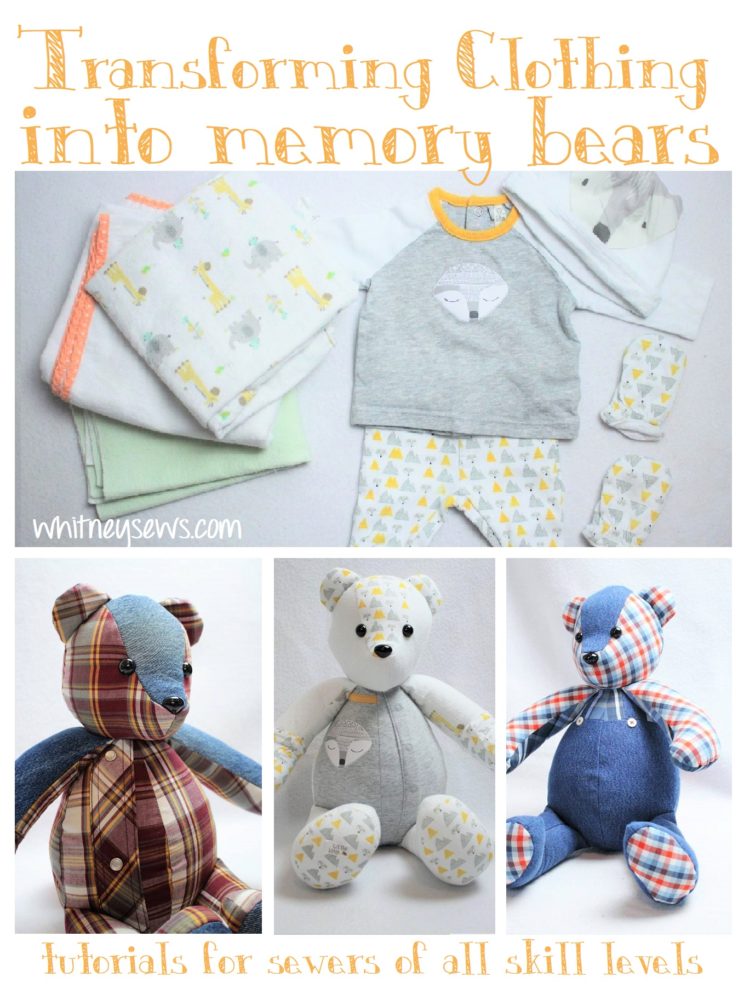
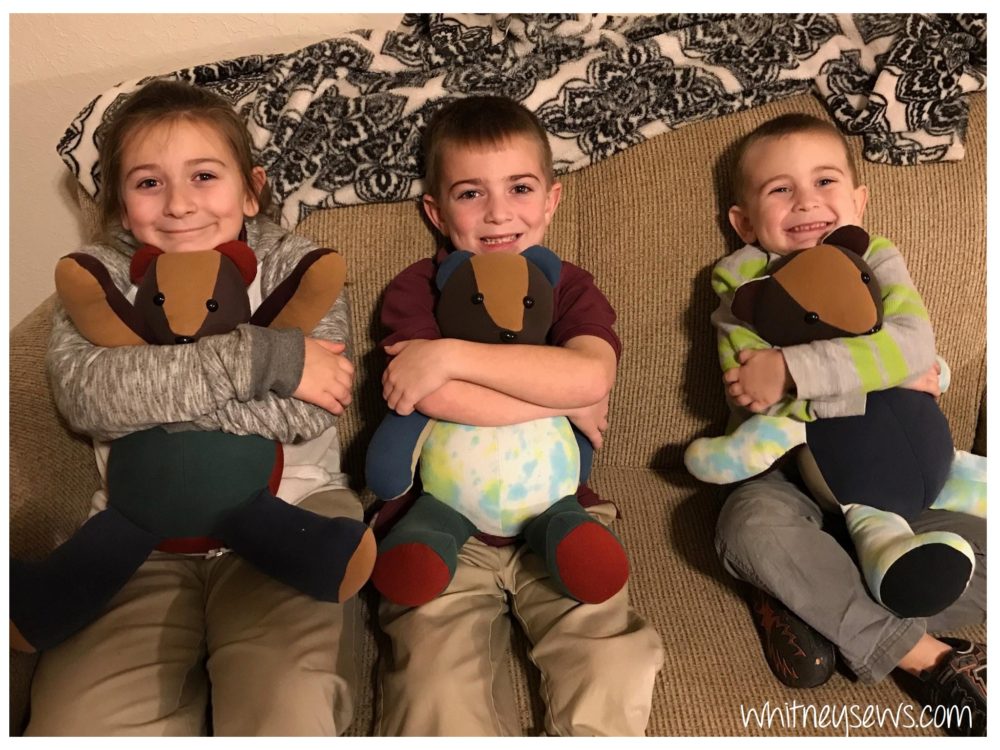
A few days ago I finished making a very special memory bear. I used two of my Grandma’s shirts to make a bear for my dad. It got me to thinking about all the bears I’ve made throughout the last two years. Last year I made a series of videos all about making memory bears, but after making 50+ bears I definitely have even more tips and info to share. Today I’m focusing on answering as many of the questions I’ve received about using clothing for memory bears.
In Fall 2017 I made a huge rag quilt for a friend using their loved one’s clothing. I had some leftover pieces left over, so as a surprise I made a memory bear. I wanted to try out the pattern and thought it was the perfect opportunity. If the bear turned out I would gift it to my friend. If it failed no one would ever know about it. Well, as you can assume, the bear was amazing! My friend was completely surprised and loved it.
Word got out and orders started rolling in and I made many, many, many bears. But no matter how many bears I make, I can not make one for everyone who wants one so I taught you all how to make them to. I posted several videos last year showing everything from selecting a good pattern to sewing the final stitches. I had no idea how many people would watch the videos and make their own bears!
I have LOVED seeing the bears you all create and hearing the stories about who they are for and the clothing used! It makes my heart happy to know the tutorials I make have such a positive impact on people’s lives! Some people reached out to me and said the VERY FIRST thing they ever sewed was a memory bear using my step by step tutorial. How amazing is that?!?
I do still get messages, most of them pertaining to the clothing aspect of making bears. How to get started. What kinds of clothing can be used and more. So today I’m sharing everything you need to know to transform clothing into memory bears
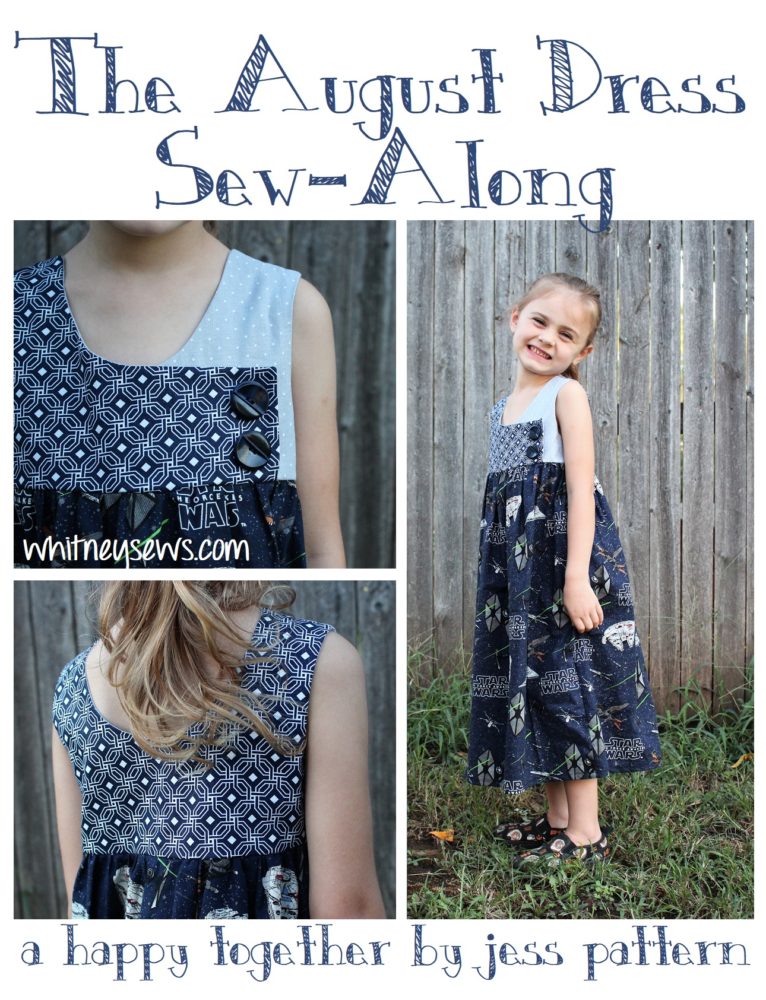
Isn’t she the cutest?!?! My daughter calls this her Star Wars Princess dress and she loves wearing it! It is The August Dress pattern from Happy Together by Jess. I don’t usually share tutorials for other designers’ projects, but this week is special because it’s part of the #Sewtember2019 collab!
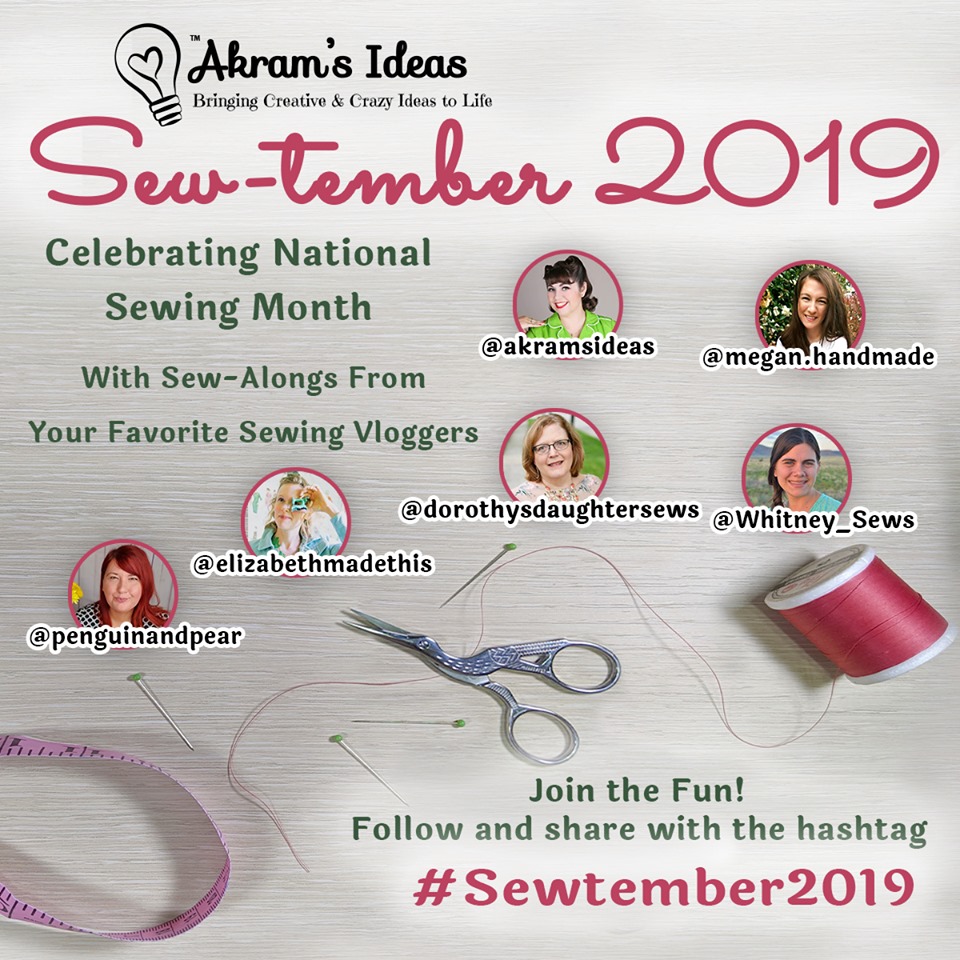
It was such an honor to be invited to participate with so many creative ladies! During the entire month of September (National Sewing Month) we are sharing sew alongs for FREE PDFs we found online. We want to get you excited about sewing, stir up a little sewing mojo, AND give away some fun prizes (more on that later).
I hunted all over the internet looking for the pattern I wanted to share. It had to be free and I wanted to pick something pretty different from the projects I design myself. I get a lot of requests for kids clothing (and my daughter LOVES dresses) so when I saw this one I knew it was my pick.
I knew this project would be great for using stash fabrics. I chose 3 fabrics, but you can use as many as 4 or 5 to make use of those leftover bits we all have stashed away. Oh and the buttons are decorative so no worries about those perky buttonholes! I really need to start using more buttons because I have pounds and pounds of them (I share a peek of about half of my button collection in the video).
You can watch the entire sew along tutorial and my review of The August Dress pattern HERE!
As I mentioned earlier, there is a giveaway going on! To entire watch the #Sewtember2019 videos and make one of the projects along with us. Then share your project with us on Instagram between now and October 13th. Be sure to tag @AkramsIdeas and use #Sewtember2019 (and of course tag me @Whitney_Sews too so I see your pic!).
Let me know if you want to see more videos like this where I sew along with SOMEONE ELSE’S project. It was a lot of fun for me. Until next time, Happy Sewing!
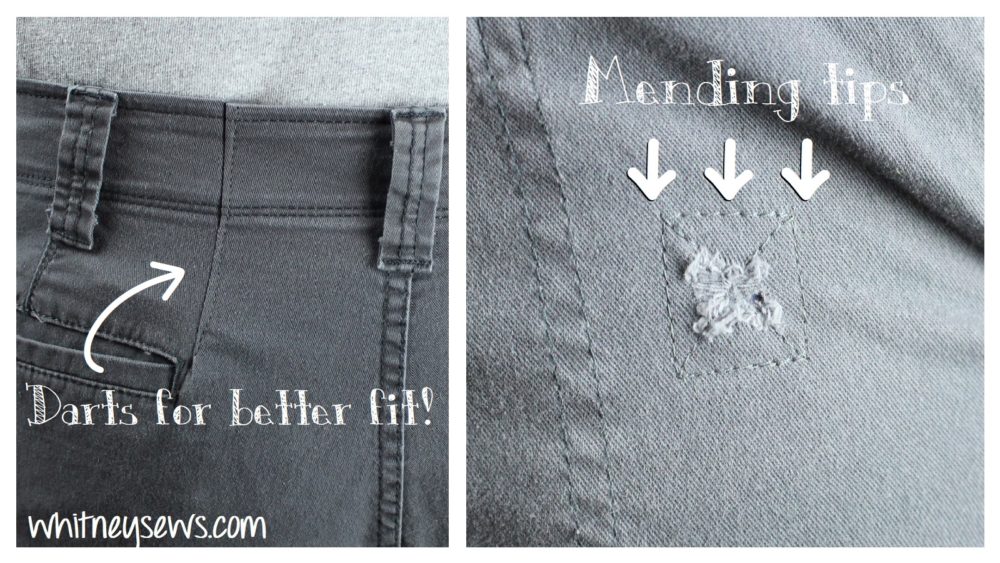
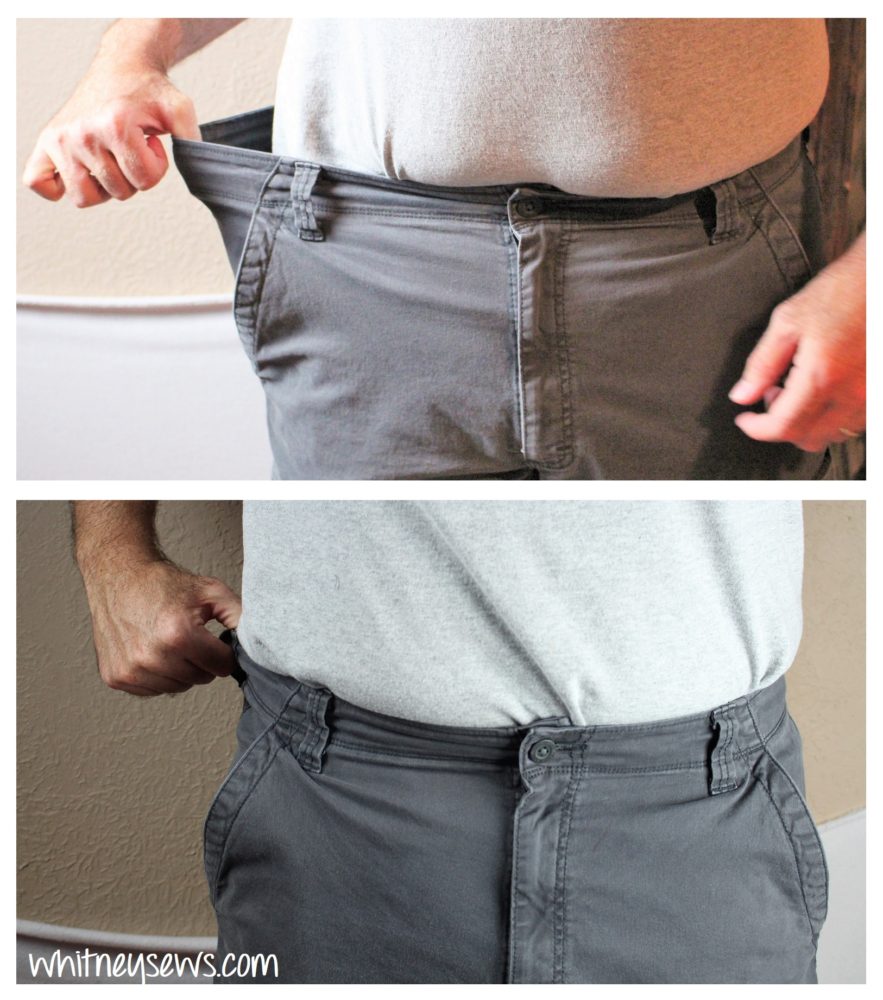
I don’t know about you, but mending is not one of my favorite things to do. I would much rather be making some new, amazing project from scratch. But sometimes mending just has to be done. This week my husband asked me to fix a few things for him on a pair of shorts. He loves the shorts because they are nice and comfortable and fit well in the legs, BUT because they fit so comfortably in the legs they are too large in the waist. So he asked me to take them in and to repair a small rip in the side. I wanted to film making these small fixes, because I have some tips and tricks to share.
The first thing I did was take the shorts in by about an inch and a half using two darts in the back. I took extra steps to make sure the darts looked nice and blended into the overall design and top stitching as much as possible.
The second step was putting a patch on a rip on the side of the shorts. I wanted it to hold up well and keep the hole from getting any larger, but not be too noticeable to anyone else. It turned out exactly how I wanted!
You can see both quick fixes in the tutorial HERE!
I hope this video is helpful and if you have your own mending tips I would love to hear them! Please leave them in a comment down below this post on WhitneySews.com. Until next time, Happy Sewing!
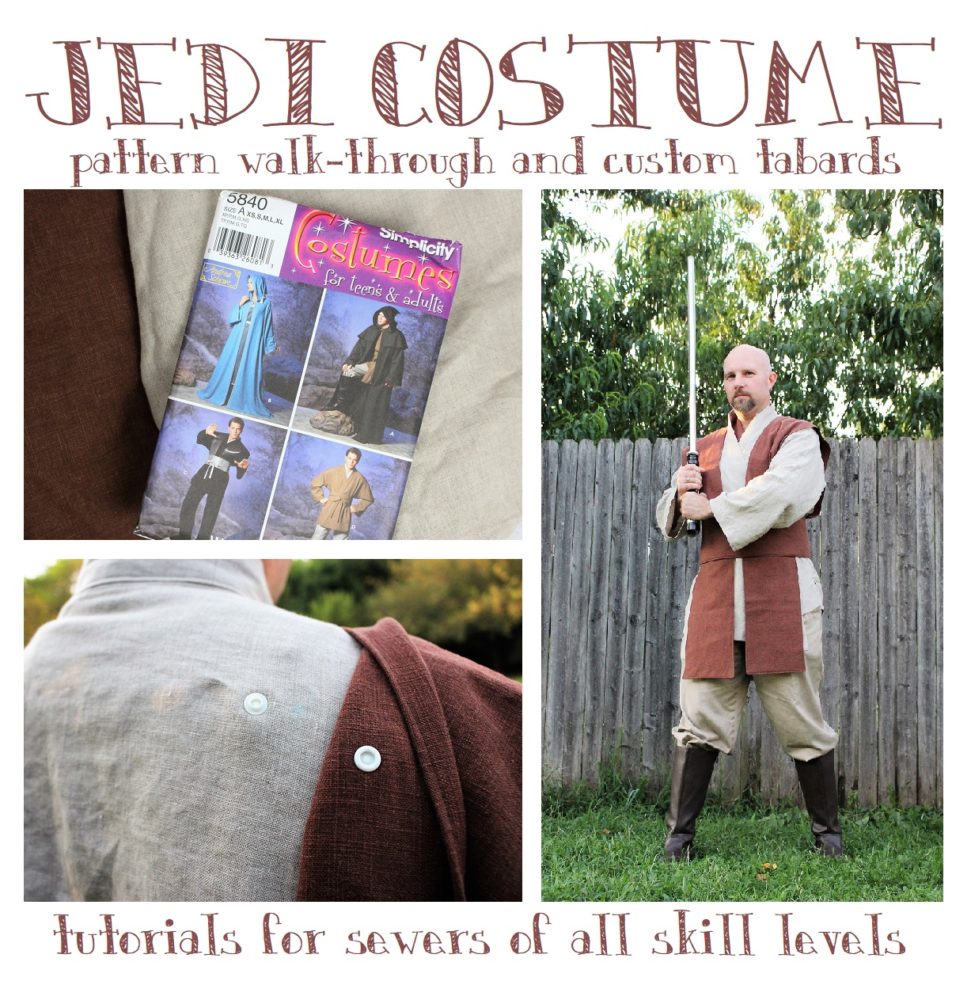
It’s time for part two of my Jedi costume series! Today I’m sharing how to make your own custom tabards and obi with hidden snaps to make sure everything stays perfectly in place!
As I mentioned in Wednesday’s post with the tunic pattern walk-through I have made three jedi costumes thus far. The first was for Jeremiah using super cheap cotton fabric we had on hand. We brainstormed together and figured out the design we wanted for the tabards and obi (because the option that comes with Simplicity 5840 is terrible). We took measurements, looked at various photos, wrapped scraps of fabric around Jeremiah until we decided we had some numbers that seemed right.
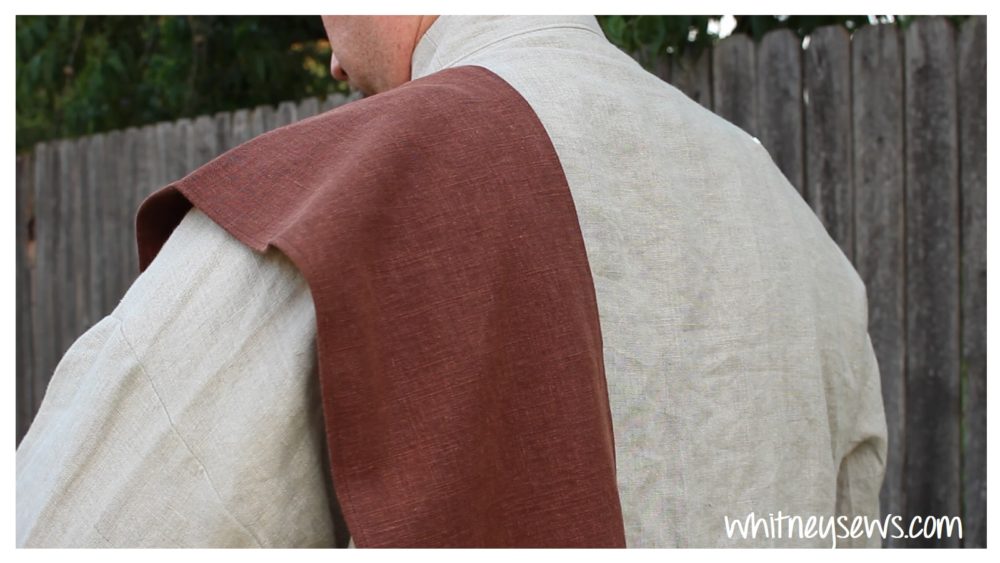
Over the years when Jeremiah wore the costume I would notice the tabards slipping off the shoulders – more and more the longer it was worn. So when I made my own costume I knew I needed to have a solution for the tabards. I didn’t want to spend my entire time in costume adjusting the layers. I decided snaps were the solution, but I did NOT want them to be visible! They worked out perfectly and I’ll be sharing all my tips and info in the tutorial.
Of course before starting anything you will need to figure out your measurements. Not your actual waist, hip, etc size, but the sizes you want your tabards and obi to be. It’s easiest to use some string (because a tape measure won’t be long enough) and a friend. While looking in a mirror, drape the string over your shoulder and decide how long you want the tabards to be. Jeremiah likes his to be mid-thigh, but I prefer mine approximately the length of my tunic. Mark that length on the string and measure it (you may need to fold it in half so it’s easier to measure). Then add 1 inch for seam allowance.
The width can be done with a tape measure of if you need a better visual try folding an extra piece of fabric until you like how much of your should it covers. Measure the width, multiply it by two so you have enough for the front and back, then add one inch for seam allowances.
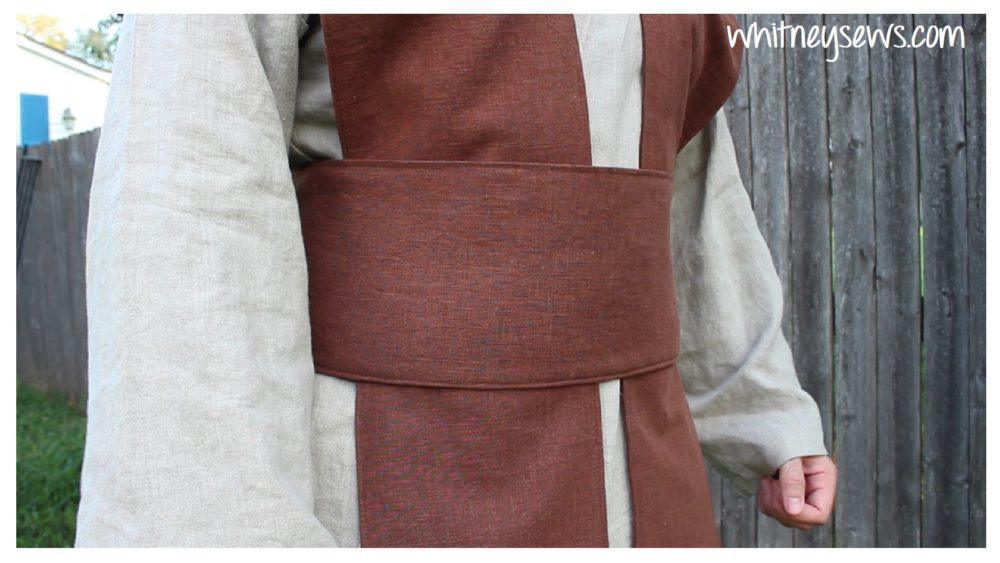
And finally, onto the obi.
Wrap the same fabric, scarf, or whatever you have on hand around your waist (this can be your natural waist like mine or a little lower – whichever you prefer to wear yours at) until you like the width. If you have a more curvy shape like mine you should consider going with a more narrow width for a better fit since there isn’t any darts or shaping. Jeremiah can go with a much wider width because his waist and hips are fairly close in size. After you decide on a width multiply it by two to account for the lining and add one inch for seam allowance. The length is your waist measurement (where you will wear it) plus 4-5 inches for overlap and one inch for seam allowances.
The finial thing to cut is the fusible fleece. Cut one piece (or two if one isn’t long enough) the width you want your obi to finish and the length of your obi minus half an inch.
Watch my step by step tutorial HERE to learn how to make your tabards and obi. I cover everything from cutting them out with the least fabric waste, adding hidden snaps, and nicely finishing everything.
I also wanted to mention an awesome event our Star Wars group, JediOKC, has coming up soon. Each year we raise $15,000 to buy a new coat and a new pair of shoes for all the kids in the local mental health hospital. This year to help raise some of the funds we are hosting a 5K Masquerade 5K! It is going to be a TON of fun! You can read more about it in the image below. There is even a virtual run option for those who want to participate but can’t be there in person! I hope you will check out the website and consider signing up!
Whew! Not going to lie, this week has been crazy! Putting out two huge videos like this has left me up late editing every single night this week, but I hope the tutorials are helpful for at least one person. I’ll have another new video up on Wednesday, until then, Happy Sewing!