
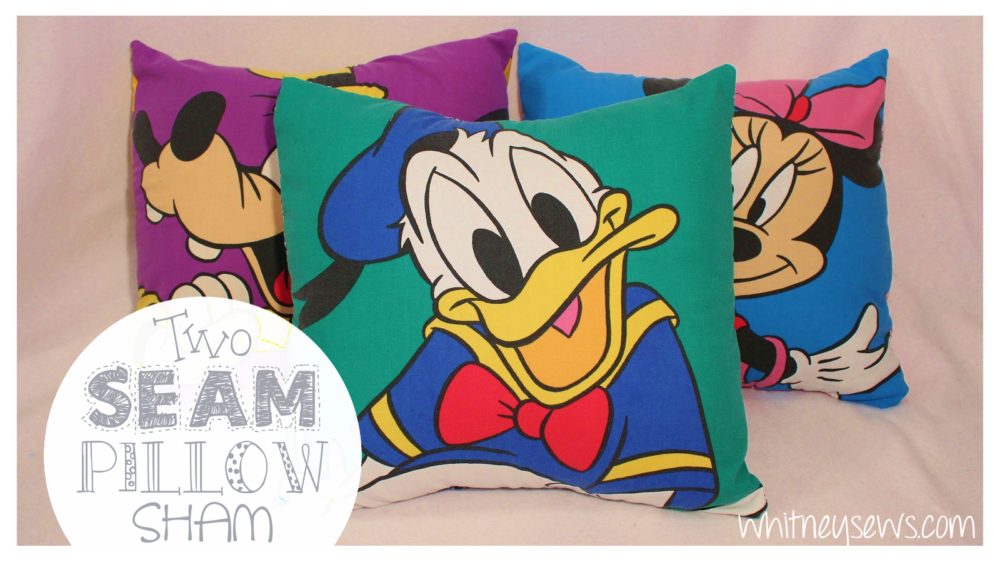
For the past few months I’ve been having a lot of trouble with my serger. This means I’ve needed to come up with creative ways to finish off some of my go-to projects. I love making pillow shams and normally finish them by serging the seam allowances on the inside. But now I have a fun new way to fully finish my pillow shams (that I like even better than the serged version) that only takes two seams!.
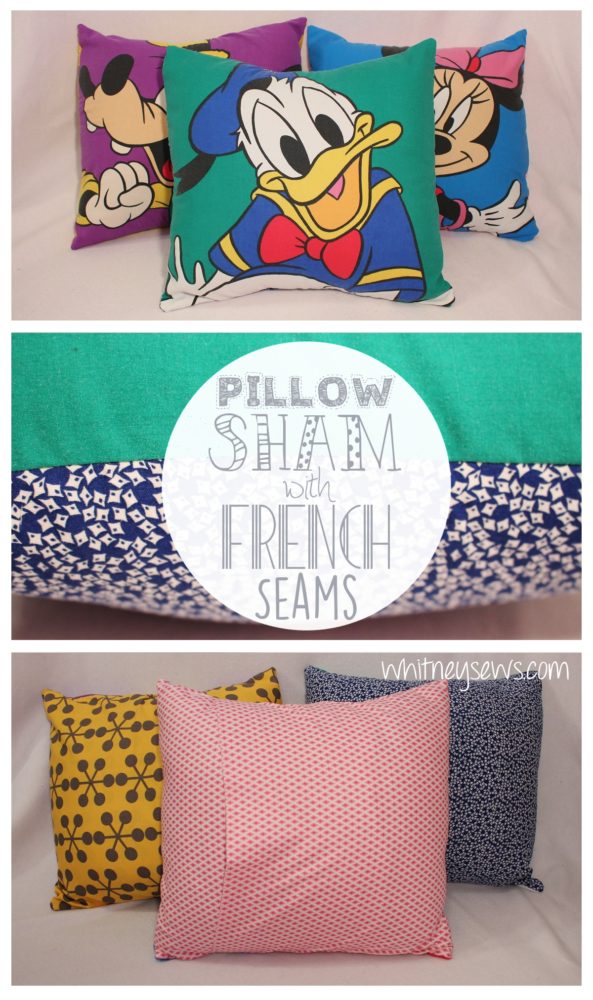
The new method is FRENCH SEAMS! I have fallen in love with french seams and use them as often as I can now. If you’re new to french seams you basically sew the item together with the right sides facing out and then again with the right sides facing in so the raw edges are all enclosed inside when it’s done.
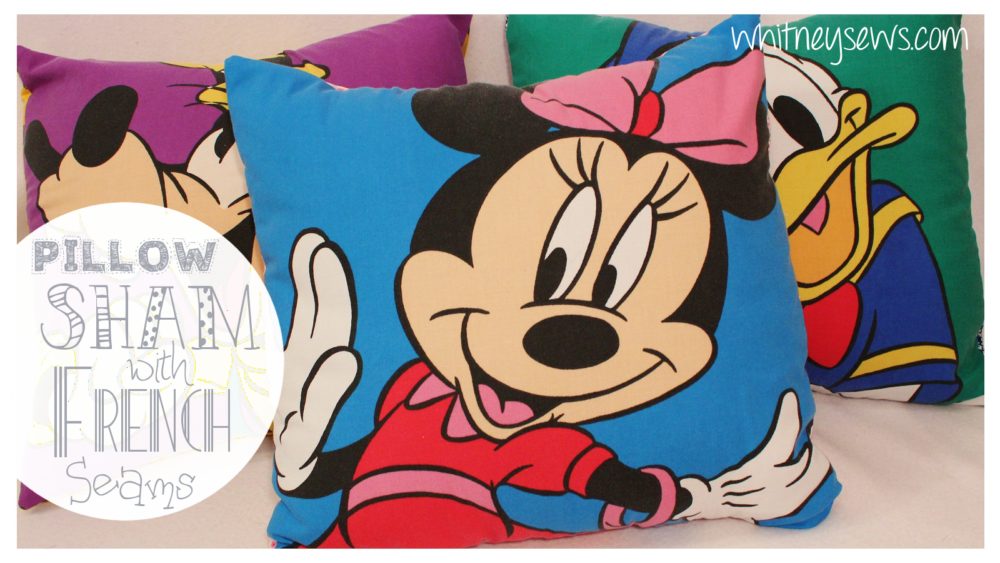
This pillow sham is a great stash buster as well! The backing takes about 2/3 yard of fabric and the front is the perfect size for using a fat quarter or large print. I have an amazing vintage Disney sheet I found at the thrift store a little while back with a different character in each square, the perfect size for this sham! You can also add a lining if your front fabric isn’t opaque enough on its own.
Below are all the measurements you need to cut the materials for your own pillow sham.
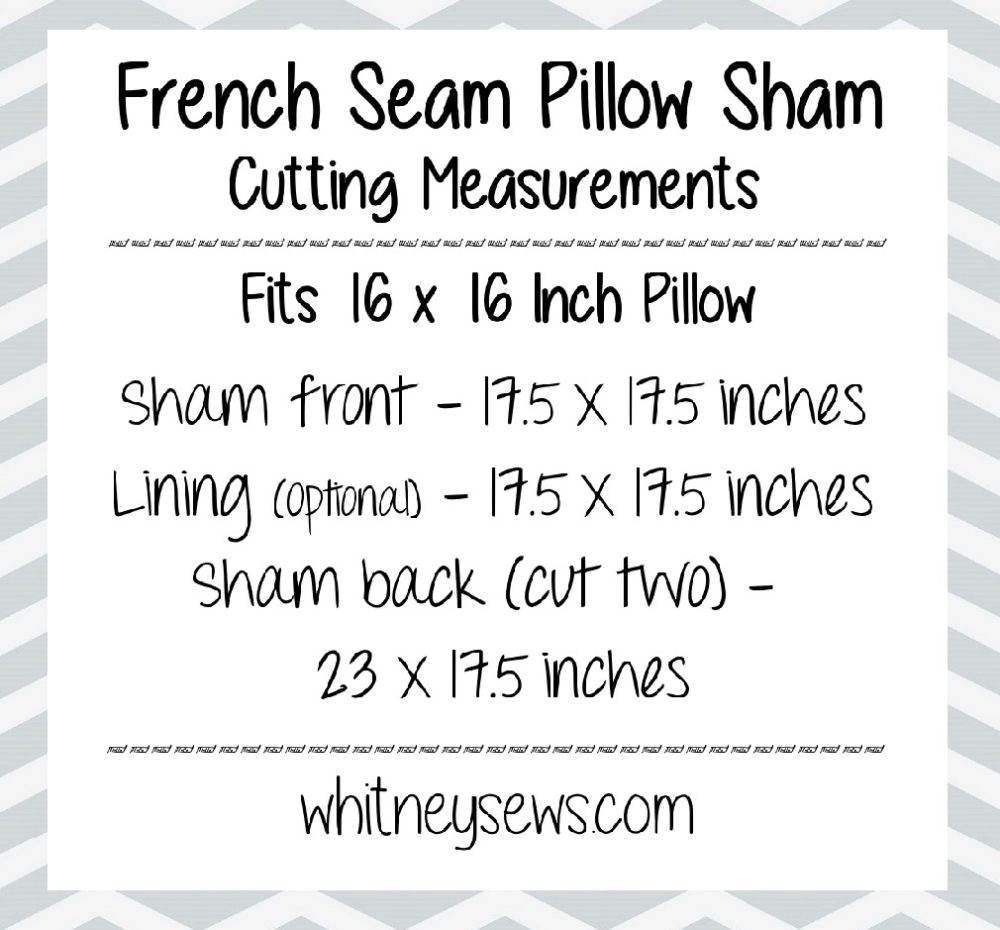
Now that you know exactly what you need, check out the full tutorial HERE!
Super easy, isn’t it?!? This method will give you easy and beautiful pillow shams with a completely professional finish! Don’t forget to pin this project and share it with your friends if you enjoyed it!
I’ll be back next Wednesday with a new tutorial! Until then, Happy Sewing!
-Whitney-