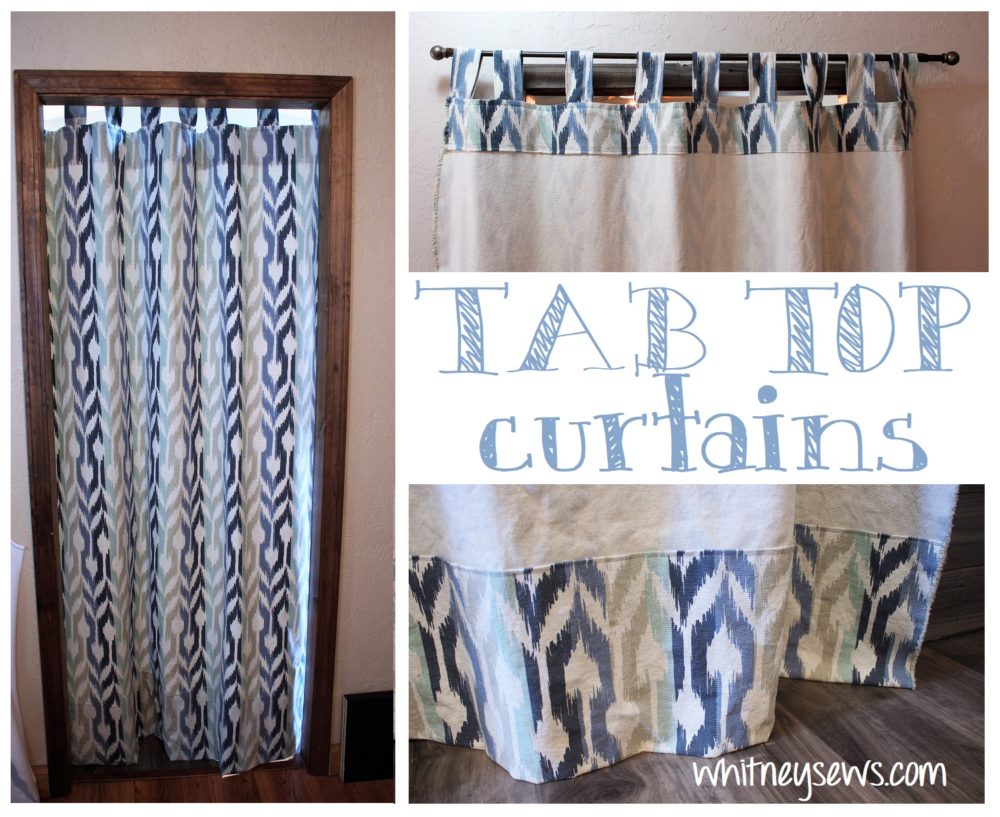
Since we bought our new house at the end of January we have been needing a curtain to separate the master bedroom and bathroom. There is a doorway, but no door as I showed in our empty house tour. We have had the curtain rod up for two months, but no curtain. I finally found a fabric I liked (and for a great price!) and made us a custom tab top curtain. I wanted the curtain to look great from the front and back since it will be seen from both sides. So today I’ll be showing how to make a tab top curtain.
The secret to having a nicely finished curtain is the facing. It’s a strip of fabric at the top of the back that hides away all the raw edges of the tabs. I also left the selvage edges on both sides because I like how they look and it keeps the reverse side from look too much like the “wrong” side.
I cut the facing at 5 inches by the width of the fabric and each tab to 6 inches by 11 inches. I left the remaining yardage whole so the curtain could be trimmed and hemmed after the tabs were sewn on and it was hung up. I loved making the curtain this way because it can be very difficult to cut a large piece of fabric to just the right length.
You can see just how easy this curtain is to make in my step by step tutorial HERE!
I have several more curtains to make for our house and plan on making many of them this same way. Let me know what kinds of home decor projects you would like to see here on Whitney Sews. Until next time, Happy Sewing!
-Whitney-