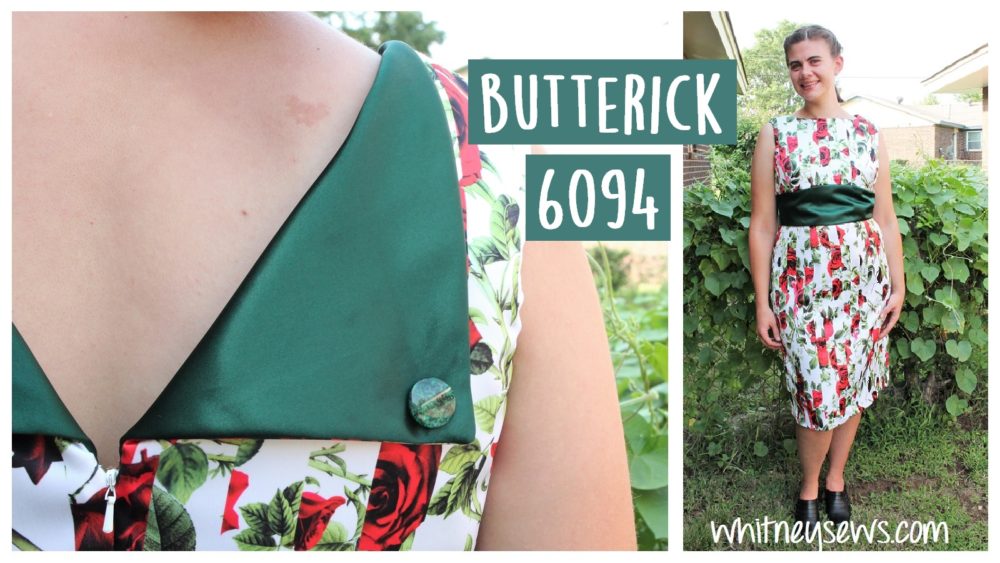
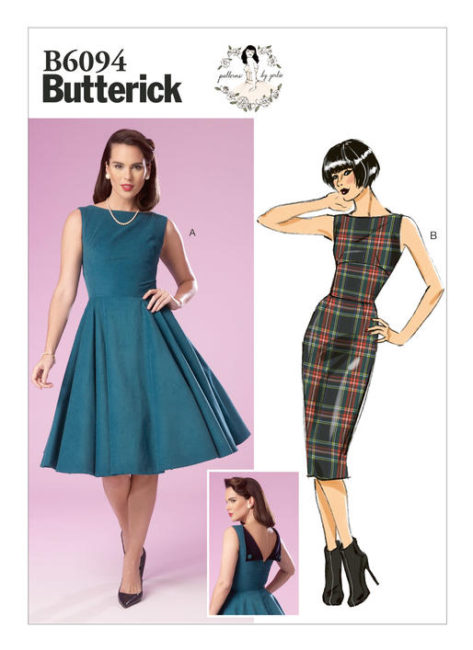
 Isn’t the back detailing on this dress gorgeous?!? That is what drew me to this pattern in the first place. The pattern is Butterick 6094 and I’m showing stitch by stitch how to create a beautiful dress like this one. It is a Patterns by Gertie design and has such a nice vintage vibe (I’m really into vintage styles…more on that later!)
I started off making a mockup of the dress to check the overall fit, practice installing an invisible zipper, and get more familiar with the pattern instructions. I vlogged the process of making the mockup and you can check it out HERE.

Once I was comfortable with the sewing instructions and fit it was time to start cutting the pieces for my final dress…my Rose dress, as I have lovingly named it. It was the beautiful rose print fabric that inspired me to pick up Butterick 6094 and create the dress in the first place. You can see the haul video and everything else I picked up that day HERE.
The step by step sewing tutorial can be found HERE!
In the video I mentioned trying out some different finishing techniques. I chose to bind all the raw edges with a narrow bias tape. It took a little more time than serging or using pinking shears, but it gave the inside of the dress a beautiful finished look. I am going to use this finishing method on another project or two then have a separate video talking all about it.
Have you used bias binding to finish garments before?? What are your thoughts on it, I would love to know!
Oh yeah, I mentioned my vintage style love earlier! I’m slowly trying to transition my wardrobe into 40s and 50s inspired styles. It’s a work in progress, but I will have a video up later this week sharing my vintage style thrifted and me-made pieces. I can’t wait for you to see it! Until then, Happy Sewing!
-Whitney-