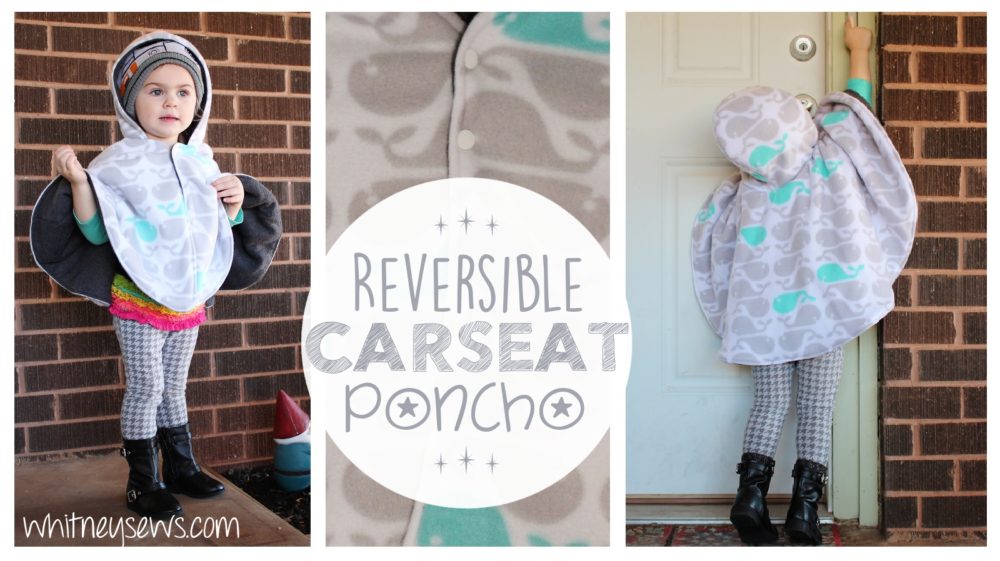
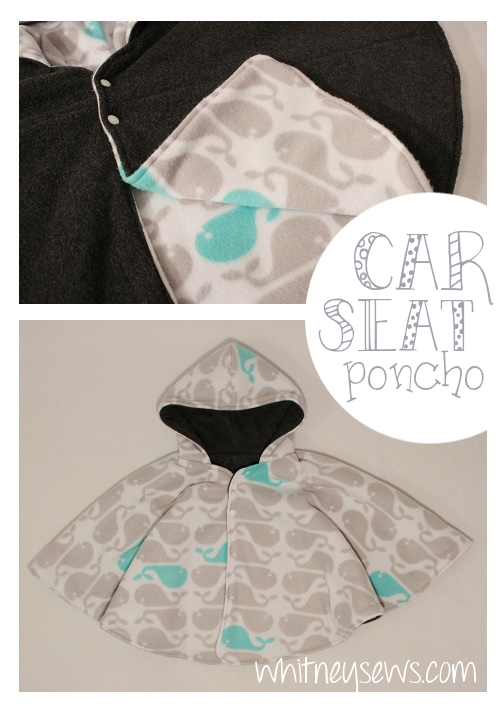
This week I’m sharing a project I am so excited about! Not only is it cute, warm and functional, but it is REVERSIBLE! You all know if I can find a way to make something reversible then I will do it! You can see several other reversible projects HERE! This car seat poncho also saves a lot of time and energy when going places with your kids.
If you have young children you know about the car seat routine.
Put on your kid's coat and get them to the car.
Take off coat and buckle kiddo into their car seat.
Get to store, unbuckle kid and put coat back on to go into store.
Leave store and take coat back off to buckle into car seat.
Repeat at EVERY SINGLE STOP!
It gets old really quick, but it’s much safer than wearing a coat in a car seat (because the straps aren’t firmly secured against your child, but instead are going around lots of bulky material).
But that is what makes the Car Seat Poncho so BRILLIANT!
It keeps kiddos warm in and out of the car and allows you to safely buckle the car seat straps underneath the poncho.
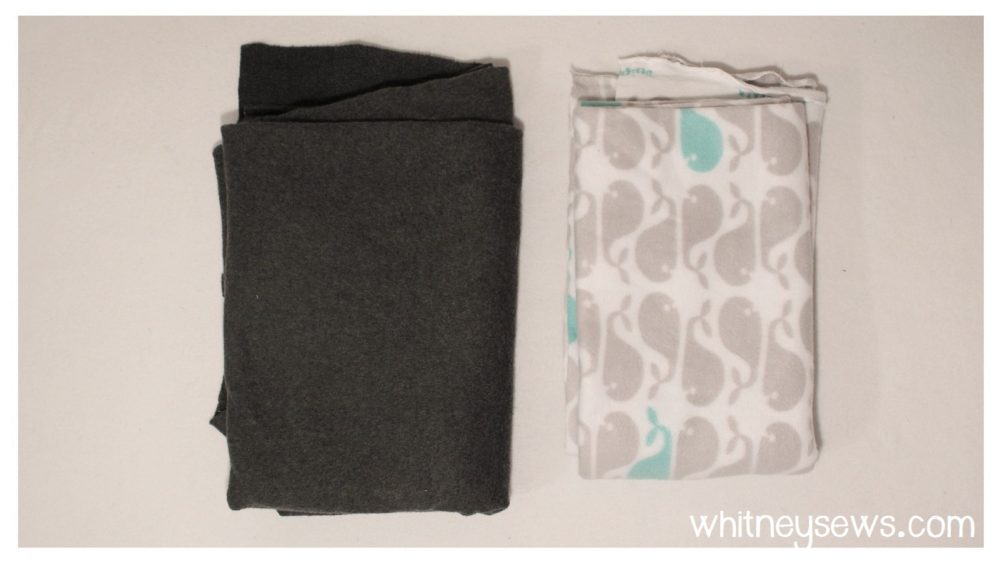
Anyway, enough of my excitement about the poncho itself and onto telling you how to make it! You will need about 1 yard each of two different fabrics. I used fleece for both of mine, but you can get creative and use a laminated cotton for one side to make a rain poncho or whatever materials you like.
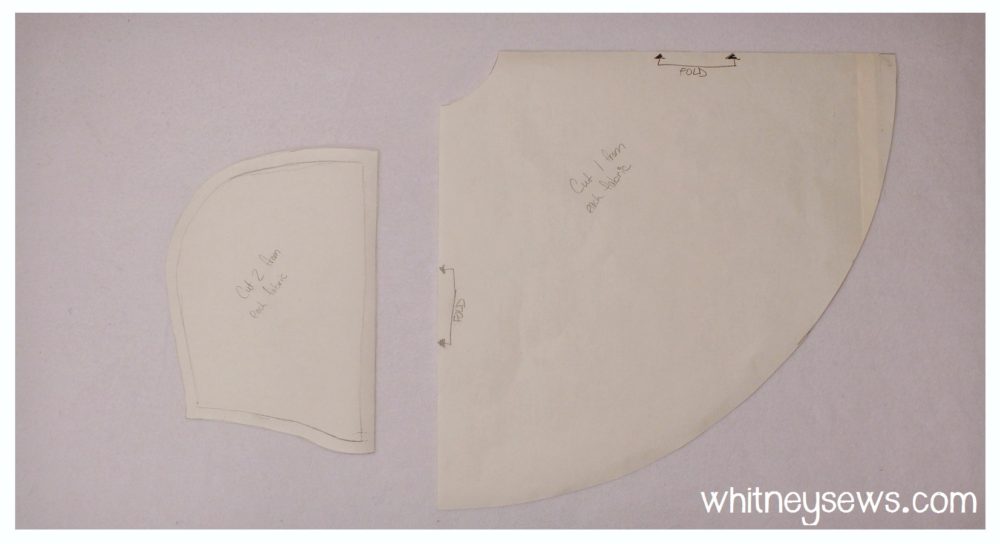
After you have selected your supplies you will need to make two simple pattern pieces. The first is a hood. I simply traced a hoodie my daughter already owned and added a half inch all the way around for the seam allowance. (If I remade this I would trace a hoodie one size larger to make it a little roomier since it’s two layers thick).
The second pattern piece is 1/4 of a circle. I show exactly how to make this style of circle pattern in my Circle Skirts 3 Easy Ways video. You make your pattern the same as shown in that video using the measurements you need for your child.
For this size poncho (about a 2T/3T) use 2.25 inches for the neck radius and from the 90 degree corner of the paper to the full length of the pattern is 17.5 inches. This will fit perfectly on one yard of fabric. Peyton is 36 inches tall and this is a great size for her. If your child is larger than you will need a little more material.


After you have your pattern pieces it time to get started! In the video tutorial I show exactly how to fold your fabric to ensure there is enough room to cut out all your pieces and how to sew it all together. Because the poncho is fully lined/reversible you don’t have to hem any curved edges! Click HERE to watch the full how to!
There is really nothing complicated at all about this project! Don’t forget to pin and share this post so it’s easy to find when you’re ready to make your own car seat poncho!
This video and last week’s infinity scarf with a zipper pocket were both requested tutorials. If you have a project you want to see a how to for let me know in the comments down below.
Come back next Wednesday for a new video and until then, Happy Sewing!
-Whitney-
**You may have noticed in the video that there is a large seam across my grey material. That is because I was using leftovers from my Totoro Kigurumi and had to sew a few pieces together to have a large enough piece. Wondering why I didn’t just use something else or go buy more?? Because we were on a spending freeze and I have challenged myself to sew through my giant fabric stash. Find out more about that project and how you can join in HERE!**


I would really like to make this for my 1 year, what would the measurements be for the pattern or for the radius?
I have just joined this group – found the carseat poncho today when searching. Making it for my grand-daughter’s birthday this week.
Where do I get the “pattern” from?
Please and thank you
There isn’t an actual pattern. Just use the radius given in the video and whatever length you need. You can also refer to my circle skirt video if you want to do the circle math yourself.
I\’m trying to make this for my 8 month old. I don\’t see a way to print the pattern. When you says 2.25 inch radius for the neck is that when it\’s still folded? I think I could wing the length but also wanted the pattern for the hood. Can you help? Thanks
I made this poncho for my 14 month old Granddaughter. It turned out adorable. Going to make another one for my car seat too. Super easy instructions. Thank You Whitney!! You babies are adorable:)
By far, this is the best video tutorial for a car seat poncho-turned out perfectly for my granddaughter!
Wonderful! I’m so glad yours turned out perfect!
My daughter-in-law wanted a poncho for my grand-daughter I said that shouldn’t be to hard to make. Thank you for your awesome video. Going to make it this weekend:)
I am also wondering about how the inside lining of the actual poncho is sewn on to the outer lining of the poncho with the hood already attached to it. Will the inner lining overlap the bottom edges of the hood that is attached to the outer lining? Or do we sew to attach the inner lining just below the hood?
If my question sounds confusing, I am referring to 5:08 of the video, it mentions clipping along the area, but I am not sure what to do with the hood in the way? Thanks
any way i can get this pattern in a PDF – i am having a hard time following with video, im usually visual but this style i need concrete paper
Sorry, but I do not have a PDF version for this project because of how large the pattern is.
I have been looking also for a printable pattern, have you had any luck finding one?
Your YouTube video seems the easiest to follow so far on making the ponchos but am a bit confused on sewing the second fabric to hood. I’m a visual person and that part is missing. Any help you could provide would be greatly appreciated.
You have the two separate hoods, one in each color. Put them right sides together and line up the edges of what would be the area open around the face on a finished hoodie. Sew to attach the two along that area, but leave the bottom edge open. Turn it right sides out and sort of tuck the lining fabric into the other so it looks like a lined hood. Hope that helps.