Tex-Mex Skillet | Frugal Family Food Collab


I’m so excited to announce that this week I get to be a part of the Frugal Family Food Collab!  It’s an ongoing playlist collab and every Friday and new video is added with a budget friendly meal idea!

If you’ve been around my channel any length of time then you know that I love to save money, shop deals, repurpose supplies, etc so I am of course all about cooking on a budget.

This week I’ll be showing how to make a one pan meal that I call Tex-Mex Skillet.  It is easy on the budget and only takes about 25-30 minutes to make!

Watch my Tex-Mex Skillet video HERE!


Tex-Mex Skillet Recipe:

1 1/2 cups cooked chicken
1 small onion
1 can black beans
1 can diced tomatoes with green chilies
1 1/4 cups white rice
Taco style seasonings of your choice
2 1/2 cups water

Place the chicken and onions in your skillet that has been preheated on medium heat.  Add the taco style seasonings you like.  Also add the liquid from the can of tomatoes.
Once the onions have cooked a bit and most of the liquid is absorbed add the rest of your ingredients.  Turn the heat up to high and bring everything up to a simmer.  Turn the heat back down and cover the skillet.  Cook for about 18 minutes or until your rice is cooked.  Serve and enjoy!  
We like to eat ours with cheese on top and tortilla chips on the side!

I hope you enjoyed this recipe!  It is delicious, easy, and definitely frugal!  If you’re interested in seeing more frugal meals you can find the entire Frugal Family Food playlist HERE!

Make sure to come back next Wednesday for a new tutorial!

-Whitney-

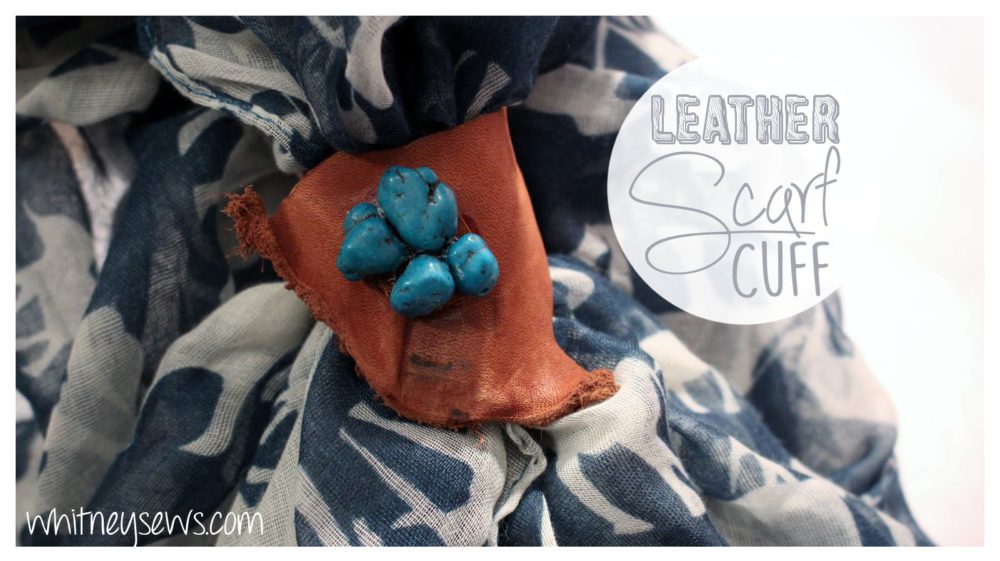
Leather Scarf Cuff and How to Install a Metal Snap


As most of you know, I’ve been trying to use a lot of things from my stash, and my stash includes a LOT of leather!  I love leather and how it looks in different projects, but I don’t actually use it as often as I would like.  So this week is all about leather!

I decided to start with an easy project so I went with a scarf cuff.  What is a scarf cuff??  Glad you asked!  It’s a way to accessories a basic scarf.  You can also use a scarf cuff to turn a regular long scarf into a circle scarf.  So in essence it’s jewelry for your accessories 😉

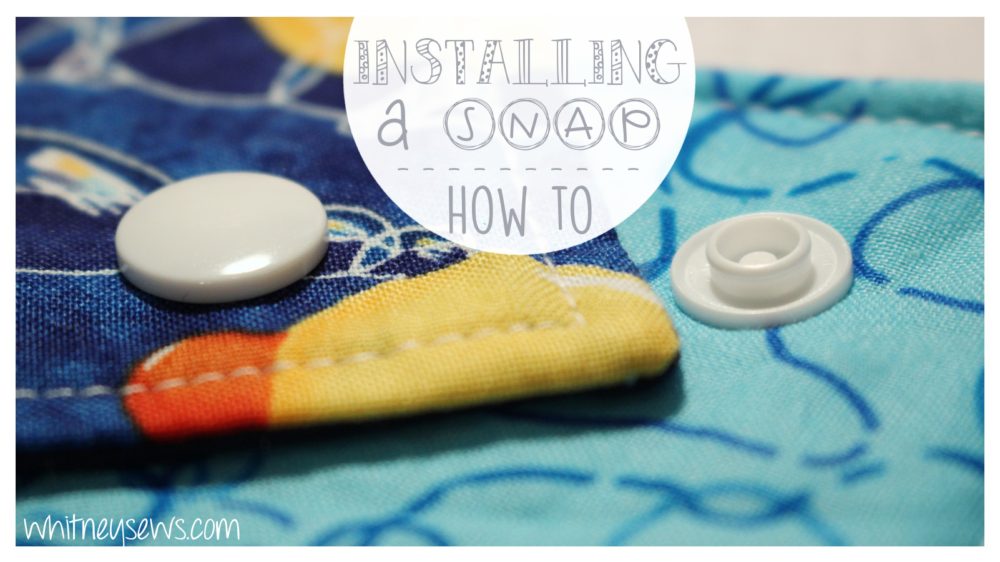
Since I showed how to install plastic snaps last week and got requests for more videos showing basics skills like that I also wanted to go over how to install metal snaps.  If you’re not into snaps you can definitely hand sew a button on the cuff and cut a button hole for your closure.

I picked a fun piece of leather from my stash and wrapped it around my scarf to see how it fit.  Then I was ready to install the snap.  I have this snap kit and really recommend it!

Check out the full tutorial HERE to see exactly how to install your metal snaps!

Once the snap is in place you are done…or you can embellish your cuff, which is what I did!

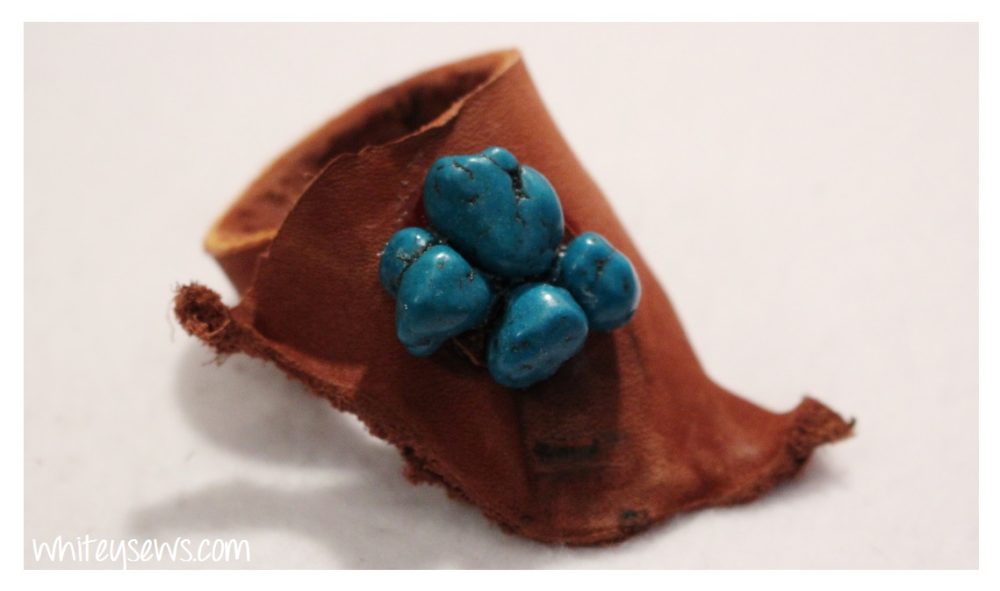
Some great embellishments would be a fabric covered button or some pretty stones.  I added a few faux turquoise stones to a piece of thin leather with E-6000 glue and after it was dry I glued it onto the snap.  More details on that are in the video as well.

The cuff turned out so cute and has the exact rustic , southwestern vibe I was wanting!

Let me know in the comments if you are interested in seeing more tutorials incorporating leather!  Make sure to come back on Friday for a special cooking video and next Wednesday for another how to!

-Whitney-


Future Costume Plans


This time of year is a favorite of mine!  We are getting out of the winter slump and getting some nice warm days  and it is the start of the costume season for me!

We start the season off with the Norman Medieval Fair the first weekend in April.  There is a local free cosplay photoshoot with several local photographers in mid-April.  Then summer is full of lots of conventions to cosplay at!

Because of all those upcoming opportunities to throw on a costume I am in the costume frame of mind!  There are several different things I want to make for myself and Jeremiah.  I wanted to share some of my plans and ideas with you all, just for fun and to share my excitement.

Click HERE to watch the entire vlog and hear what all I plan/hope to make!

BTW after filming this vlog I ended up making one of the things I talked about! There will be a tutorial on it coming soon!

I hope you enjoyed the vlog and come back Wednesday for a new tutorial.  Until then, Happy Sewing!

-Whitney-

How to Install a Snap


I have incorporated snaps into a few of my recent sewing projects and each time I share one of the how tos I get requests for an in depth video about snaps.  Well, that video is here!  This week I did a close up step-by-step tutorial all about how to install a snap using snap setting pliers.

The set I use it just like THIS!

It is a KAM set, but you can follow along the same steps no matter what brand you are using.

Click HERE to watch the step-by-step video tutorial!

I hope this was helpful and answered all the questions I have  received about snaps.  If you have any other techniques or tutorials you want to see on my channel make sure to leave them in the comments.  Until next time, Happy Sewing!

-Whitney-

Sew Your Stash – Quilt Plans, Pillow Shams, and More!


This week for my Sew Your Stash update I wanted to talk about some projects that I have planned.  One of my goals for this year is to make things for others. I have several quilt planned that I will be making and donating, but with 2 kids ages 2 and under it’s often hard to find time to sew.  So in my video I show how I keep all those projects organized and ready for when I do get a chance to do a little sewing.

I have also been working on a new style of pillow shams.  There will probably be a tutorial on them in the near future and I do plan on selling the pillow shams themselves.

This time of year is really when the costuming season starts so I have lots of costume ideas on the brain!  (I think I’ll do a whole separate video all about our costume plans).  My current costume project is for the Norman Medieval Faire that we attend every single year!  If you want to see all the videos I’ve done in the past about the Medieval Faire and our costumes, you can check out the playlist HERE!

And finally, I made a fun scrappy project inspired by some from the Sew Your Stash facebook group!

Check out the full Sew Your Stash update video HERE!

I hope you enjoyed this week’s video and are having a great time sewing from your own stash!  Until next time, Happy Sewing!

-Whitney-

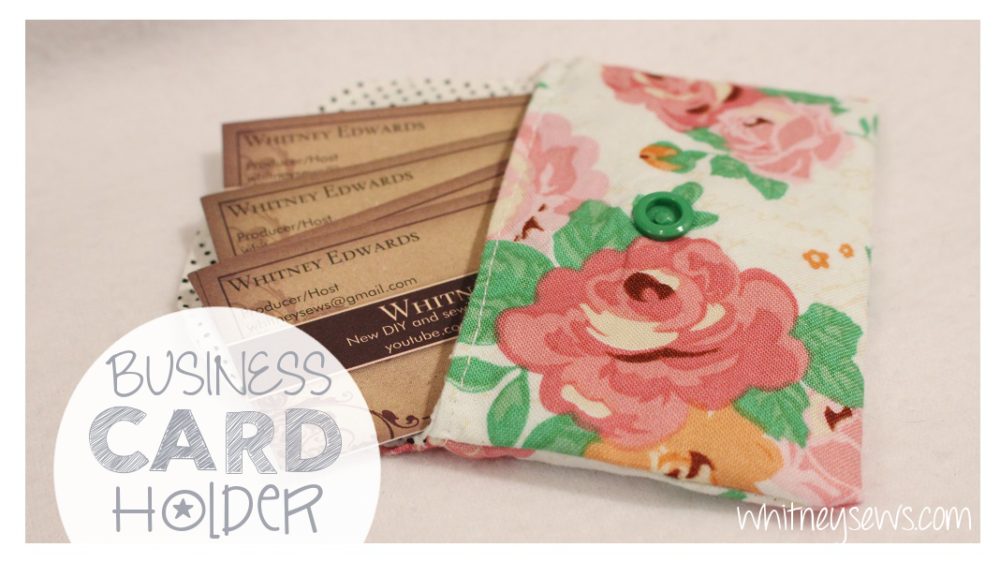
Fabric Business Card Holder


This week I have a very simple how to for a lined fabric business card holder.  It’s a great project you can whip one up in under 30 minutes using scraps!

Check out the full tutorial HERE!

Here are some of the supplies you’ll see me use in the video:

Craft Clips – http://amzn.to/2k0abXq
Snap Setter – http://amzn.to/2jOG6r9

Looking for some other easy projects to make?  Check out my entire playlist HERE!

Or maybe you are needing ideas for using your scraps!  Click HERE for scrap busting projects!

I’ll have a new tutorial up next Wednesday!  Until then, Happy Sewing!

-Whitney-

Snow White Party Series


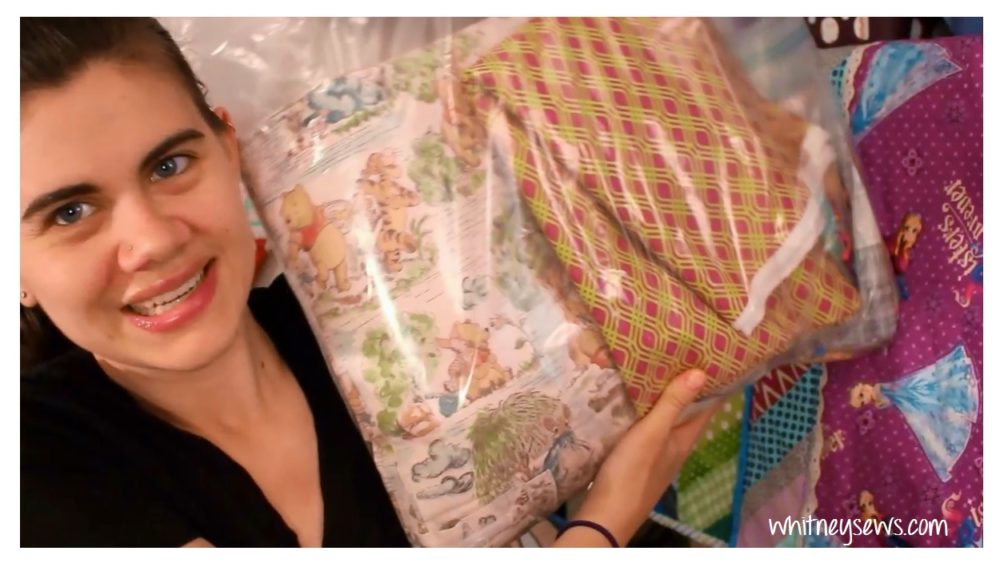
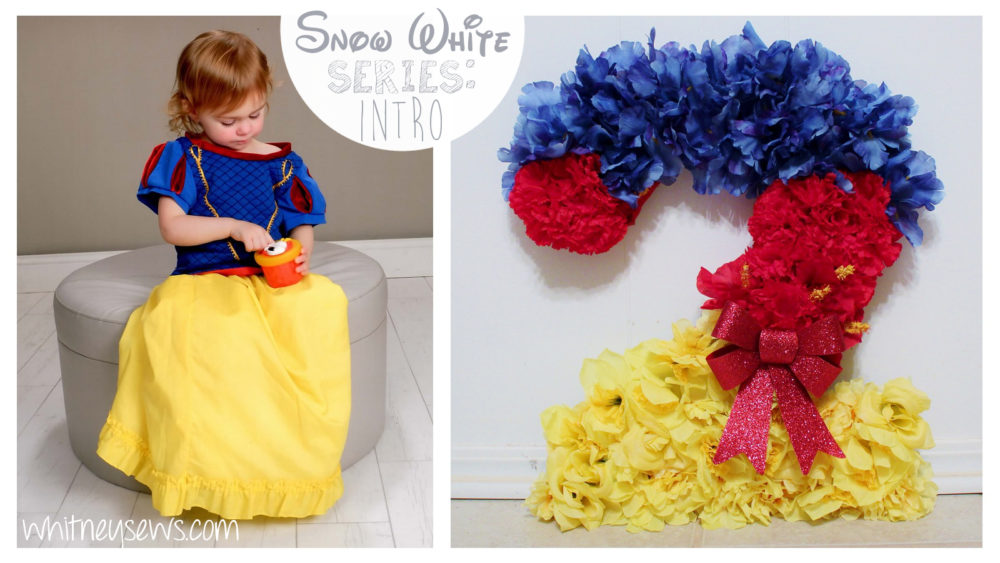
This is an extra special week here on Whitney Sews!  My daughter Peyton turned 2 last month and we had a Snow White birthday party.  I made lots of DIYs for the party, including a beautiful Snow White costume for Peyton to wear at the party!   So this week I will be posting a new party related video EVERY single day!

The videos will include a supply haul for the party and costume, DIYs, party vlogs, and more!  All my DIYs are specifically catered to a Snow White theme, but can be translated into just about any themed party you’re having.

You can find the intro to the series HERE!

Then click the PLAYLIST to see all the rest of the videos!  (I won’t have a new blog post for each video, so make sure you’re subscribed to my youTube channel to catch them all!)

I hope you enjoy the series! Until next time, Happy Sewing!
-Whitney-

Charming Rainbows Quilt

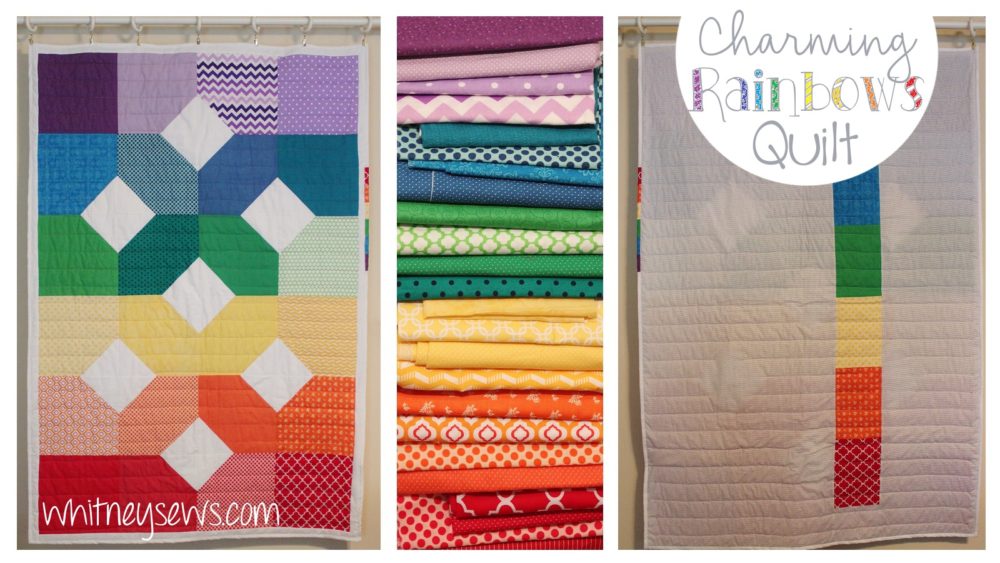
I am very excited to share this week’s tutorial.  I’ll be showing how to create my Charming Rainbows quilt design!

This quilt is great for scraps, fat quarters, and precuts (and doesn’t actually have to be made in rainbow colors, but it sure is lovely as a rainbow!).  It designed for using 24 different colored fabrics, but it boils down to only 3 different quilt blocks, so it’s great for any skill level!

This tutorial is also special because it’s the first time I’m offering a companion PDF for a Whitney Sews video tutorial!  PDF instrucitons have been requested many, many times over the years and I’m finally giving them a try.  I have decided to create PDFs for some of my future how tos that are more complicated or need extra cutting/piecing directions.  However creating a PDF takes a lot of extra time and energy, so I will be charging a few dollars for them.  But don’t worry, I still have lots of completely free video how tos coming up!

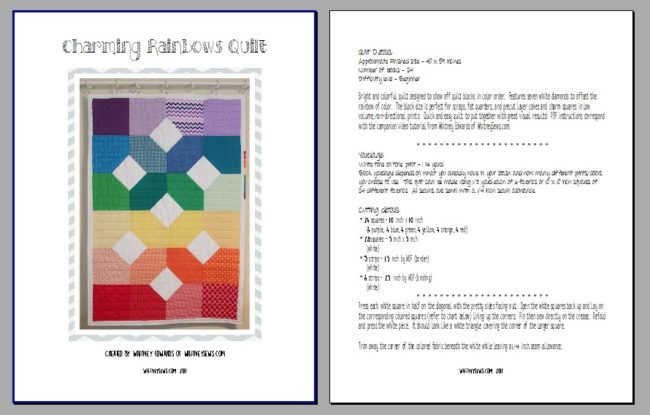
Since this is the first PDF and a favorite project of mine the PDF will be FREE for the first two weeks!  In the four page PDF you will find a full color photo of the quilt, cutting details, sewing instructions, and graphics for piecing the quilt together. You can click HERE to find it!

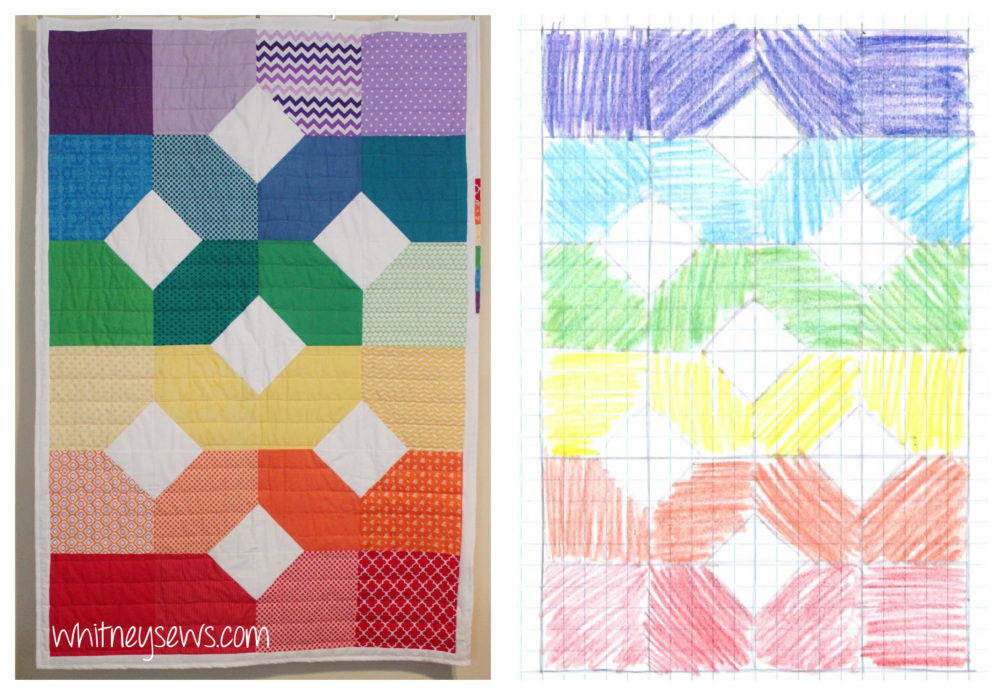
When I designed this quilt I was playing around with several designs (all in rainbow order!) and this was the one I decided to make first.  Below is my original sketch side-by-side with the finished quilt.  Pretty similar if I do say so 🙂

Click HERE to check out the video portion of the tutorial and see just how easy this quilt is to make!

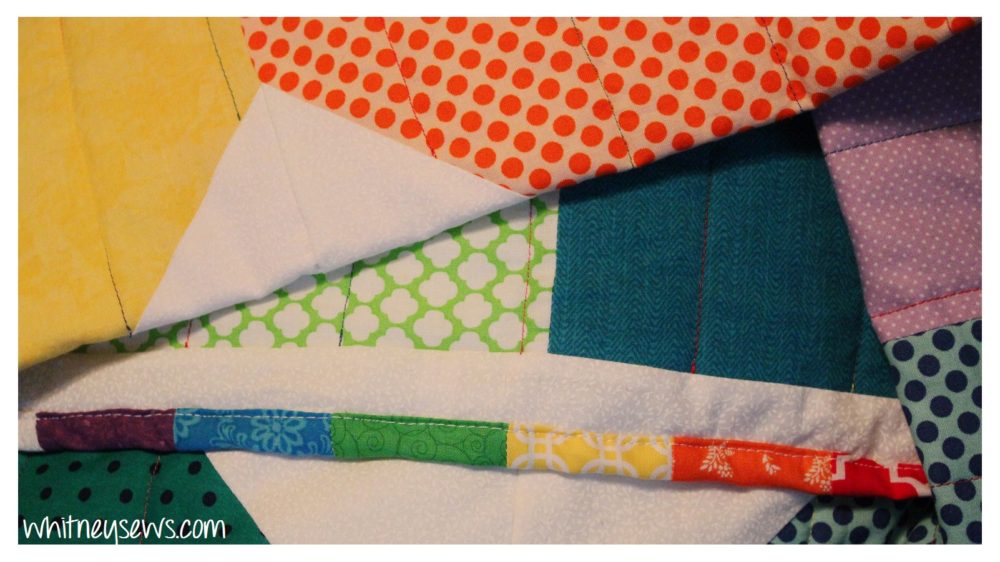
You may have noticed in some of the photos the backing and binding also included some rainbow color order piecing.  I loved adding those extra details and think they really add to the quilt.  Check out the video HERE to see more of those details.

I hope you enjoy the project as much as I do!  If you give this quilt a try, make sure to share a pic with #CharmingRainbowsQuilt so I can see it!

If you have a stash like mine with enough coordinating fabrics to make something like this without even stepping into the store then you might enjoy my Sew Your Stash facebook group.

Make sure to subscribe on youTube so you don’t miss any of those new videos!

Until next time, Happy Sewing!
-Whitney-

Bandana Bib DIY


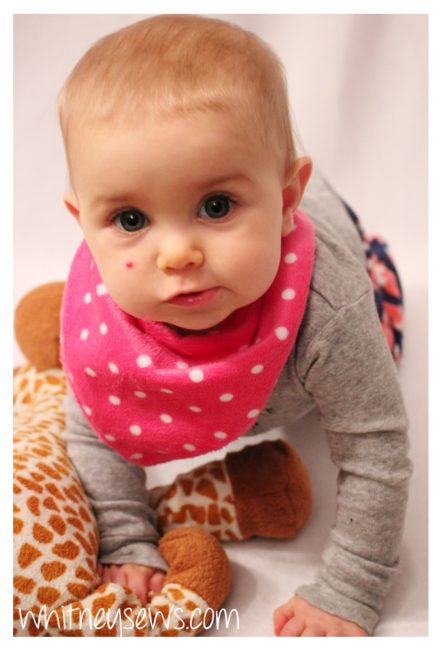
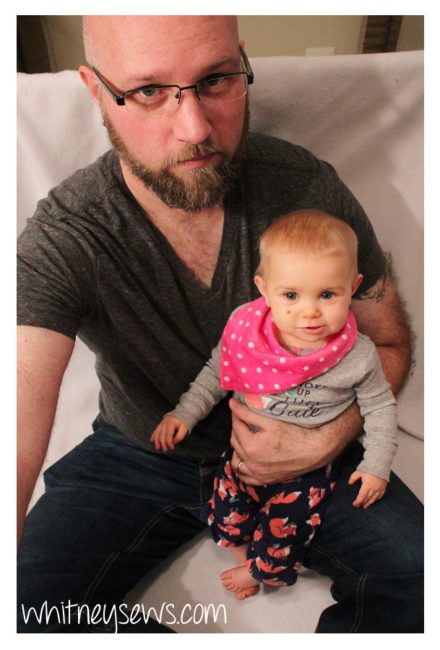
My youngest daughter Skyler is right in the thick of teething; she even managed to cut 3 new teeth in a single day!  If you’re a parent then you know that means there is a lot of drool going on.  In an effort to keep Skyler’s clothes dry she is usually wearing what I call a ‘drooly bib’ but is otherwise known as a bandana bib.

This style of bibs are super easy to make and completely reversible.

Grab two absorbent materials (minky, flannel, etc) and you’re ready to get started.

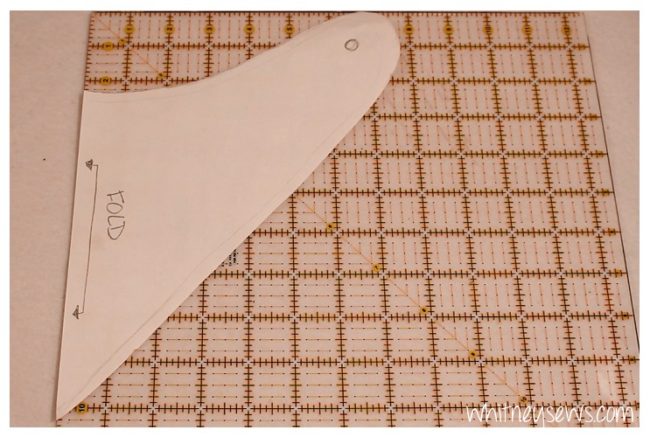
You will need a pattern.  I made mine by folding a bib in half and tracing it then added a 1/4 inch seam allowance all the way around, except the side with the fold.  (The bib I traced was given to use by a wonderful Whitney Sews viewer!)  Below I have a photo of my pattern on a gridded ruler if you want to use it as a reference to make your own.  If you don’t want to make a pattern, you can look for one to print online.

Cut one bib on fold from each of your materials.  Then place the two right sides together and sew around with a 1/4 inch seam allowance. Leave an opening along the straight section for turning through.  Make sure to backstitch at the beginning and ending.

Trim the seam allowance down along the curved edges and turn right sides out through the opening.  Top stitch all the way around to close up the opening.

Then select your closure of choice and add it.  I have been enjoying using plastic snaps lately and have added them to many different projects.  Here’s the one I use if you want to check it out.


It’s easy to use and finishes off projects with a clean and professional look!

Want to watch the full video how to?!?  Click HERE to check it out!

And that’s it!  These bibs are very easy to make and make great baby shower gifts!

I hope this has been helpful and you try making a few of these bibs for the babies in your life.  Until next time, Happy Sewing!

-Whitney-

Sew Your Stash – Scraps and More


Two weeks ago I shared my Sew Your Stash Challenge and the response has been amazing!  So many people have commented saying they are joining in and focusing on using their fabric/yarn stashes this year.

I also launched the Sew Your Stash Facebook group and so many of you all have joined in sharing your #honestsewingspace pics as well as photos of the projects you’re making!

All the comments and posts are keeping me motivated as well as encouraging other members of the group!

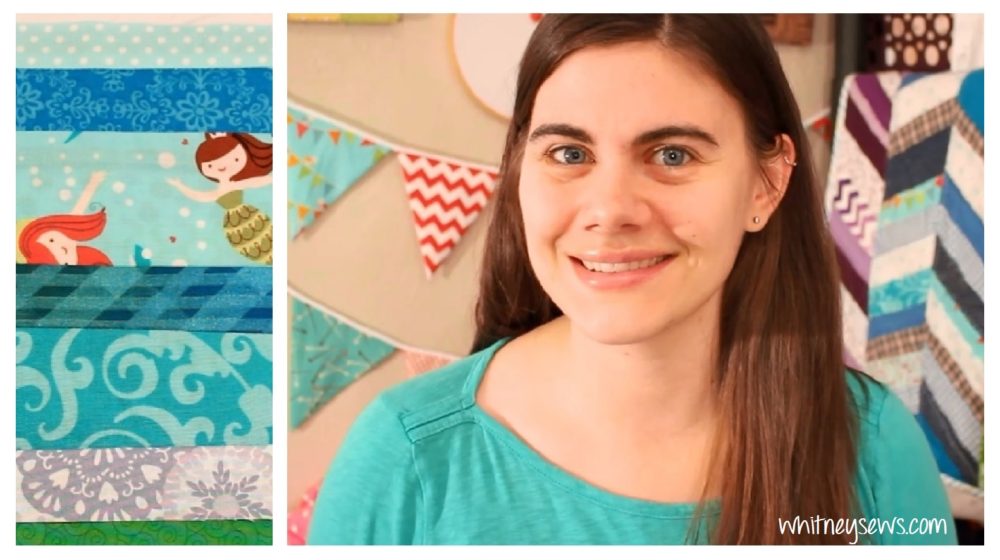
This week I wanted to give some tips and ideas for using up fabric scraps.  One of my struggles is hanging onto scraps.  I don’t want to throw them away and waste material, but will I realistically ever have a project to use those scraps in??  So I created a project around them!  I found a way to put my scraps to work creating strip pieced blocks that I can then turn into so many different things.  This gives me a launching point for future projects instead of a bag full of fabric pieces and no ideas!

Check out the Sew Your Stash update to see all the blocks I made.  Click HERE to watch!

Some other ways you can use scraps are string piecing, paper piecing, and improv piecing.  You can find videos about all those piecing styles HERE!

The second bag of scraps I used up was a bag of flannel.  I used them, along with a bit of cotton, and two microfiber towels (the ones I use in my cloth diaper inserts) to create feminine hygiene pads.  I used an existing pad to create a pattern and set to work making my own.  They were surprisingly easy to make and used only items I already had in my stash!

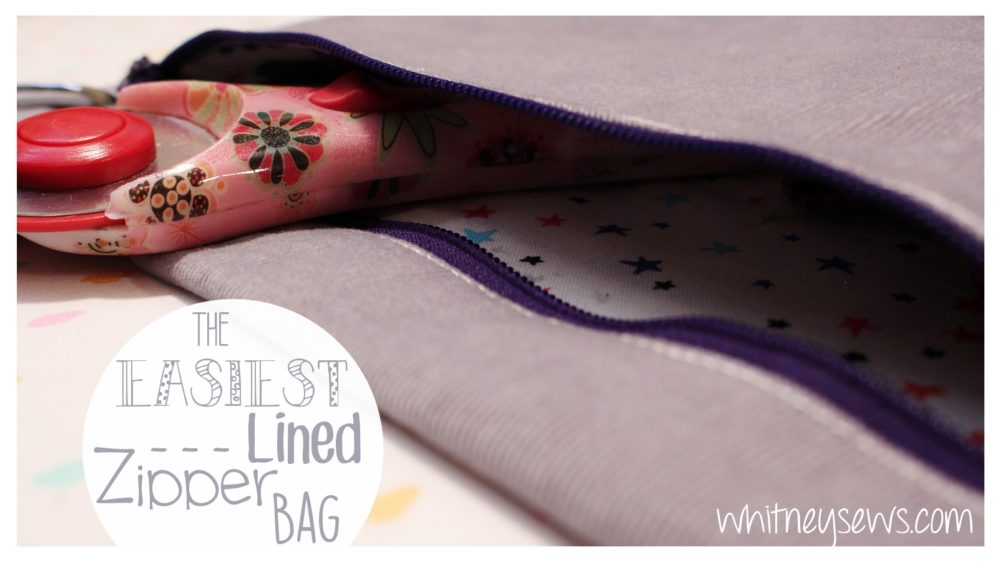
I also worked on several zipper bags; the most notable are the lined versions of my 5 Minute Zipper Bag.

It was a highly requested tutorial so I’m glad I was able to make it work!  This is a quick project and a great stash buster!  Check out the lined zipper bag HERE!

Whew!  All that sewing, plus keeping up with my two kiddos, has kept me busy!  I would love to know what you have been working on and what you want me to talk about in my next Sew Your Stash video.  Leave your tips and suggestions in the comments below.  Don’t forget to come back Wednesday for a new tutorial and until then, Happy Sewing!

-Whitney-