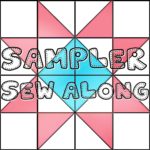
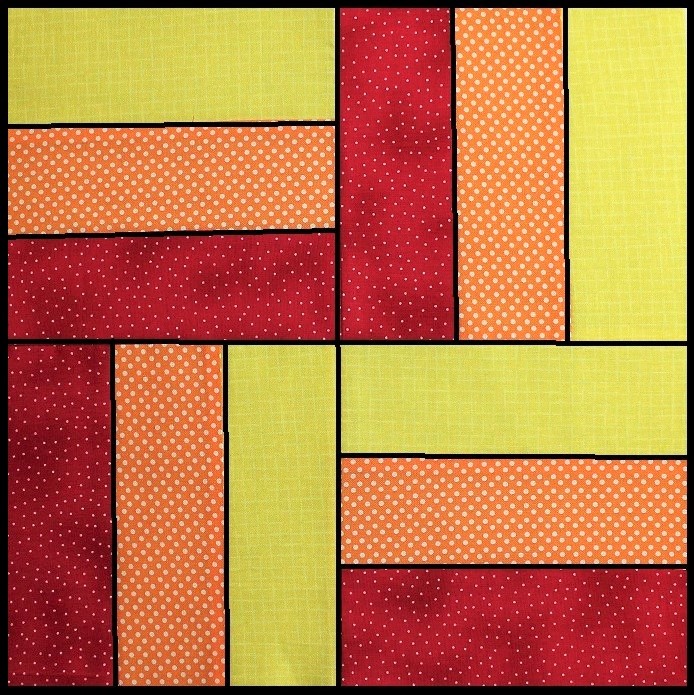
It’s time for the fifth block tutorial in the Whitney Sews Sampler Sew Along! Haven’t heard about it yet?!? Each month I’ll be sharing a step by step tutorial to make a traditional quilt block as well as how to sew the blocks together to create a sampler style quilt that finishes in a great lap quilt/baby quilt size. This week I’m sharing a tutorial for the rail fence block.
I share the step-by-step instructions for sewing the rail fence block in the video HERE!
Don’t forget to share a pic of your finished block with #SamplerSewAlong so we all see it!
If you want more details on the supplies I use in my videos, you can find them all HERE! I set up an Amazon storefront so all my most used items are in one place and if you use my link to purchase anything I get a small percentage for referring you and that goes to help create more quality content like this video tutorial.
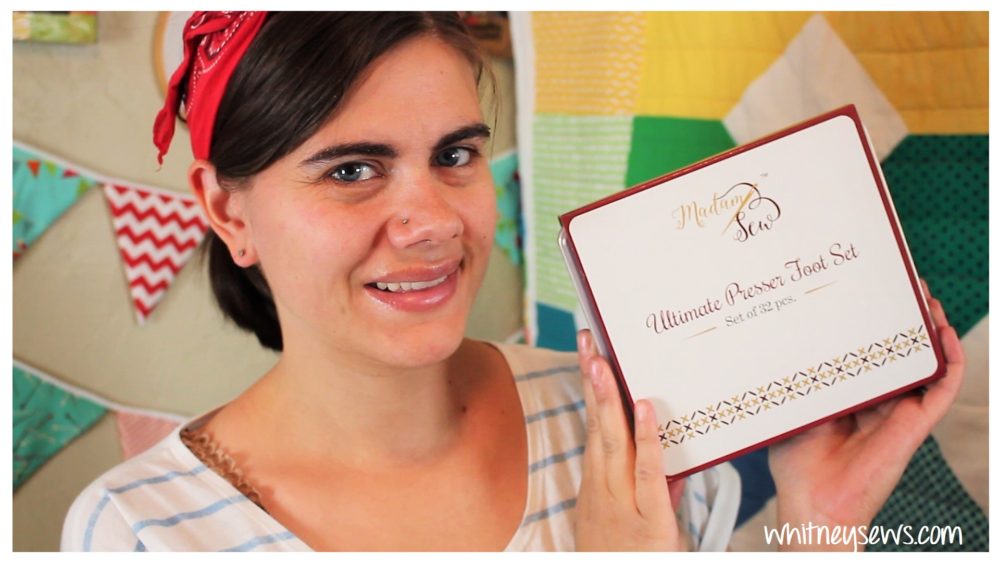
You might be interested in knowing that I’m currently hosting a giveaway for the 32 piece Ultimate Presser Foot Set from Madam Sew! Check out the video HERE where you can see the unboxing and enter to win your own!
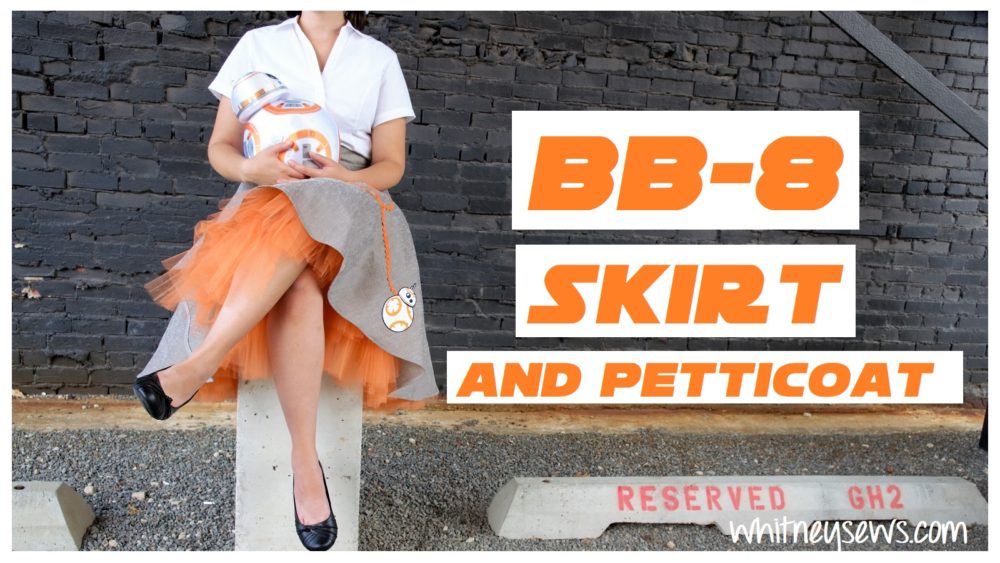
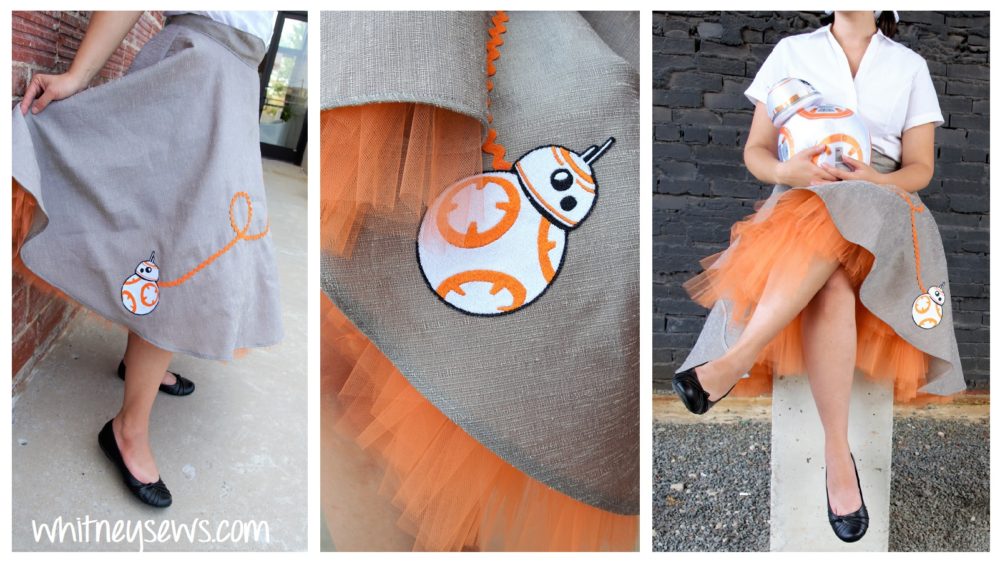
Sometimes I get an idea for a project and I KNOW I HAVE to make it. That happened when I was scrolling through my instagram and saw a picture of a poodle style skirt, but instead of a poodle there was a BB-8! In my mind it was perfect! I’m switching to a more retro style and love Star Wars, so a 1950s inspired BB-8 skirt is the perfect mashup!
I took a screen shot of the original skirt and started working out the details in my mind. I knew I needed a BB-8 patch (the larger the better!), orange ricrak, and grey fabric. I also wanted to make sure it was a full circle skirt with pockets and a matching petticoat. I didn’t have an occasion to wear the skirt in mind, so it wasn’t at the top of my list to complete.
I did start gathering supplies so when I wanted to start the skirt everything would be ready. I picked up the patch from THIS etsy seller and the ricrak from Hobby Lobby when it was half off.
BTW I used ebates to save a few pennies on this purchase as well as when I order supplies on Amazon, travel, etc. If you are interested in saving money AND helping support Whitney Sews please consider using my ebates referral link to sign up and shop.
Then I remembered some grey curtains I had been given that would be perfect for the skirt! So I started in making my skirt one Friday night. The plan was to vlog the process and complete the skirt in time to wear to a convention the next day…that did NOT happen! The skirt was a disaster and I gave up on it at 2 a.m.
But a couple of days later I started over and made a beautiful skirt I’m so happy with! You can see more pics and hear all about the mockup mishap and everything else HERE!
Once the skirt was complete I set to work making a matching petticoat. I picked up the tulle at a local store closing (check out the haul HERE). I had never made a petticoat before, but found a tutorial online that was really helpful! Using her video I came up with the numbers to use for my petticoat. It has two separate layers that are each made of three tiers of tulle. The two layers are sewn together to a cotton tier. A slip was added in for the lining and the top edge bound in bias tape with a snap closure.
I didn’t film a tutorial for the petticoat, but I will give the measurements I used to give you an idea of how much tulle went into making the volume. The cotton tier of the petticoat measures 5.5 x 48 inches. I bound the two short sides with bias tape and only tacked together at the bottom so I can pull the petticoat on and off. All the rest of the tiers were sewn into loops. The second tier is 8 inches x 4 yards, the third is 8 inches x 12 yards, and the final tier is 7.5 inches x 36 yards. As I mentioned earlier tiers 2-4 are sewn twice so there are two tulle “skirts” sewn to the cotton row. I’m sure all of that is a little confusing if you’ve never sewn a project like this before, but refer to the video HERE for more help!
I show the skirt and petticoat as well as go into more details about the process in my DIY Inspiration HERE!
So what do you think of my BB-8 skirt? Did I do the original design justice? I’m so happy with how my skirt and petticoat turned out and am proud I was able to make it exactly how I wanted!
Want to know more about my switch to vintage inspired fashions?? Read all about it HERE! Until next time, Happy Sewing!
Back in 2009 I took a costuming class for my speech theatre minor. Our big sewing project was to use a sewing pattern to create a wearable garment. We had to make at least one alteration to the pattern then wear the finished garment in class to get our grade. I was going to be lazy and make a simple skirt pattern, but my professor encouraged me to try a more complicated pattern. So I went through the costume department patterns (donated from people in the community) and found a pattern I loved from the late 50s/early 60s. I hit the fabric stores and ended up picking a Walmart clearance fabric ($1.50/yard) and set to work. I was the hardest thing I had ever made, but it turned out amazing! So why the 9 year old story?!? Because that dress is what started my love and appreciation for vintage styles and vintage sewing patterns. BTW I’m still kicking myself years later for not writing down the pattern brand and number that I used…
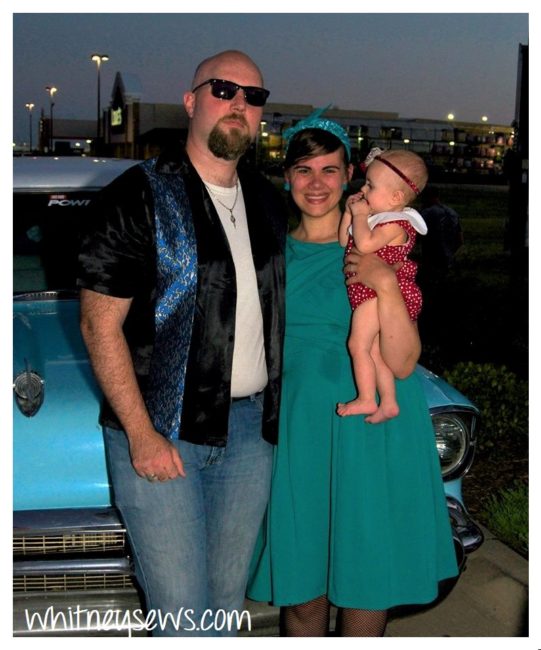
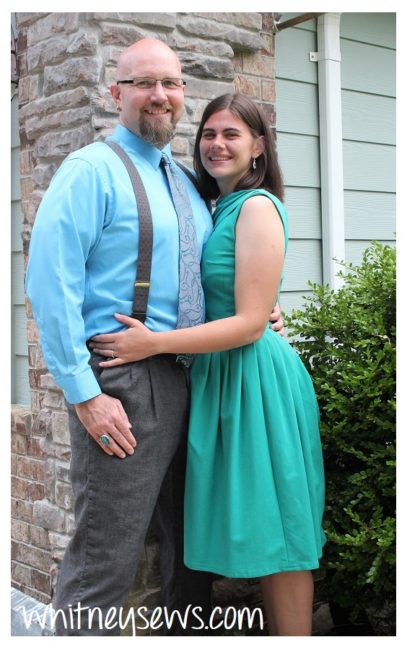
Even though I LOVED my dress, I didn’t wear it that often. I felt like I needed an occasion, and how often does a 1950s/60s occasion come up?!? Then we started getting connected with the Oklahoma Patriotic Pin Up Girls and attended a few themed events.
And yes, that is Peyton when she was about 7 months old! It was so fun and I loved having an excuse to wear my dress. Then I started thinking, why should I have to have an excuse or a reason to wear something that makes me feel pretty and happy?!? So I started wearing my dress to “normal” events like an anniversary date night.
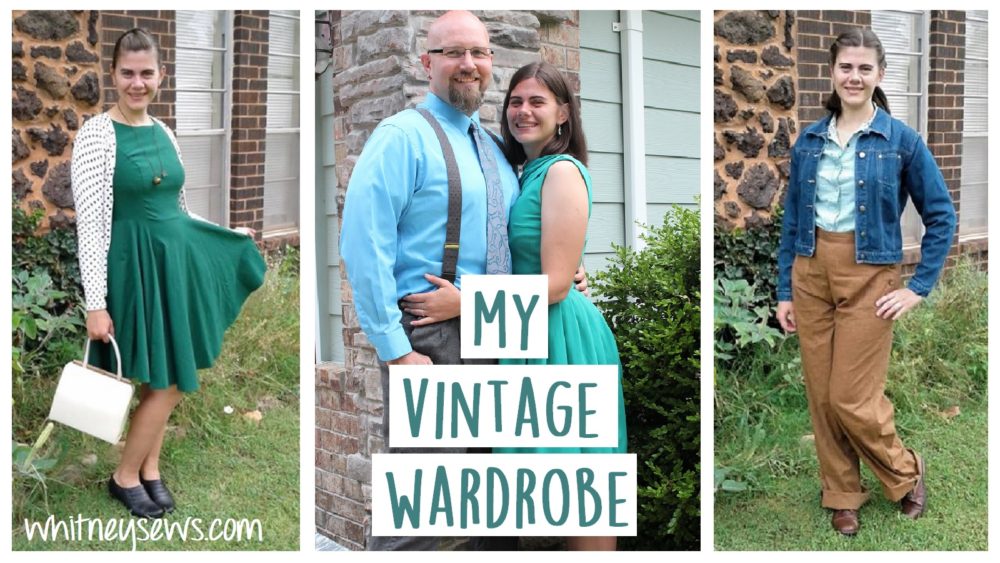
I love my teal dress, but I wanted to have more than one vintage item to wear. Around the start of summer I found a channel on youTube called The Pinup Companion. She is a lovely gal who wears amazing 1940s vintage and vintage reproduction clothing daily. I’ve been falling more and more in love with the 1940s thanks to shows like Land Girls and Wartime Farm. It was a truly interesting time in history and the fashions were so flattering. So when I found The Pinup Companion (as well as several other ladies, and a few gentlemen, on instagram) wearing vintage styles daily it affirmed all the things I had been mulling over. I wanted to start wearing vintage (anytime I say vintage I mean vintage style, reproduction, etc) without feeling like I need a “reason”. Feeling good in my own body is reason enough!
The same week I came to this understanding Angela Clayton posted a video about her journey of venturing into vintage. Her video came at the perfect time and has some really great tips in it.
So, how does one make the transition from skinny jeans and t-shirts to vintage…by hitting the thrift store! I went to the thrift store a couple of weeks in a row on half price day, in search of modern clothing that could be styled as vintage. I tried to start by focusing on basics – white/off white tops, skirts, trousers, etc. I also picked up a couple of items online (my first time ordering clothing online), and made a few pieces. There is still a long way to go before I can wear vintage daily, but I feel like I’m off to a good start!
I made a video showing (almost) all of the vintage inspired pieces I have already collected, along with my plans for a few more handmade items. You can see them all HERE!
I forgot to mention in the video, but I’m also working on make a pair of 1940s inspired jeans. I feel like they will be an absolute staple in my wardrobe!
What pieces do you think I should be on the look out for next?? I feel like I’m well on my way to ditching my skinny jeans and tees wardrobe for a vintage styled life. Can’t wait to share more of my journey, but until then, Happy Sewing!
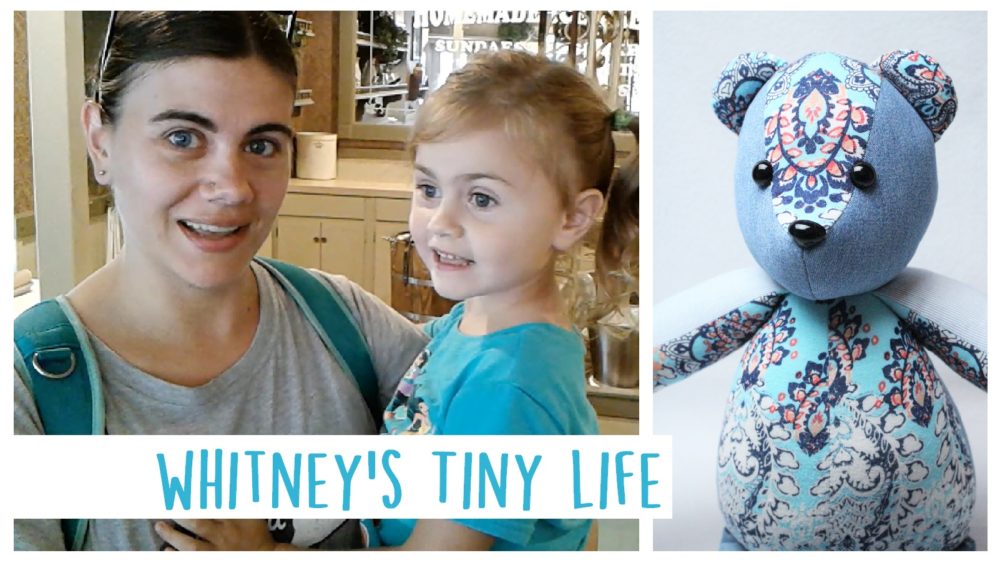
Did you know I have a vlogging channel called Whitney’s Tiny Life?!? I’ve been posting Week in the Life vlogs every Friday for over six months! Each vlog has a snippet of my day, projects I’m working on, and sneak peeks of what’s coming up on Whitney Sews.
This week I worked on a vintage clothing collection video (coming tomorrow on Whitney Sews) and talked about my plans for making 1940s inspired jeans. I also spent some time working on a memory bear order. You can check it all out HERE!
While you’re over on Whitney’s Tiny Life, make sure to hit that red subscribe button so you don’t miss out on my upcoming vlogs and sneak peeks! Want to see the other vlogs I’ve posted? HERE’s a playlist full of them!
I hope you like the videos and seeing more of my day to day activities. Until next time, Happy Sewing!
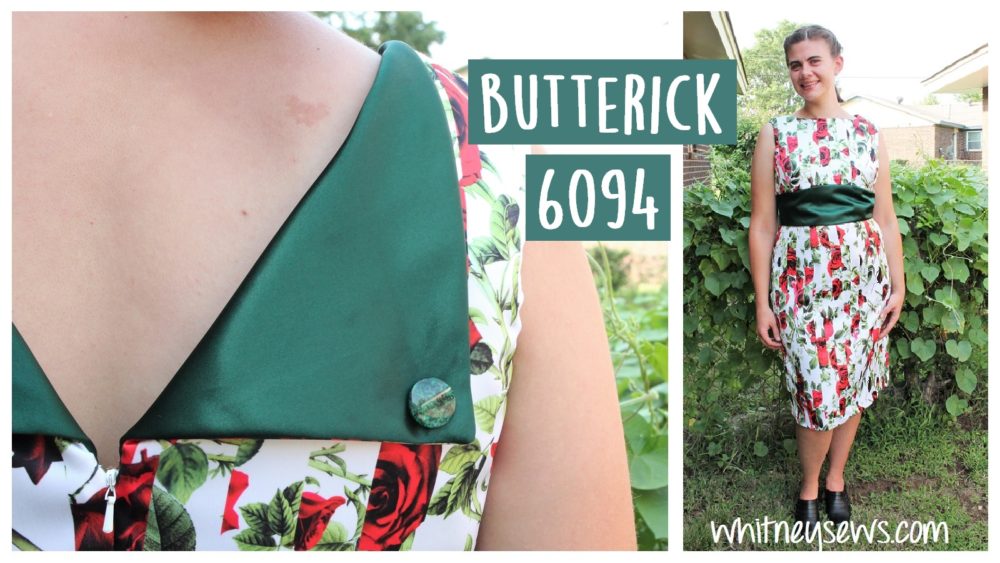
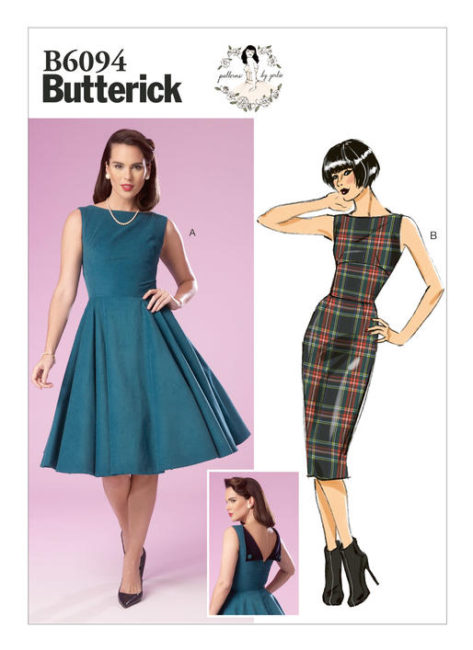
Isn’t the back detailing on this dress gorgeous?!? That is what drew me to this pattern in the first place. The pattern is Butterick 6094 and I’m showing stitch by stitch how to create a beautiful dress like this one. It is a Patterns by Gertie design and has such a nice vintage vibe (I’m really into vintage styles…more on that later!)
I started off making a mockup of the dress to check the overall fit, practice installing an invisible zipper, and get more familiar with the pattern instructions. I vlogged the process of making the mockup and you can check it out HERE.
Once I was comfortable with the sewing instructions and fit it was time to start cutting the pieces for my final dress…my Rose dress, as I have lovingly named it. It was the beautiful rose print fabric that inspired me to pick up Butterick 6094 and create the dress in the first place. You can see the haul video and everything else I picked up that day HERE.
The step by step sewing tutorial can be found HERE!
In the video I mentioned trying out some different finishing techniques. I chose to bind all the raw edges with a narrow bias tape. It took a little more time than serging or using pinking shears, but it gave the inside of the dress a beautiful finished look. I am going to use this finishing method on another project or two then have a separate video talking all about it.
Have you used bias binding to finish garments before?? What are your thoughts on it, I would love to know!
Oh yeah, I mentioned my vintage style love earlier! I’m slowly trying to transition my wardrobe into 40s and 50s inspired styles. It’s a work in progress, but I will have a video up later this week sharing my vintage style thrifted and me-made pieces. I can’t wait for you to see it! Until then, Happy Sewing!
I picked up Butterick 6094 back in May when a local store was going out of business. I also found a beautiful rose print fabric that seemed perfect for the dress! I showed them in a haul video HERE. I was pretty nervous to cut into the fabric and knew I needed to be certain of the fit and construction before hand so it was crucial to make a mockup.
With my post 2 kids body I’m less and less sure about my size and fit than I ever have been. So jumping right into making my final garment isn’t as much of an option these days. Plus I wanted to make sure I understood all the pattern instructions since there were a few techniques I hadn’t done before.
A friend of mine gave me several bags of curtains from a house remodel and it was the perfect, free material to use for my mockup.
I vlogged the process in hopes that it would help some one else, or at least inspire someone else to give making a mockup a try. Check out the video HERE!
In case you’re wondering…here is how the final dress turned out!
I’m super happy with the dress and will be sharing the stitch-by-stitch tutorial for it on Wednesday! **Updated – watch the full tutorial HERE!** Have you given Butterick 6094 a try? Would love to hear how yours turned out! Until Wednesday, Happy Sewing!
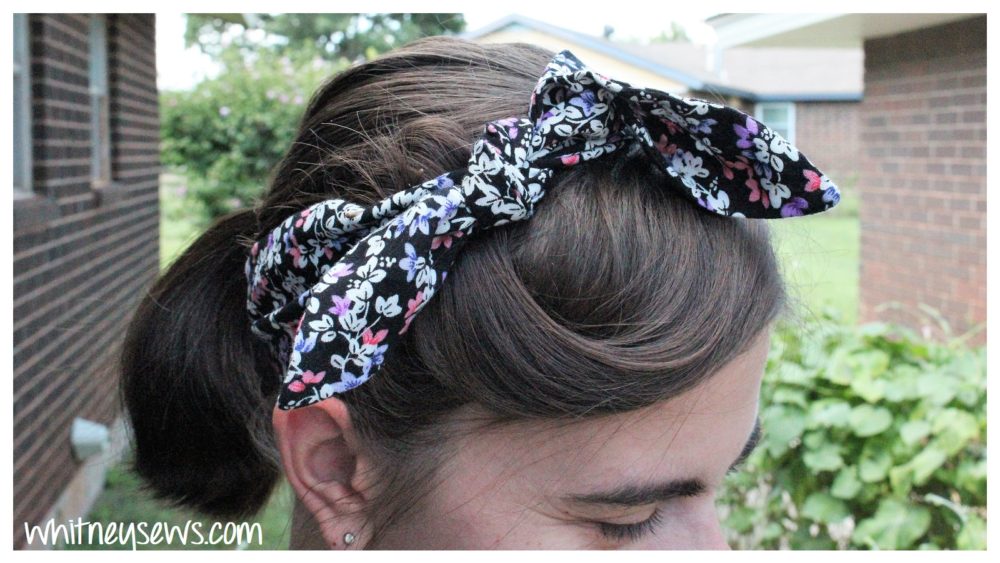
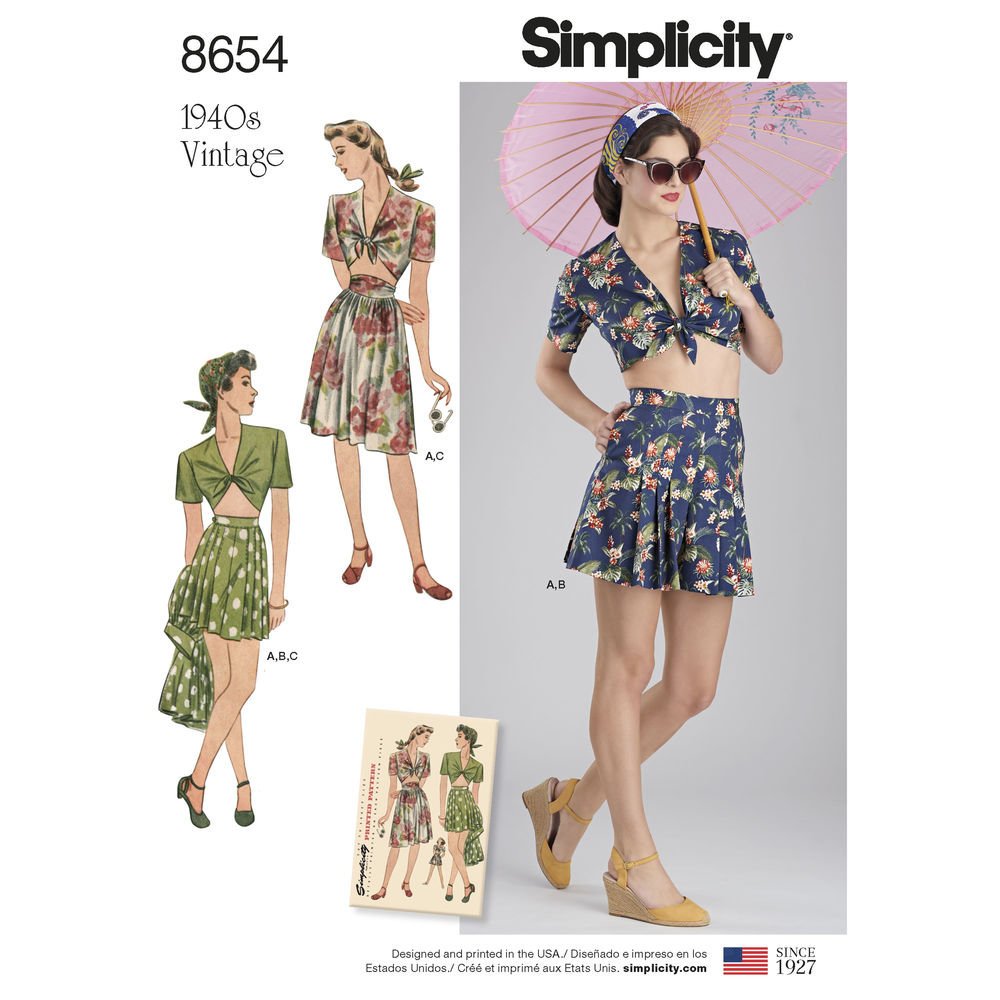
Last week I shared a pattern review for the 1940s style shorts made using Simplicity 8654. The shorts were made using a sweet floral fabric and I knew the scraps would make an adorable skinny, vintage style scarf! So I whipped one up and love how it turned out. Only takes a few minutes to make and is definitely beginner friendly!
This year I added to my Sew Your Stash goals to include using more of the 300+ patterns in my sewing collection. I love sharing step-by-step tutorials so you all can sew the pattern along with me, but sometimes I can’t (or don’t want to) film the process. Simplicity 8654 is one of those cases. It was a project I wanted to whip up without having to worry about camera angles and all of that.
I made the pleated shorts option using the floral viscose from the October Sew Hayley Jane box. You can check out that unboxing HERE!
I wanted to share the shorts after they were completed, so I thought it would be fun to try something new…a pattern review. It’s my first pattern review so I covered the basics such as how easy/difficult the instructions were to follow, adjustments I made, final fit, changes I would make for next time, and more.
(BTW I apologize for the poor photo quality…I had my camera on the wrong settings).
Anyway, check out my full pattern review with additional photos HERE!
I would love to know if you have tried Simplicity 8654 and your thoughts on the pattern. Also did you like this kind of video, or would you prefer a DIY Inspiration style video for non tutorial videos??
Make sure to check back on Wednesday for a tutorial on the skinny hair scarf I made to match my shorts. Until then, Happy Sewing!
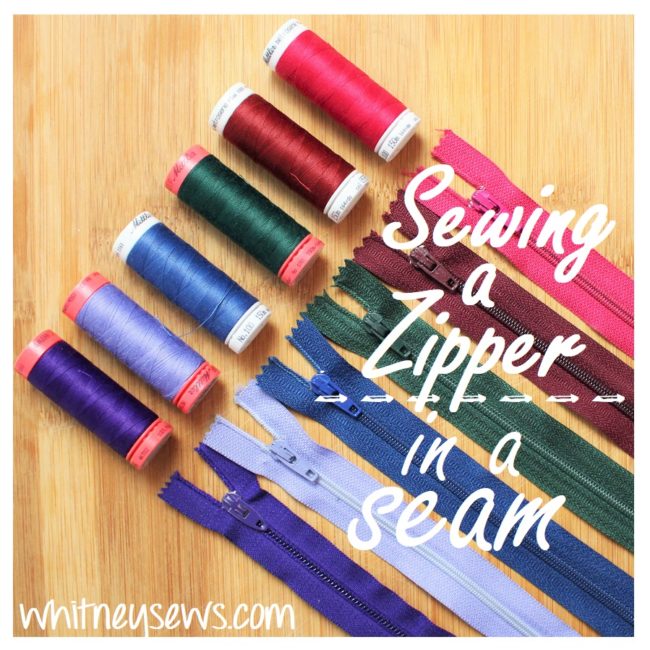
I have been challenging myself to use more of the sewing patterns in my stash. Several of the garments I’ve been sewing include a zipper in the side or back seam. I’ve had several people tell me they are afraid of working with zippers. So this week I wanted to show step-by-step how to insert a zipper in a seam and how easy it can be! I also included one of the ways to add a waistband to finish off a skirt or trousers.
I’ll have more sewing basics videos like this coming soon. Are there certain techniques you want me to cover?? Leave a comment letting me know. Until next time, Happy Sewing!
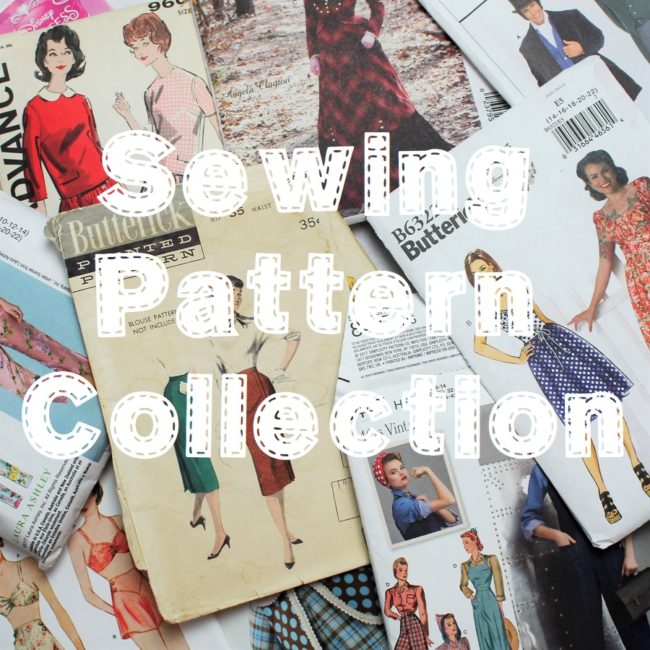
In my recent sewing pattern collection post I showed every single sewing pattern I own and answered some frequently asked questions about my patterns. One question I get very often is how I store my 300+ patterns. For YEARS I did not have a organization or storage solution at all. I had a few crates, boxes, bins, stacks, etc of patterns scattered all over my sewing room. I had no idea how to tackle them and where to get started.
I finally got fed up with my lack of a solution and dove in head first! I used to store all my sewing patterns with the envelope in a plastic sheet protector and the pattern/instructions in a manila envelope like I showed HERE. This system worked fine until I had over 100 patterns, then I got tired of purchasing more and more envelopes and sheet protectors.
I ended up keeping that system for my vintage patterns so they are protected from being damaged any more than they already are. The rest of my patterns are stored in order by company and pattern number in wooden crates.
I go into more details and show everything in the video HERE!
I am so happy with this new system and I can’t believe I waited SO LONG to actually do it! I would love to hear your thoughts on how I’ve got my patterns organized. Is it similar to how you keep yours? If not, what do you do differently?
By the way, I’ve added to my Sew Your Stash goals for 2018 to use more of the sewing patterns that I own. In the past three months I’ve used SIX of my patterns! That is a huge accomplishment since it had been since Halloween before that. I’m having so much fun creating fun garments for myself and can’t wait to share some of them with you all! So make sure to check back soon for more updates on the patterns I’m using. Until then, Happy Sewing!