Newsboy Hat How to with FREE Pattern


I am so excited for this week’s tutorial!  I have been making newsboy hats for 9 years and shared a hat tutorial HERE on Whitney Sews almost 7 years ago.  That tutorial was filmed on my old camera and the pattern was hard to print and use, so it is definitely time for an updated version!

These hats are so much fun to make and wear!  I love to recycle old pants to use for the materials and incorporate some of the seams and details into the finished hat.  This keeps the hats eco friendly, budget friendly, and one of a kind!  I get compliments on my hats all the time and people are always impressed when I say I made it.  You can start impressing others too when you make your own hat using my FREE pattern and step-by-step tutorial!  Click HERE to get your PDF pattern!

Learn how to make your newsboy hat using my video tutorial HERE!


Love this tutorial and FREE pattern and want to help support future Whitney Sews tutorials??  You can do so by donating HERE.

I’ll be back in a few days with my Handmade Holiday Gift Guide for 2017!  It is full of tutorials that would make great presents for the upcoming holiday season.  Until then, Happy Sewing!

-Whitney-
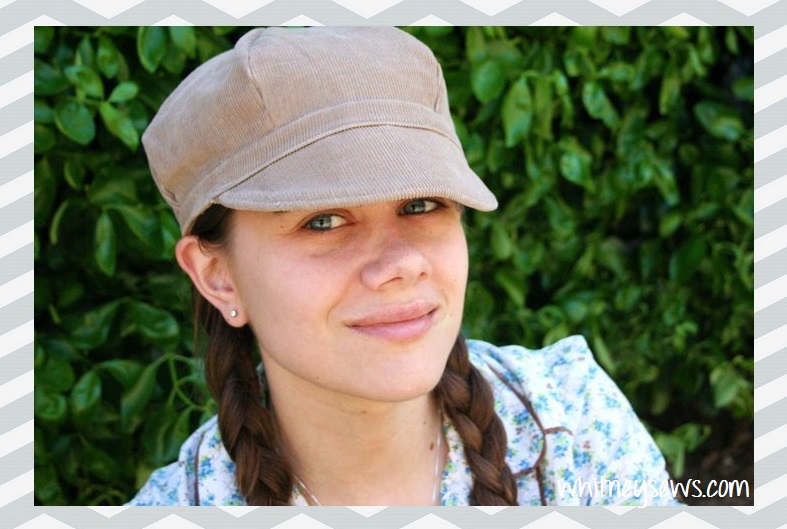
Straight Line Quilting a Pinwheel – Quilting Quicky


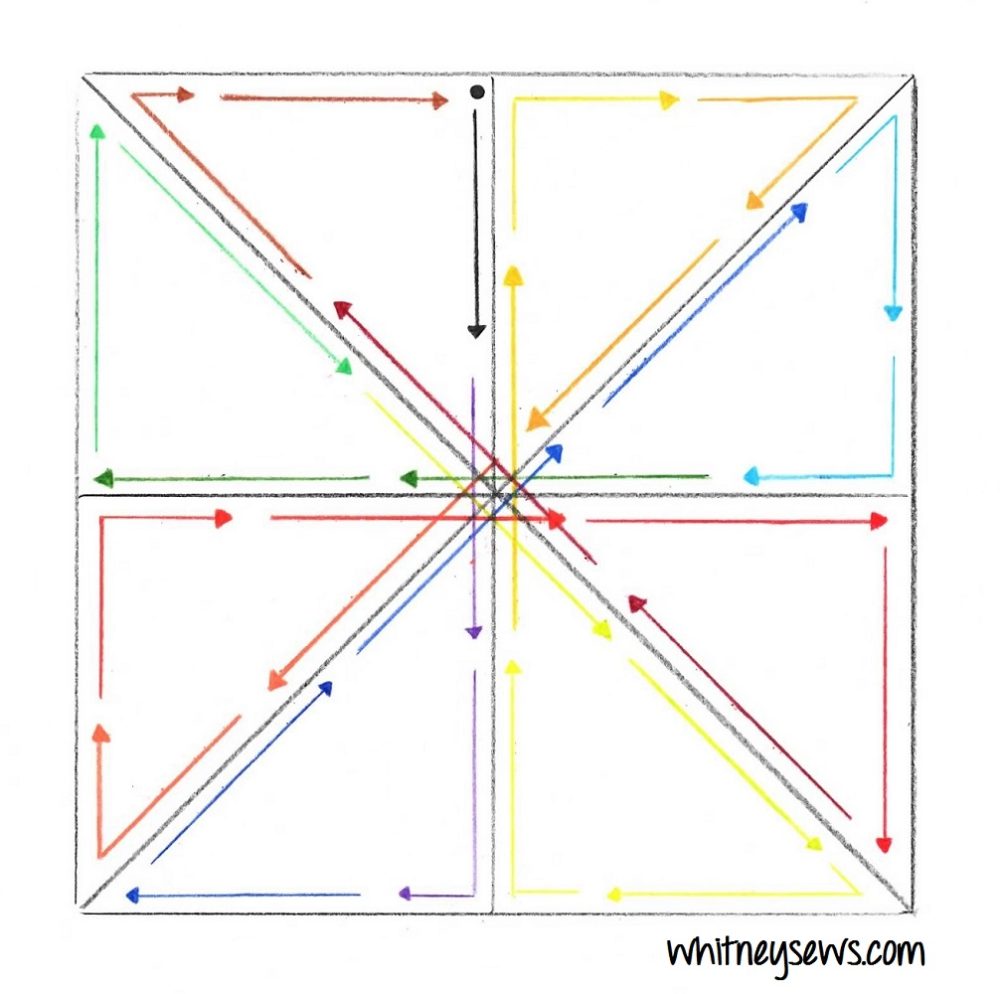
I have had a few different projects pop up recently that incorporated pinwheels and I knew exactly how I wanted them quilted!  I wanted a line of stitching just inside every side of each section.  So I needed to figure out how I could get the look I wanted in the easiest way possible.  After a couple of tries I realized it could be done in one continuous stitching line if I followed the correct pattern.

I originally sketched out the stitching order in pencil and even though I understood it I knew it would be super confusing to anyone else.  So I redrew it in color order!  *I love color order so much!*  Below is the stitching graphic for how I quilt my pinwheels.  Simply start at the black dot and follow the arrows in color order around the image to quilt your pinwheel.


Make sure to pin and save the graphic to have it next to you while you are at your sewing machine quilting.

Click HERE to watch the video where I show step-by-step quilting one of my pinwheels.

After you quilt a few pinwheels and get the hang of it you can really start at any point on the block and just keep following the same pattern until you get back to where you started.

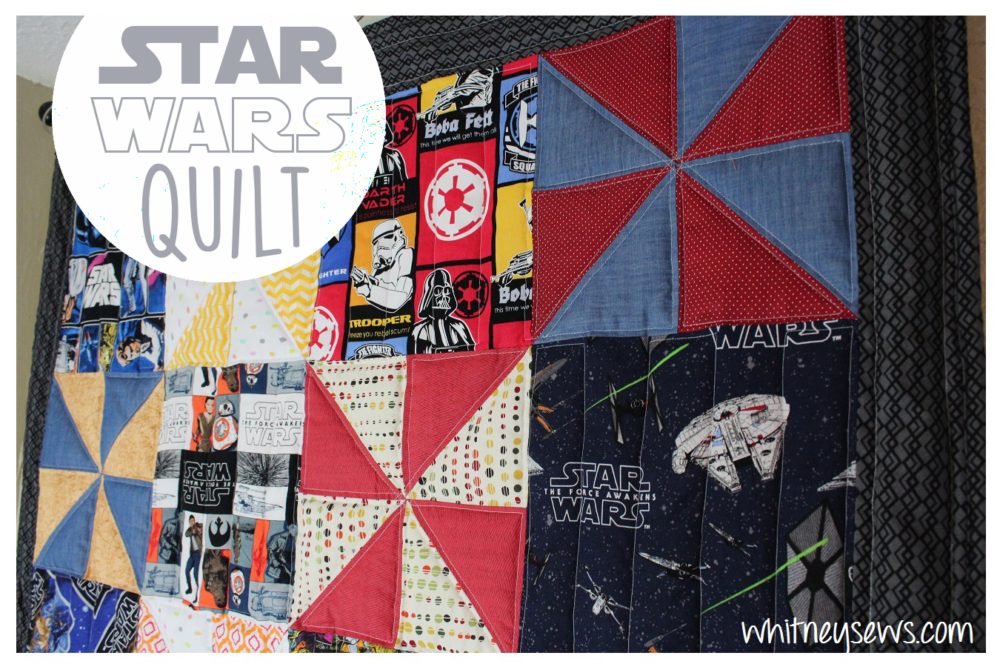
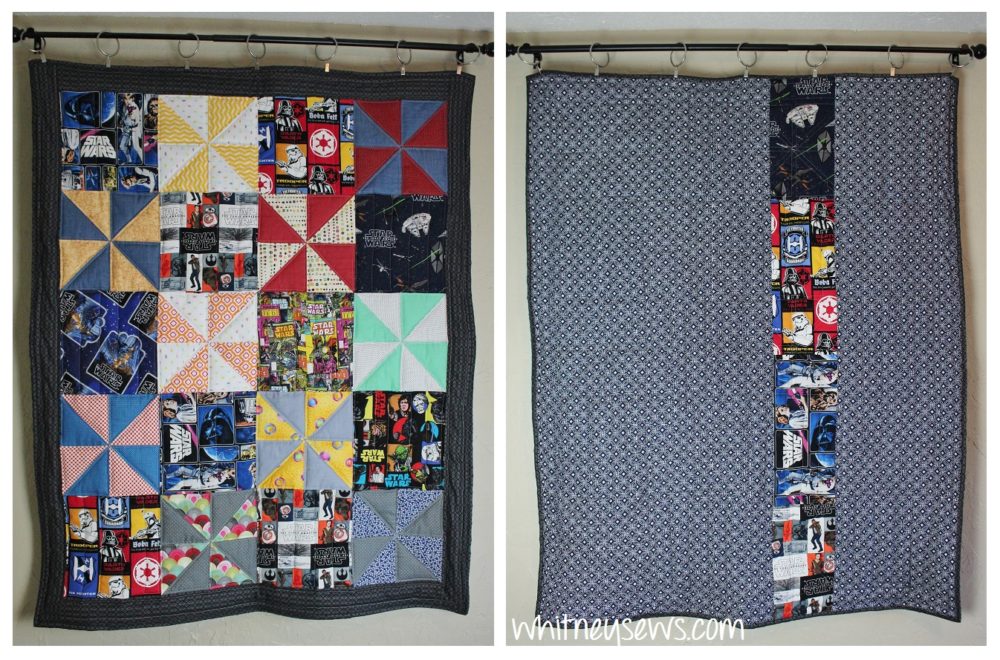
For the Star Wars quilt pictured above I started quilting on the tan/blue pinwheel in its upper left corner.  I quilted the pinwheel then when I got back to where I started I stitched straight up into the feature block above and did some straight line stitching then went right into the yellow/white pinwheel, quilted that one and moved to the feature block below.  I was able to continue that pattern to quilt two full rows of the quilt in one continuous stitching line!  Then I repeated the pattern with the next two rows, etc.  You can see more of my Star Wars quilt HERE!

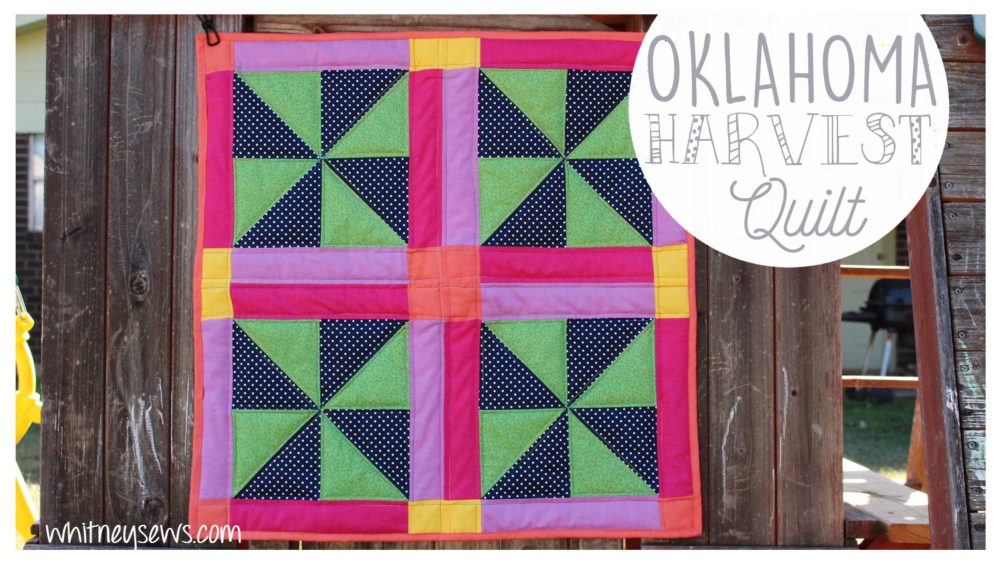
On the Oklahoma Harvest mini quilt I quilted each pinwheel separately then quilted straight lines on each of the sashing/cornerstone pieces.  Click HERE to learn how to make the Oklahoma Harvest quilt!

I hope this helps gave you the confidence to try sewing/quilting some pinwheels!  Let me know what other quilt blocks or techniques you want to see covered in a future Quilting Quicky video.  Until next time, Happy Sewing!

-Whitney-

Oklahoma Harvest Quilt Tutorial


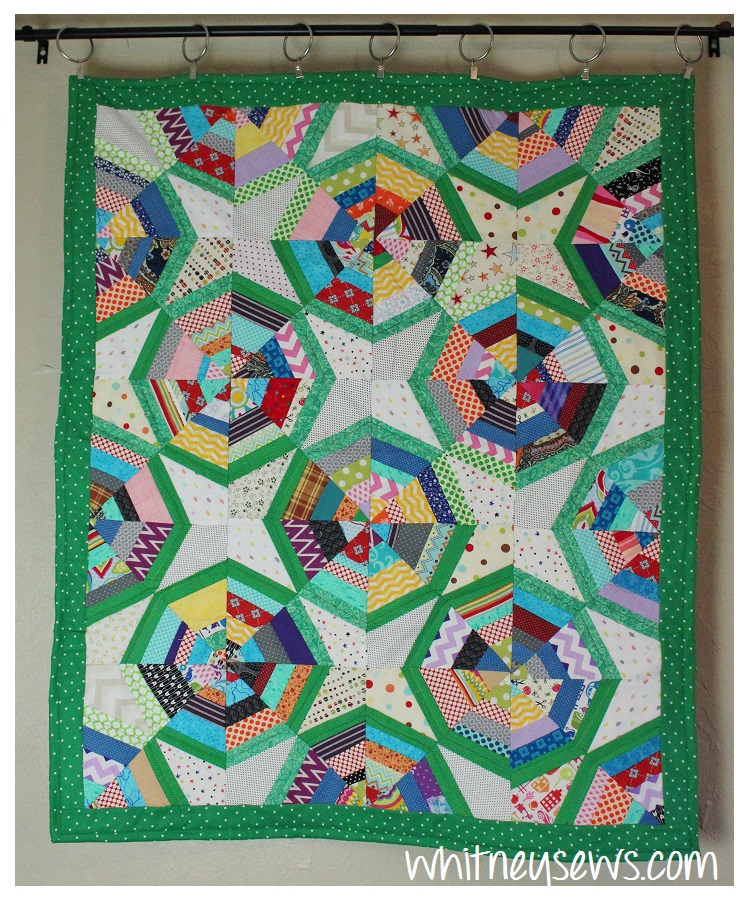
This week I am so excited to share a new quilt tutorial.  Well, new for you…not for me.  This is one of the first quilts I ever designed, 12 years ago, the summer after I graduated high school!  I am FINALLY turning some of those old design sketches into actual finished quilts!

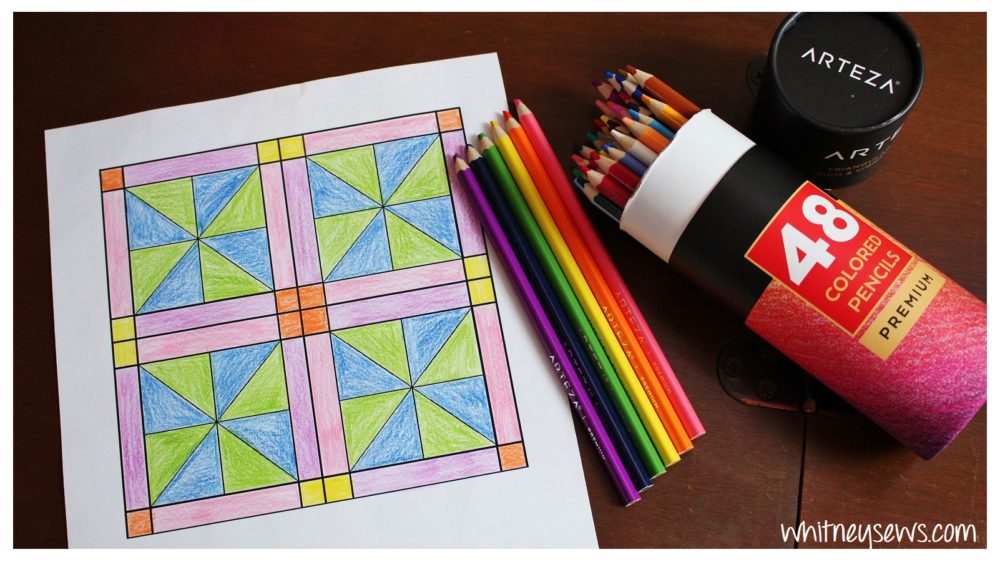
I actually partnered up with a company called Arteza to create this tutorial.  Because of that partnership the companion PDF is FREE!  The PDF includes cutting measurements, a colored graphic to help with the piecing, as well as a blank graphic you can print and color to try out other fabric colors.  Click HERE to download your PDF!  Once you go through the ‘checkout’ process there will be a button to click to download the PDF on that page.

This quilt is made up of four 13 inch blocks for a nice wall hanging size, but feel free to make twelve blocks for the perfect baby quilt size!

Learn how to make the quilt using Whitney’s step-by-step video tutorial.  You can find the tutorial HERE!

Make sure to stick around to the end of the video to find out how to enter the giveaway to win some Arteza supplies of your own!

Let me know if you want to see more tutorials showcasing some of my original quilt designs!  Until next time, Happy Sewing!

-Whitney-

DIY Frozen Costumes – DIY Inspiration


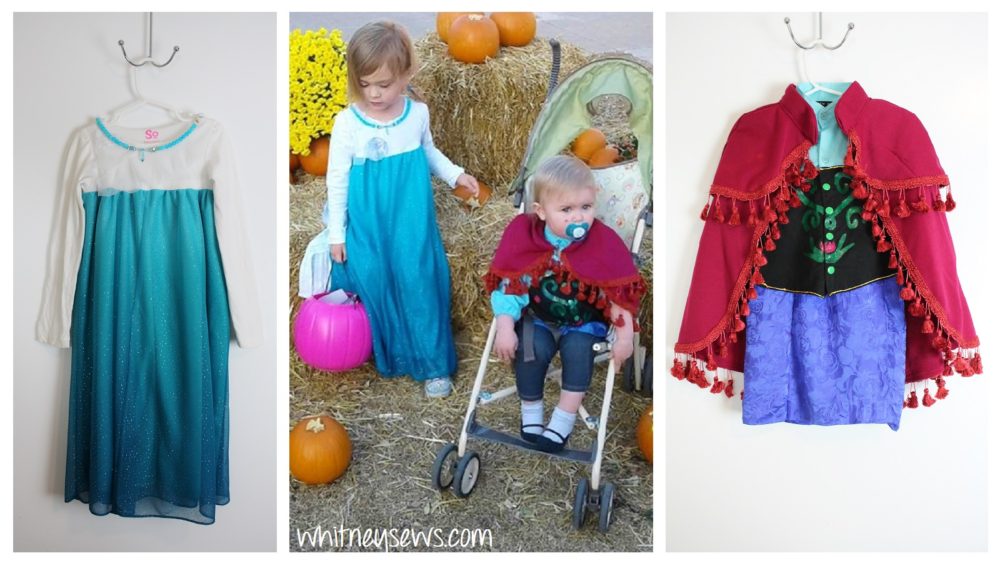
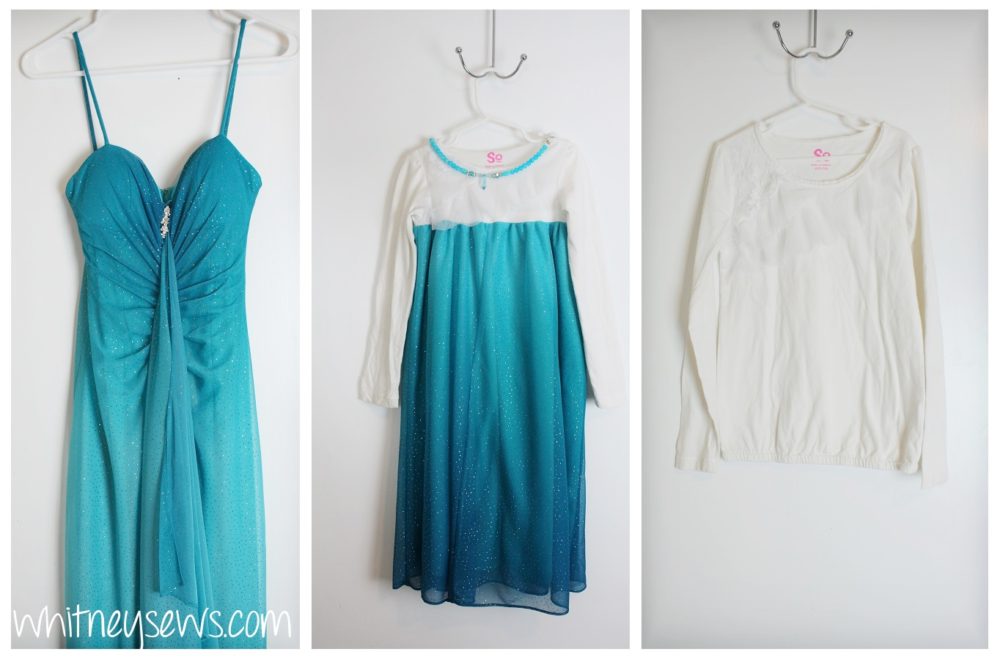
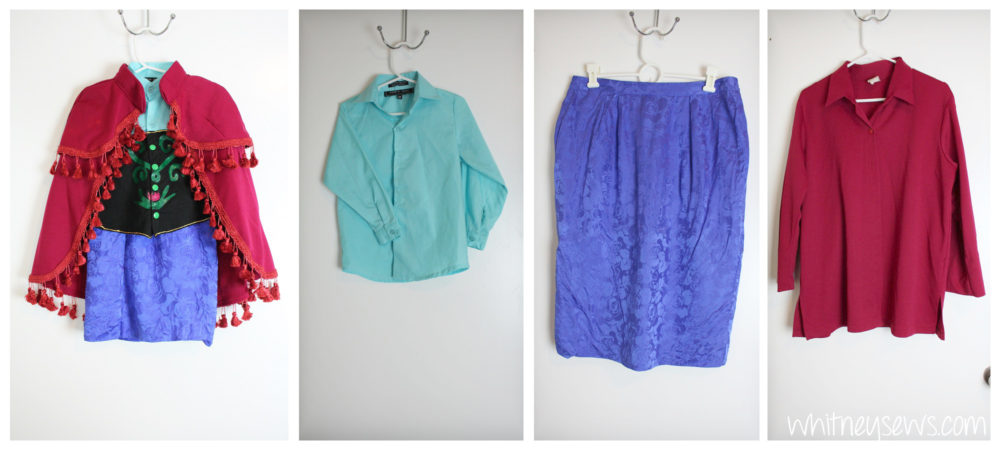
This year for Halloween we let Peyton pick what she wanted to dress up as and after two days of thinking she decided to be Elsa and that Skyler was going to be Anna (poor Skyler got no say in it).  Now I see Elsa and Anna costumes at the thrift store all the time and could have picked them up for about $1.50 each…but that’s not how I do things.  I wanted to create the costumes myself!  So I did hit the thrift store, but for clothes I could cut up and refashion.

I picked up a prom dress and two white shirts for Elsa.

For Anna I got a blue button up, black button up, silk skirt, and maroon jacket.

I could not be happier with how the costumes turned out and how cute the girls looked in them!  Check out my DIY Inspiration HERE to hear more about the process of making the costumes.

Who did you/your kids dress up as for Halloween??  This was the first year in a while that I didn’t dress up because I didn’t have enough time to make a costume for myself (or Jeremiah).  Anyway, hope you enjoyed seeing the costumes.  Until next week, Happy Sewing!

-Whitney-

Star Wars Quilt – DIY Inspiration


Some of you may remember the Star Wars quilt I mentioned designing in my last DIY Inspiration video.  I started working on it…and just couldn’t stop until it was finished!  I spent one week (about 25 working hours) on the quilt and it turned out so amazing!

The quilt features several Star Wars prints along with many low volume prints, all from my stash.  The backing also includes a few of the prints to help make the most out of my fabric yardage.

Check out the video HERE to hear more about this quilt!

BTW if you haven’t noticed the trend lately…I’m really into quilting right now!  I do have some other sewing projects in the works, but am loving quilting and following that motivation at the moment.   I started my first quilt when I was 14 and designed several quilts when I was 18.  At the time I didn’t even know how to piece together the designs I was sketching out.  But I’ve learned so much over the years that I can now easily figure out how to create those designs.  It is so exciting to see how far my sewing skills have come and actually make some of my original quilt designs.  I have a video coming in a few weeks where I’ll be showing how to make a mini quilt I designed in 2005 right after I graduated high school!  I can’t wait to share it soon!  Until next time, Happy Sewing!

-Whitney-

Sew Hayley Jane Unboxing

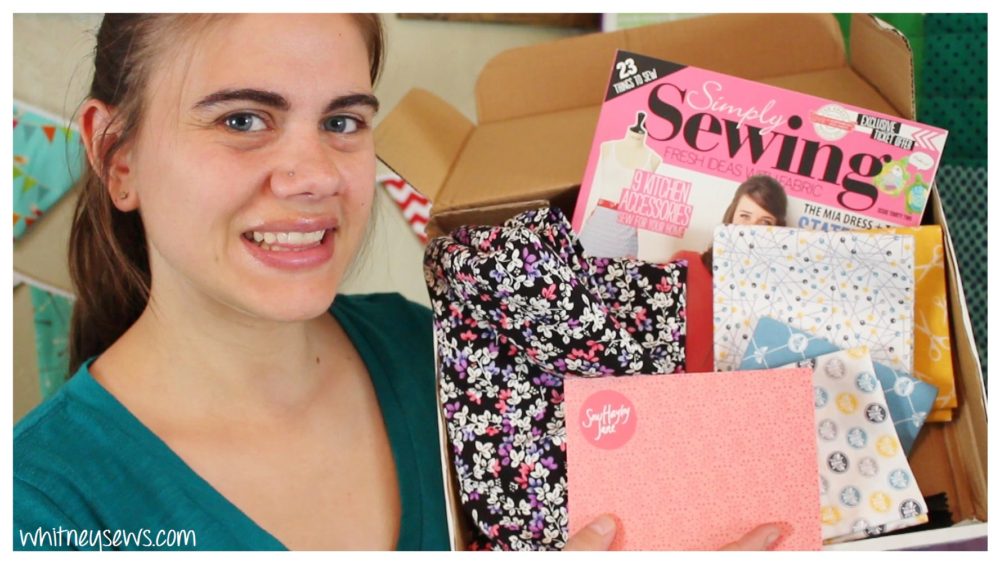
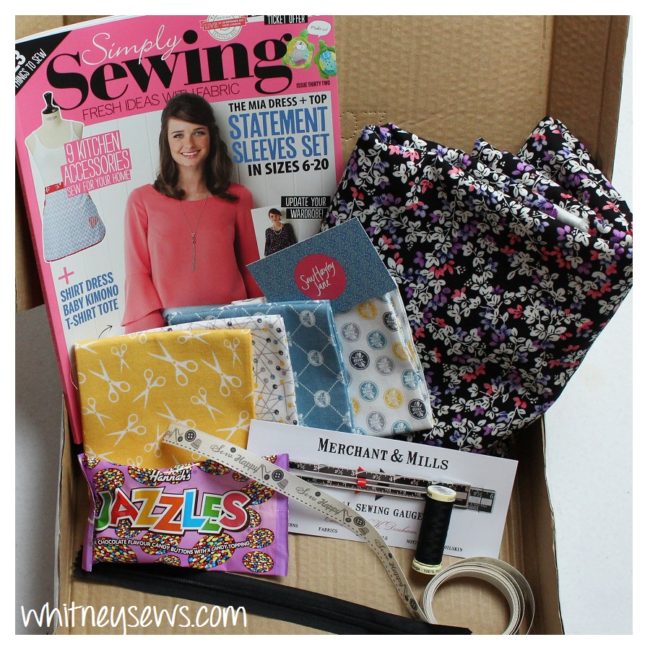
Surprise!  Bonus video for this week AND a GIVEAWAY!  I wanted to show you all what came in the October Sew Hayley Jane box and give one of you a chance to win a box of your own!

Sew Hayley Jane is a monthly subscription service for fabrics and notions that comes straight to your doorstep.  It is based out of the UK, but is now also available in the U.S. The box is offered in three different sizes – mini, classic, and luxury.  The one I received (and the winner will receive) is the classic box.

Check out the unboxing video HERE to find out more about the box and how to enter the giveaway.

Make sure to also check out the Sew Hayley Jane website for more details!

I’ll be back next Wednesday with another new post.  Until then, Happy Sewing!

-Whitney-


Quilt Binding – Quilting Quicky


This week I am kicking off a new series here on Whitney Sews!  It is called Quilting Quicky.  Each video will focus on a specific quilting technique so it’s easy to refer back to later, instead of being mixed in with a full project.  This week’s Quilting Quicky is all about quilt binding!

I have one binding method that is my go-to!  It is fast and easy and gives me great results every time.  Check out the step-by-step video tutorial HERE!

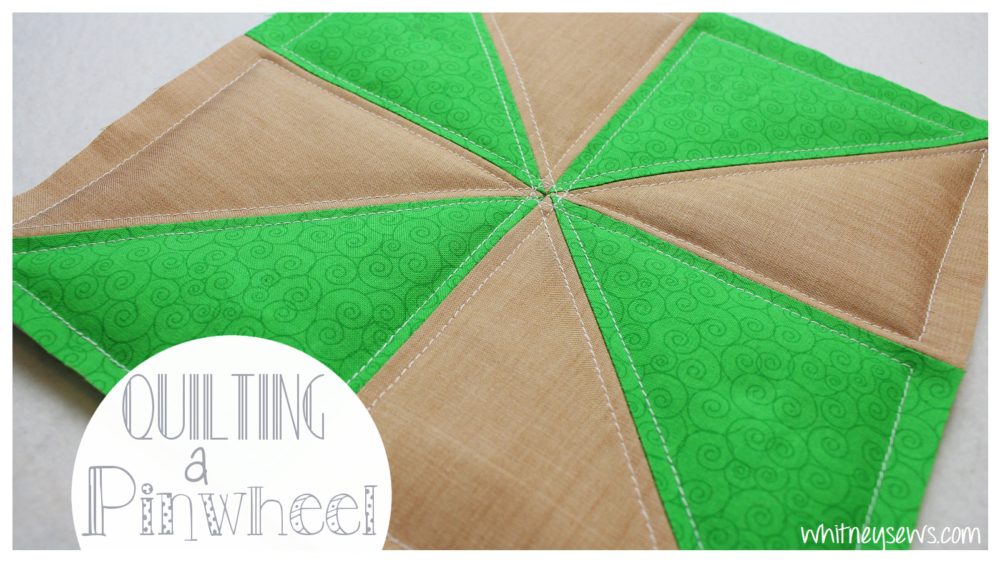
In the video I also cover how to know the number of WOF (width of fabric) strips you need to cut for your binding.  Below is the graphic from the video in case you need to pin it to refer back to later.

Let me know in the comments below what other quilting techniques you want me to cover in upcoming Quilting Quicky videos as well as sewing tutorials you want to see.  Until next time, Happy Sewing!

-Whitney-
Skyler’s Baby Quilt – DIY Inspiration


I’ve had a lot of people ask me over the years where I learned how to sew/where I get my talent from.  It is DEFINITELY from my mom!  She made a lot of my clothes when I was little and I remember standing next to her sewing table watching the pieces of fabric go under the presser foot and come out looking amazing.

My mom makes a unique quilt for each of her grandchildren and I love how precious they are.  I hope when my children are older they will have similar memories of having a mother/grandmother who sews and treasure their quilts.  Mom and I did a DIY Inspiration for Peyton’s Quilt last year.  So when we realized we never did one for Skyler’s quilt we grabbed my camera and started filming!

Watch the DIY Inspiration with my mom and I HERE!

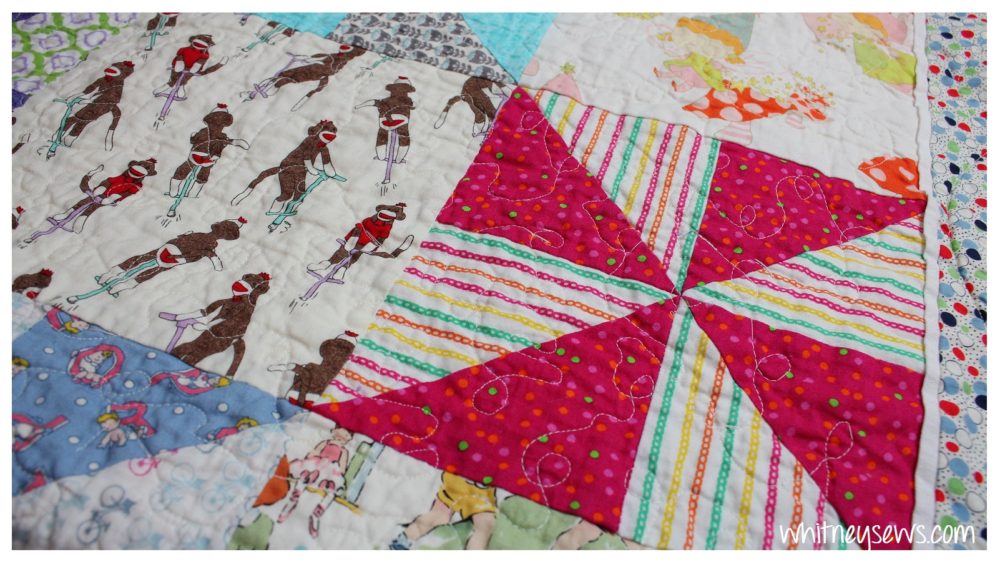
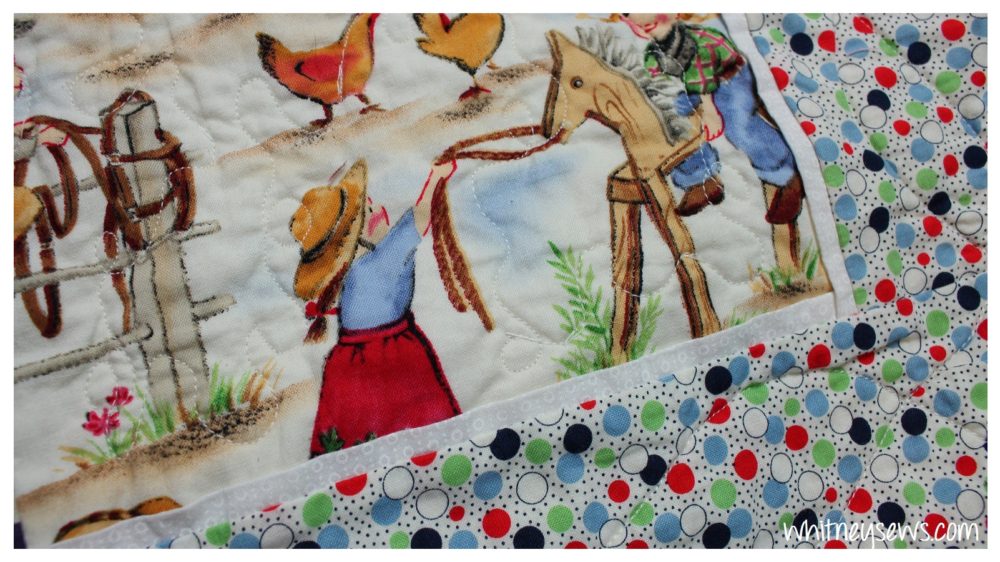
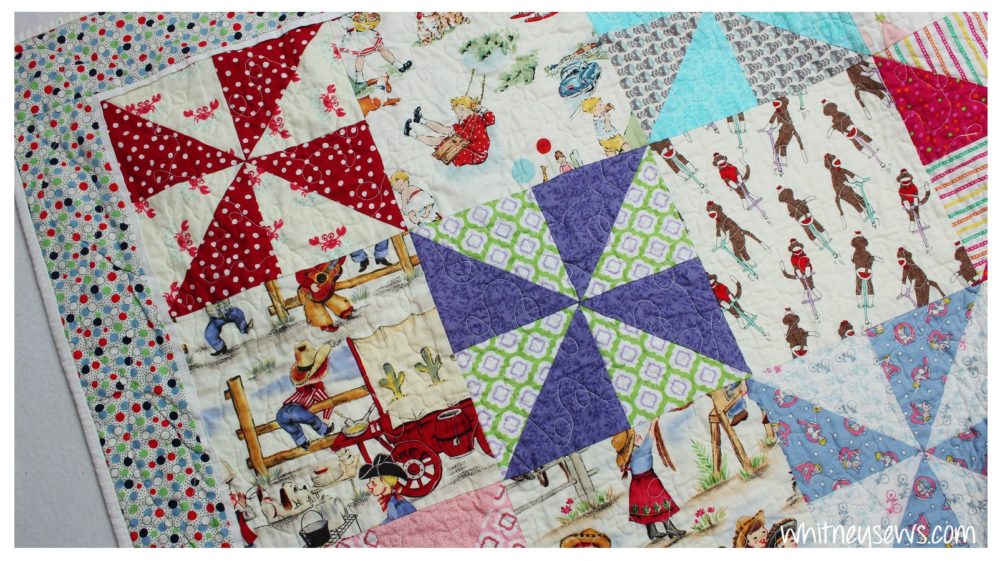
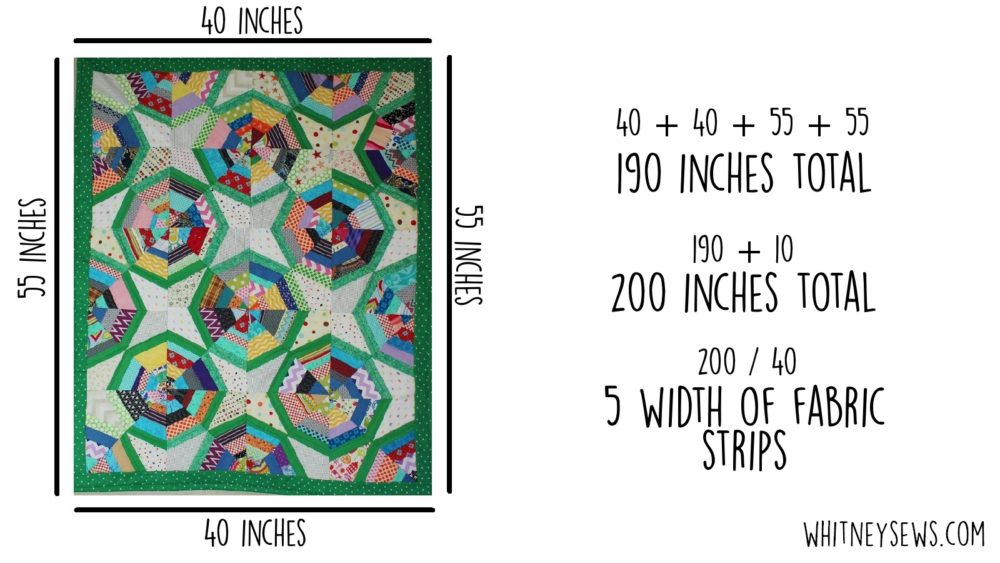
My mom chose a fun design that alternates feature blocks of children’s prints with bright pinwheels.  It’s a great way to showcase fabrics you love and incorporate leftovers from your stash.

She also added a narrow flange of white fabric to serve as a small visual break between the busy blocks and border.  I’ve never incorporated a flange in any of my quilts, but I really want to now!

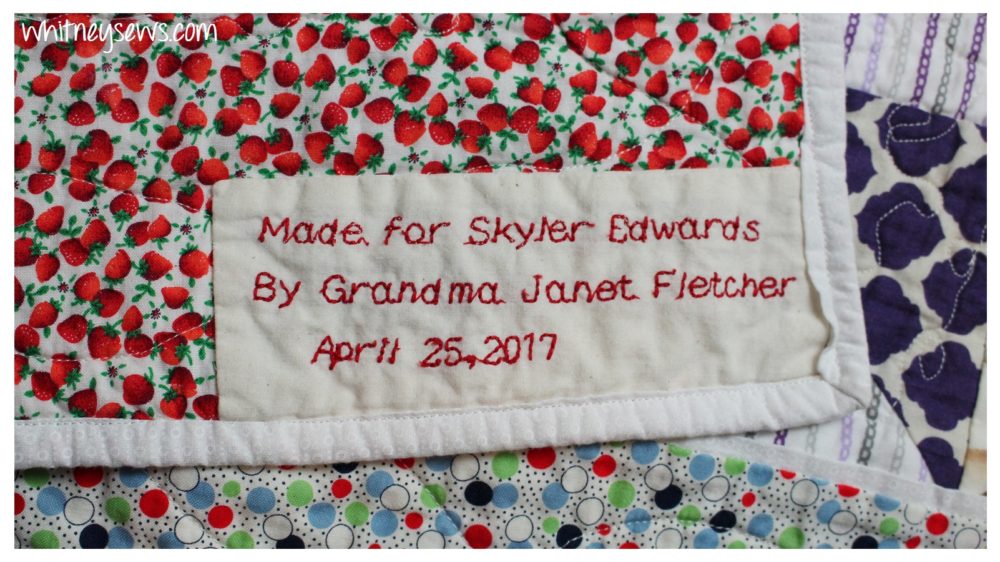
Of course my favorite part of the quilts are the custom labels my mom includes on the back.  This way everyone knows whose quilt it is and that is was made with love by grandma!

I hope you’ve enjoyed seeing Skyler’s quilt and hearing from my mom how she created it!

Many more quilt videos are coming soon, so make sure to subscribe!  Until next time, Happy Sewing!

-Whitney-
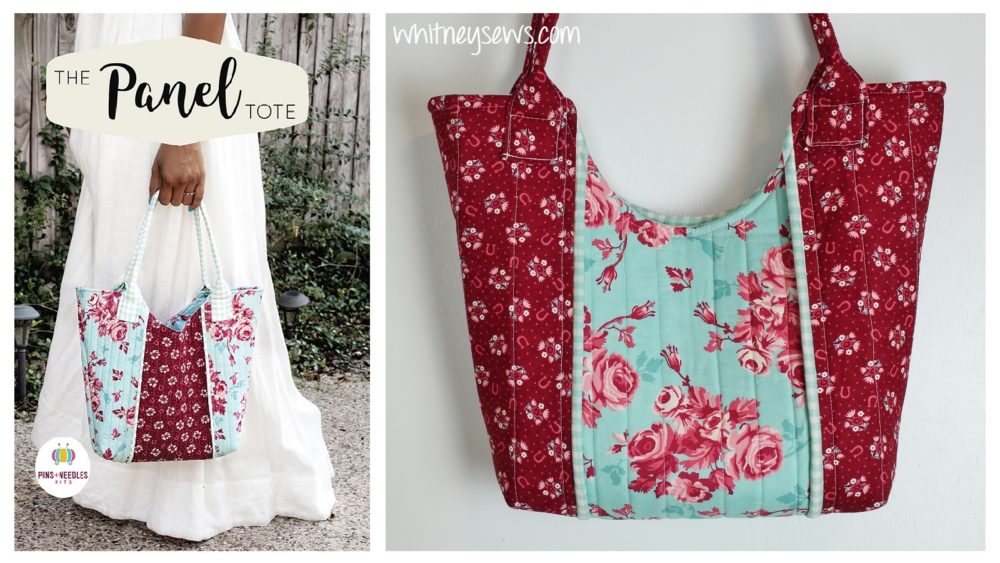
The Panel Tote


It feels like it has been forever since my last post!  I have been taking a little bit of a personal break, but I’m slowly getting back into the swing of things and back to posting new videos!

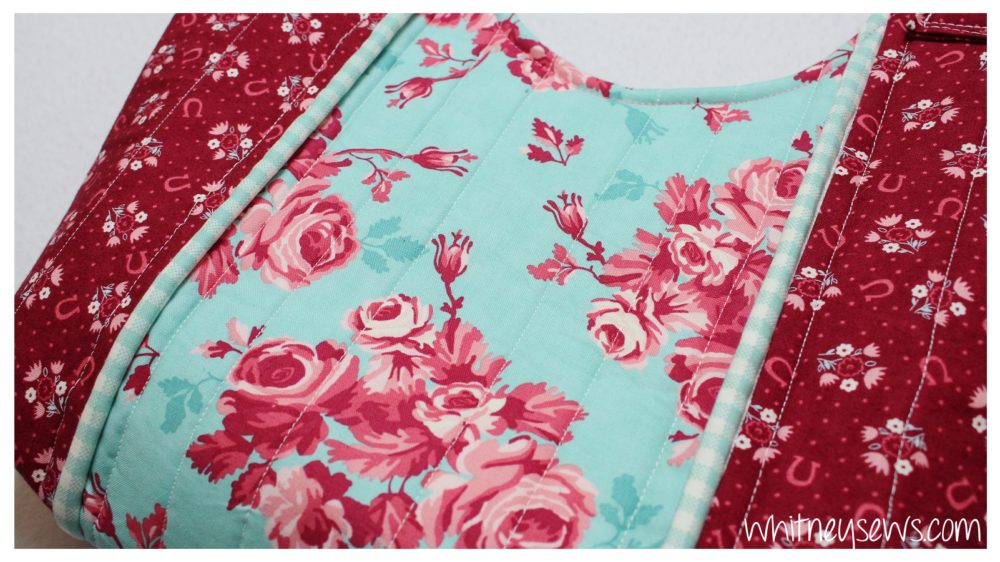
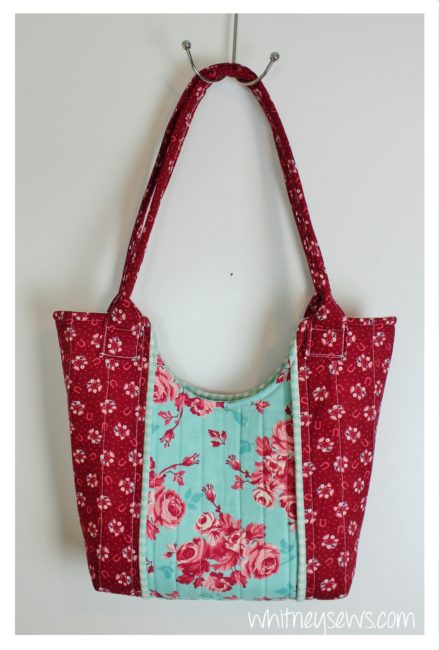
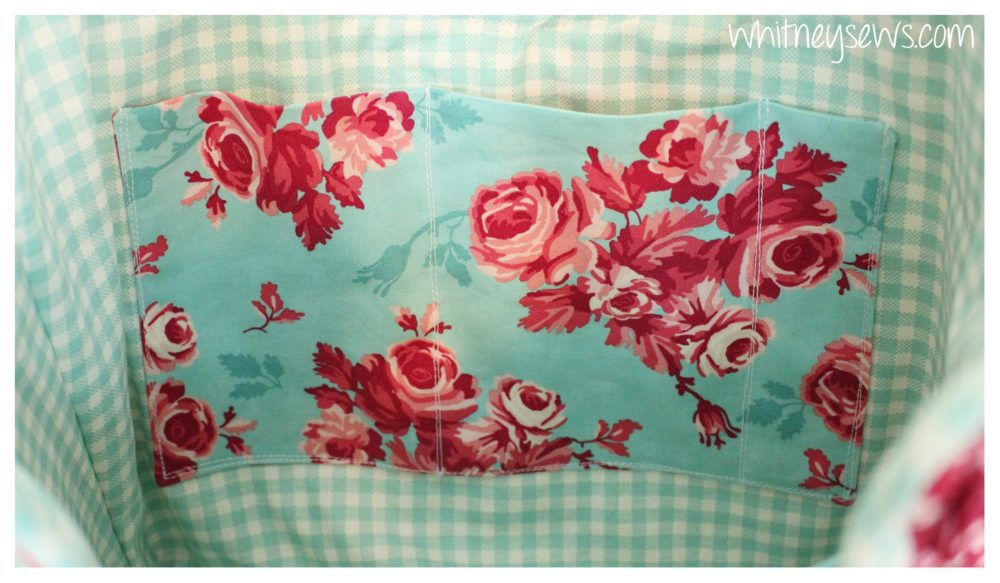
Today I have a tutorial for you showing how to make The Panel Tote using the Pins + Needles Kits pattern.  It is a fun tote bag to make that includes piping, quilting, inside pockets, and much more.  You can pick up your copy of the pattern HERE!

I typically come up with my own patterns/designs when I’m making projects, but I had a great time using someone else’s pattern.  The bag has features that I never would have thought to include on my own and different ways to do techniques.  The part I found the most interesting were the handles.  I had never made handles this way, but I will definitely be using this method again.

BTW don’t you just LOVE the fabrics on this bag?!?  It’s Howdy from Moda fabrics.  I got mine, along with everything else I used to make this bag, in my September Pins + Needles Kits box.  I rarely get the opportunity to work with such adorable and high quality fabrics and I’m loving it!

Click HERE to watch my step-by-step video tutorial for the Panel Tote!

Let me know in the comments below what is your favorite part of the Panel Tote??  Make sure to come back next Wednesday for another new video.  Until then, Happy Sewing!

Whitney


*This video was sponsored by Pins + Needles Kits*


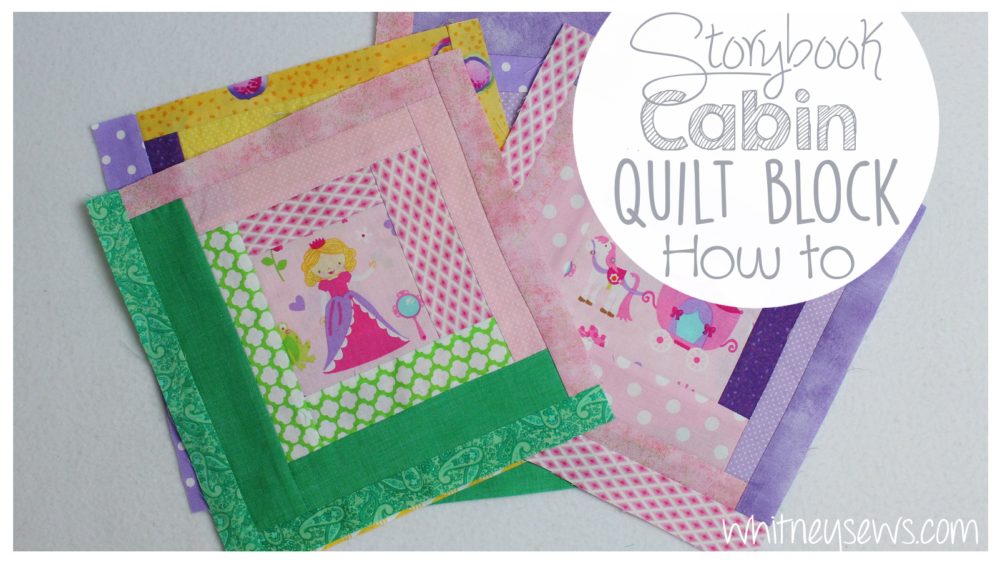
Storybook Cabin – Log Cabin Quilt Blocks


In my last Sew Your Stash update I showed a fun fussy cut log cabin quilt I had designed and started making.  A ton of people requested a tutorial on it, so that is what I’m showing how to make today!

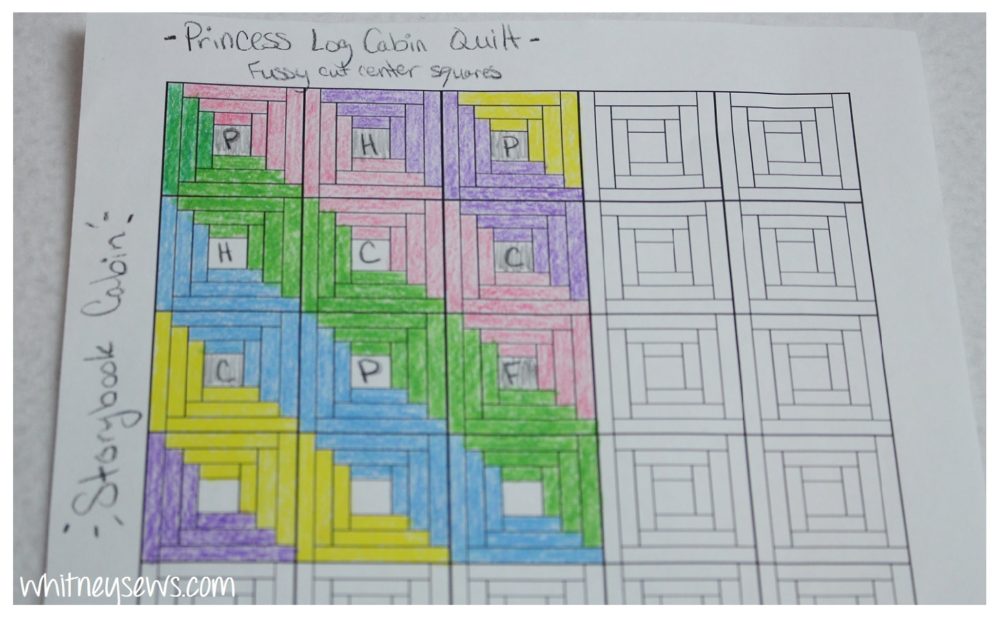
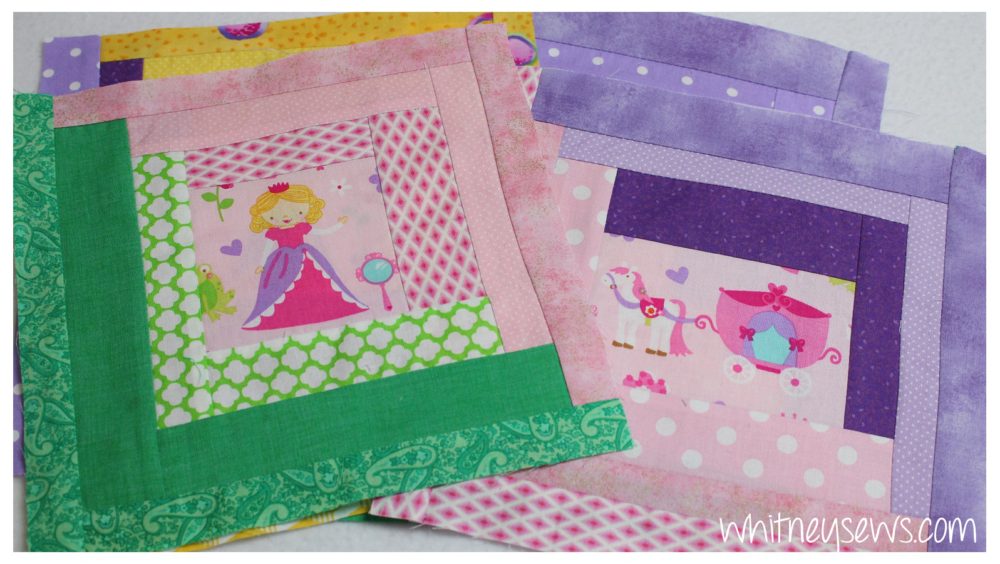
This is a fun quilt to make to feature a cute print.  All my centers are cut from one fat quarter of fabric.  To plan out the design, and know where to put which color of strips, I drew out the design before starting.

I LOVE designing different log cabin quilts so it dawned on me one day to make some blank templates that I can color my designs onto.  This made things SO much easier!  Before I was using graph paper and if I messed up or changed my mind I had to not only recolor everything, but also draw out the block shapes again.

If you are interested in getting the templates I created you can find them in my shop tab or click HERE to go right there.  I created templates for log cabin quilts with 3 logs (like the one shown above), 4 logs and 5 logs as well as pages that have the blocks spaced out so they can be cut apart and rotated for even more design options.  You can print the PDF as many times as you want to design endless log cabin quilts!

Anyway, back to this quilt.  After I decided on the color layout I wrote a single letter in the center square of each block to represent the fussy cut square that would be used (Ex. P – princess, C – castle).  Once you have your design you are ready to start sewing!

Click HERE to watch the step-by-step video tutorial!

How easy, and cute are these blocks?!?  I can’t wait to get the other 6 finished so I can show how to put the rest of the quilt together!

Make sure to come back next week for another new video.  Until then, Happy Sewing!

-Whitney-