Continuous Bias Binding

Continuous Bias Binding How to from Whitney Sews

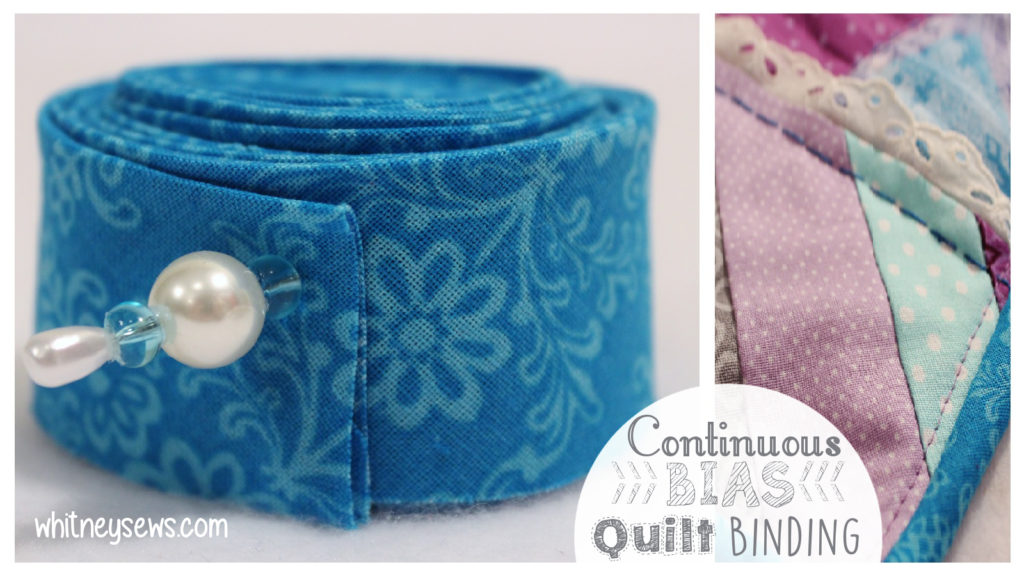
Bias binding is incredibly useful for finishing so many different sewing projects!  Projects ranging from quilts to aprons and hats to bags and much more.  Bias tape is often made by cutting strip after strip of fabric on a 45 degree angle.  Then you have to piece all those strips together.

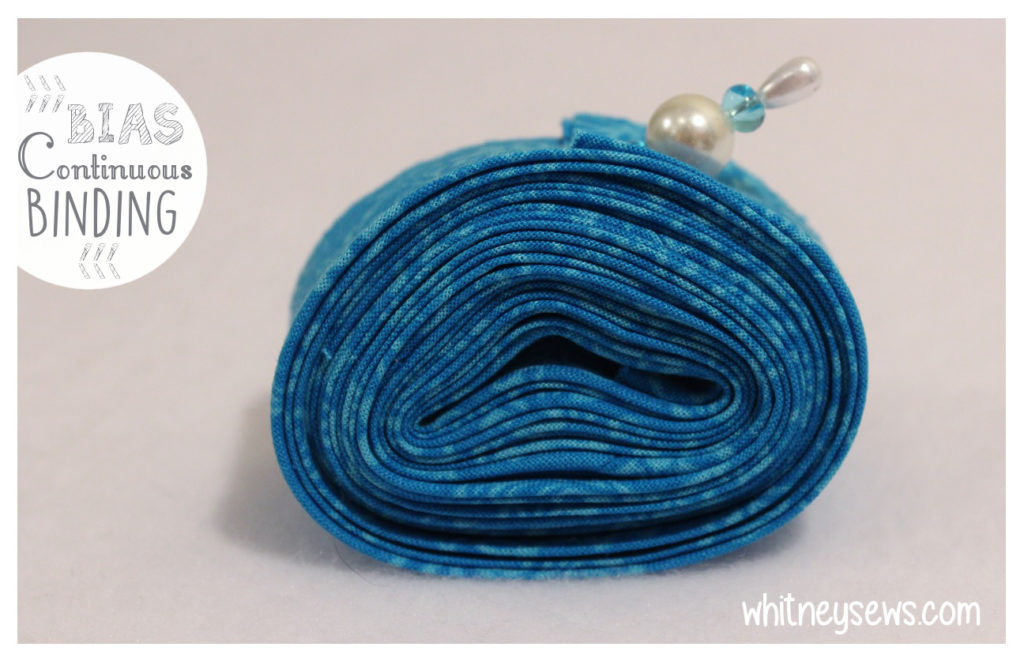
However there is a better way!  Using this method you only have to sew two seams, no matter how much bias binding you need.  You start with a square of fabric and it makes one long continuous strip of bias fabric

Check out the full tutorial HERE to see how to create your own continuous bias binding.

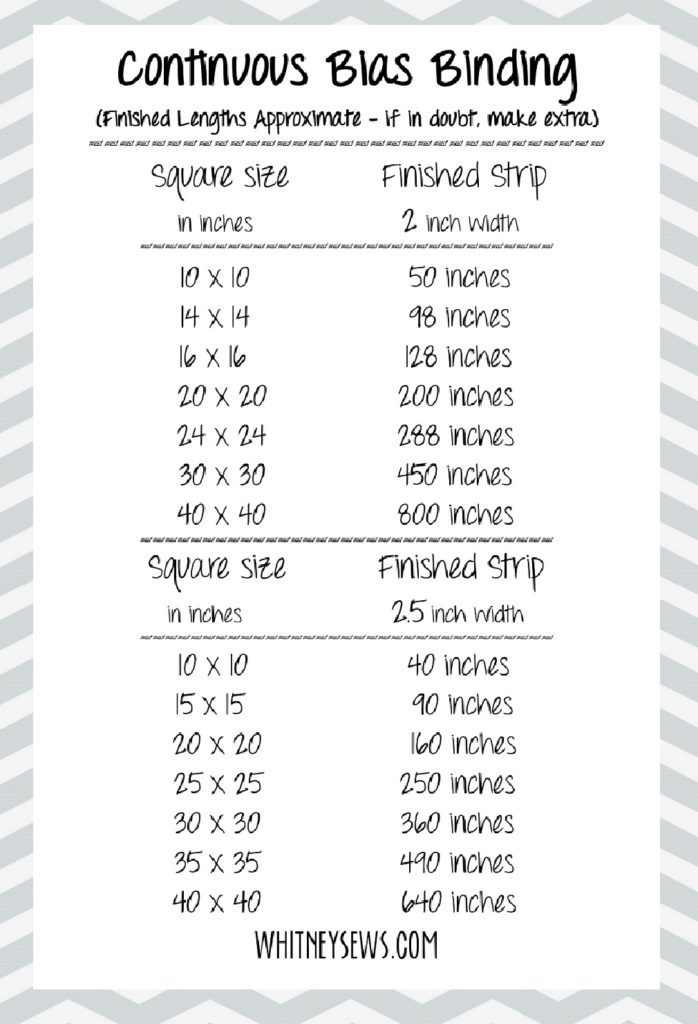
Use the chart below to determine how large your fabric square needs to be based on the length and width you want your bias strip to be.

**Don’t forget to save or pin this chart so it’s easier to refer back to**

Continuous Bias Binding Measurement Chart by Whitney Sews


If you’re needing a different size or amount than those listed on the chart here is how to determine your starting fabric size.

Measure the item you are needing the bias binding for (Ex- all 4 sides of a quilt or the circumference of a skirt hem)

Decide how wide you want the bias strip to be (Ex. 3 inches)

Choose a square size to test the math on.

Multiple the square size by itself (Ex. a 12 inch square is 12 x 12 to get 144)

Divide that number by the binding size (Ex. 144/3 gives you 48 inches in a 3 inch width)

You will have the least waste if you start with a square divisible by the width you need (Ex 12, 15, 18, 21, 24 are all divisible by 3)

So if I need about 100 inches at 3 inches wide I know that I need a larger square than 12 inches so I'll try 18 inches (18 x 18 = 324  324/3 =  108 inches)

*The length is approximate so always make a little more than you need*

I like to make about double the length that I actually need.  Then I always have some on hand for finishing small projects or testing a new design.

Continuous Bias Binding How to from Whitney Sews

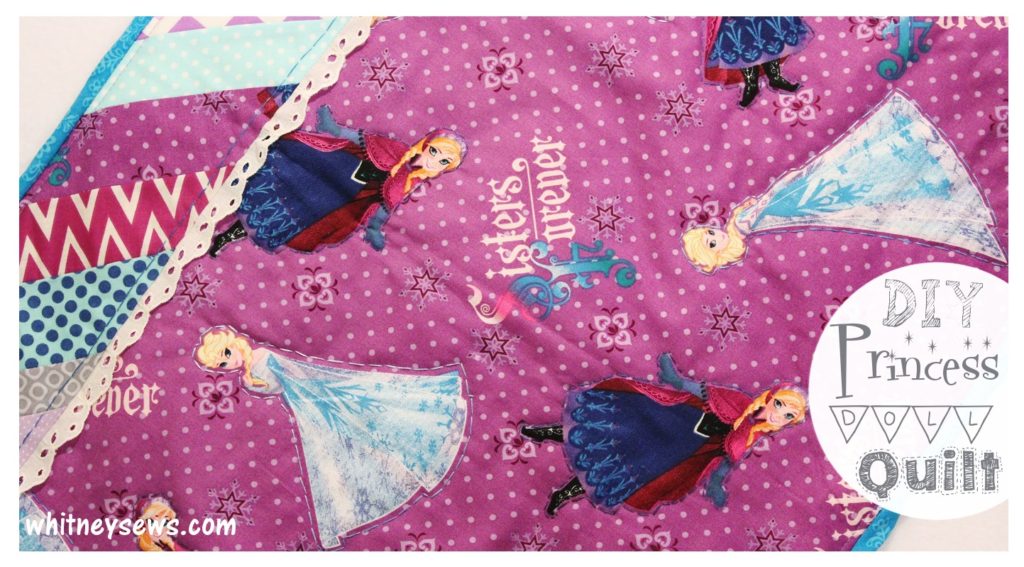
Next week I’ll have a new tutorial for a fun mini quilt that I used this bias binding to complete.  It incorporates the paper piecing technique shown in my Scrappy Chevron Quilt tutorial along with a feature panel of your favorite character printed fabric.

DIY Disney Princess Mini Doll Quilt How to from Whitney Sews

Make sure to check back next Wednesday for the full tutorial and subscribe to my newsletter so you get all my new posts sent directly to your email inbox.

Well, I guess that’s it for today.  If you have any questions about this or any other sewing/quilting techniques make sure to leave it on the comments below.  That way I know what type of sewing basics tutorials you all want to see.  Until next time, happy sewing!

-Whitney-
Log Cabin Baby Quilt

Log Cabin Baby Quilt Whitney Sews

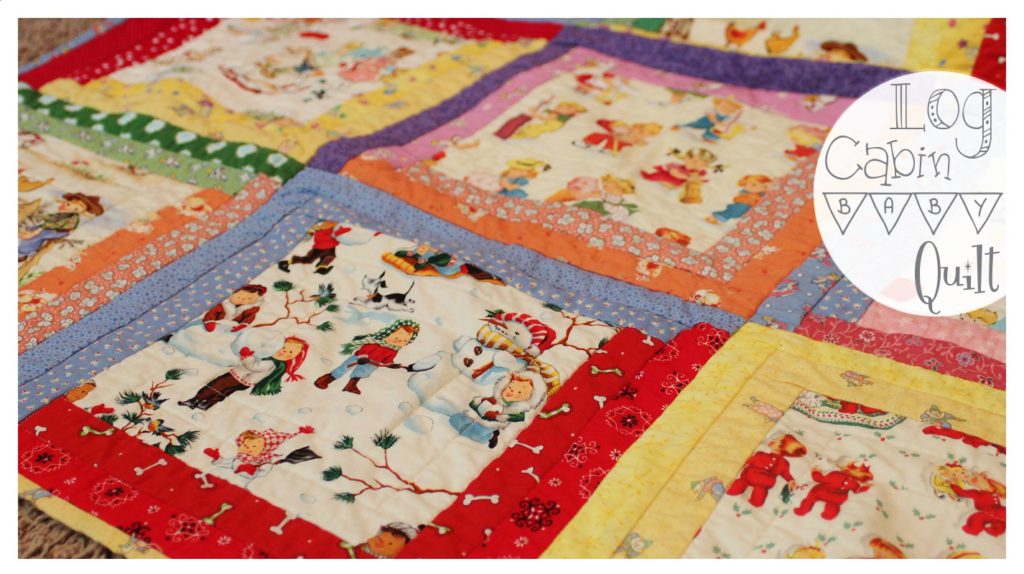
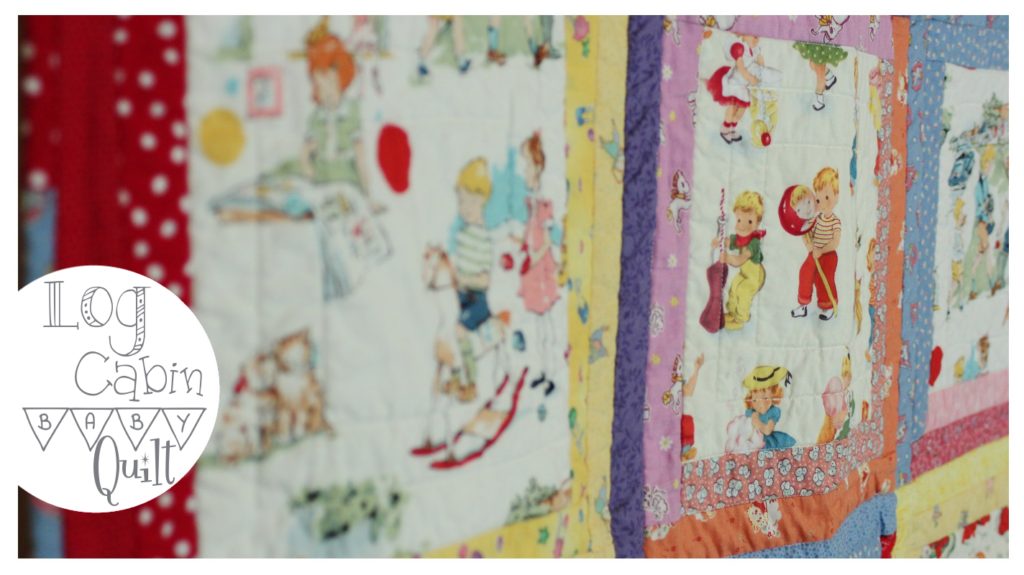
My mom and I have always loved what we call ‘little kid prints’.  Fabrics printed with scenes of little kids playing.  So when my mom wanted to make a quilt for my daughter Peyton it only made sense to use some of the adorable fabrics we had collected.  We kicked around a few different quilt design ideas and finally settled on a log cabin style quilt with an enlarged center block.

This is extra special because when I was a teen sewing my first quilt top my mom was making a traditional log cabin quilt at the time.  All the fabric I used for my quilt was scraps from mom’s.  If you want to hear more about how my mom and I got into sewing and about our first projects check out the Q & A HERE.

For this quilt my mom figured out what size center block was best for the scale of the prints (I have all the block measurements listed below). She fussy cut all 12 center squares to get the best placement from the prints.  Then she added two coordinating fabric ‘logs’ on each side  to complete the blocks.  She had enough prints to complete 12 blocks with each representing a month of the year.

Log Cabin Baby Quilt from Whitney Sews

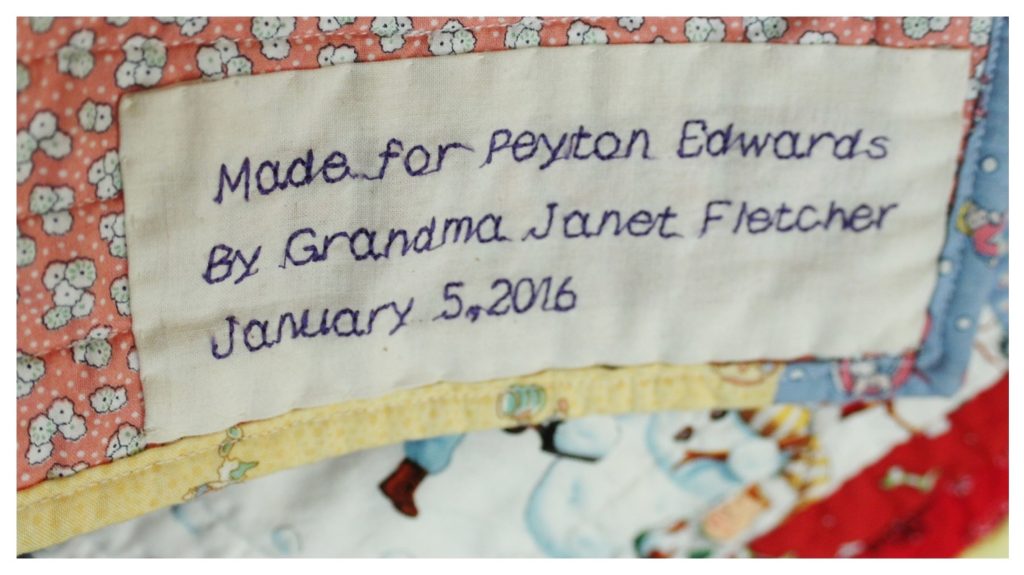
After all the blocks were sewn together she did some straight line quilting using her regular sewing machine and a walking foot.  She also used some of the specialty stitches on her machine to create a label for the back of the quilt.

IMG_3562 - Copy

Click HERE to see see more of the quilt and hear my mom talk about the creation process.

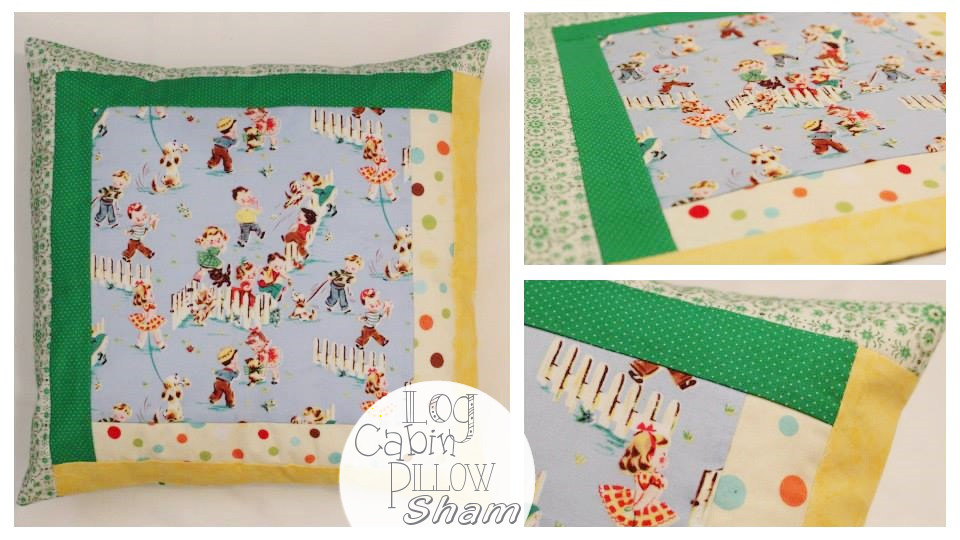
Last year while my mom was working on this quilt I was inspired to create a matching log cabin block pillow sham.  You can check out that tutorial HERE to learn how to put together a log cabin block. The block shown in the tutorial is put together the exact same way as the ones in the quilt, just use the measurements listed for the quilt block instead of those for the pillow sham.

Quilt Block Measurements (cutting sizes):

Center square - 8 1/2 x 8 1/2 inches

Logs - 1 1/2 x Assorted lengths* 

Finished block – 12 1/2 x 12 1/2 inches

*Cut logs longer than needed then trim after sewing*

How to Make a Log Cabin Pilllow Sham from Whitney Sews

Pillow Sham Measurements (cutting sizes):

Center square - 10 1/2 x 10 1/2 inches

Logs - 2 inches x Assorted lengths*

Finished Block - 16 1/2 x 16 1/2 inches

*Cut logs longer than needed then trim after sewing*

Mom’s next quilt project will be a baby quilt for my daughter Skyler.  If you have any ideas for what blocks and fabrics she should use feel free to leave them in the comments below!  Until next time, happy sewing!

-Whitney

Reversible Wrap Skirt

Reversible Wrap Skirt Whitney Sews


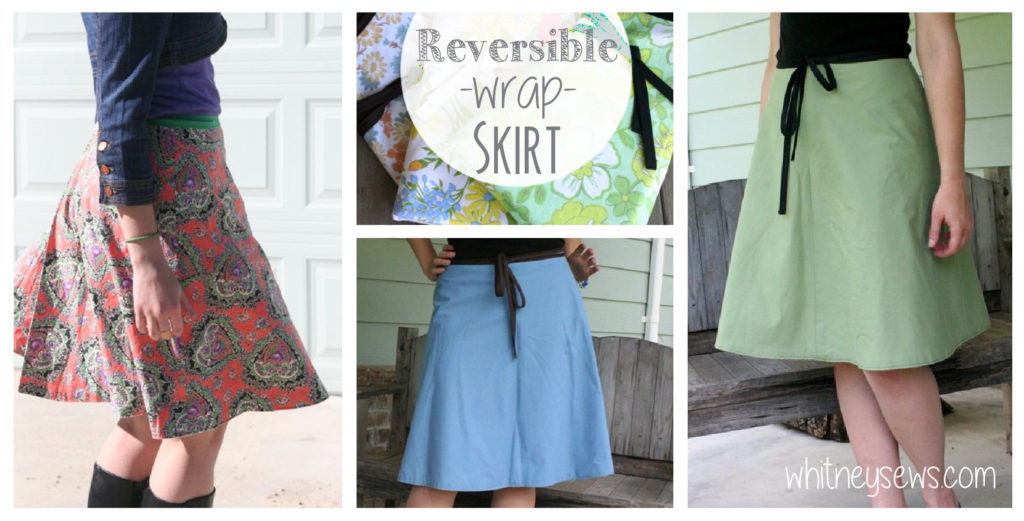
I don’t know about you, but I hate hemming curves!  I avoid it as often as possible and the best way is usually by making a project reversible.  It takes twice as much material, but in about the same amount of time you end up with something that can be worn two different ways!

About 6 years ago I bought a vintage wrap skirt pattern at a thrift store and really wanted to make it.  I had also been buying tons of vintage sheets and knew those would be perfect for my materials!  I quickly learned that wrap skirts are easy to make and easy to wear.

I absolutely love my wrap skirt and I still wear it, 6 years and 2 kids later!

In the video I was trying out something new where I talked about the total cost of a project (so I ramble on about that for a while in the video).  Then I explained how to convert an A-line skirt pattern into a wrap skirt pattern.  I’m sure not everyone has a wrap skirt pattern laying around, but they might have a different pattern that can be adapted.

Check out the wrap skirt pattern HERE!

*The pattern adaptation explanation begins at 2:00 and the actual tutorial starts at 3:40*

You might notice in the tutorial that I cut my pieces slightly off grain (you can learn more about the grainline and other pattern markings HERE). That is because in this case I felt like it was better to focus on the print placement.  Since I used thrifted sheets there is no way of knowing how they were taken care of previously and most times the grainline is no longer straight from years of washing and using.  Since the skirt has two layers I didn’t have any problems with it hanging oddly.  But if you are starting with yardage it’s a good idea to pay attention to the grainline when sewing.

Anyway, enough about that…earlier this year I made another reversible skirt project.  This one was a cute little circle skirt for my daughter, Peyton.  I may be biased, but I think she looks absolutely adorable in it (even though she won’t stand still long enough for me to take a photo)! In that same tutorial I showed how to make two other circle skirts and shared my secret for painlessly hemming curves with lace.

Check out all three circle skirts HERE.

Circle Skirts Whitney Sews

Even my lined tote bags can be reversible!  Didn’t know that??  Check the bags out HERE!

Can you think of any other projects that can easily be made reversible?  I would love for you to leave a comment below letting me know what you come up with!

I’m off to dream up new reversible projects!  Until next time, happy sewing!

-Whitney-

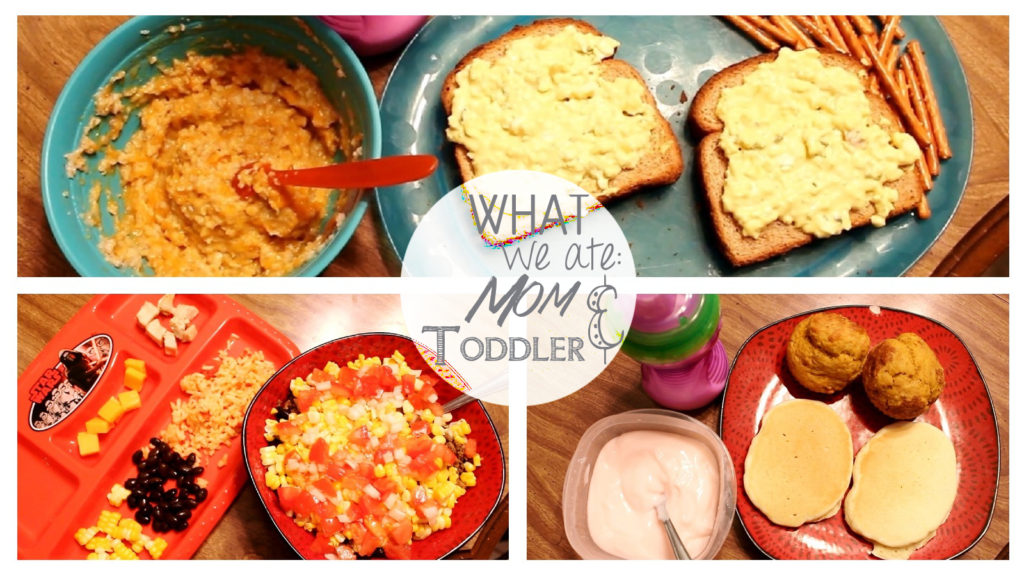
What We Ate – Mom and Toddler

What We Ate - Mom and Toddler

For some reason I love watching videos where people show what they ate in a day or a week, so the other day I decided to film my own. I’m in no way a professional chef, but I do make good food (my family thinks so anyway!).

For this day in particular I used some precooked items from the freezer, created a quick and easy lunch, and incorporated some leftovers into dinner.

Click HERE to see what Peyton and I ate!

One of the freezer items shown in the video is a favorite of mine…Pumpkin Muffins!  I have made several batches of these and they are delicious and freeze perfectly!

Jeremiah and I have a little game we play sometimes called The Pantry Game. It’s something we came up with to use pantry items that have been around a while.  We pick a couple of random things and try to make something creative from them.  I was looking through the pantry to pull items for our game and found a large can of pumpkin.  I was already planning on making muffins that day so I decided to try pumpkin muffins.  I found a recipe and went to work making a double batch.  Two days later I made another double batch!  That’s how good they are and how fast we ate them!

The can of pumpkin was huge and a double batch only used one cup, so I put the rest into freezer bags in one cup amounts. I squeezed the air out and froze the bags flat.  One large can ended up making 3 double batches of muffins (about 64 muffins total), so not only are they delicious, but super affordable too!

Pumpkin Muffins

-1 1/2 cups all-purpose flour

-1/2 cup sugar (I use a little less and it's still plenty sweet)

-2 teaspoons baking powder

-1/2 teaspoon salt

-1/2 teaspoon cinnamon

-1/2 teaspoon nutmeg

-1/2 cup milk

-1/2 cup canned pumpkin

-1/4 cup butter or margarine, melted

-1 egg

Heat oven to 400 degrees F. Grease bottoms of 12 medium muffin cups (or use silicone muffin liners). Mix all ingredients just until flour is moistened.  Batter should be lumpy.

Fill muffin cups 2/3 full. Sprinkle cinnamon/sugar on top. Bake 18 to 20 minutes. Immediately remove from the pan. Makes 10-12 muffins.  Allow to cool then eat, store air tight, or place single layer in freezer bag in freezer.

*Original recipe from the Special Edition Betty Crocker's Cookbook Copyright 1969.  Has been slightly altered to better fit my baking style*

I hope you will give this recipe a try and let me know in the comments what your go to breakfast and snacks are.  A new Feature Friday will be up in two days so don’t forget to come back for that!

-Whitney-

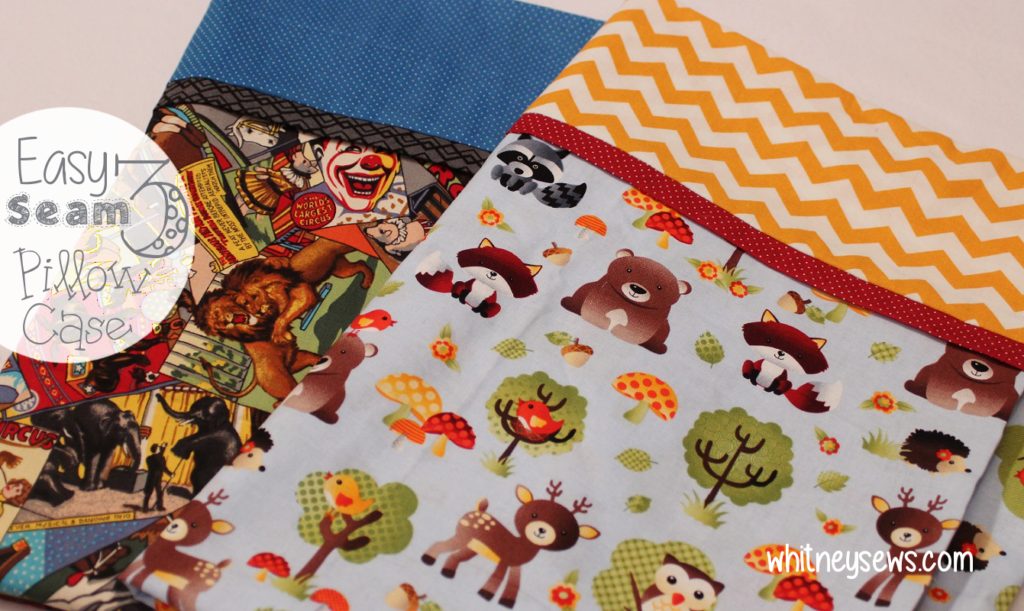
Easy Three Seam Pillowcases

Three Seam Pillowcase Easy Whitney Sews


Many people who are new at sewing like to give pillowcases a try, but for some reason they aren’t usually taught the three seam pillowcase method.  When my sister was in home ec and when I first learning to sew we both made pillowcases.  Ours involved hemming the top edge and the seam allowances inside were not finished properly.  So needless to say, they weren’t very pretty or well made and were badly frayed after only a few washes.

So when I learn how to make three seam pillowcases I wanted to shout the news from the rooftops for everyone to know!

Using this method there are no raw edges because all the seam allowances are enclosed inside french seams.  Not only is this easy enough to be a first project for a sewing beginner, but it will look amazing and last a very long time!

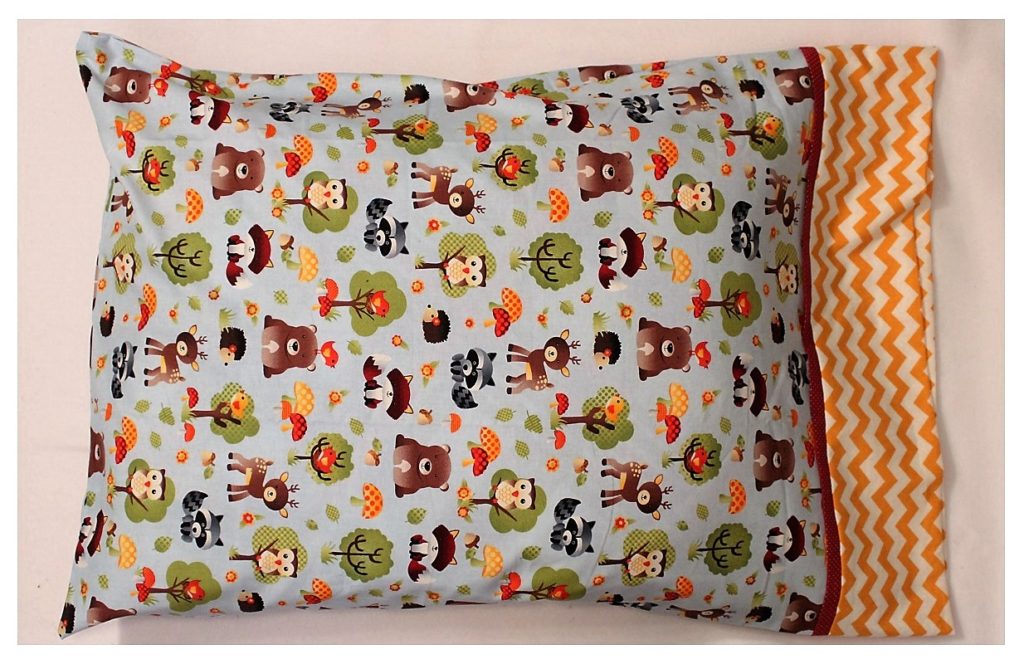
Easy Three Seam Pillowcase Whitney Sews


This pillowcase method is also known as the rollup method or burrito style because of how the layers are folded (or rolled) up together when the cuff, trim, and body fabrics are first sewn together.  Just that one seam, then two more to sew up the bottom and side in a french seam and the entire project is complete!  It’s that quick and easy and I hope you will give it a try!

Find the Easy 3 Seam Pillowcase tutorial HERE!

Now I need to go make the Star Wars pillowcase I promised my hubby.  So until next time, happy sewing!

Whitney


DIY Planner Cover

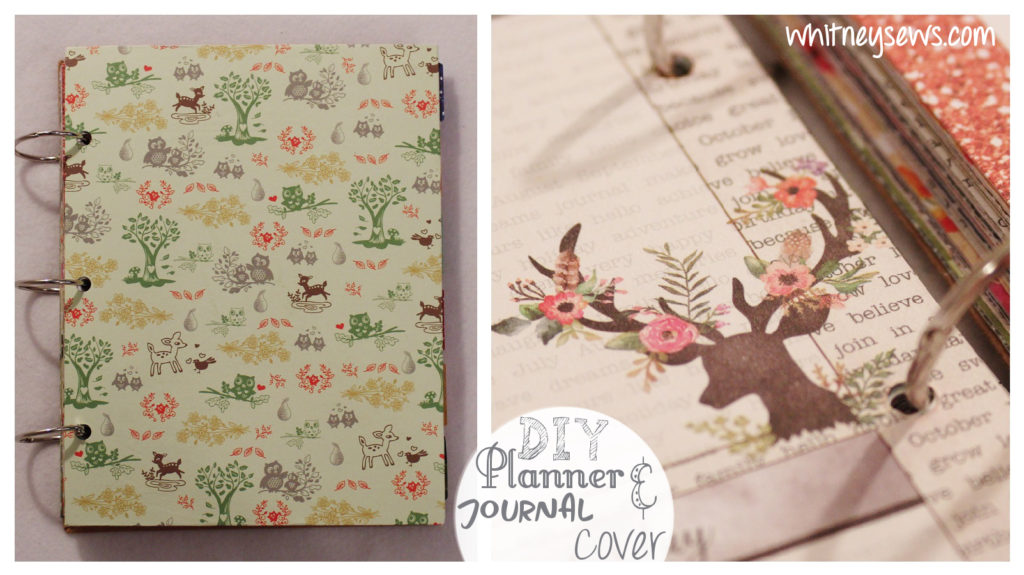
DIY Planner Cover Whitney Sews


As I’m sure many of you know, life with two kiddos under two can be a little crazy!  Add in uploading 1-2 youTube videos and a couple of blog posts each week and it’s very easy to lose track of things.  So in an effort to stay on top of everything I finally started using a planner.

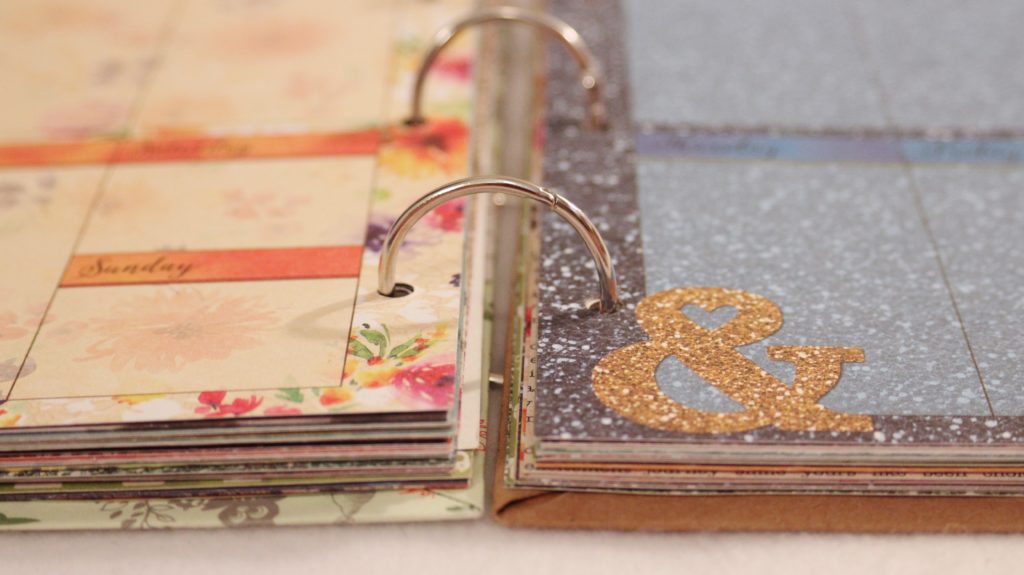
I went to a few different stores and finally found some inserts that I liked.  They are colorful and allow me to fill in the dates myself.  However there was only one binder that fit the inserts and it was gold and black dots which in no way matched the colorful inserts.  So after nearly an hour in the store trying to figure out what to do, I decided to make my own cover.  I considered making a cover with a full spine and everything, but decided to keep it more simple.

DIY Planner Whitney Sews

The entire project took less than an hour and can be made using any paper or decorations you like.  Plus if you get tired of the cover after a while, it’s easy to make a new one!

Click HERE to see how to make this simple DIY planner or journal cover.

Want to see the inserts I’m using?  You can find them HERE.  The rings were found at Dollar Tree in the office supply area.

Now I need to get back to planning what you all will see on Whitney Sews in the weeks to come.  Until then, happy sewing!

Whitney

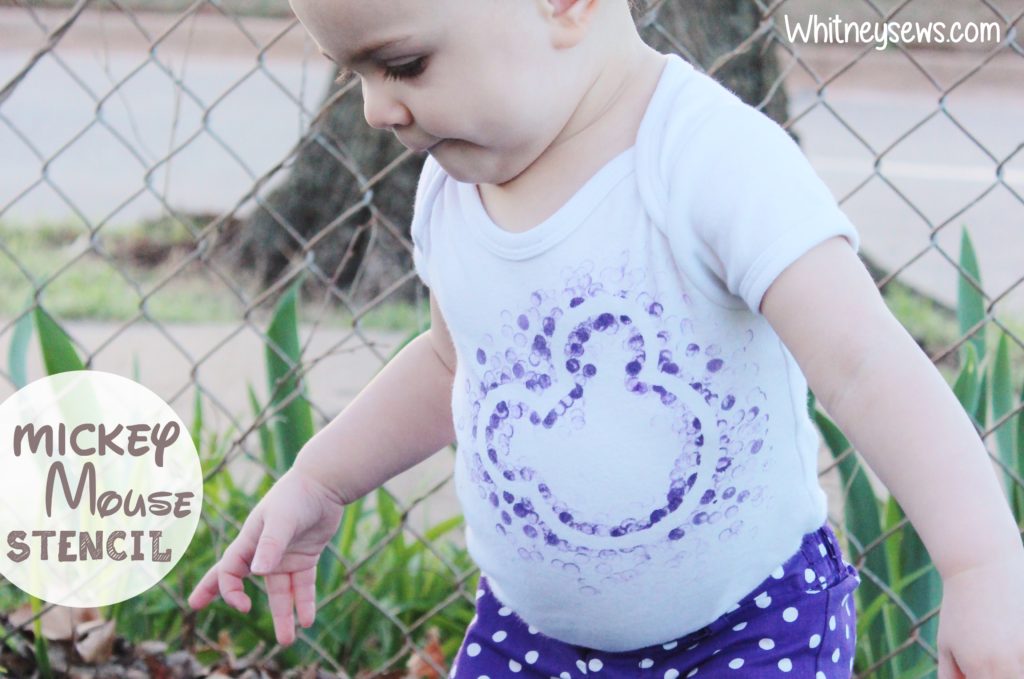
DIY Disney – Mickey Stenciled Tee

DIY-Disney-Mickey-Stencil-Whitney-Sews


In my recent Scrappy Chevron Doll Quilt post I hinted at the next tutorial in my DIY Disney series.  So this week I wanted Feature Friday to be about my favorite project from the series – a super easy Mickey Mouse Stencil.

DIY Disney is a series I launched in April 2016.  It is full of DIYs centered around Disney parks, movies, and characters.  A new how to video is added about once a month.

Learn more about the series HERE.

So far there are tutorials for a Mickey stencil that can be put on anything you want, character inspired hair clips, and a Scrump Tsum Tsum (from Lilo and Stitch).  The next tutorial will be fit for a Disney princess [doll]!

I think the reason the stencil is my favorite is because of how adorable my daughter, Peyton, looks in the onsie I made for her!  Peyton’s favorite color is purple so I used a fun stamping technique with a pencil eraser and purple paint.  Because of how the stencils are cut there are actually three different Mickey design options you can create.

Click HERE to see how to create your own freezer paper Mickey stencils.

Now that Peyton has a (slightly) longer attention span we have started to introduce Disney movies to her.  She’s 18 months, so we don’t expect too much, but she can sit through about half of a movie if she wants.  The first Disney movie I introduced to her was Snow White and the Seven Dwarves (on VHS).  Why not make her first classic Disney movie the original full length animated film??  She really enjoy it, especially the music and the little forest animals.  It is her reactions and excitement that really inspire my DIY Disney how tos.  I have a feeling I will be creating lots of costumes and other DIYs for the girls as they get older, so these tutorials are just the beginning!

Check out the entire DIY Disney playlist HERE.  Every time a new DIY Disney video is posted it will be added into the playlist.

DIY-Disney-Whitney-Sews

I would love to here from you to know what characters, movies, or even park rides you want to see incorporated into a project.  Also let me know what Disney movies you think I should show Peyton next.
Please leave any and all suggestions in the comment section below this post.

I’ll be back Wednesday with a new post, but until then…happy sewing!

Whitney

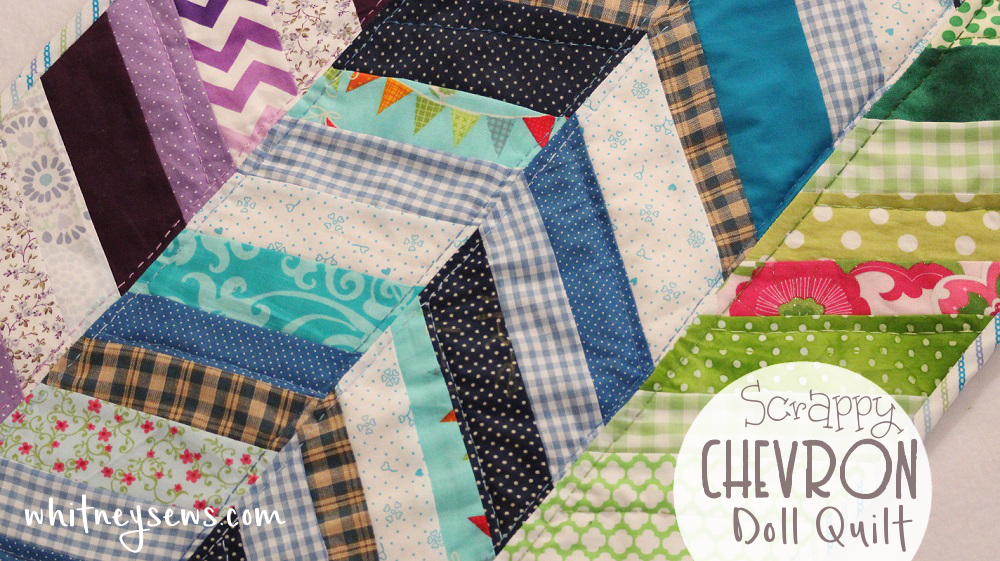
Scrappy Chevron Doll Quilt

Scrappy-Chevron-Doll-Quilt-Whitney-Sews


Sometimes you wake up picturing a new project in your mind and know you just have to make it!  That happened to me recently with this doll quilt.  I woke up picturing a paper pieced design that incorporated long rectangle sections that alternating directions to create a chevron shape.  As I was sketching out the design I realized the rectangle pieces gave this project a totally different look than any I had done before.  Over the years I have done a lot of paper piecing, from string piecing (like this project) to creating actual designs (available in my free patterns section).

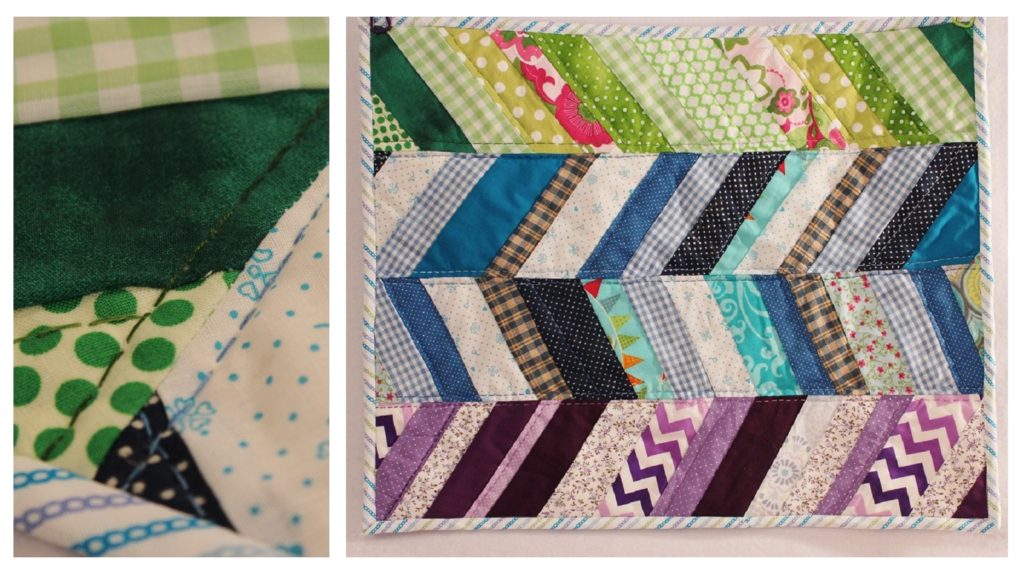
I paper pieced (or foundation pieced) four long skinny rectangles in the string piecing method.  String piecing is using strips of fabric in any width to fill up the foundation paper to create your block.  String piecing is usually done on an angle.  I then used the four pieces to create a scrappy chevron design.

I made the entire quilt using scraps from my stash, but a few fat quarters cut into strips, and another for the backing, would also work great for someone without a large fabric stash.  The continuous bias binding can even be made using a fat quarter.

This quilt was designed to be a doll quilt, but would be easy to make a little larger for a baby quilt, or smaller for a mug rug.


Scrappy-Chevron-Quilt-Whitney-Sews

To make the doll quilt cut four pieces from paper measuring 5 X 22 inches.  Sort through your fabrics and decide what colors you want to use.  Then begin sewing the pieces together onto the paper.  Make sure to backstitch at the paper edge each time so your seams stay strong when tearing the paper away.  Trim away all the excess fabric.  This is easiest when using a long ruler and rotary cutter.  Tear the paper away and you’re ready to sew the four rectangles together.  Then it’s time to make your quilt sandwich.  *If you want to use a fat quarter for the backing you might need to trim down the pieced front*  To make the quilt sandwich layer with the backing right sides down, then the quilt batting, and the pieced top right sides up.  There are a few different ways to baste the layers together, but the easiest way is using spray basting.  Once the layers are basted together the quilt can be quilted any way you like.  I chose to hand quilt mine using variegated embroidery floss, two strands at a time.  When you’re done quilting trim all the edges to they are straight and add your binding.

Finished quilt measures approximately 18 X 22 inches.

Click HERE to watch the step by step video tutorial!

Interested in the supplies I used?

Supply Links:

Spray basting – http://amzn.to/29JmFex

Batting –http://amzn.to/29erX4u

A tutorial for making your own continuous bias binding is coming soon.  There will also be another small quilt project coming up in my DIY Disney series, so keep an eye out for those!  Until then, happy sewing!

-Whitney-
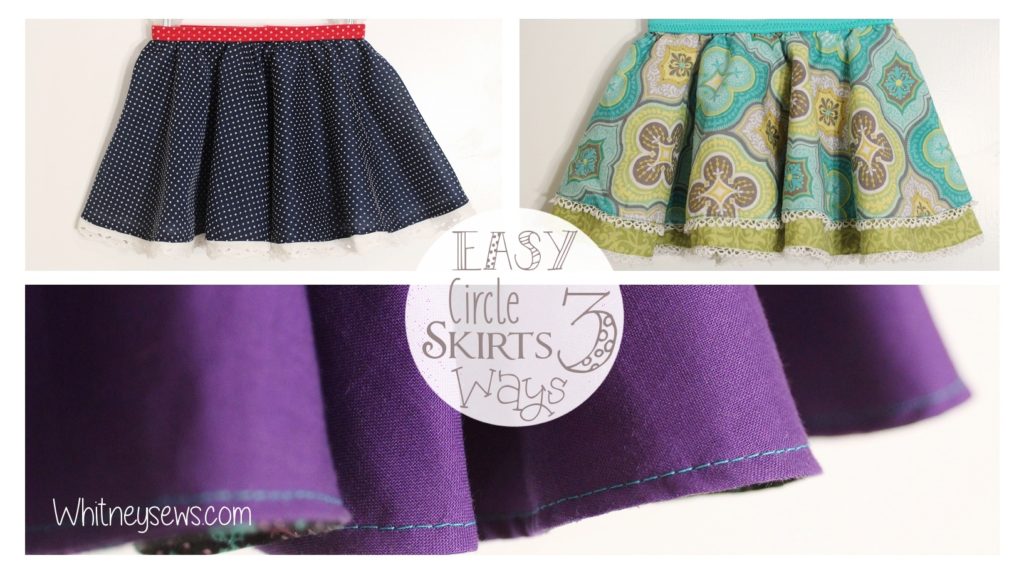
How to Make Easy Circle Skirts (3 Ways)

Circle Skirts Whitney Sews


I have gotten tons of requests over the years for more clothing tutorials, especially children’s clothing.  So when I decided to make an outfit (appliqued onsie and circle skirt) for my daughter’s first birthday I knew I had to share tutorials for them.  Since the skirts are so easy and quick to whip up I wanted to show three different versions.

The first version is a basic circle skirt with an elastic waist.  The second is a double layer circle skirt.  Both skirts incorporate my hemming cheat that uses lace to make hemming a curve painless.  The third and final version is a reversible skirt that doesn’t take any more time or effort to make.  All the skirts are finished off at the waist with fold over elastic so there are no zippers or buttons to deal with.  *The FOE used is the kind meant for sewing, not the type used for hair elastics and headbands*

I love how all three skirts turned out which is why I chose this tutorial for my first Feature Friday post.  *Almost* every Friday here on Whitney Sews I will be featuring a new project.  Some will be tutorials I’ve made in the past and some will be from other creators. If you have a project or person who want to see featured feel free to leave a comment on this blog page letting me know. Anyway, back to this week’s feature…

Click HERE to learn how to make all three circle skirts.

In addition to Peyton’s outfit I made a few other DIYs for her first birthday.  I put together a separate video showing the birthday cake, decor, and appliqued onsie which are easy to DIY on a budget.

You can see the adorable birthday girl and her DIYs HERE!

It’s hard to believe that in 6 months we’ll be celebrating Peyton’s second birthday…with plenty more DIYs!  But until then, happy sewing!

-Whitney-
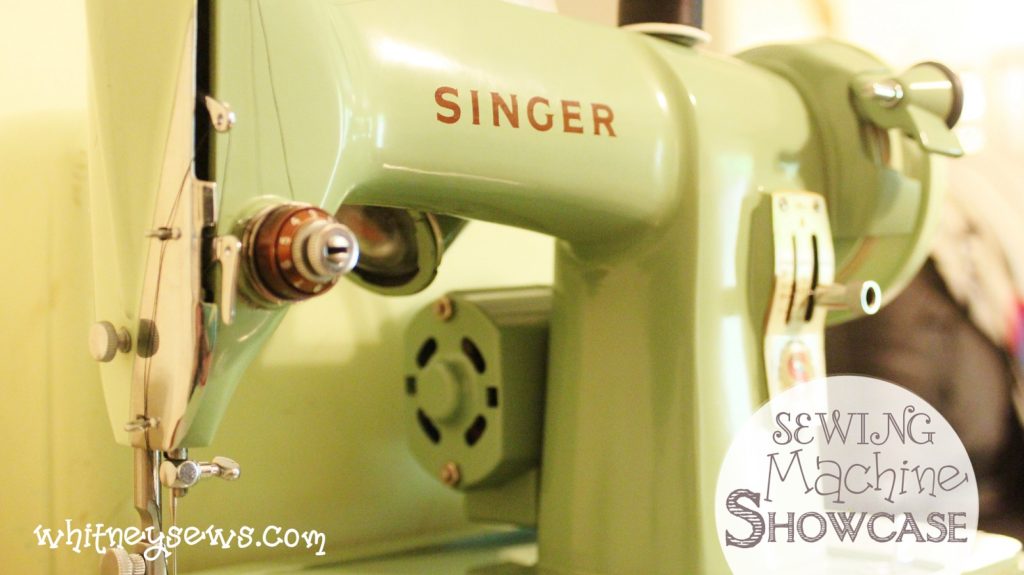
Sewing Machine Showcase – Singer 185J

Sewing Machine Showcase Whitney Sews


For at least two and half years I had this idea that I wanted to make a video showing off several of the beautiful vintage sewing machines my mom and I own.  I could never seem to get started though because it was so different from anything else I had ever done and I wanted to do it just right.

I eventually decided there was no way to squeeze so many beautiful machines into one video while still keeping it a reasonable length.  It began to make sense to create a new little series on Whitney Sews.  Each video in the series will show off a vintage sewing machine in all its glory with close up detailed shots.  The last time I visited my parents’ house I finally dove in and managed to film three of my mom’s machines.

The first sewing machine to get its showcase is one I refer to as the Green Machine.  It is a Singer 185J.  My mom won this sewing machine from a facebook group we belong to.  The Singer was built in Canada sometime between 1958 and 1962. It is a solid metal straight stitching machine that is sometimes considered comparable to the Singer Featherweight in stitch quality.

Here’s a review that I found that goes further in depth on the details of the machine.

Without further ado – here is the Singer 185J showcase.

I hope you enjoy the video.  Happy sewing!

-Whitney-