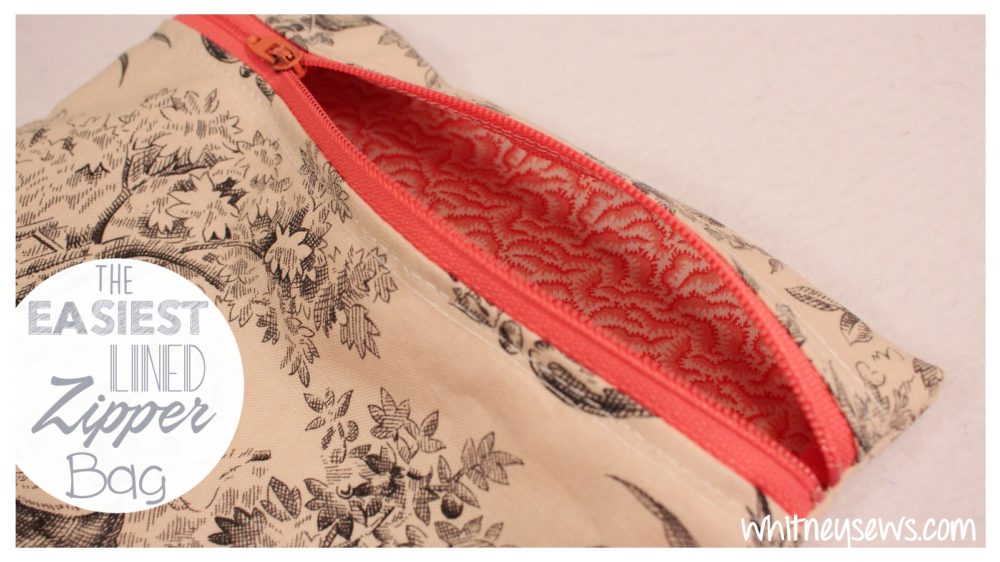
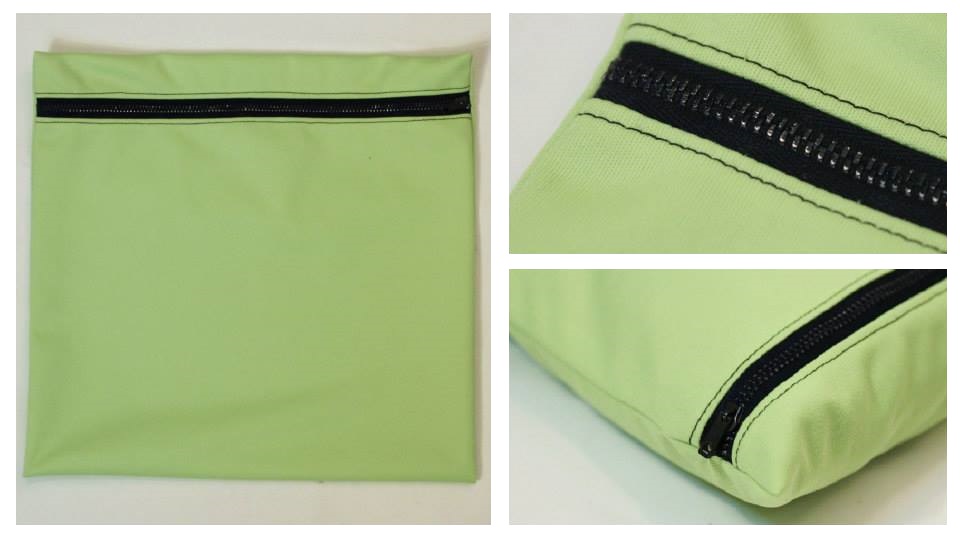
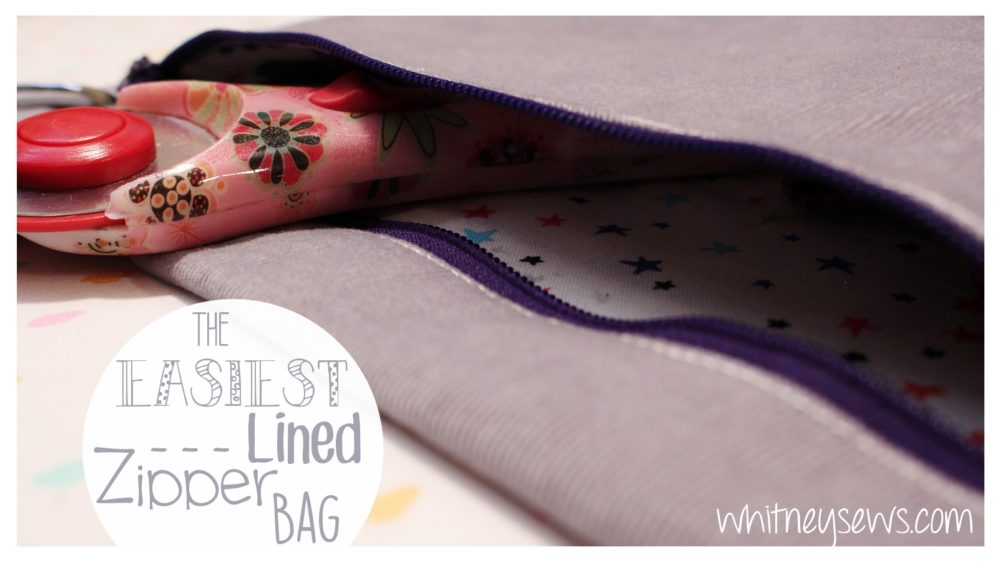
The EASIEST Lined Zipper Bag How to!

A few years ago I shared a how to for an easy zipper pouch that can be made in about 5 minutes!  That video is very popular and has recently received many comments from people asking for a lined version.  I wanted to come up with a way to line the bag and fully finish the seams on the inside while still keeping it the easy style of the original 5 Minute Zipper Bag.

I finally realized the answer is french seams!  So I whipped up a test bag and it turned out perfectly, so I made another to film and now you can learn how to make your own!  With the added steps to line the bag and make the french seams it now takes 10-15 minutes, but worth every second!

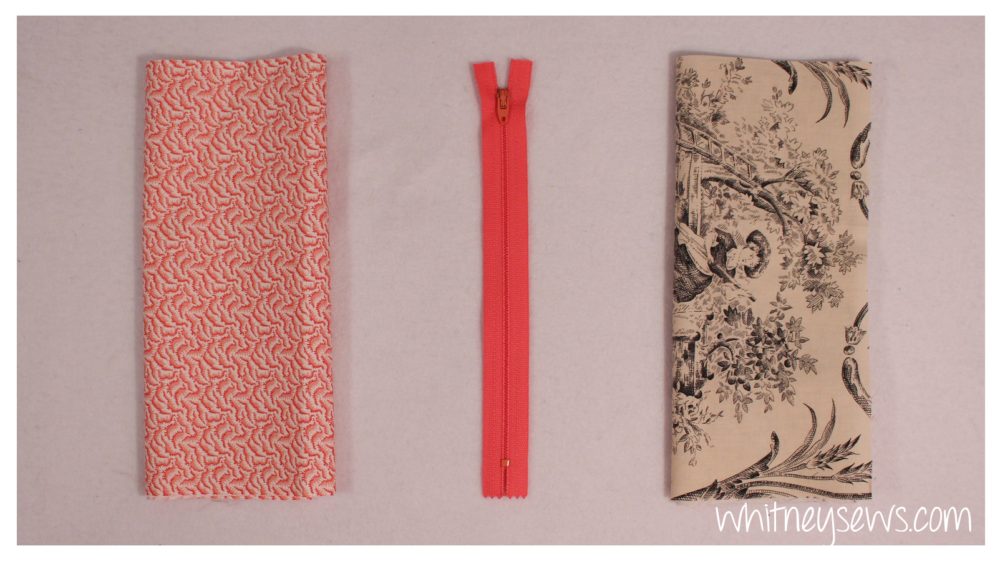
You need a zipper and two different fabrics that are  the same width as your zipper and about twice as long as you want the finished bag to be.

Click HERE to follow along with the step-by-step video tutorial!

You can use different materials to make your bag fit different needs.  Use PUL inside for a wipe clean makeup bag.  Use lightweight woven fabrics for a bag you can toss in your purse and hold feminine products. Or use slightly heavier woven fabrics to keep small toys organized in a diaper bag.

This is a great stash busting project because they use two fabrics at once and are very quick to make!

I hope you enjoyed learning how to make bags using this new method!  If you give it a try I would love to see pics of the bags you make!

I post a new tutorial every Wednesday, so make sure to come back next week!  Until then, Happy Sewing!

-Whitney-
Quilters Candy Box Unboxing

Quilters Candy Box Unboxing with Whitney Sews

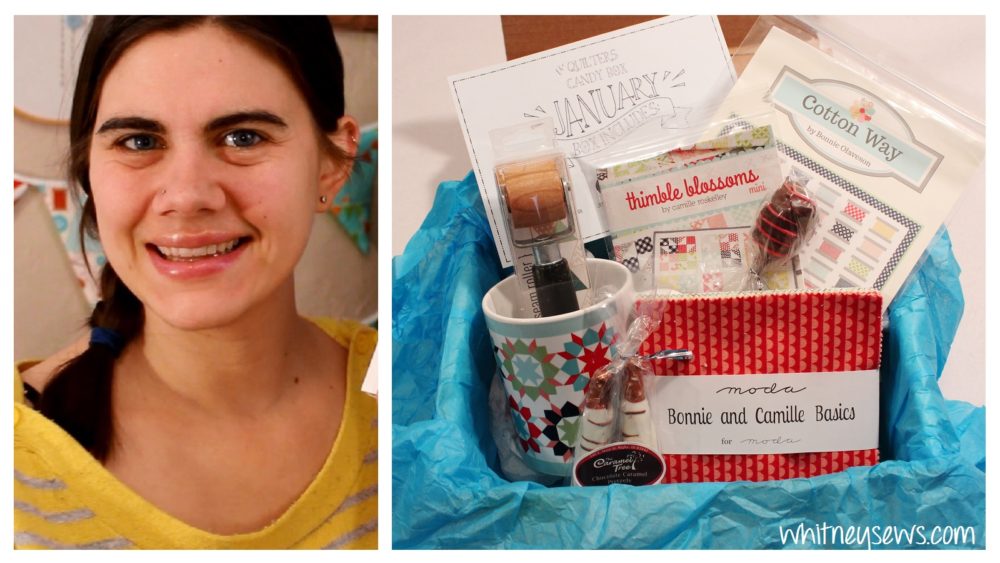
I’m so excited to share something a little different this weekend.  It’s an unboxing of the Quilters Candy Box!  I have the opportunity to work with the lovely ladies from QCB to show you what kinds of things you can receive in the monthly subscription box.  There is also a chance for one of you all to win one month’s box of your own!

In addition to that they were kind enough to offer an EXCLUSIVE coupon code for Whitney Sews viewers!  You can use coupon code WOOT for $8 off your first box!

Click HERE to see the January Quilters Candy unboxing and get all the details on the giveaway!

Also make sure to check out the Quilters Candy Box website!

Until next time, Happy Sewing!

-Whitney-

This entry was posted in Blog and tagged .

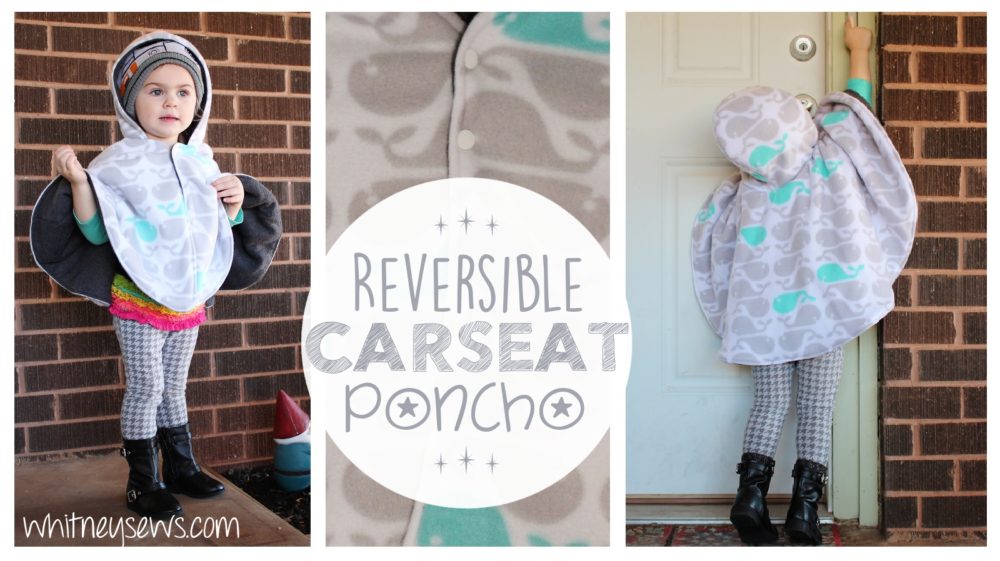
Reversible Car Seat Poncho

Carseat Poncho How to from Whitney Sews

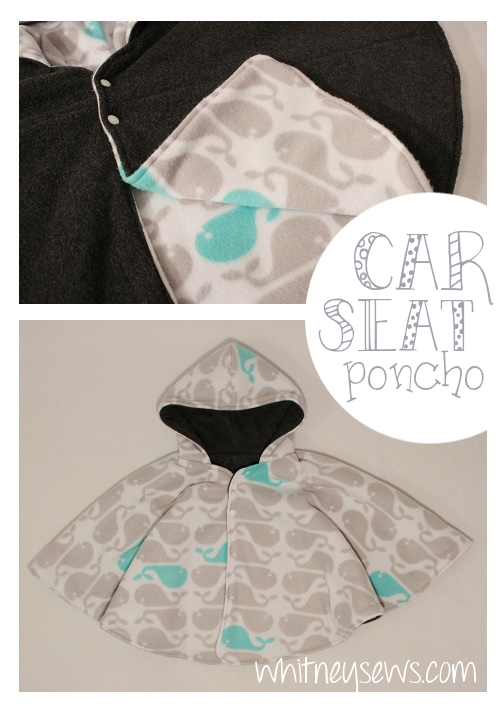
This week I’m sharing a project I am so excited about!  Not only is it cute, warm and functional, but it is REVERSIBLE!  You all know if I can find a way to make something reversible then I will do it!  You can see several other reversible projects  HERE!  This car seat poncho also saves a lot of time and energy when going places with your kids.
If you have young children you know about the car seat routine.

Put on your kid's coat and get them to the car.  
Take off coat and buckle kiddo into their car seat.  
Get to store, unbuckle kid and put coat back on to go into store.  
Leave store and take coat back off to buckle into car seat. 
Repeat at EVERY SINGLE STOP!

It gets old really quick, but it’s much safer than wearing a coat in a car seat (because the straps aren’t firmly secured against your child, but instead are going around lots of bulky material).

But that is what makes the Car Seat Poncho so BRILLIANT!

Car Seat Poncho How to - Whitney Sews

It keeps kiddos warm in and out of the car and allows you to safely buckle the car seat straps underneath the poncho.

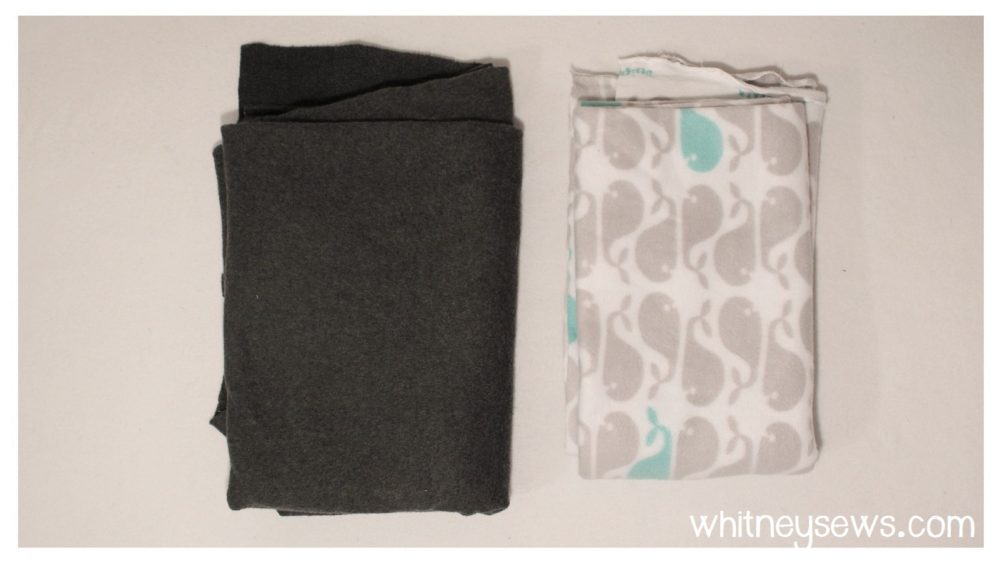
Anyway, enough of my excitement about the poncho itself and onto telling you how to make it!  You will need about 1 yard each of two different fabrics.  I used fleece for both of mine, but you can get creative and use a laminated cotton for one side to make a rain poncho or whatever materials you like.

Car seat poncho supplies

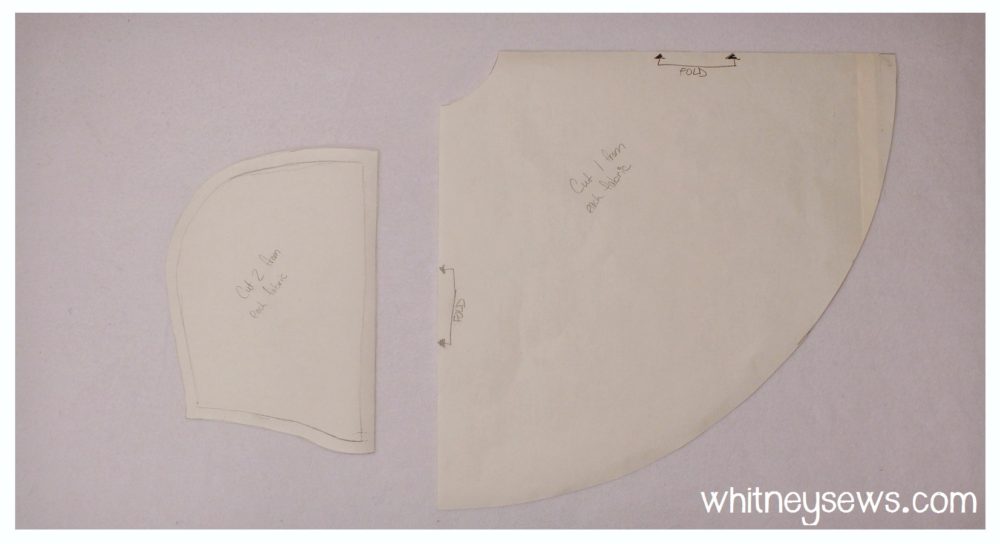
After you have selected your supplies you will need to make two simple pattern pieces.  The first is a hood.  I simply traced a hoodie my daughter already owned and added a half inch all the way around for the seam allowance.  (If I remade this I would trace a hoodie one size larger to make it a little roomier since it’s two layers thick).

Car seat poncho patterns

The second pattern piece is 1/4 of a circle.  I show exactly how to make this style of circle pattern in my Circle Skirts 3 Easy Ways video.  You make your pattern the same as shown in that video using the measurements you need for your child.

For this size poncho (about a 2T/3T) use 2.25 inches for the neck radius and from the 90 degree corner of the paper to the full length of the pattern is 17.5 inches.  This will fit perfectly on one yard of fabric. Peyton is 36 inches tall and this is a great size for her. If your child is larger than you will need a little more material.

Reversible Carseat Poncho how to from Whitney Sews

After you have your pattern pieces it time to get started!  In the video tutorial I show exactly how to fold your fabric to ensure there is enough room to cut out all your pieces and how to sew it all together.  Because the poncho is fully lined/reversible you don’t have to hem any curved edges!    Click HERE to watch the full how to!

There is really nothing complicated at all about this project!  Don’t forget to pin and share this post so it’s easy to find when you’re ready to make your own car seat poncho!

This video and last week’s infinity scarf with a zipper pocket were both requested tutorials.  If you have a project you want to see a how to for let me know in the comments down below.

Come back next Wednesday for a new video and until then, Happy Sewing!

-Whitney-
 

**You may have noticed in the video that there is a large seam across my grey material.  That is because I was using leftovers from my Totoro Kigurumi and had to sew a few pieces together to have a large enough piece.  Wondering why I didn’t just use something else or go buy more??  Because we were on a spending freeze and I have challenged myself to sew through my giant fabric stash.  Find out more about that project and how you can join in HERE!**


Sew Your Stash Challenge Intro

Sew Your Stash 2017 Challenge from Whitney Sews


If you are anything like me you probably have fabric tucked away in every nook and cranny of your home and don’t even remember what half of it is.  I have four tubs of material in the garage (denim, home decor, fleece and clothing to repurpose), a large bag of sheets to repurpose in the hall closet, and then there is the entire sewing room…  In there you will find a laundry hamper full of more sheets to repurpose, a tub full of cotton and flannel, a closet with multiple bags and boxes full, and the shelving unit next to the bed piled high with materials.  I’m sure I left something out, but you get the picture.

Some of the material has been purchased by me and some has been given to me by friends.  Since I didn’t hand pick of the fabrics myself I tend to not reach for and use a good portion of it. But it’s time for that to change!

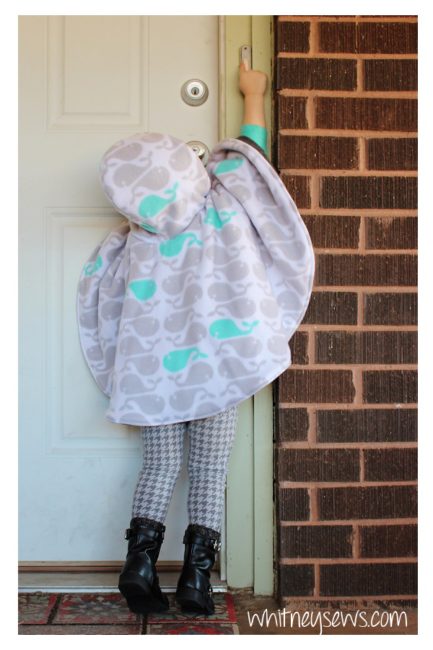
I was recently searching for materials to make my oldest daughter a carseat poncho and I didn’t find exactly what I needed in my stash.  I considered purchasing something new, but thought ‘enough is enough!’. I hardly use fleece as it is, so there was no way I was going to buy more of it when I already have a tub full!  So I sewed together two pieces a dark grey fleece left from my Totoro costume and had the exact size I needed.  The grey material was for the lining so it really doesn’t show and I think it turned out adorable (the tutorial is coming Wednesday, January 25).

Car Seat Poncho from Whitney Sews

After that I was inspired to take on my entire stash!  I am tired of not having space for everything and being overwhelmed.  So this year I am going to sew my stash!  I want to see just how much of a dent I can make when I set my mind to using what I already have on hand.  It will be fun to see what kinds of projects I can come up with this year.

I set a few specific goals for myself to help me stay on track.  You can hear all about my goals in my video HERE!

I forgot to share it in the video, but a few weeks ago I was planning what I want to make and wear to this year’s Medieval Faire.  I decided I needed about 3 yards of purple material to make something like THIS (more of the costume later).  I really didn’t want to go out to several fabric stores to find what I needed and pay who knows how much.  On a whim I decided to look through two boxes of fabric in my closet that I was given when a friend’s mom passed away almost 7 years ago.  I had gone through them several times but could never seem to remember what all was in them.  About half way down in the box I found… 3.25 yards of purple fabric!  I had exactly what I needed right in my stash and I didn’t even know it!  It got me to thinking about what else is possibly ‘hidden’ away that I could be using and loving, but I don’t even know it’s there.  I’m going to dig in and find the treasures and start creating gems with them!

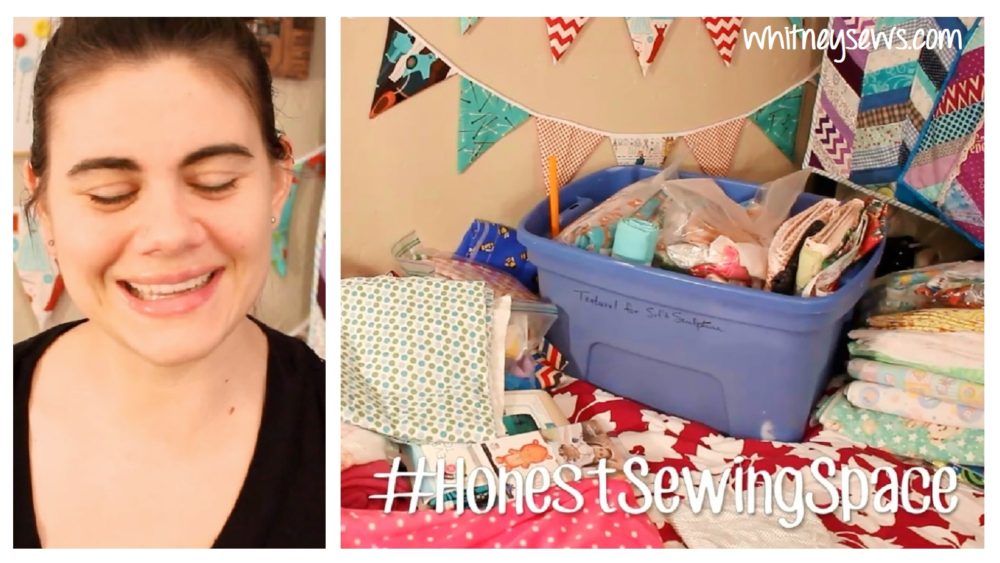
I hope you will join me on this challenge; go through your stash and start using it! Since I started this challenge I have been more motivated and accomplished more than I had in a long time.  I am also sharing my #HonestSewingSpace so you all can see just how crazy and cluttered my life is.  I think the more real we are with each other the more encouraging it can be.  (If your space isn’t cluttered, that’s great too!  Feel free to share if you have an organized space and offer tips for how you keep it that way).

Let me know if you have a huge fabric stash and want to join in on this challenge.  I would love to know what goals you set for yourself!

**Edit – so many people expressed an interest in having a facebook group where we can share and encourage each other, so I created one!  You can join in the fun HERE!**

Happy Sewing!

-Whitney-

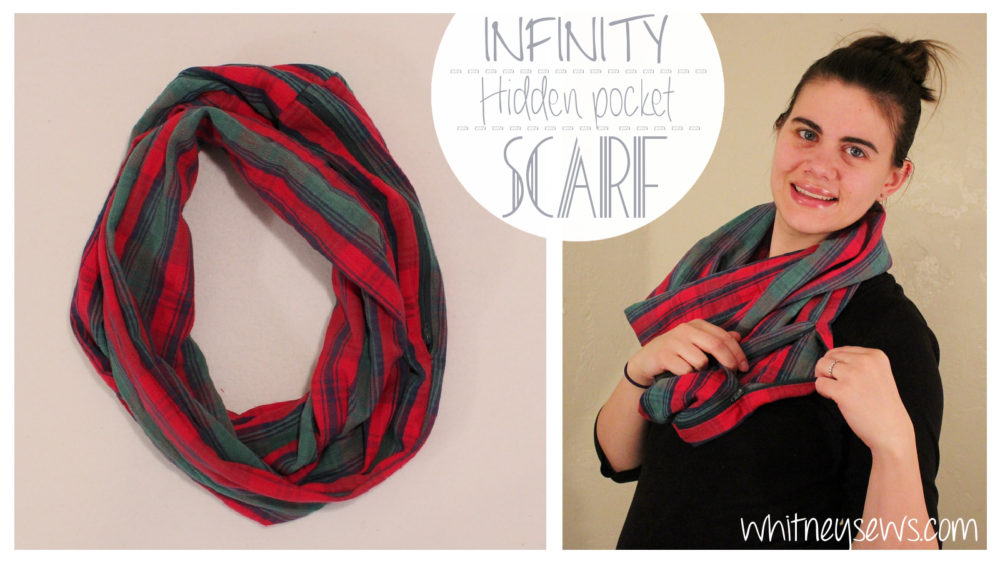
Infinity Scarf with Hidden Zipper Pocket

Infinity Scarf with Hidden Pocket How to from Whitney Sews

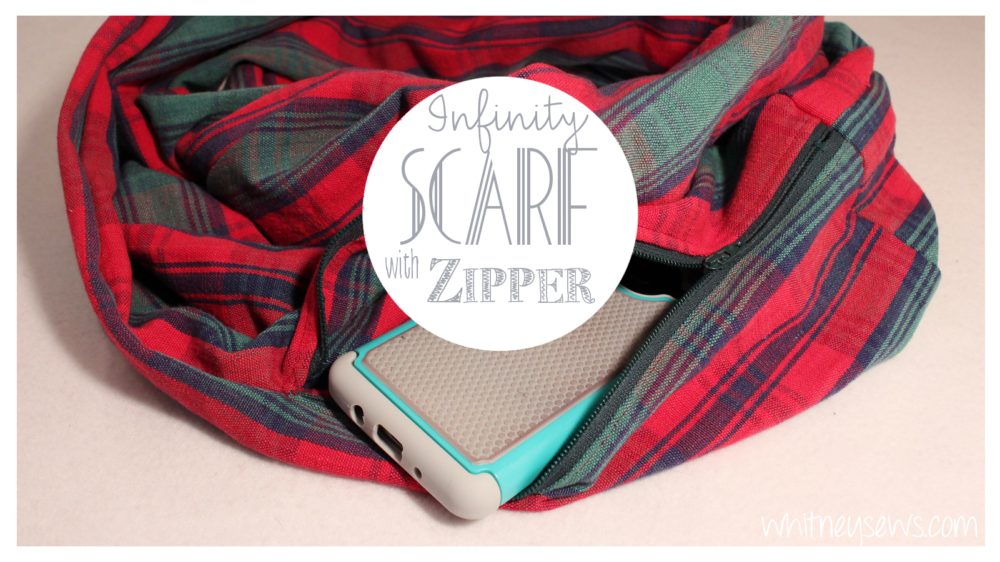
I love the scarf I’m showing how to make this week!  It is cute and functional!  Not only can it keep you warm, but also hold your phone, ID, gloves, etc.  So handy when traveling or if you happen to be wearing jeans like mine with fake front pockets (why do they even bother?!?).

The scarf is simple to make and only involves a few steps.

To get started you need a zipper (8 to 11 inches) piece of fabric measuring about 18 x 70 inches.  I had a beautiful vintage piece of fabric I thrifted last year.  I’m not sure if it was a table cloth or a light weight throw blanket, but it had lovely tassels along two edges (that I saved!)  My fabric was long enough on it’s own, but if you are using regular yardage you need to get a full yard and cut it in half so it is two pieces measuring 18 inches (a half yard) by the width of the fabric (selvage to selvage).  Then put the two pieces right sides together and sew to attach along the 18 inch side.  You can then trim it down to 70 inches or leave it at it’s full length to make a longer scarf.

Hidden Pocket Infinity Scarf Video How to from Whitney Sews

Once your fabric is the right size you are ready to sew your scarf together!  Click HERE to follow the step-by-step how to video!

If you want to make an regular infinity scarf that doesn’t have the zipper you can follow the same instructions. Simply sew the entire seam instead of stopping short to add the zipper.

Want to try about another SUPER EASY zipper project??  Check out my 5 minute zipper pouch video!

Next Wednesday I’ll be back with another winter type tutorial that has been highly requested!  But before then I will have a haul about a new challenge I’m taking on and hope you will join me in!  Keep an eye out for all that or  subscribe to my youTube channel!

Happy Sewing!
-Whitney-

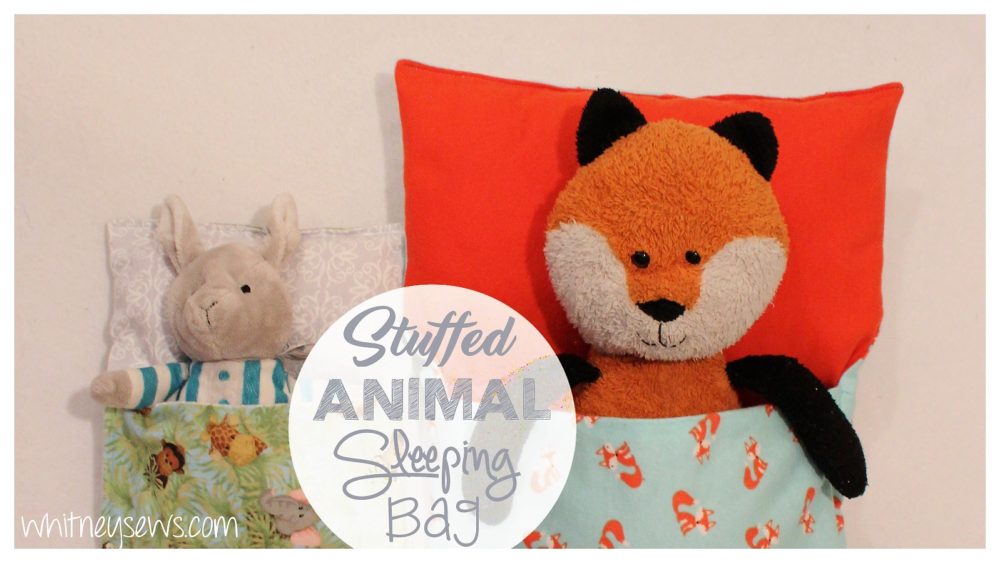
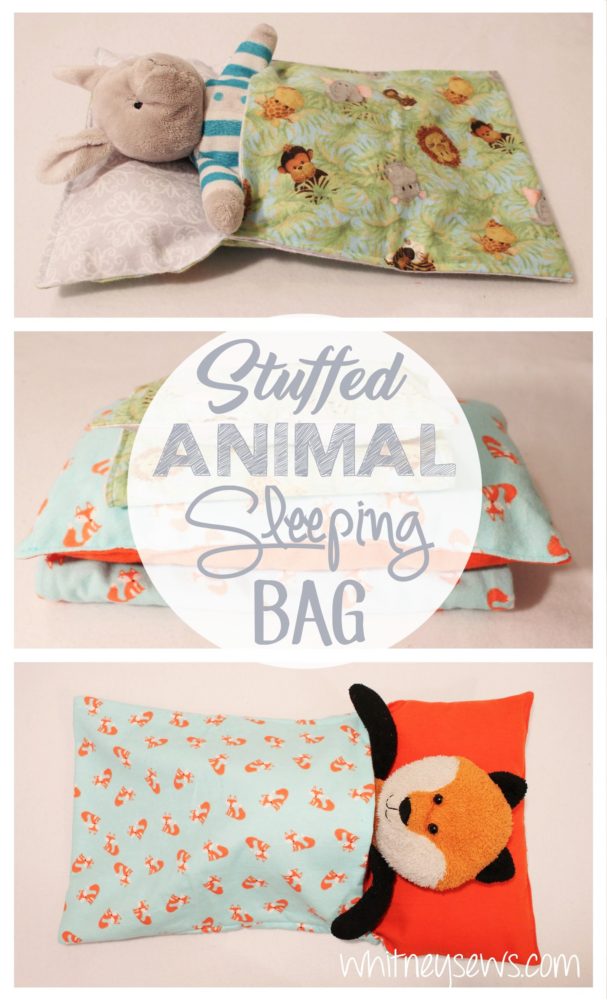
Stuffed Animal and Baby Doll Sleeping Bags

Stuffed Animal Sleeping Bag How to from Whitney Sews

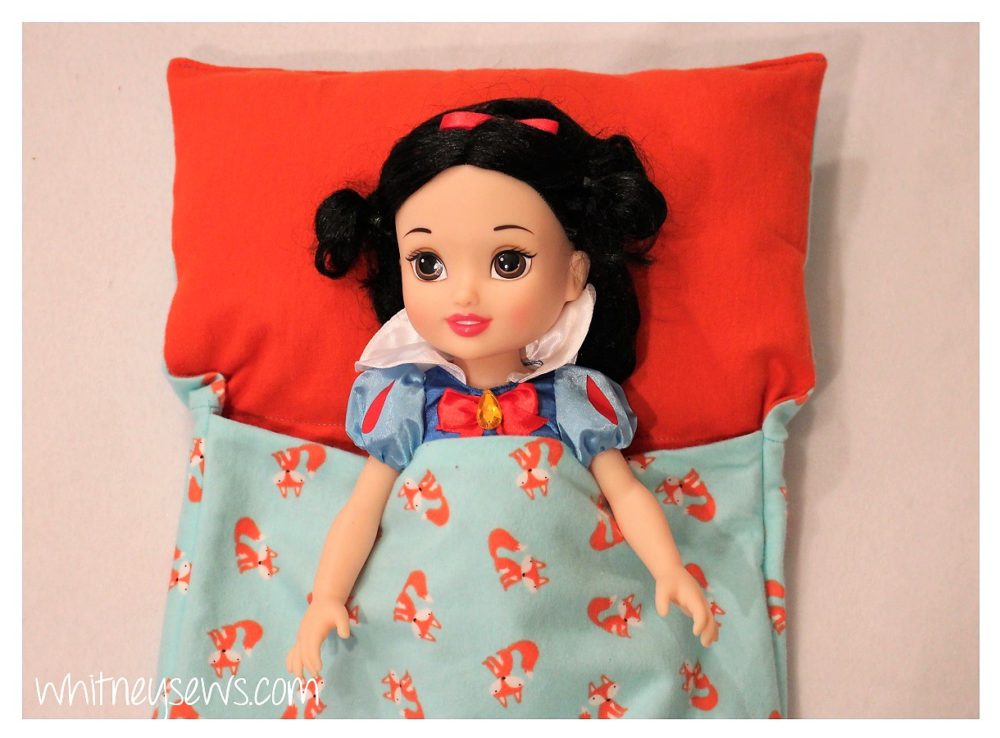
I had so much fun reminiscing about my #FiveFav sewing projects last week!  So this week I wanted to share a project inspired by something my mom made for me as a child.  When I was little TY beanie babies were very popular and I had a handful of them.  My mom made beanie baby sleeping bags for all of them.  So this week I took inspiration from them and created a how to for stuffed animal (and doll) sleeping bags in two sizes!

This is an easy, beginner friendly project that can be made in under 30 minutes!

Stuffed Animal and Doll Sleeping Bags. Full FREE how to from Whitney Sews.-

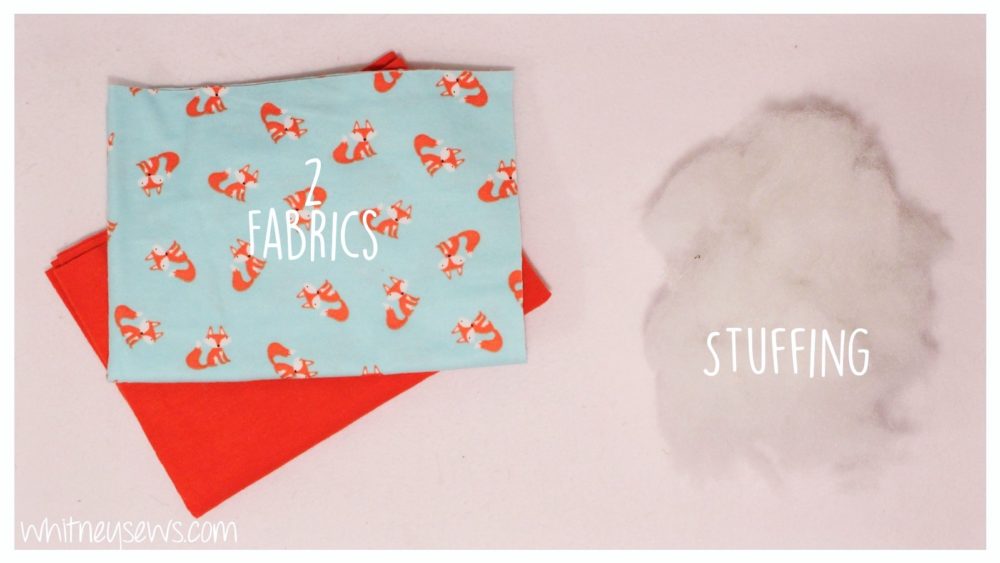
To make the sleeping bags you need two fabrics, flannel or quilting cotton are best and stuffing for the pillow portion of the bag, along with your sewing machine and basic sewing supplies.

Sleeping Bag Supplies

My newest (and favorite) sewing supplies are craft clips!  They are use instead of straight pins to hold the fabrics together.

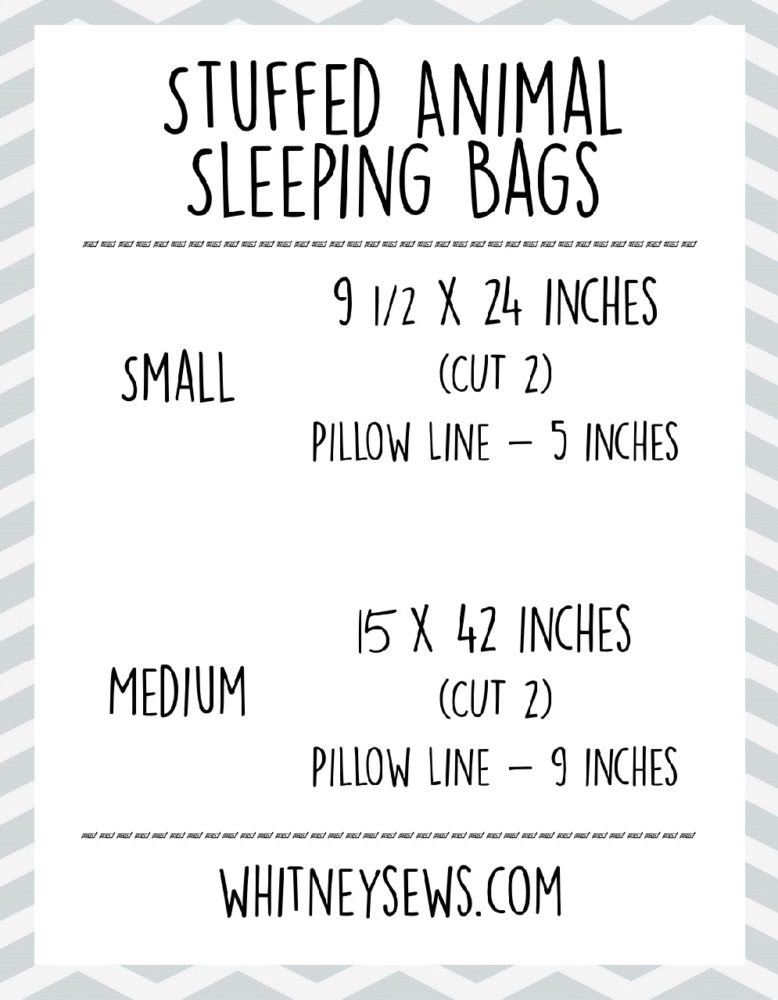
Once you have selected your fabrics you’re ready to start!  The cutting measurements are listed below for each bag size.

Sleeping Bag Measurement Chart

After your fabrics are cut you can use my easy to follow video tutorial to sew your sleeping bags together!  Click HERE to watch!

Wasn’t that super easy?!?  I know Peyton is going to love these and I’ll probably have to make several more because she has lots of fluffy friends and a few dolls too.

DIY Doll Sleeping Bag by Whitney Sews

Well, that is it for this week!  I hope you enjoyed this fun little project.  I have tons of cute flannels I picked up a while back on sale.  You can see them all in this haul video!  So this year I’m challenging myself to come up with some new projects incorporating flannels.

Make sure to subscribe to my youTube channel so you don’t miss out on any of the upcoming projects and help get our Whitney Sews family to 100,000 subscribers!

Until next time, Happy Sewing!

-Whitney-
Five Favorite Sewing Projects #FiveFav

Five Favorite Sewing Projects from Whitney Sews

I thought it would be fun to start off the new year by thinking back on all my past sewing projects.  I came up with 5 sewing projects that are favorites of mine and strongly influenced my sewing skills.  Some of them took me out of my comfort zone and challenged me to learn new techniques.  Others simply gave me a sense of pride and accomplishment for taking something I thought up from design to completed project.

I really enjoyed reminiscing a bit about all these projects and hope you enjoy hearing about them!

Click HERE to see what my Five Favorite Projects of All Time are!

I would love to know what your Five Fav are!  Please share what your favorite projects are you’ve made in the comments or in a video response.   Make sure to use #FiveFav so I can find it!

Now I have to get back to work getting ready for a Snow White themed birthday party this weekend!  I will have tons of party ideas and how tos coming up soon.  Until next time, Happy Sewing!

-Whitney-
Merry Christmas from My Family to Yours

christmasgreeting

Hi everyone!  We wanted to send a quick Christmas greeting to you all before we started unwrapping presents!  I hope you all are having a wonderful day and get to spend it with family and friends!

We started a new tradition this year of letting the girls unwrap a new pair of pjs and a movie on Christmas eve.  This year’s movie was Elmo Saves Christmas (on VHS).  It will be fun to create even more traditions as the girls get older 🙂

Anyway, HERE’s our Christmas greetings for you!

Merry Christmas from my family to yours!

-Whitney-

Everything Cloth Diaper Related

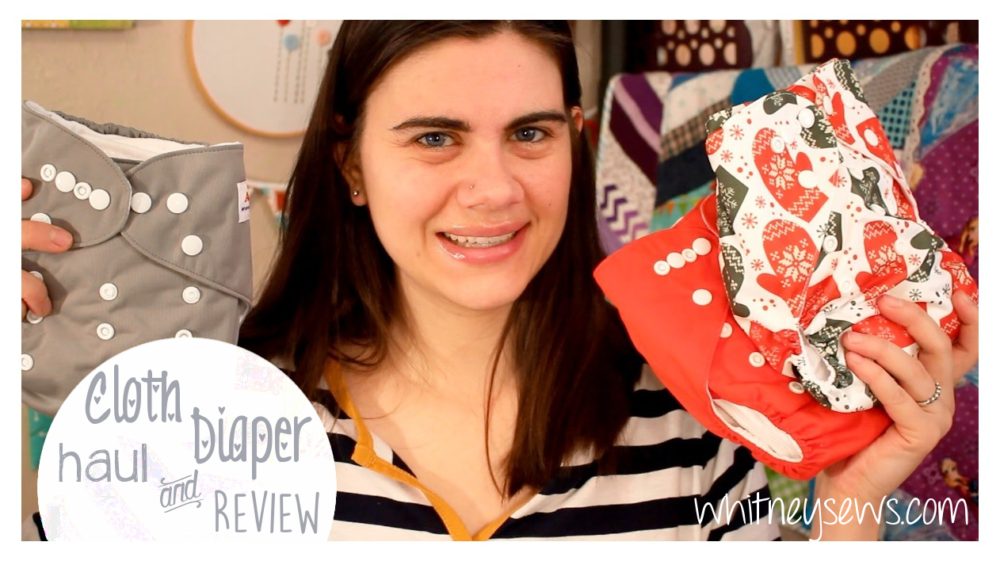
Cloth Diaper Haul and Review from Whitney Sews


If you don’t already know, I have an almost 8 month old and almost 2 year old, and both are cloth diapered.  We mostly cloth diaper to save money, but also believe cloth diapers are more comfy for baby bums!

When I was pregnant with Peyton I made several cloth diapers and was also given some hand-me-down diapers to use.  This worked great and was all I needed to get started.

I also came up with a great way to make THE BEST cloth diaper inserts!  They are affordable and made using materials that are easy to find.   I use flannel fabric and microfiber towels.  Check out the full video tutorial to find out how to make them!  Click HERE to watch!

Here are the towels I use in the tutorial:

Microfiber Towels - http://amzn.to/29ZsveU

After having Skyler I quickly figured out we didn’t have enough diapers and I sure didn’t have time to make any new ones now!

So instead I found really great, affordable cloth diapers on Amazon!

I chose Alva diapers because I had heard good things about them from other cloth diapering mamas and the price was right!

Check out my first cloth diaper haul HERE!

All Diapers Shown in Haul:

Elephant/Chevron - http://amzn.to/2b1UnQC
Zoo Animals (print out of stock, but same diaper in different prints)- http://amzn.to/2aFmIKe 
Alva 6 pack - http://amzn.to/2aFj71I 

I just ordered another batch of cloth diapers because Skyler is outgrowing a lot of the diapers I had made.   You can find my newest haul HERE!  It includes the haul as well as a review of the Alva diapers shown in the previous video.

All Items Shown in this Haul:

Alva 6 pack - http://amzn.to/2ihxpDP
Christmas print diapers - http://amzn.to/2htmFCe
Craft Clips - http://amzn.to/2hJ9wbc 
BB8 Book - http://amzn.to/2hXiUsc

I think {hope} we are finally set with enough cloth diapers!

Are you wanting to get into cloth diapering??  Need some help getting started?  My friend Archy has a playlist full of cloth diapering videos that I learned a lot from!  You can find it HERE!  She covers everything from different types of diapers to how to wash them.

One thing you will definitely need for cloth diapering is a wet bag!  Wet Bag full free how to from Whitney Sews

You use wet bags to hold dirty cloth diapers.  I have a small one I keep in our diaper backpack and a really large one to hold all the dirty diapers until diaper laundry day.

Learn how to make your own wet bag using this tutorial.

I have a playlist full of all things pregnancy and cloth diaper related (including weekly baby bump pics and name reveals)!  I love going back and watching the videos now that the girls are here 🙂  You can check out all those fun videos HERE!

Have any questions about the diapers I bought or anything else cloth diaper related??  Feel free to leave your questions in the comments and I will do my best to answer them!  I hope this all made some sort of sense…I’m writing this blog post while Skyler is practicing standing and clinging to my arm 🙂

I’ll have a new video up on Wednesday, but until then, Merry Christmas and Happy Holidays!

-Whitney-


Portable Ironing Table How To

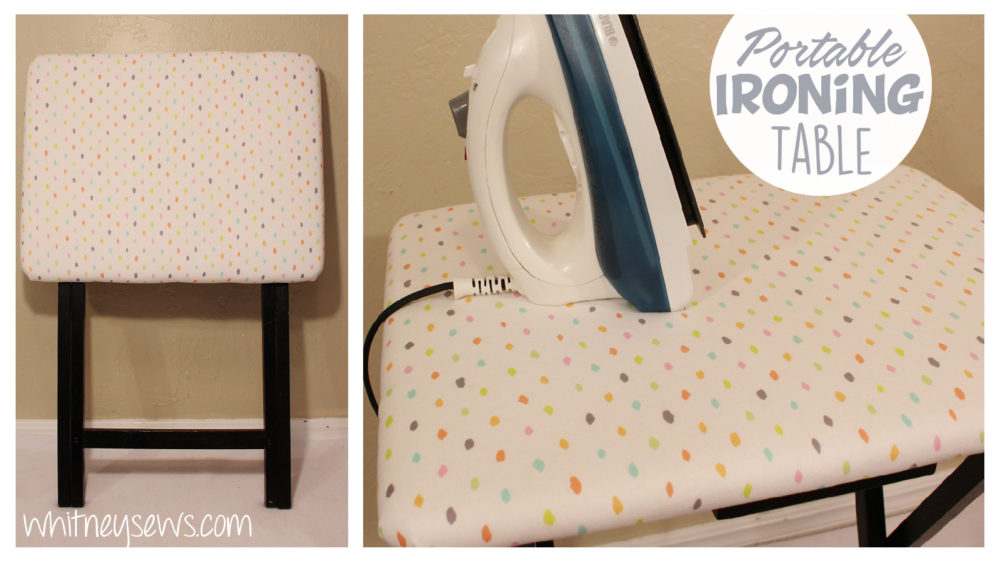
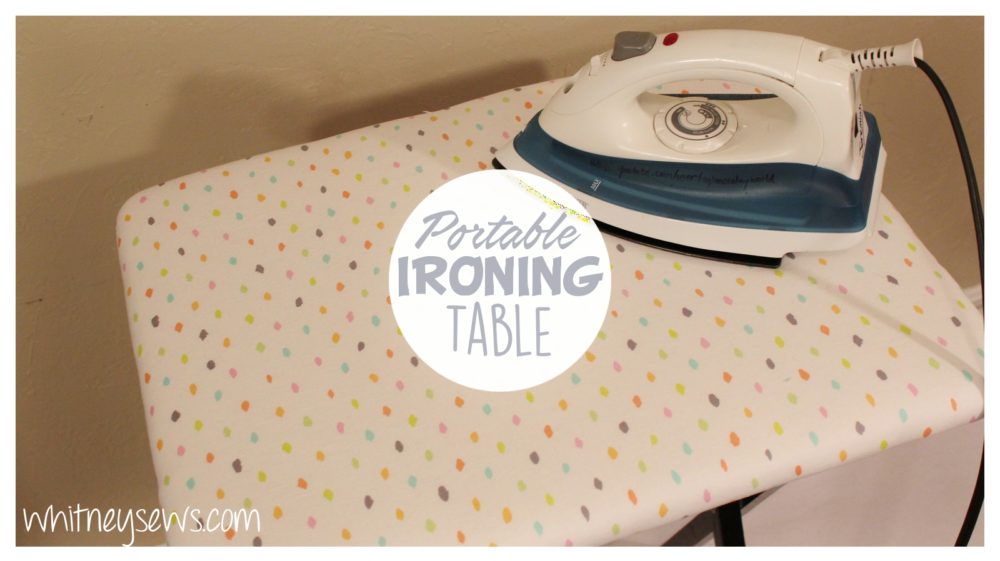
How to make your own portable ironing surface! Full video tutorial from Whitney Sews.


I’ll be honest, my sewing room is usually a HUGE mess!  Half of the room is my sewing/filming space and the other half houses our guest bed.  Because of that I am constantly having to come up with space saving solutions.  One idea I thought of recently was to make a portable ironing table. I wanted something I can set up next to my sewing table or in my filming area, but could be stored flat when we have a guest stay the night.

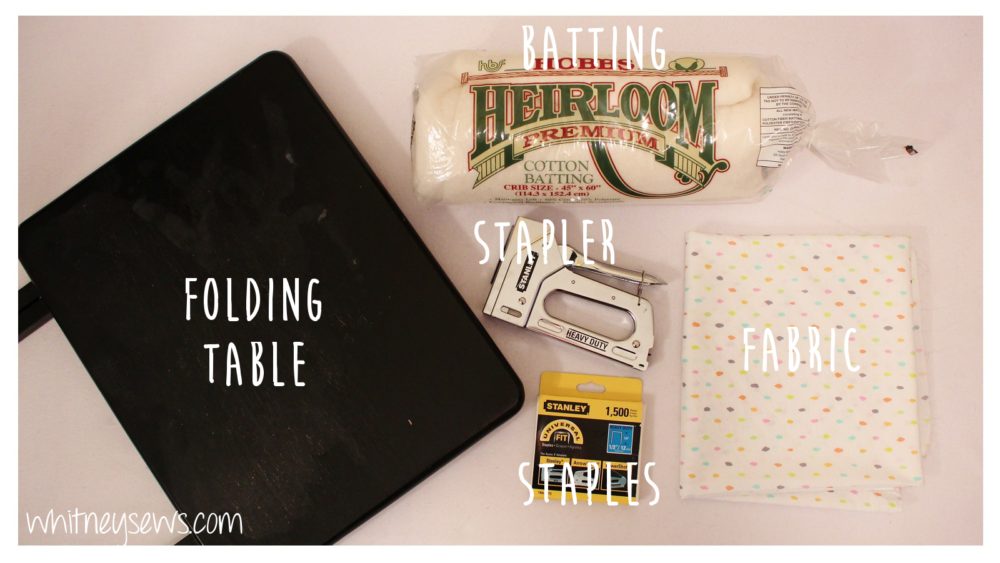
I got the idea of using one of the folding TV tray tables that can be found just about everyone.  I happened to find mine at the Goodwill Midnight Madness 50% off sale, so it was only $1.50!  Once I had the table I just needed to pick up the other supplies and I was ready to start.

Supplies to make your own ironing table

When selecting your supplies you want to look for natural materials (such as cotton) instead of anything man made.  They will hold up better to the heat from the iron.  Your fabric will need to be prewashed before starting.  Listed below are the cutting measurements I used for an 18 x 14 inch table.

Table Size 18 x 14 inches

Outer Fabric - 23 x 18 inches
Batting (3 layers) - 21 x 16 inches

After your fabrics are cut you are ready to start!  Follow my step-by-step video tutorial to learn how to make your ironing table.  Check out the how to HERE!

Want more details on the supplies I used?  You can check them out here:

Batting – http://amzn.to/2hQ5P1E

Heavy Duty Stapler – http://amzn.to/2hQ8nN0

I LOVE my ironing table so much and have already used with a couple of other projects!

Folding Table Makeover! Transform an old folding table into a new ironing surface! Full FREE how to from Whitney Sews!

Those projects and MANY, MANY more are coming up in 2017!  But next Wednesday I have a fun vlog coming for you all 🙂

I hope you all have a wonderful Christmas/Holiday and until next time, Happy Sewing!

-Whitney-