Oilcloth Boxy Bottom Zipper Pouch with Strap

Full free video tutorial showing how to create a cute and practical zipper pouch from oilcloth.

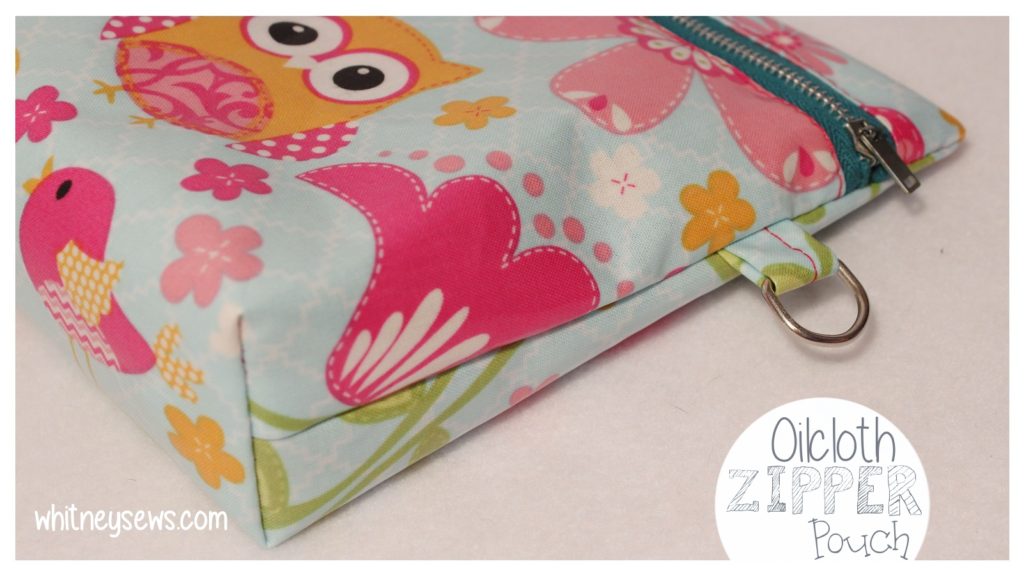
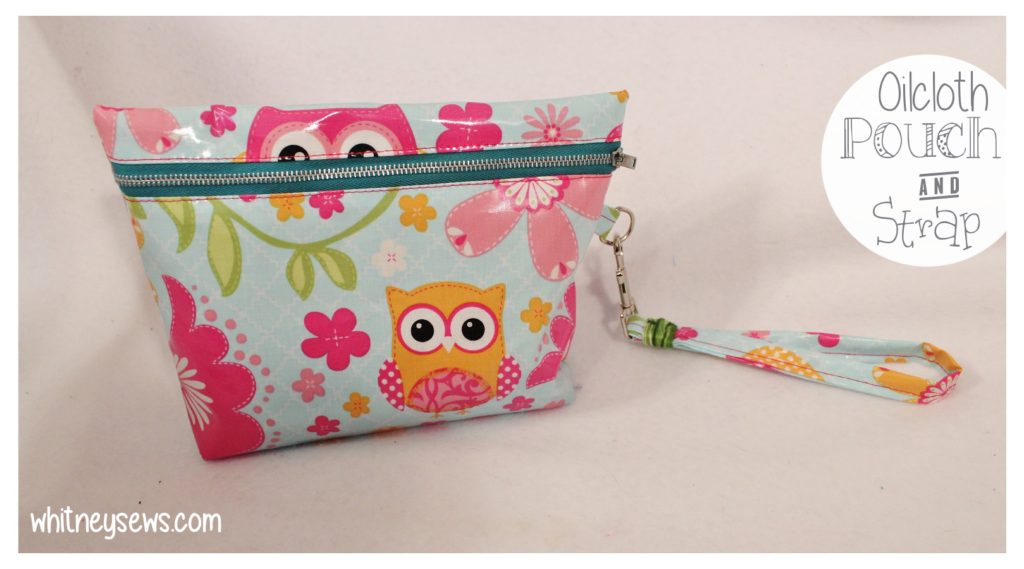
A couple of months ago I came across some adorable oilcloth (opps…it;s actually laminated cotton, but the project will work the same for both materials) fabric marked down to only $4 per yard at Hobby Lobby.  I picked up a couple of yards with no real plans other than at least one little bag.  So, here is the bag!  It is based off my 5 Minute Zipper Bag, but takes it up several notches!

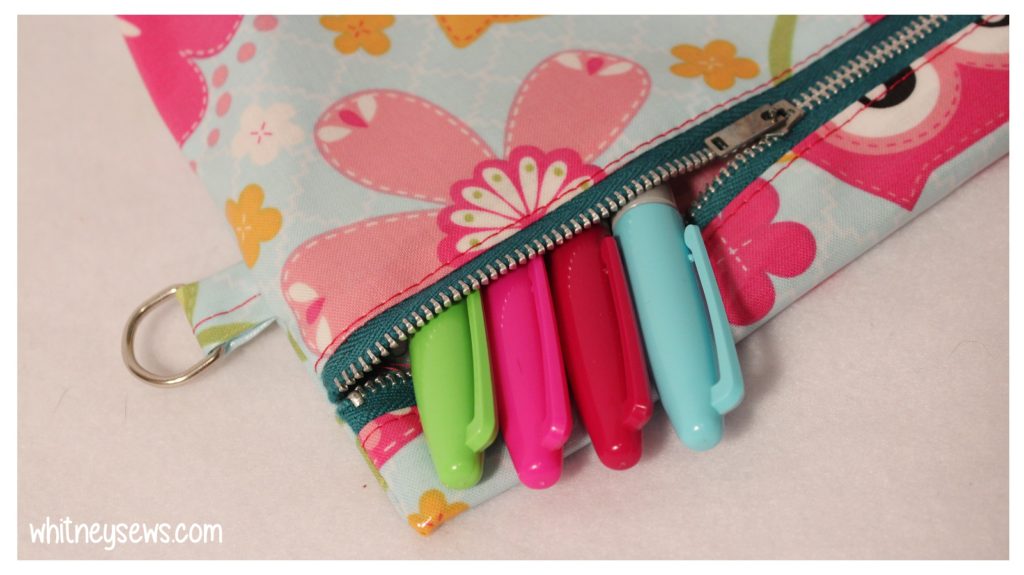
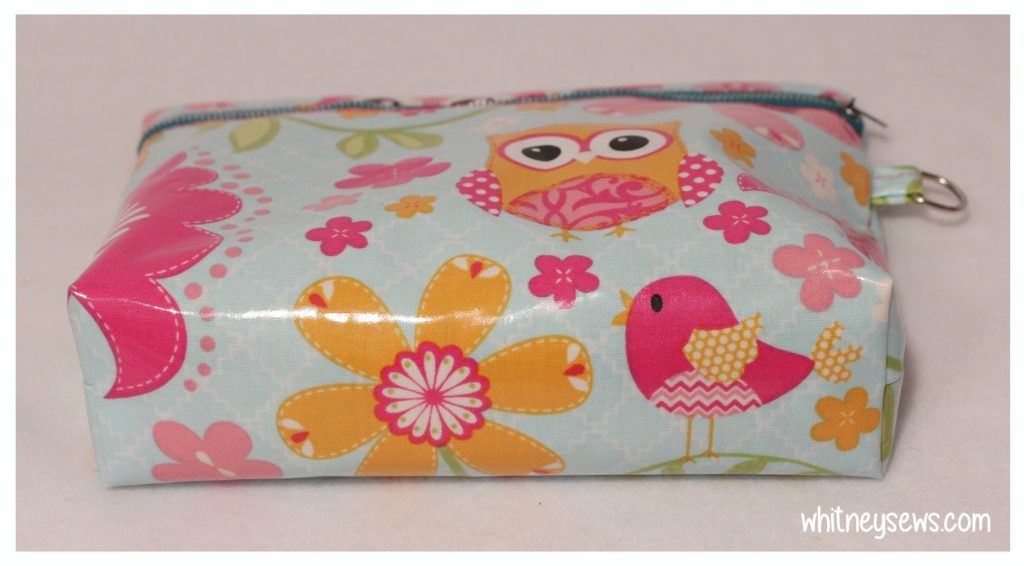
The bag body is made from one piece of fabric and features a zipper near the top (just like the 5 minute bag – watch that tutorial HERE).  The bottom corners are boxed, allowing the bag to stand up on its own.  There is a small D-ring at the side where a strap, key ring, or charm can be added.

Full free video tutorial showing how to create a cute and practical zipper pouch from oilcloth.


This little bag finishes about 6.25 x 7 x 2 inches, making it the perfect size for a travel cosmetics bag, to hold some school supplies in a backpack, or to help organize a purse or diaper bag.

Click HERE to learn how to create your own oilcloth zipper bag!

Oilcloth Zipper Pouch with Strap how to from Whitney Sews

Supplies:

Oilcloth or Laminated Cotton

Zipper - 10 inches or longer

1/2 inch D ring

Spring clip


Cutting Measurements:

Body Piece - 10 x 15 inches

(Non-directional prints are best)

D-ring Loop - 2 x 4 inches

Strap - 14 x 2 inches

Oilcloth Zipper Pouch with Strap how to from Whitney Sews

Tips for Sewing Oilcloth and Laminated Cotton

  • Using a teflon foot will help the laminated material feed evenly while sewing.
  • If you don’t have a teflon foot (I don’t!) stick a piece of clear tape on the bottom of your regular presser foot.
  • Set your sewing machine to a larger stitch length to minimize the number of holes poked into the material.
  • Use clips instead of pins.  Once a hole is poked in oilcloth it is there forever.
  • When sewing use a 14/90 or 16/100 needle in your machine.
  • Start sewing with your presser foot all the way on the fabric, sew a stitch or two, backstitch to the fabric edge, then switch back to forward stitching and sew to the other end.  Backstitch to finish off the seam.
  • The most difficult sewing will be when the oilcloth’s shiny side is against the presser foot (when sewing the loop and strap in the first step of the tutorial) because it will want to stick, but just take your time and you’ll make it through!  Sewing the actual bag together will be easier!
  • Oilcloth doesn’t fray so you don’t have to worry about finishing your seams on the inside.

If you have any other tips for sewing with oilcloth make sure to leave them in the comments for others to read.  Check out my most recent fabric haul that included this oilcloth material by clicking HERE.

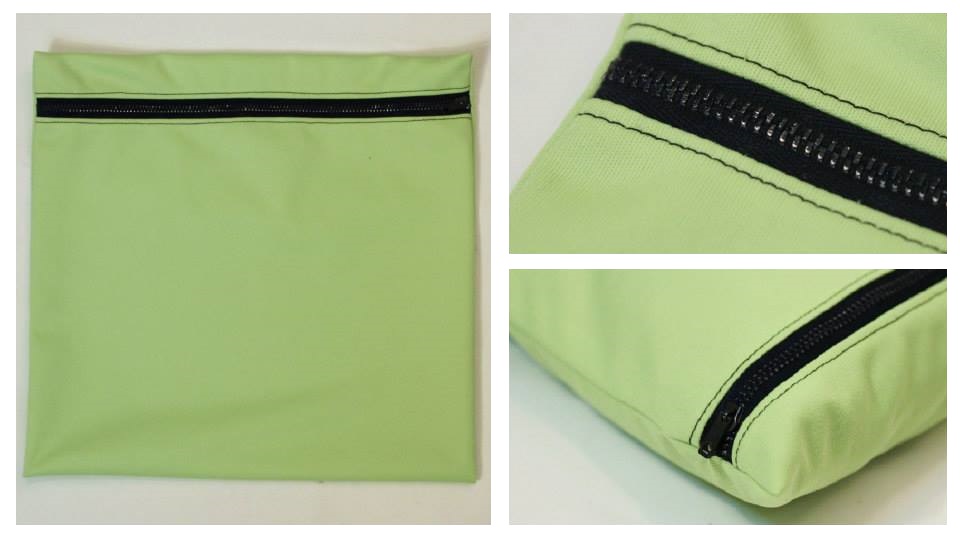
Wet Bag full free how to from Whitney Sews

Another similar tutorial I have on my channel is for this DIY wet bag using PUL fabric.  This bag is very quick and easy to sew.  Wet bags are perfect for holding dirty/wet cloth diapers, swimsuits, play clothes, gym clothes, and more.  After using the bag you simply throw it in the wash and it’s ready to use again.  I keep one in my diaper bag in case there is a mess or accident while we are out and about.  You can find the wet bag full video tutorial HERE.

Lined tote bag video tutorials from Whitney Sews

Interested in learning how to make other types of bags??  My tote bag series on youTube is a great place to start!  There are currently seven videos in the playlist that range from a very easy unlined tote to a lined, pieced and quilted tote bag and everything in between.  Check out the entire playlist HERE.

Ok, I think that is it for today!  I hope you were inspired in some way by this post to create a bag or pouch of your own!  Don’t forget to subscribe so you don’t miss any of my upcoming how tos!

Happy Sewing!

-Whitney-
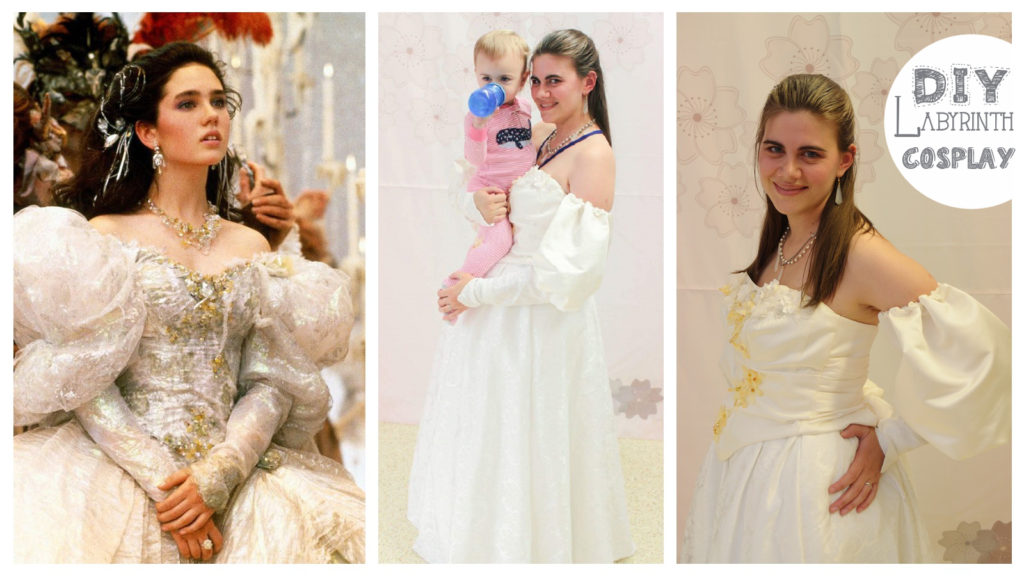
$15 Labyrinth Cosplay

Labyrinth Cosplay by Whitney Sews - Only cost $15!

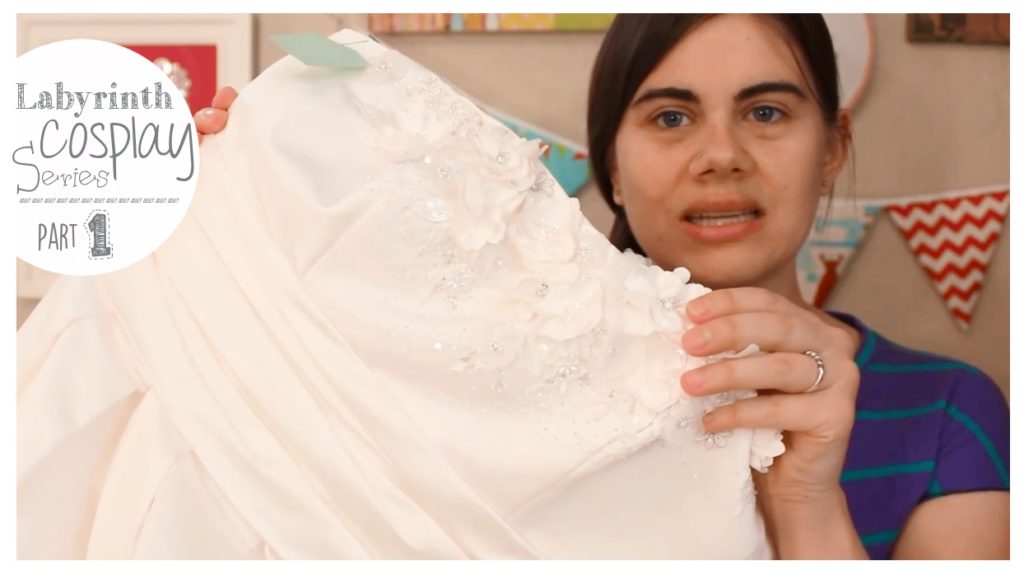
It’s finally here…part 2 of my Labyrinth cosplay series!  If you missed part 1, where I showed all the items I picked up at the thrift store to make this cosplay, you can find it HERE.

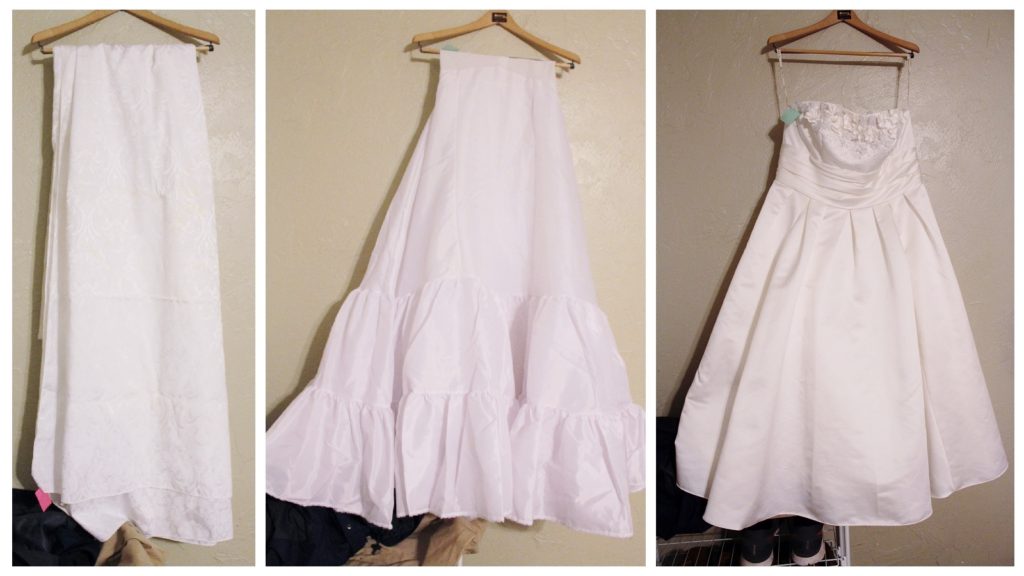
This cosplay wasn’t like any I had taken on before, but was a fun experience!  I used a tablecloth, wedding petticoat, and a bridesmaids dress to create a full length skirt, underbustle, bodice, and sleeves.

Labyrinth Cosplay Supplies

Cost Breakdown of Materials

Tablecloth - $2.00

Petticoat - $3.50

Bridesmaid Dress - $3.50

Necklaces - $2.00

Flowers - $1.00

Beads - $3.00

Total - $15.00!

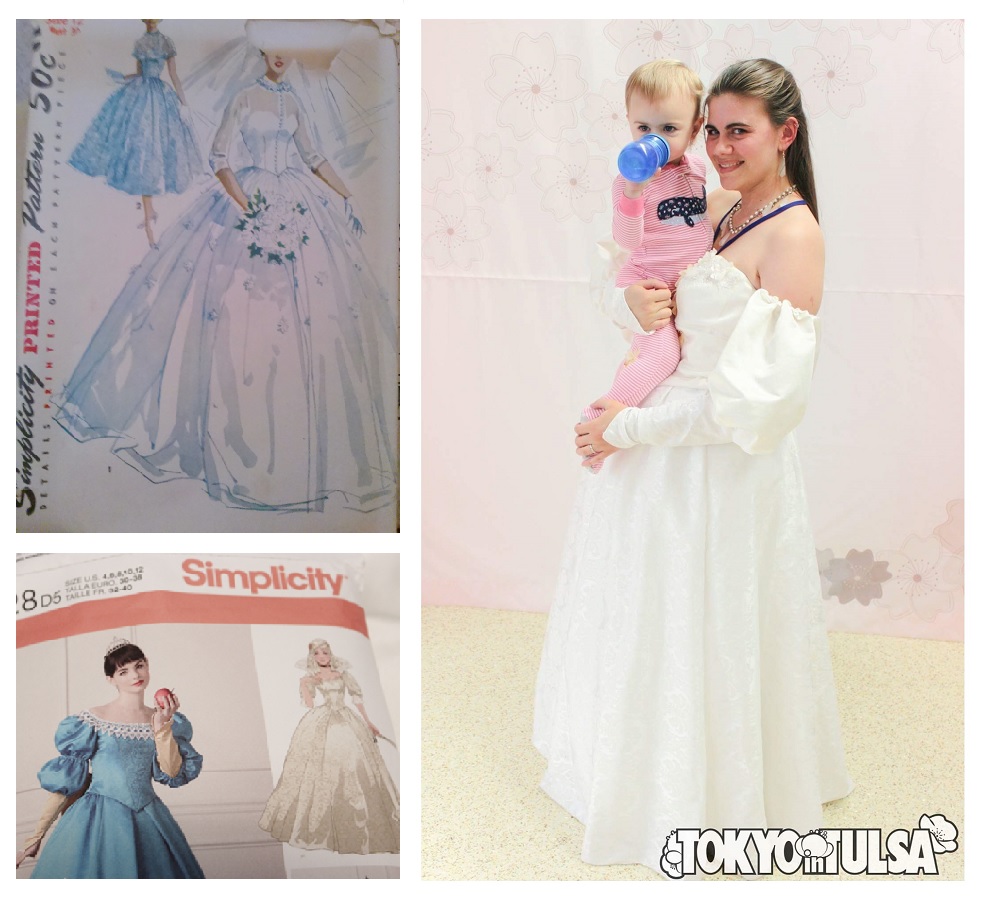
I used a couple of patterns along the way to help the process go quicker.  The first is a vintage wedding dress pattern that I used for the skirt.  The second is a pattern based on the final dress worn by Snow White in Mirror, Mirror (another movie I love and would like to cosplay!).  I used the front bodice pieces and Frankensteined it together with the beaded bodice of the bridesmaids dress.

Patterns used for Labyrinth Cosplay by Whitney Sews

There are tons of progress photos along with more finished costume pics in my corresponding video.  Click HERE to watch!

*In the video I spoke incorrectly and said the cosplay was made in about 10 hours.  It was actually closer to 18 hours.*

I hope you enjoyed hearing about the creative process as much as I loved actually creating this costume! I have a fun little zipper pouch project coming next week that you don’t want to miss.  Until then, Happy Sewing!

-Whitney-
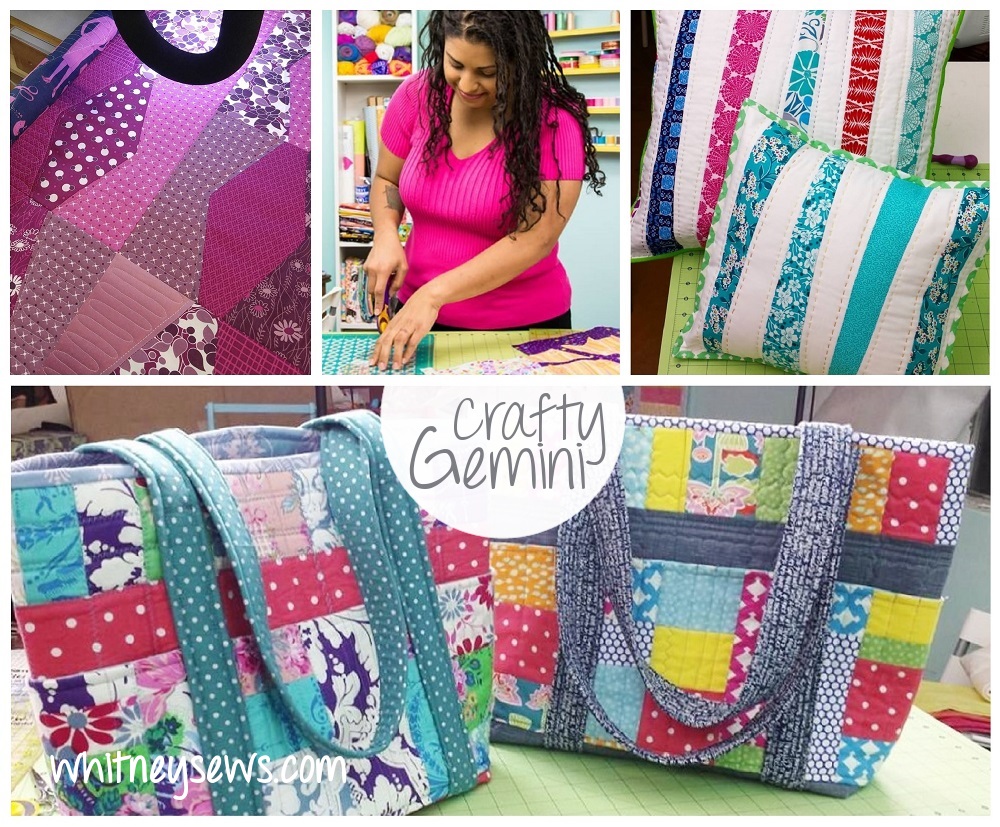
Feature Friday: Crafty Gemini


Crafty Gemini Feature Friday


I have been following Vanessa from Crafty Gemini on youTube for several years.  It has been inspiring watching her channel and brand grow to the point that it is supporting her family.  It has been especially encouraging and inspiring to me since that is something I would love to see happen with Whitney Sews.

Vanessa, AKA the Crafty Gemini, lives with her husband and two kids on a small farm in Florida.  She is a cloth diapering, baby wearing, home schooling mama as well as being a talented quilter, crafter, and entrepreneur.  On top of all that she also runs an online quilt club, recently launched an online bag of the month club, and has a fabric collection called #Dominicana coming out in November!

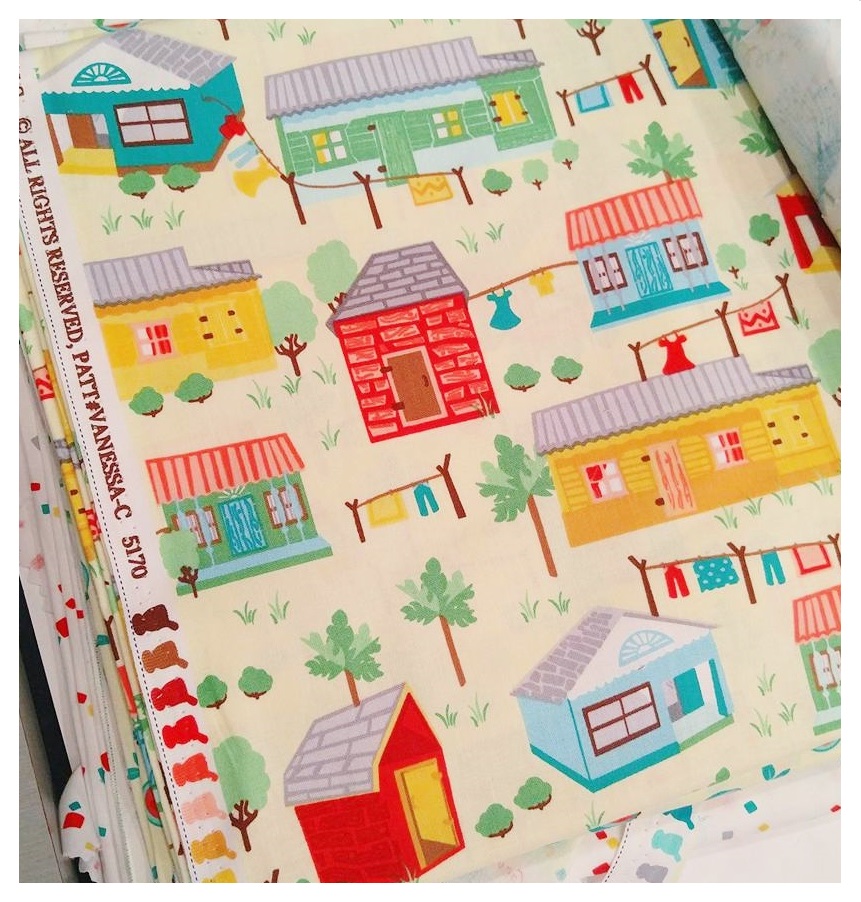
Dominicana Fabric Line

When Vanessa contacted me about creating a project for my channel using her 10 inch slicer template I was thrilled to work with someone who inspires me so much. Because I draw so much inspiration from Vanessa I wanted her to be the first creator featured here on Feature Friday.  Hopefully you all will be inspired by her as well.

The 10 inch slicer I used for my quilt top, and her newer 5 inch slicer, were both designed by Vanessa and are made here in the USA.  They are intended for using with precuts, but can really serve a multitude of uses.

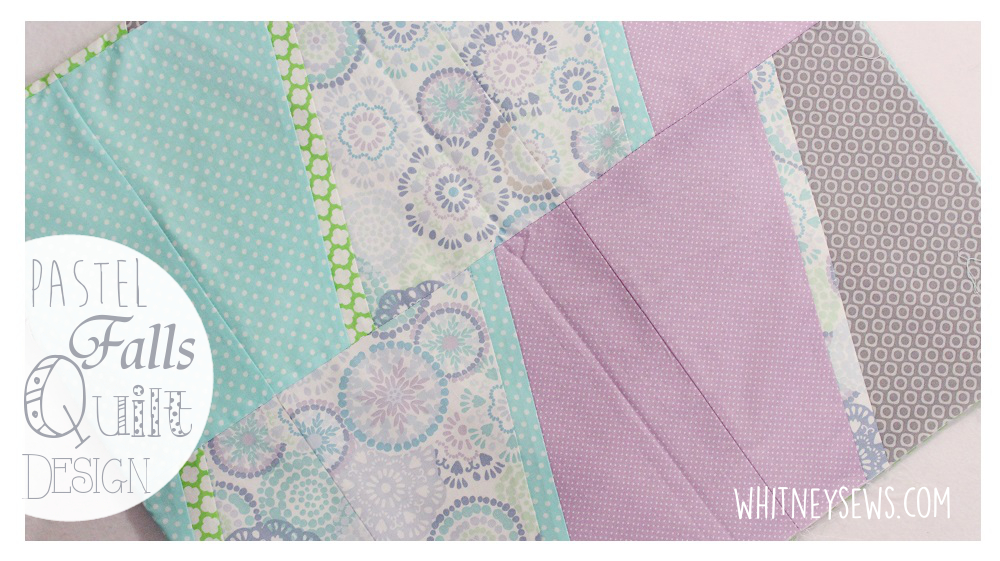
Since I don’t typically buy precuts I wanted to figure out a way to use the 10 inch slicer with fabric yardage.  I came up with a design that incorporates 1/3 yard each of 5 different low volume prints to make a quilt top measuring about 38 X 42 inches.

I am so happy with how the quilt top turned out (and since it is the perfect size for a baby quilt!) I decided the finished quilt would be perfect for my daughter Skyler.  I was having trouble coming up with a name for the design so I asked for suggestions and Brandi Marin suggested the perfect name, Pastel Falls.

FREE video tutorial

I had a few reservations when making the quilt top because I am usually more comfortable with paper piecing instead of tradition patchwork and I was in my third trimester of pregnancy with Skyler.  I was worried about how long it would take to sew the entire quilt top.  I was pleasantly surprised with how quickly it went together; it only took a single afternoon!

Click HERE to watch the full FREE tutorial for my Pastel Falls quilt top!

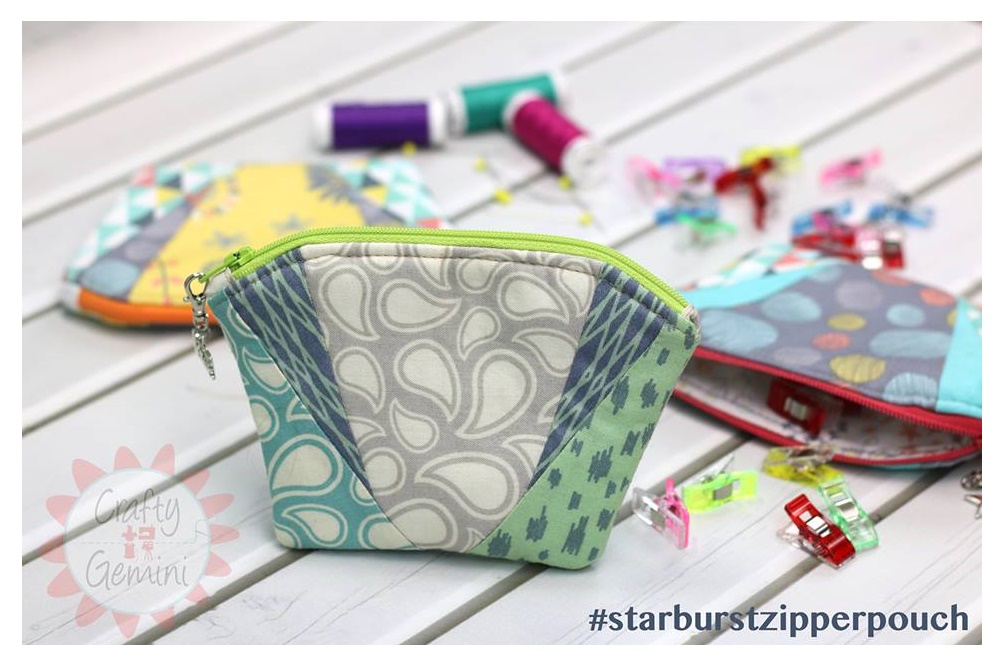
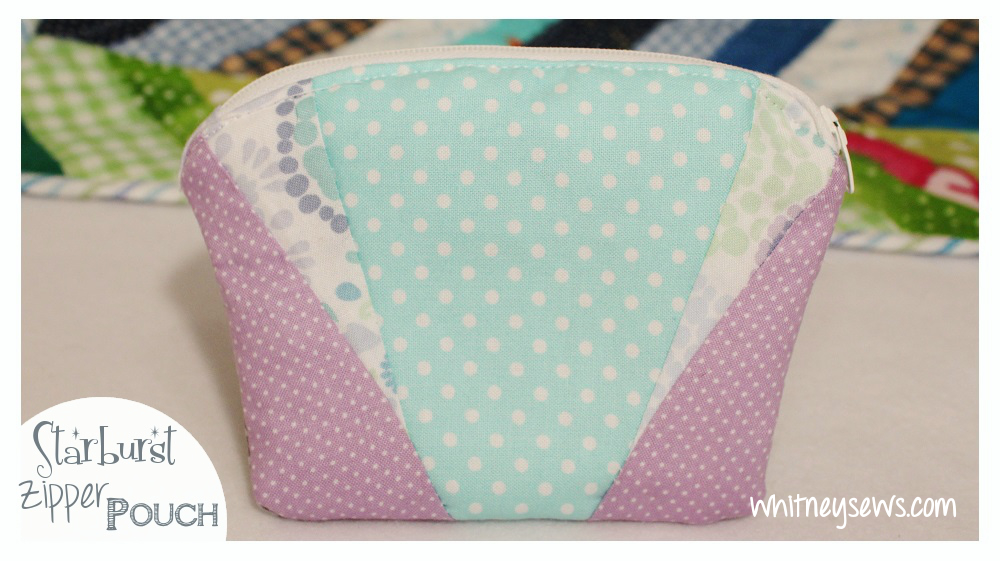
Vanessa continues to come up with more and more uses for her slicer templates.  My favorites so far are the Starburst Zipper Pouch she made using the 5 inch slicer and the 10 inch Slicer Zipper Pouch.  The 10 inch slicer zipper pouch is the perfect size for holding fabric shears and I plan on making one or two for mine.  The starburst zipper pouch is one of those projects I was instantly in love with!  When Vanessa posted a sneak peek of the project I was immediately interested and trying to figure out just how she created the unique design (hint – it was all thanks to her 5 inch slicer).

Starburst Zipper Pouch by Crafty Gemini

I’m just finished making my own starburst zipper pouch using the 5 inch slicer and scraps left over from my quilt top.

Starburst Zipper Pouch

This is only a small taste of all the creative ideas and tutorials Craft Gemini has to shared.  Make sure to check out her youTube channel and website for much, much more and don’t forget to let her know that Whitney sent you!

I hope this Feature Friday has inspired you in some way and if you have ideas of projects or creators you want to see featured in an upcoming post make sure to leave them in the comments below!  Until next time, Happy Sewing!

-Whitney-
 

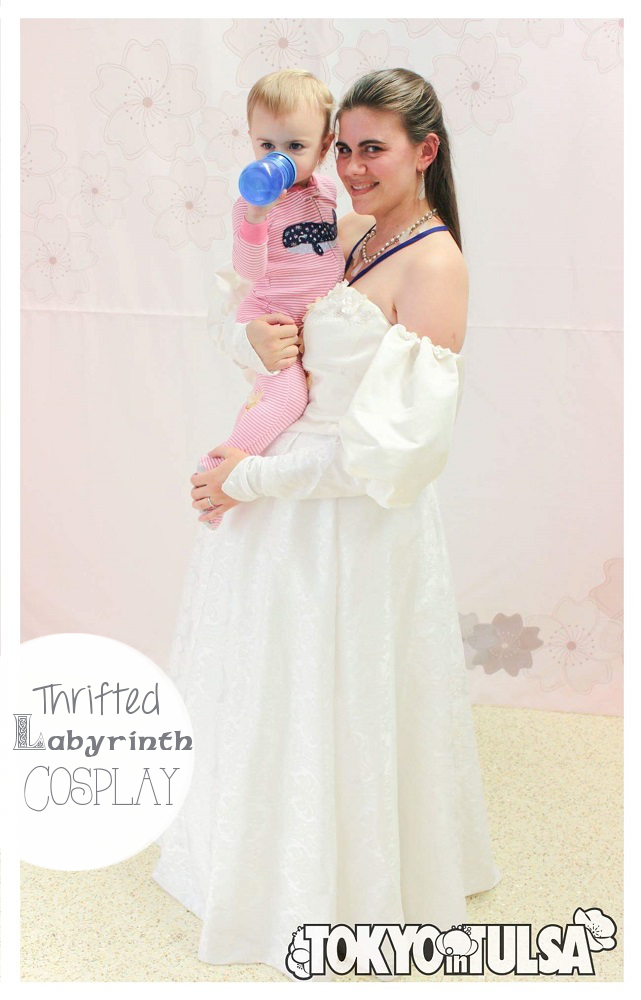
Labyrinth Cosplay Thrifting Haul

Labyrinth Cosplay Series Haul by Whitney Sews

There is a local convention that my husband volunteers at (as a photographer) and I have attended for the past two years.  Last year I planned ahead and made a Totoro kigurumi for me, a Mei dress for Peyton, and a Totoro themed baby carrier so I could wear Peyton around and still be in costume.  (All of those tutorials can be found in my Totoro playlist).  This year I did not plan on going in cosplay…until two weeks before the con!

I had decided life was too busy with a newborn and toddler to even attempt to make any sort of costume, but I LOVE costumes!  I used to be a costumer for my university’s theatre department and I can not pass up an opportunity to dress up!  So I came up with a costume idea that would be semi manageable in the form of a thrifted refashion.

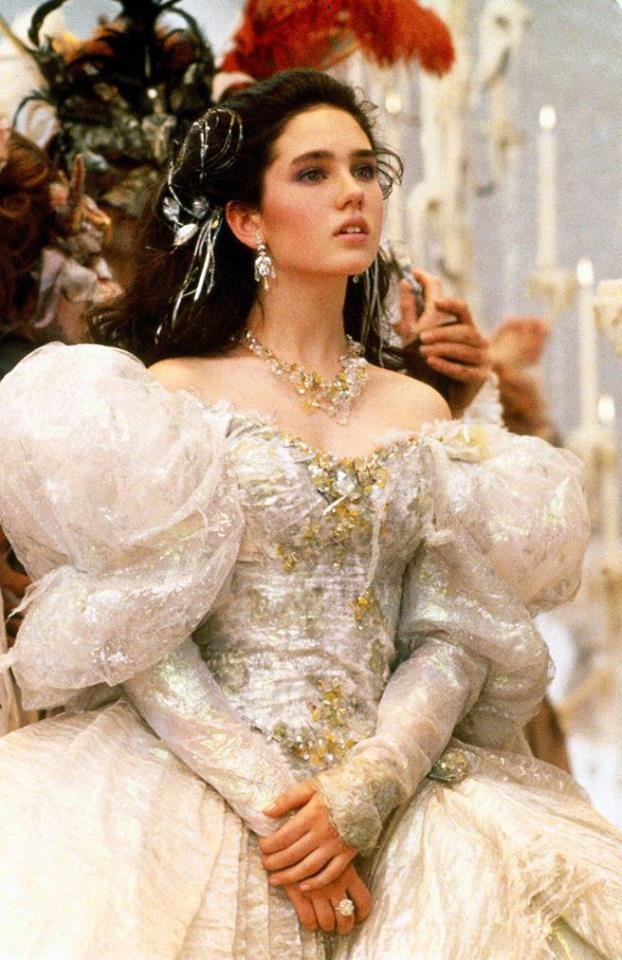
We were watching Labyrinth recently and whenever Peyton looked up and saw Sarah on the screen she said ‘Mama’ because she thought it looked like me, so it seemed like a great cosplay idea.  I considered both of Sarah’s outfits and decided if I was going to find anything similar at the thrift store the white dress she wears at the ball scene was my best bet.

Sarah Labyrinth Ball

Photo source

My plan was to go to the thrift store on half price day and look for an 80s style wedding dress that I could alter a bit, add some beading, and throw on over a petticoat and call it good.  However I had no such luck.  I didn’t find anything even close to what I wanted.  So I took a few moments at the store to rethink my plan and made it work!  I’m really happy with the things I ended up finding and putting together to create my cosplay.

Click HERE to see all the items I thrifted to create my Labyrinth cosplay!

In my next video I will show more finished cosplay photos.  There will also be descriptions of how I made the cosplay along with tons of in progress photos.  Plus I dressed Peyton up as Toby from Labyrinth!  She was super crabby and refused to let go of her sippy cup because it was nap time when we got to the con, but she’s still so adorable!

LabyrinthThrifted Reconstructed Cosplay by Whitney Sews

So make sure to check back soon for Part 2 of the series and until then, Happy Sewing!

-Whitney-
Plans, Your Opinions, and Rainbows

Hi everyone!  I wanted to do a quick little post to get some input from you all and share a sneak peek at a project I’m working on.

I have been very into quilting lately.  I started designing quilts when I was 18 (11 years ago!), but at the time didn’t have enough sewing knowledge to really understand how to turn my designs into reality.  I have been looking back at those designs and now can easily figure out the measurements, sewing order, etc that had so easily stumped me before.

So needless to say I now want to make all the quilts!

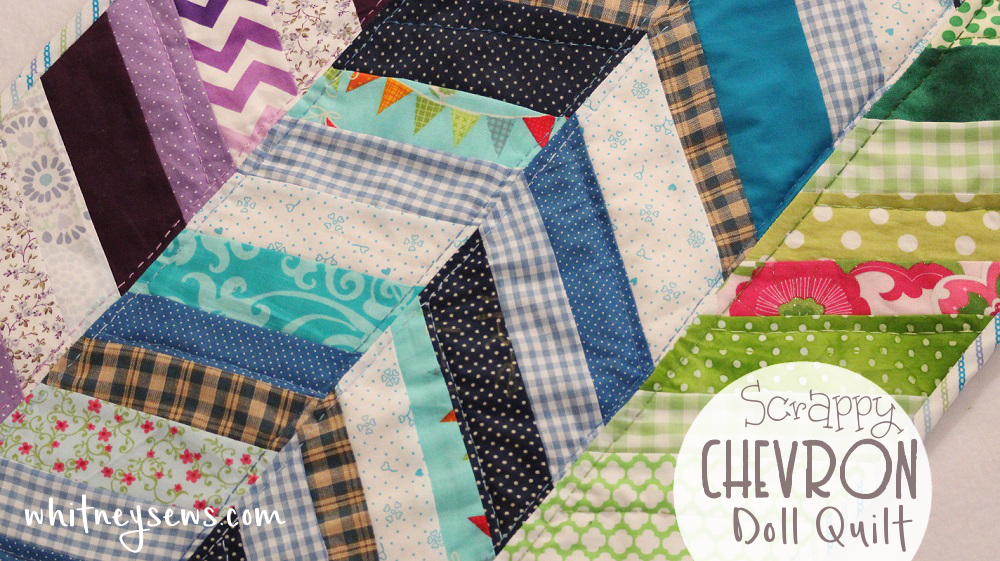
Scrappy-Chevron-Doll-Quilt-Whitney-Sews

Scrappy Chevron Tutorial.

Over the years I have gotten TONS of requests for PDFs that go along with my video tutorials, especially for larger projects like quilts.  That way the PDF can be printed or saved on a computer/tablet and referred to much easier than clicking back on a video over and over.  Now that I have relaunched my website I have been adding some of the extra details and things here.  I still do understand the need/want for PDFs for certain projects that involve lots of steps or pieces, however, creating PDFs would take a lot of extra time and work.

I want to create the very best content and how-tos possible because I love teaching people how to create.  But I spend a lot of time and money on my videos, this site, etc and make very little in return.  It is definitely not all about the money, but I do want to help support my family and to be honest a lot of the time I’m earning less than it costs to keep Whitney Sews up and running.

I have been on youTube sharing free video tutorials for over seven years and have been a youTube partner for six years.  Lots of people think once you’re a partner you’re on the money train, but that just ins’t the case.  I’ll be 100% open with you all.  In seven years on youTube I have earned less than I made in six months at my last full time job (and that’s before I take out all my costs for equipment, supplies, and web hosting).  The reason I have continued to create new how-tos and videos is because of you all!  Every time you subscribe, comment, like, share, etc it lets me know that someone is out there watching and appreciating what I do!  You all are my motivation!

Facebook

So back to the PDFs…

If I create PDFs for some of my future projects (mostly quilts or bags) containing cutting directions, patterns, extra details and tips, etc to accompany the video tutorial would you all be interested in them?  Would you still be interested if there was a small charge ($2-5 depending on project difficulty) for the PDF?  This would be a way to help support my channel and insure that I can continue to create new, one-of-a-kind content for you all for many years to come.  I really want your input so I know what you all are thinking!

*If you are receiving this as an email newsletter please respond as a comment on whitneysews.com instead of replying in an email.  The reply emails go to an account that is not checked regularly*

I hope I’m conveying my thoughts well here.  I am in no way asking/begging for money! I’m just trying to figure out how to offer you all valuable content in a way that works for everyone.  I also hope to be able to someday provide financially for my family while still doing what I love!

I hate having to think about finances at all, but that is how the world is run.  But I want you all to know that I appreciate every single one of you!  Every time I read a comment about someone learning something new or trying a new project or seeing a photo of something you made it makes me so happy and I know this is what I’m supposed to be doing!  I went through a few times in college where I dealt with some minor depression, but I honestly have not had any more since creating Whitney Sews and you all are to thank for that!  I have had the pleasure of teaching people all over the world how to sew (via youTube) and have challenged myself countless times to learn new skills and create new projects so I could then teach them to you!

There are a couple of ways you can give back and support my channel at no cost to you!  The first is by liking, sharing, pinning, etc any of my videos and tutorials that you like and sharing pics of what you make on your favorite social media site with #WhitneySews.  This helps other people find my how-tos which helps my channel and website to grow.  The second way to support is through Amazon.

Amazon

If you are going to be purchasing ANY items from Amazon please use my affiliate link to do so.  It does not cost you any extra, but it allows me to earn a small percentage from Amazon .  So if you’re already planning on ordering something (Christmas gifts, tablet, knitting needles, phone case, clothes, ANYTHING) from Amazon and you use my link you will be helping support future Whitney Sews tutorials!

Affiliate link – https://www.amazon.com/?ie=UTF8&tag=whitsews-20

**********************************************************************

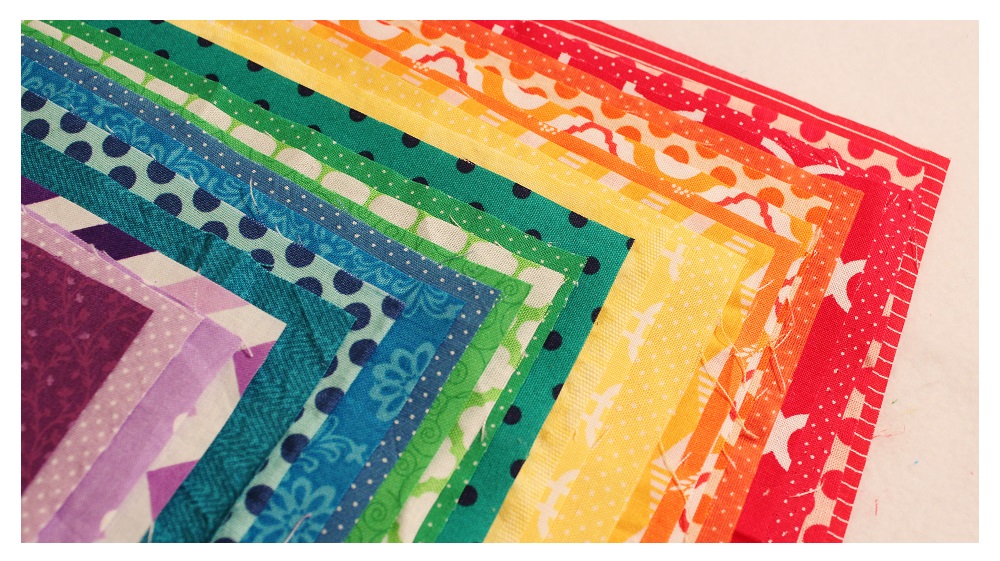
Ok, enough of the series financial talk.  Some of you may know that I LOVE things in color order!  I have an entire board on Pinterest called Sewing the Rainbow!  In the past I have made a few rainbow projects, but now it seems that a lot of projects I’m designing work best in color order.  So I have finally given into it and am tackling my first large scale rainbow project!  It is a quilt that incorporate 24 colored fabrics in rainbow order as well as white!  So 25 different fabrics total!

Charming Rainbows Fabric

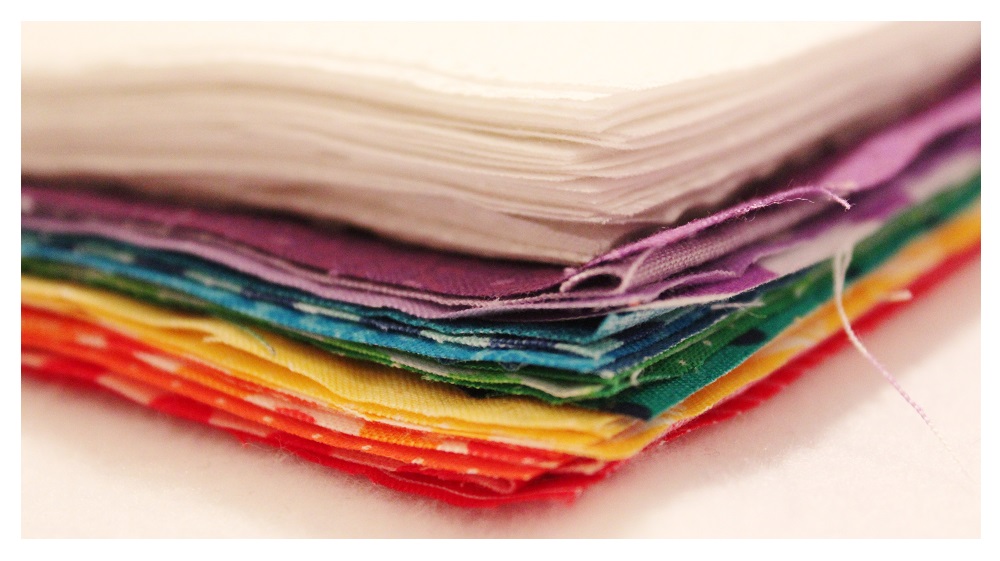
Here is a sneak peek of the 24 fabrics I chose for the blocks!  There are four of each color and I can’t get enough of how lovely they look together!  I am also proud that I have such a well rounded stash that I only had to go out and buy a few new fabrics for this project.  This best part about this project is it is perfect for scraps, yardage, fat quarters, or precuts (and doesn’t actually have to be made in rainbow colors).

I have currently cut all my fabrics and sewed the blocks, all that’s left is to put the blocks into rows and sew the rows together and the quilt top will be complete.  The entire quilt top can be cut and sewn in 3-4 hours (even faster if starting with precuts!) and will finish to be around a baby quilt size.  I hope to actually back, quilt, and bind the quilt before posting the tutorial (my first time machine quilting), but if that is going to take too long I will post the quilt top tutorial, then the finishing parts in a separate video.

Charming Rainbows Fabric

The design inspiration came from this table runner I saw on Pinterest and pinned to my Quilt Projects board!

Phew…I think that is all for today.  Please remember to leave me a comment about the questions I asked  any other feedback you want to offer.  Also don’t forget to save the Amazon affiliate link if you’re planning on doing any shopping.  On Wednesday I’ll have a new post about the cosplay I created earlier this summer.  Until then, Happy Sewing!

-Whitney-
Bloopers

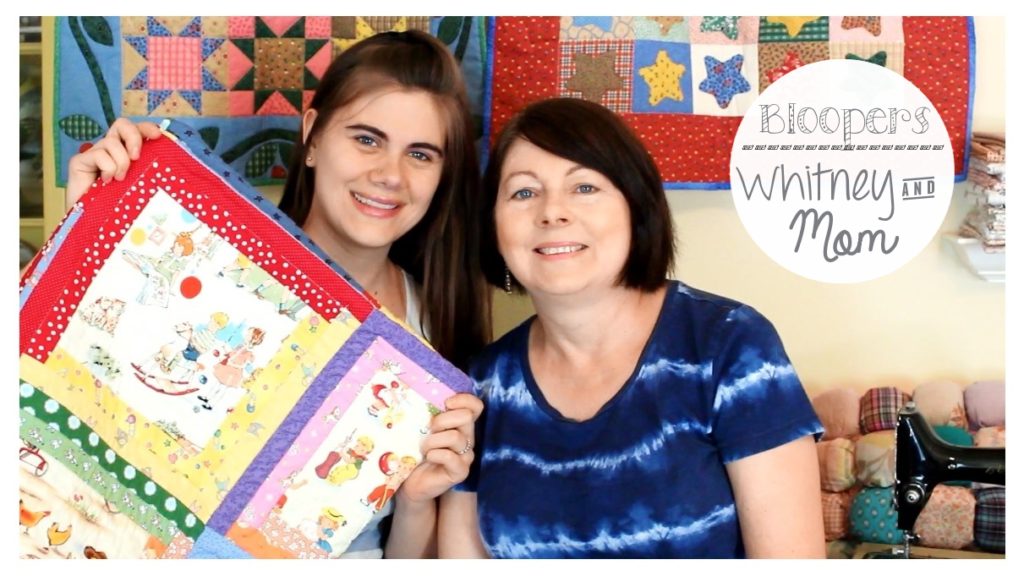
Yep…bloopers!  Only one other time (almost 7 years ago!) have I shared a blooper video on my channel.  However when I was filming a couple of DIY Inspiration videos with my mom lots of silliness happened that we just had to share!

We were supposed to be talking about Peyton’s Log Cabin Quilt and my mom’s Puff Pillow, but ended up spending a whole lot of time laughing.

Bloopers from Whitney Sews and Mom


Click HERE to see all our crazy antics!

Make sure to let me know in the comments below if you want to see more fun videos like this on my channel.  I hope this post put a smile on your face.  Until next time, happy sewing!

-Whitney-

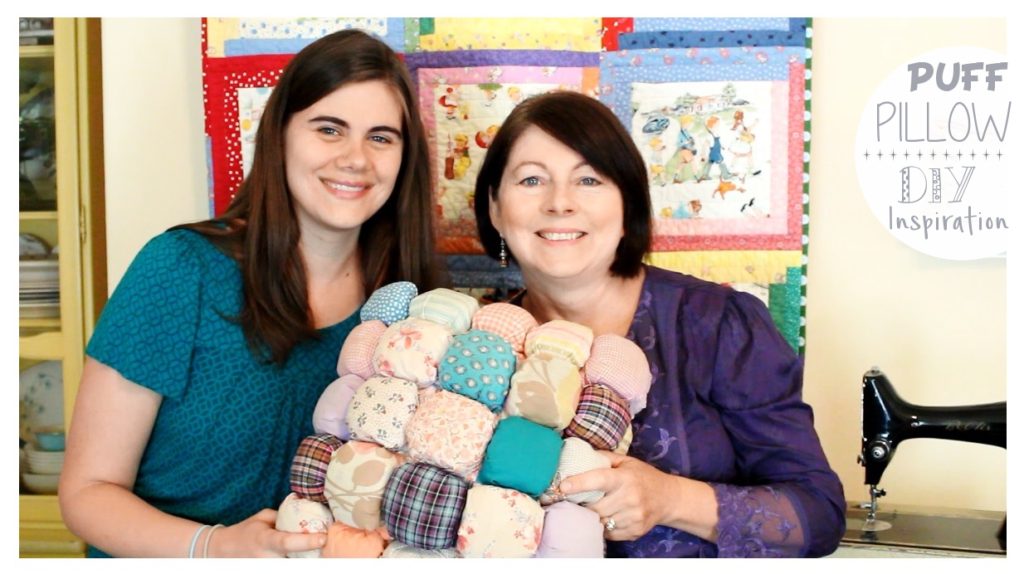
Puff Pillow DIY Inspiration

I recently went to my parents house and noticed an interesting pillow I had never seen before.  Turns out it was a project my mom made when she was a teenager!  It was a long forgotten project that my grandmother found again earlier this year. It is such a fun looking project that I wanted my mom to talk about it in a video.

Puff Pillow DIY Inspiration from Whitney Sews and Mom


The best part about the puff pillow is that each of the fabrics have such a history to them.  Most of the fabrics were scraps left over from my mom and grandmother’s sewing projects and a few are from actual clothes that were cut up after they had gotten plenty of use.

Without further ado, check out the entire DIY Inspiration video HERE!

Coming Saturday is a hilarious video full of all the bloopers my mom and I had while filming this video and our Log Cabin Quilt DIY Inspiration video.  Trust me, you don’t want to miss it 😉  Until then, happy sewing!

-Whitney-

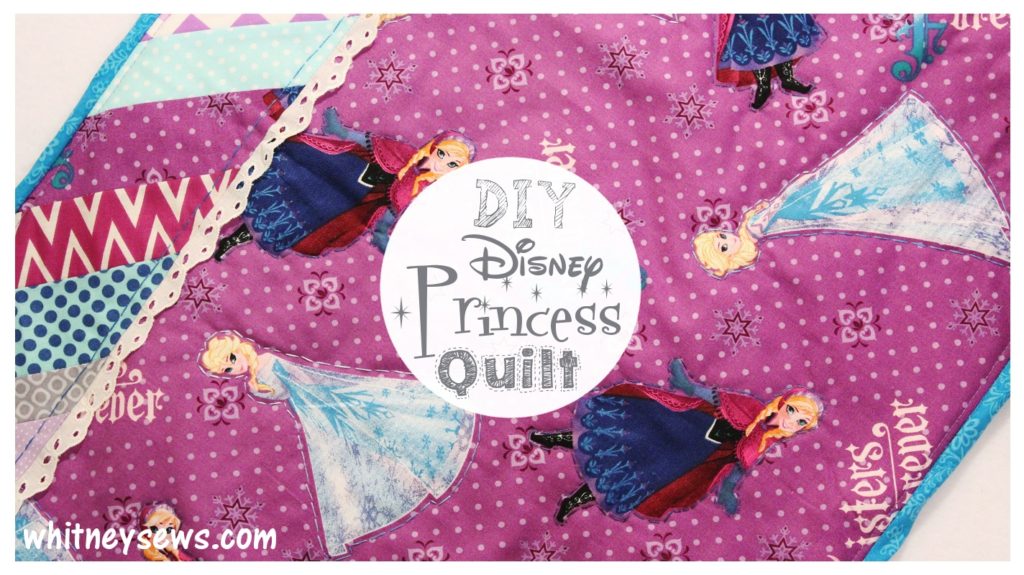
DIY Disney Princess Mini Quilt

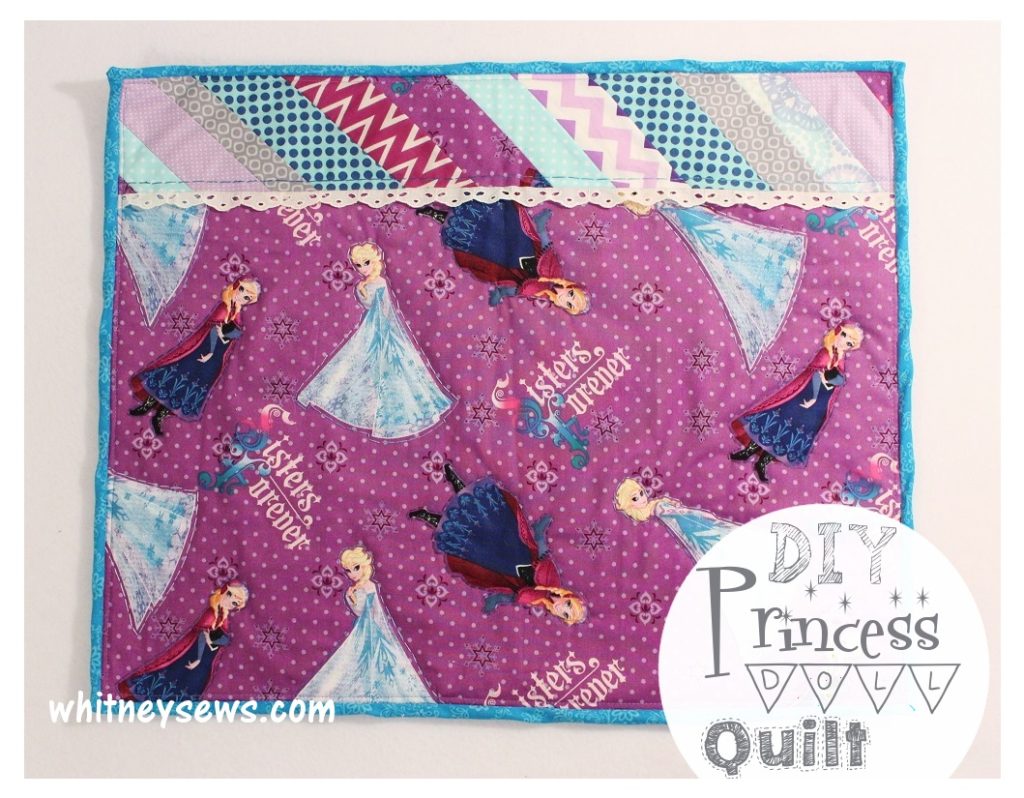
DIY Disney Princess Mini Quilt FREE How to from Whitney Sews


I’m so excited to finally share this project!  I started working on it right after finishing my Scrappy Chevron Mini Quilt, but had several other projects needing to be finished first. This mini quilt features a scrappy column on one side and a larger section where you can feature the print of your choice.  I chose this cute Frozen fabric since this is part of my DIY Disney series, but you can chose any fabric you like.

This is the perfect little project to practice several different techniques.  I incorporated paper piecing, adding a decorative lace, hand quilting around designs, and creating continuous bias binding all into this one mini quilt!  It is also a fat quarter friendly project!  So if you have a fat quarter you love and just can’t seem to cut into this is the perfect project!  You only need to trim a small section off the fat quarter and the rest will be the main focal point of your mini quilt.

Princess Mini Quilt with full FREE tutorial from Whitney Sews

You can find the full FREE tutorial HERE!

The feature fabric is cut to 14 1/2 by 22 inches and the scrappy section measures 4 x 22 inches so the mini quilt finishes about 18 x 22 inches.  However you can scale it up or down to suit your needs.  I think it would look really fun as a crib size quilt with a scrappy panel on all four sizes and a large feature print in the middle.  You can use a regular piece of fabric to feature as shown in the video tutorial or a piece cut from a fun character sheet or pillow case.

When you are ready to finish the quilt make sure to check out last week’s post where I teach the EASIEST method for making continuous bias binding for your quilting project.   I also created a helpful chart showing exactly how much fabric you need to create the length of width of bias binding you need.  It’s something you definitely want to pin or save so you can refer back to it any time you need.

Interested in the supplies I used?

Here are the links to find the exact same supplies:

Frozen Fabric – http://amzn.to/2az8Bmo

Spray basting – http://amzn.to/29JmFex

Batting –http://amzn.to/29erX4u

Let me know in the comments if you want to see more quilting projects or other types of projects that incorporate some quilting techniques.  Next week I’ll be sharing a DIY Inspiration for a project my mom made when she was a teenager. It’s a fun one, so you don’t want to miss it.  Until then, Happy Sewing!

-Whitney-

Sewing Machine Showcase – Singer Featherweight

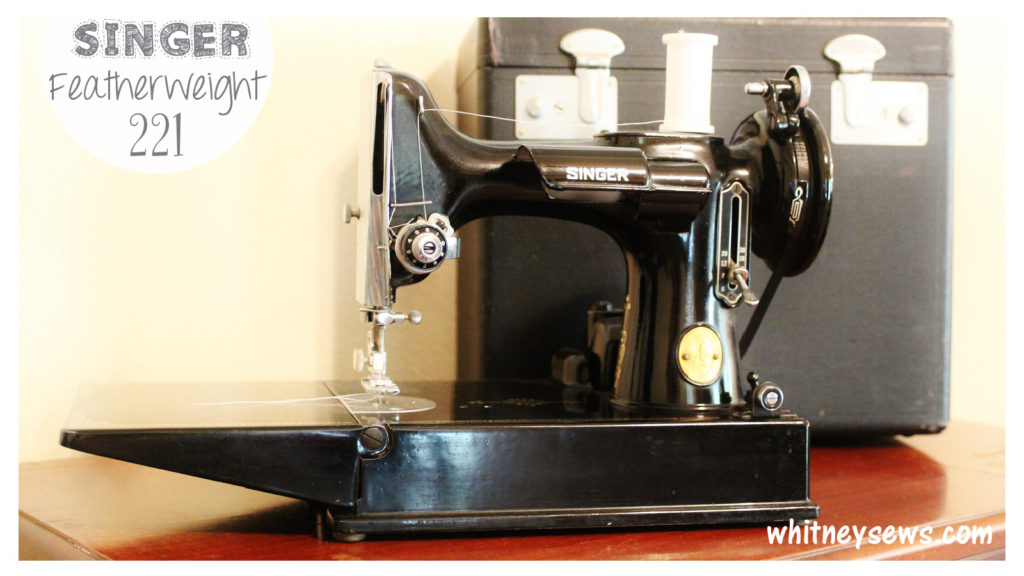
Singer Featherweight Sewing Machine Showcase by Whitney Sews

It’s time for another sewing machine showcase, the series where I film beautiful vintage machines and play it back in slow motion for all the vintage lovers to enjoy!  If you missed any of the videos in the series you can check out the entire playlist HERE.

This week’s showcase is all about the Singer Featherweight.  I had never really heard about Featherweight sewing machines until my mom started talking about them back in 2009 or 2010.  Mom decided she wanted one and began to look for them at local thrift stores, garage sales, and vintage shops.  In 2011 she found two at a local vintage resale store.  One was in questionable condition and would need some work, but the other was in great working order so mom bought it.

The Featherweight mom purchased is the classic Singer black and was made in 1949.  There’s a really awesome website where you can date any Singer Sewing Machine that you own just by the serial # located on the machine.  There will be more info on that below, but first here is the Singer Featherweight Sewing Machine Showcase!

The Singer Featherweight 221 sewing machine was introduced at the Chicago World’s Fair in 1933.  They were manufactured between 1933 and 1964 in the United States, Canada, and the UK.  The machines weighted in at about 11 pounds, making them the ‘portable’ sewing machine option of the time (thanks to its mostly aluminum parts)! The machine’s most notable feature is the fold up platform making it possible for the machine to fit in a smaller, almost cubical, carrying case.  The Featherweight sews only straight stitches, but sews them really well, making the machines very popular among modern quilters.

There’s a site you can check out if you want to learn more about the Singer Featherweight, it’s where most of my historical info came from. Click to read more over on Planet Patchwork.

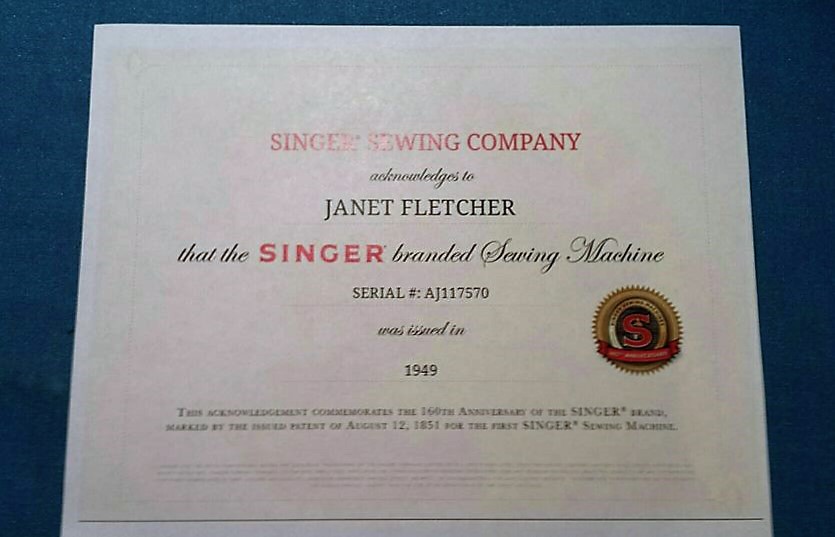
So back to the website I mentioned earlier.  My mom came across a website called My Singer Stories when she was trying to date some of her vintage sewing machines.  You can read other peoples singer stories and even share your own on the site.  But the best part of the site is down on the right hand side.  If you scroll about half way down the page you will see a box where you can enter your Singer’s serial number, your name, email address, and zip code.  The website uses that information to provide you with a certificate acknowledging you as the owner and the year the serial number was issued to the machine.  My mom has gone on the site and created these certificates for several of the Singer machines that we own.  The service is FREE and it’s a nice memento to keep along with your most treasured vintage machines!

Singer Featherweight Certificate of Ownership

Well, that is about all I have to share for today.  I hope you enjoyed looking at this beautiful sewing machine.  Until next time, happy sewing!

-Whitney-
Not So Featured Friday

Some of you all may have noticed that there wasn’t a Feature Friday post last week.  Feature Friday is not necessarily an ever week event, but I had planned one for last week.  However we needed to go out of town unexpectedly for a family funeral and I got a little behind on writing and editing.  I’m still a little behind, so there isn’t a full Feature Friday this week either.  There is however tons of new Saturday content on my youTube channel I wanted to talk about.

If you don’t already follow my youTube channel you definitely should!  I post about all my Wednesday videos here on whitneysews.com, and include extra details and links that doesn’t fit into the videos.  But I also upload a new video {almost} every Saturday.  My Saturday videos are usually hauls, channel updates, or something to do with my family.  Whereas my Wednesday videos are how tos, DIY inspiration, cosplay, or sewing tips and tricks.

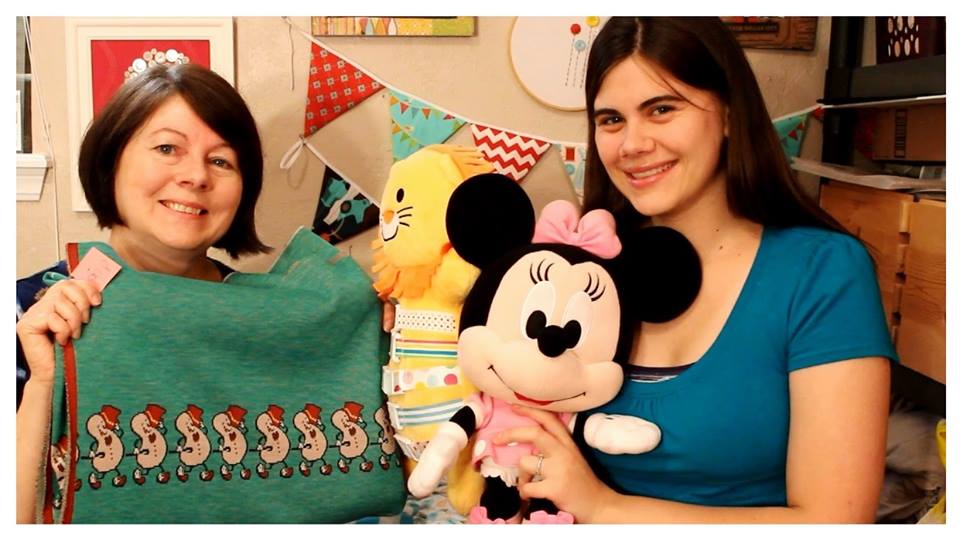
Thrifting Haul from Whitney Sews


As you can see, my mom has joined me for a few videos this summer which has been a ton of fun!  (You’ll see just how much fun in a couple of weeks when I post a Saturday Blooper reel of our silliness).

HERE‘s a link to my entire Haul/Unboxing Playlist if you want to check out all the awesome deals we have found.

Tomorrow’s video is actually something different.  It is part two of my Sewing Machine Showcase series.  My mom and I own several beautiful vintage machines so I want to take the time to show each of them off in their own little video.  This week’s Showcase is all about the Singer Featherweight 221!  There will be a video showing beautiful, slow motion footage of my mom’s Featherweight, along with a corresponding blog post here with tons of extra details and information about Singer Featherweights. I will also link to an amazing site where you can get a certificate of ownership for your vintage Singer.

Well, there you have it….my Un-Feature Feature Friday 😉  I hope this has given you a few videos to watch or rewatch today and something to look forward to seeing tomorrow.  Until then, Happy Sewing!

-Whitney-