Tiered Skirt How to


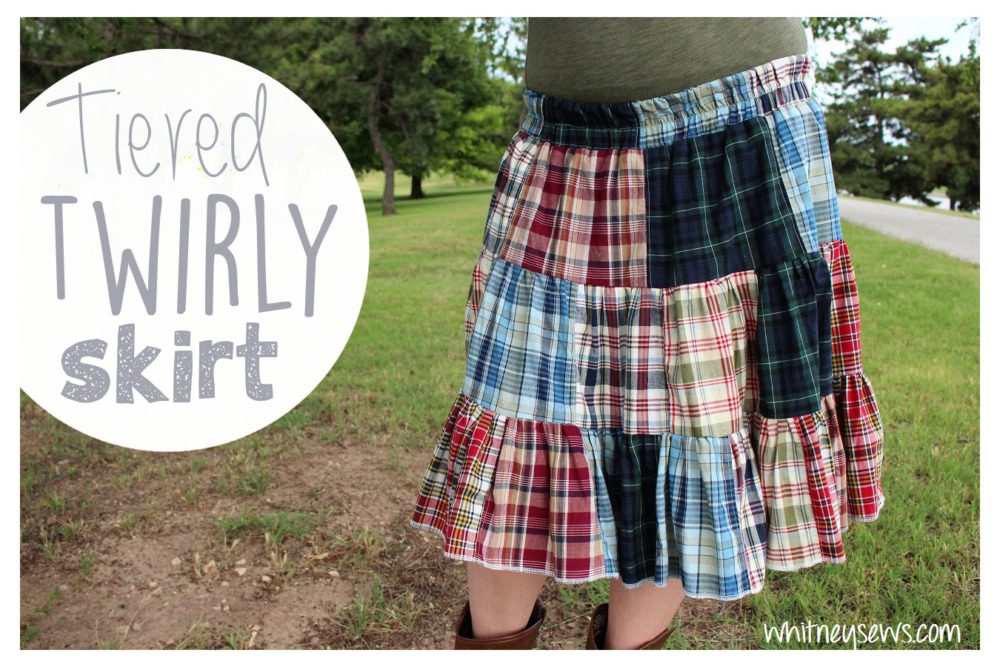
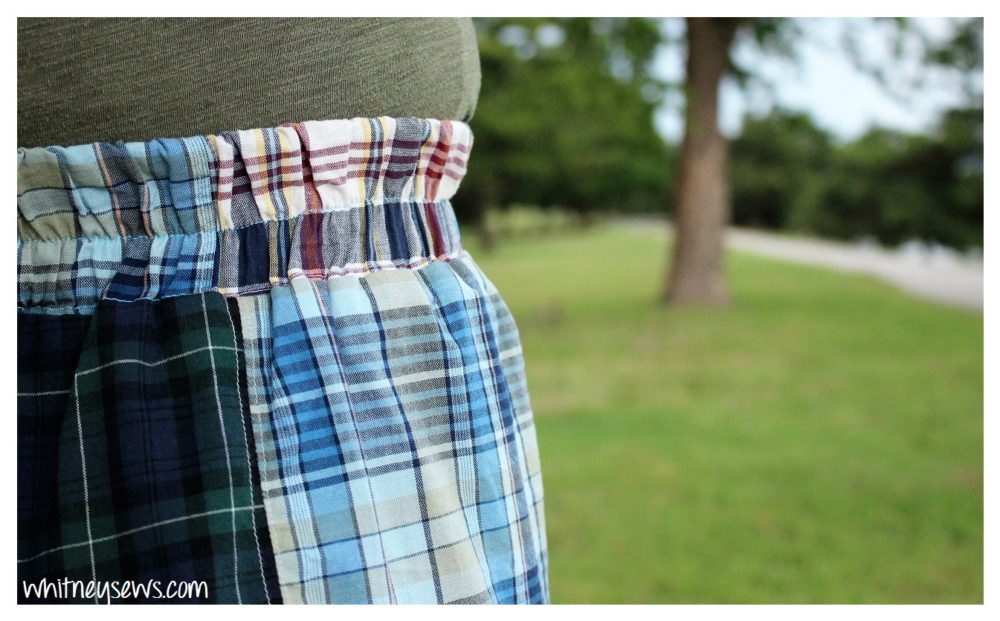
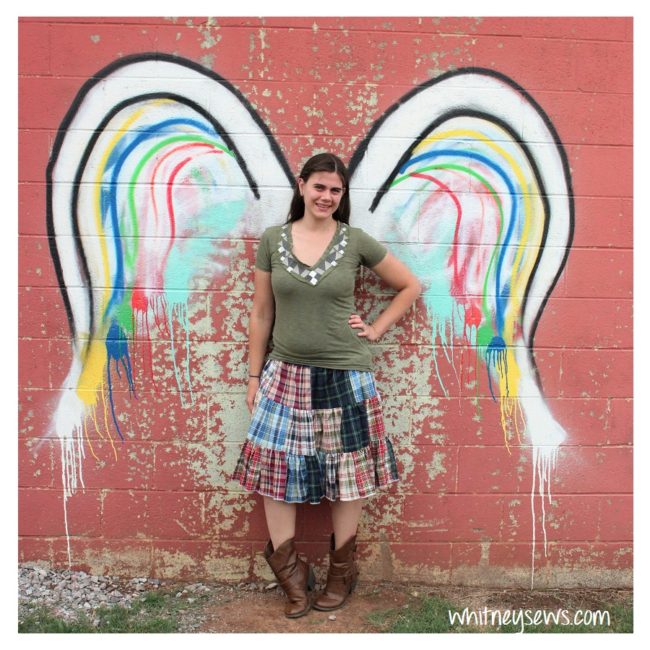
I’ve been wanting to make a tiered, patchwork skirt for a while. I was putting it off because I was afraid I would start the project and loss steam partway through, then it would forever sit in my WIP pile.  So when I found a beautiful plaid patchwork curtain at the thrift store I knew it was meant to be!  All the plaids were already nicely pieced together and all I had to do was cut it into rows and gather them together into the tiers of my skirt.  I added an elastic waistband which makes the skirt so comfortable to wear.

Check out the full how to HERE to see how I easily turned a curtain into a cute, lined skirt in only a few hours!

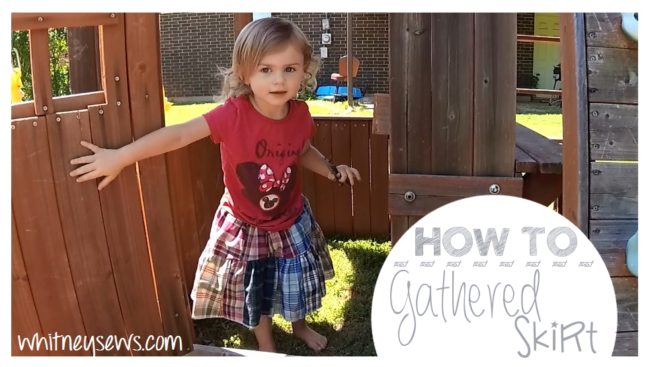
I had a little bit of fabric left over so I made a matching skirt for my daughter!

Of course I know not everyone was a great curtain to start with.  In that case you can use regular fabric yardage and cut several strips width of fabric to use.  You can also piece several fabrics together to make your own patchwork material if that is the look you want.  I will have another video coming in a couple of weeks showing the quickest and easiest way to do that.

I’m actually planning on sharing several videos this Summer and Fall showing how you can transform old clothes in your closet and thrift store items into new clothes for yourself!  I’m very excited about all the videos and hope you are too!  Make sure to subscribe if you haven’t already so you don’t miss out on any of those videos.

Until next time, Happy Sewing!
-Whitney-
Reversible Apron – Kid Size

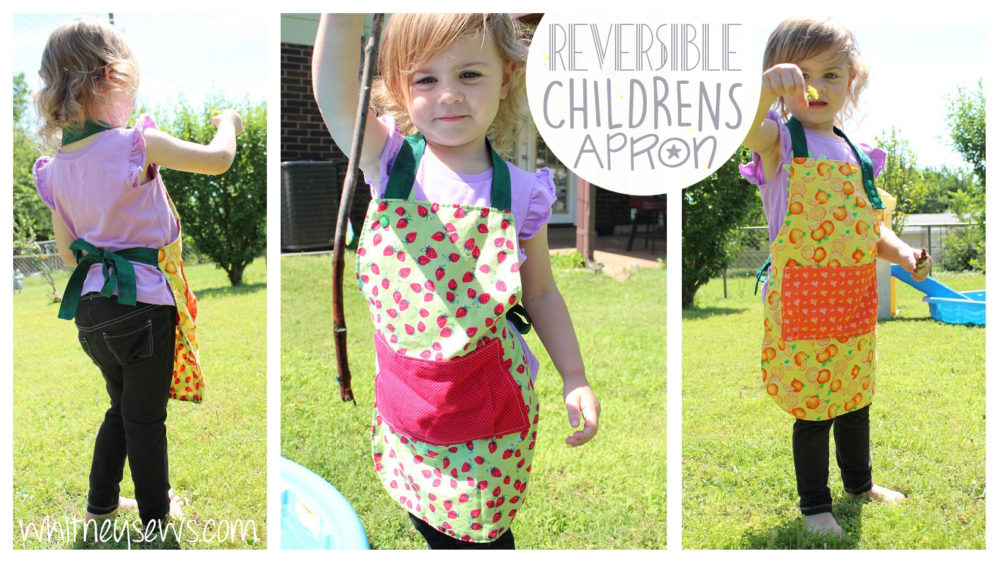
Last week’s how to was all about my daughter Skyler.  So this week I have a project just perfect for Peyton!  I started wearing aprons a couple of months ago when cooking and cleaning and Peyton took an interest in them.  So I wanted to make a special apron just for her.

If you know toddlers you know they LOVE pockets!  So I made sure to not only include a pocket on each side (did I mention the apron is reversible?!?), but also give the pockets some dimension with pleats in the bottom so it is easier to take things in and out.  I also made sure the neck strap is easy to adjust so it can grow with Peyton.

I made my apron from several fabrics from my stash, but you can make the entire project using as few as 4 fat quarters.

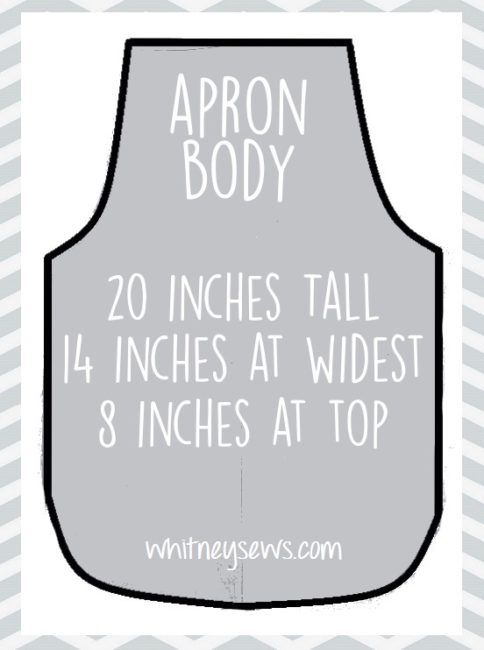
You will need to start by drawing out your apron pattern.  Below is a graphic showing the pattern shape and dimensions.  It’s easiest to mark a center line, the top edge and bottom, and the straight sides.  Then free hand the curved areas on one side.  Fold the pattern along the vertical center line and cut through both layers of paper at once to make your pattern symmetrical.

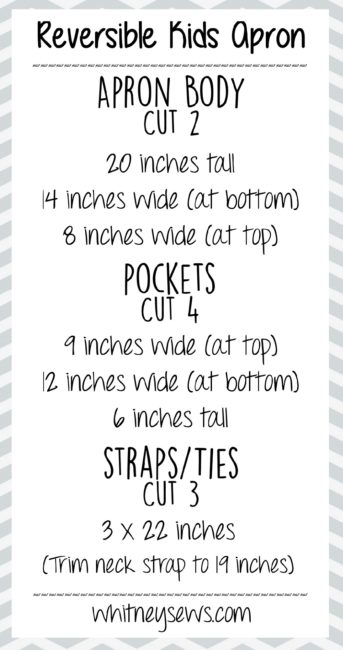
Once you’ve created your pattern cut out all of the pieces listed below.

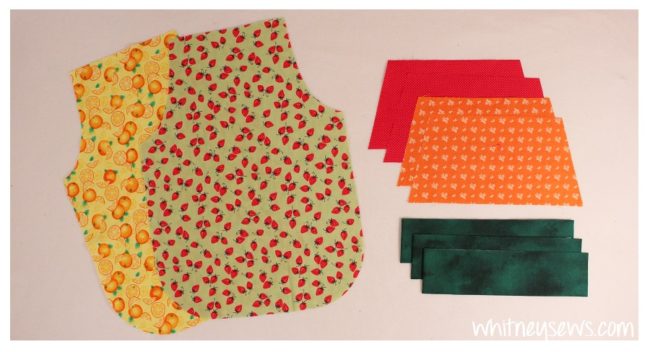
Once you have all the pieces shown here and you are ready to start sewing!

Follow along with my step-by-step video tutorial to put your apron together.  Click HERE to watch!

You can use a button and button hole for the closure on the neck strap, but I wanted to use snaps for mine.  I use THIS snap setting kit.

Snaps are easy to install and use.  If you don’t know how to install a snap, click HERE to learn how.

I didn’t mention in the snap video, but if you are installing a snap through a couple of layers of thin material the snap post can sometimes end up taking up too make space in the female side of the snap after it’s set.  This is because there wasn’t enough thickness of the materials to use up that length of the post.  This can keep the male side from having enough room to fit inside and securely snap in place.  You can remedy this by cutting the tiniest bit off the end of the post before installing the snap.

If you give this or any other of my tutorials a try please share a pic with me on the Whitney Sews facebook page or on Instagram with #WhitneySews.

Come back next week to learn how I made 2 cute gathered skirts out of one curtain!  Until then, Happy Sewing!

-Whitney-

DIY Pacifier Leashes in 2 EASY Ways

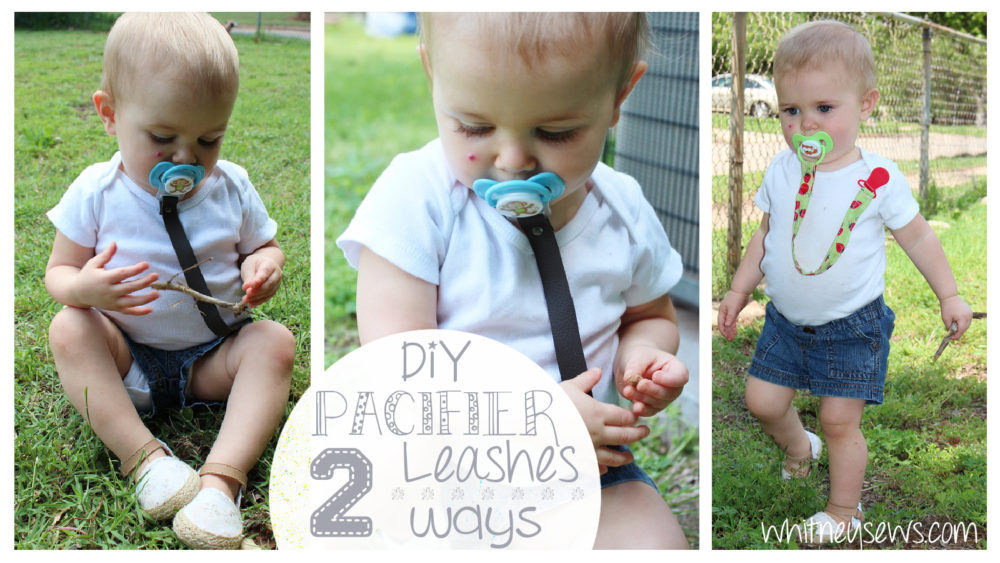
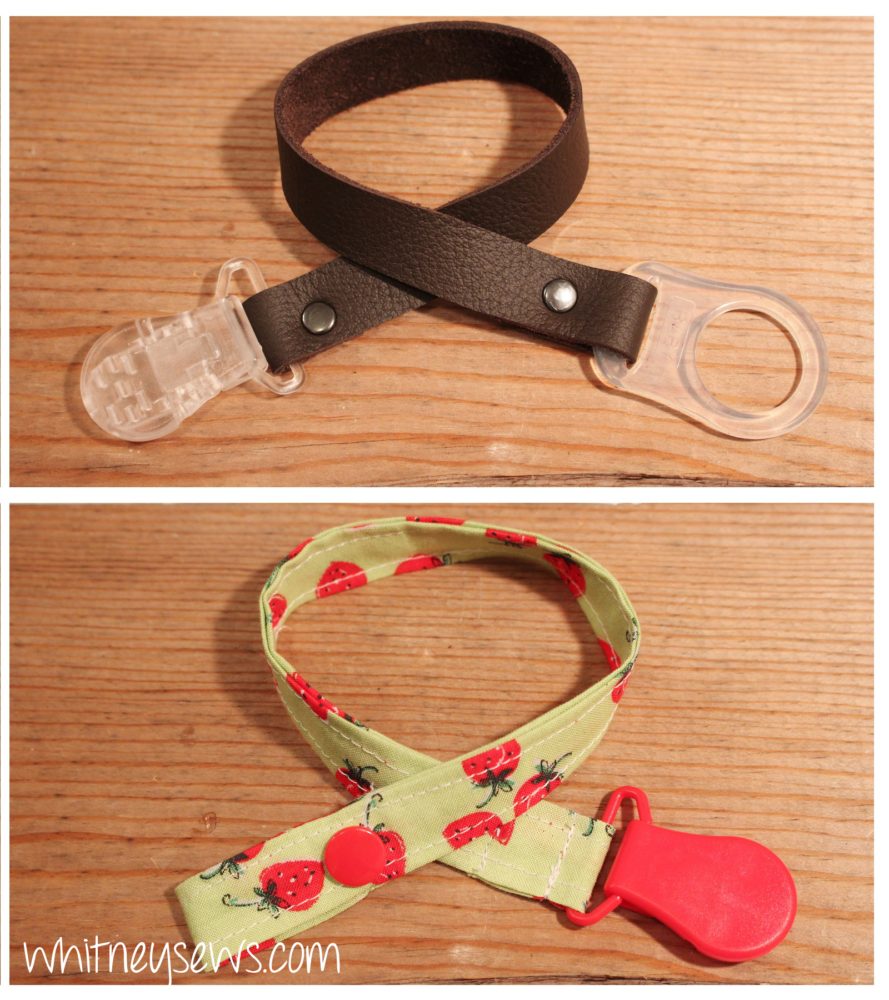
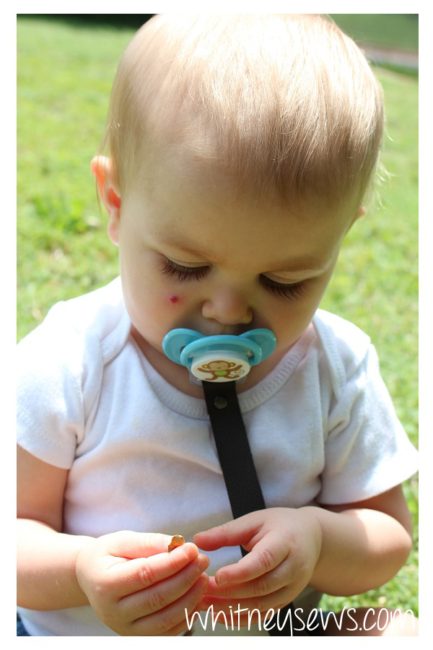
My daughter Skyler has entered a stage where she likes to drop things for fun. This has resulted in countless lost pacifiers at stores, the zoo, and everywhere else. It finally dawned on me that I should make some pacifier leashes for her.

I decided to create two very different style of leashes that serve the same purpose.  The first uses a scrap of fabric, a plastic clip, and a snap.  The second is a no sew version made from a piece of leather, two rivets, a plastic clip, and a silicon pacifier holder.

Both versions are easy to make and work perfectly.

Check out the full video tutorial HERE!

Interested in any of the supplies I used?? Check out the links below:
Snap Setter – http://amzn.to/2jOG6r9
Rotary Cutter – http://amzn.to/2ohydPI
Hole Punch – http://amzn.to/2rS0mek
Pacifier Clips – https://ilikebigbuttons.com/collections/pacifier-supplies
Silicone Pacifier Holder – https://ilikebigbuttons.com/collections/pacifier-supplies/adapters
Rivets – http://amzn.to/2nDEAdj
Setting Kit – http://amzn.to/2nqRESr

**My daughter is already a year old and mobile so I made her leashes longer than I would have for a younger baby, so feel free to adjust the lengths to better suit your needs.  As with any project intended for children, please use caution and if anything seems wrong don’t use it!**

I hope you all enjoyed this project! Let me know in the comments if you want to see more baby/kid how tos.  A new sewing tutorial is coming next Wednesday!  Until then, Happy Sewing!

-Whitney-

Viking Costume and New Channel!


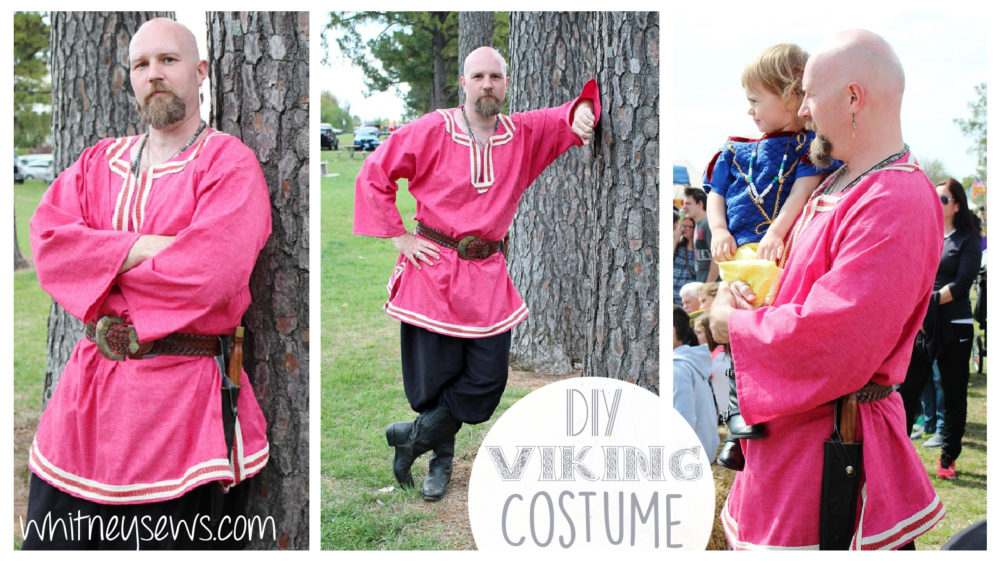
Last month Jeremiah and I went to our local Medieval Faire and had a blast!  We are the kind of people who can’t just attend a faire or festival…we are the kind who go all out and dress for the occasion.

This year Jeremiah requested a viking style costume for the event (there is a viking festival in Oklahoma we are considering attending later this year).  So I pulled from my stash and made his a costume.

The red material is a bleached muslin fabric I thrifted (14 yards for $3.50!) then Jeremiah hand dyed it.  We were planning on using it for a different costume, but we measured wrong and didn’t dye enough of it.  However it worked out perfectly for this costume!  The pants were made from an old black sheet.

Check out the video HERE to see how I created the tunic and pants!

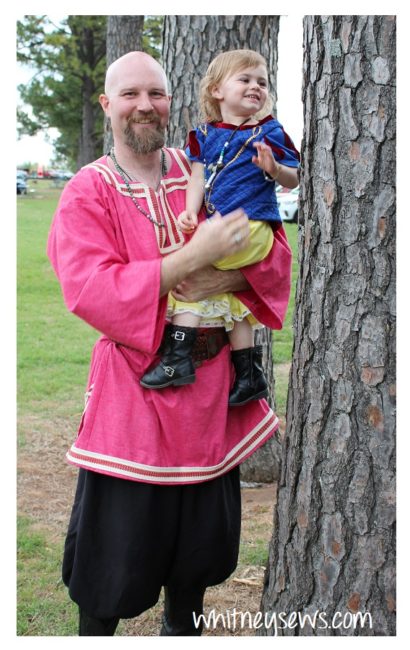
Doesn’t Peyton look adorable in her Snow White costume?!?  Click HERE to see how it was made!

Skyler wore the green dress I made two years ago for Peyton.  HERE is a video about that dress!

I made a super simple dress for myself to wear with a purple Damsel in this Dress corset.  I also made leather Celtic inspired shoes that I wore to the faire!  I will have a separate video coming soon showing how I made the shoes.

Since going to the Medieval Faire we also made a trip to Sea World!  My dad took the entire family and we had a great time!  We got to try out our new vlogging camera and its waterproof case while at the park.  Check out the vacation video HERE!

That video is actually on my new channel that I just launched called Whitney’s Tiny Life.  There have been lots of things I’ve wanted to film/share lately that doesn’t really fit into my Whitney Sews channel so I decided to start a separate channel for family videos, vlogs, etc. If you’re interested in any of that make sure to subscribe to Whitney’s Tiny Life!

Well, I think that is everything for this week!  Make sure to come back next Wednesday for another new video. Until then, Happy Sewing!

-Whitney-

Lined Tote With Outer Pockets

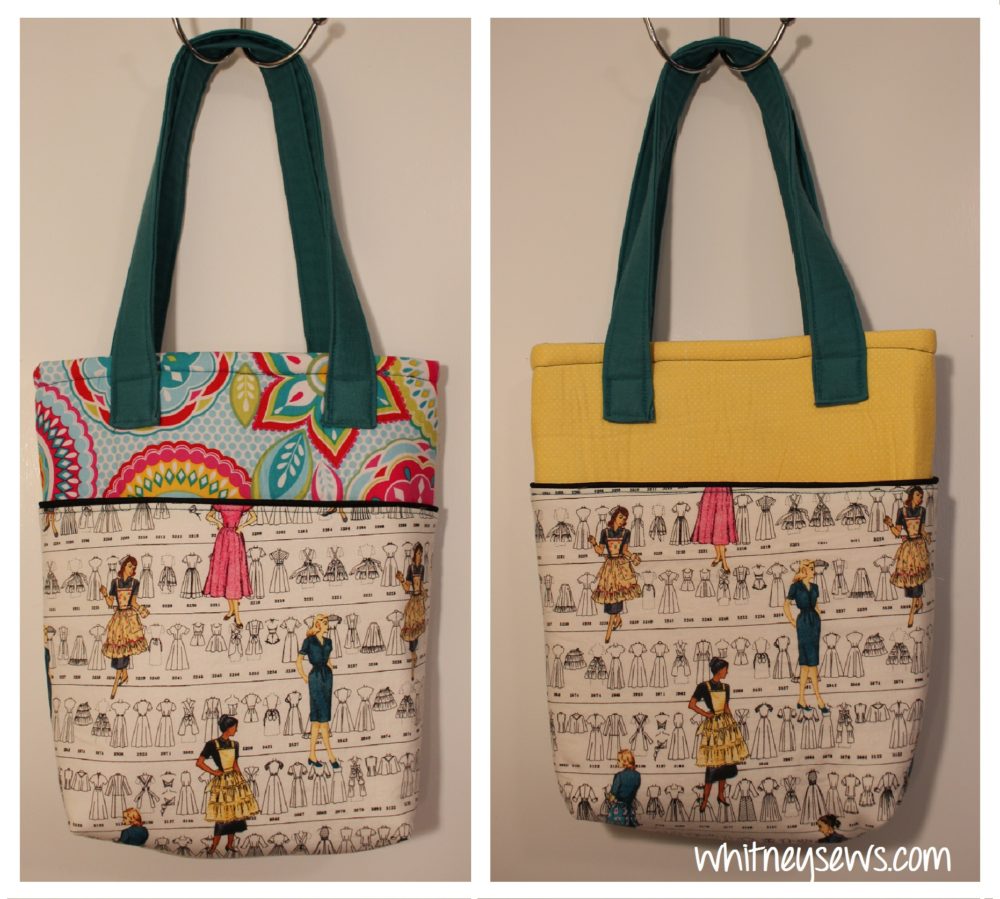
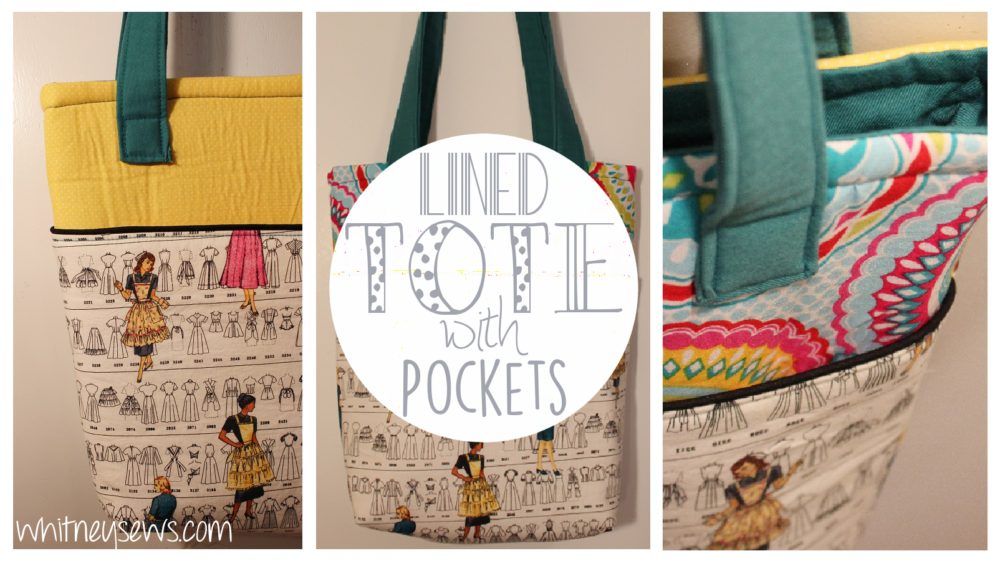
It’s pretty safe to say that bags with pockets are the most highly requested tutorials!  So I am here today to teach you how to make a tote bag with outer pockets.  I will have other types of bags and pockets in future how tos.

This bag features a pocket on the front and back of the bag with piping at the top edges.  I chose to use 5 different fabrics on mine because I’m using only fabrics from my stash (see more about that challenge here).  I think it gave the bag a fun, colorful look, but you can use as few as 2-3 fabrics.  I also show a different way to make fully finished straps that I have never shown before.

Check out the full video tutorial HERE!

Like the structure of my tote bag?!?  I do too!  It’s all because of the Bosal In-R-Foam Plus double sided fusible stabilizer that I used.  I really love the structure the foam gives to bags and other projects, but it is still easy to sew through.  You can fuse fabrics onto both sides of the foam as long as you have your iron’s steam turned off.  I forgot to turn the steam off so I did have a little difficultly with the double sides, but it was user error on my part.  You can see this on the yellow side where it is a little rippled looking.  There is a single sided version that would also work great for this project if you don’t want to deal with the fusible on both sides.

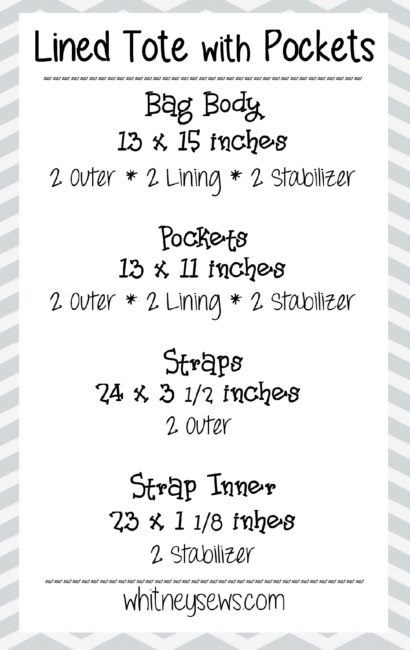
Once you have your stabilizer and fabrics selected you are ready to start cutting out all the bag parts.  Below is a chart you can PIN to refer back to when cutting your pieces for the bag.

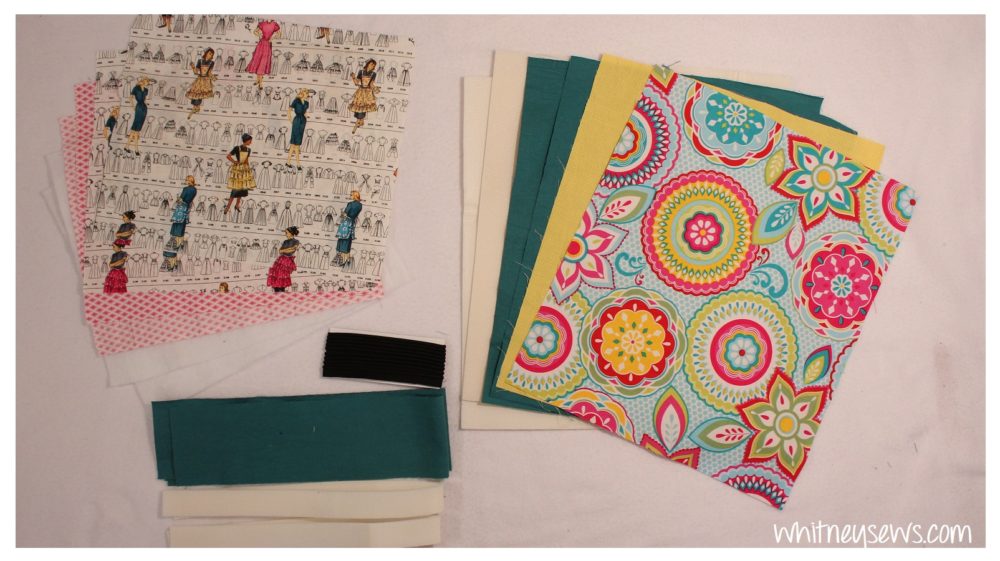
Here’s how all your pieces should look after they are cut.  Then you are ready to start sewing.

If you chose to use piping like I did you will need two pieces measuring at least 13 inches each.

Below is a list of all the supplies I used for this project if you want to check them out-

Bosal In-R-Foam - http://amzn.to/2qfNrlz
Craft clips (small and large) - http://amzn.to/2oxtsm0
Fiskars Rotary Cutter - http://amzn.to/2ohf1C5
Dritz Cutting Mat - http://amzn.to/2onxtWJ
Omnigrid Rulers - http://amzn.to/2oF4bSH

What other kinds of projects do you want to see how tos for??  Make sure to come back next Wednesday for another new DIY.  Until then, Happy Sewing!

-Whitney-


Busy Book Show and Tell


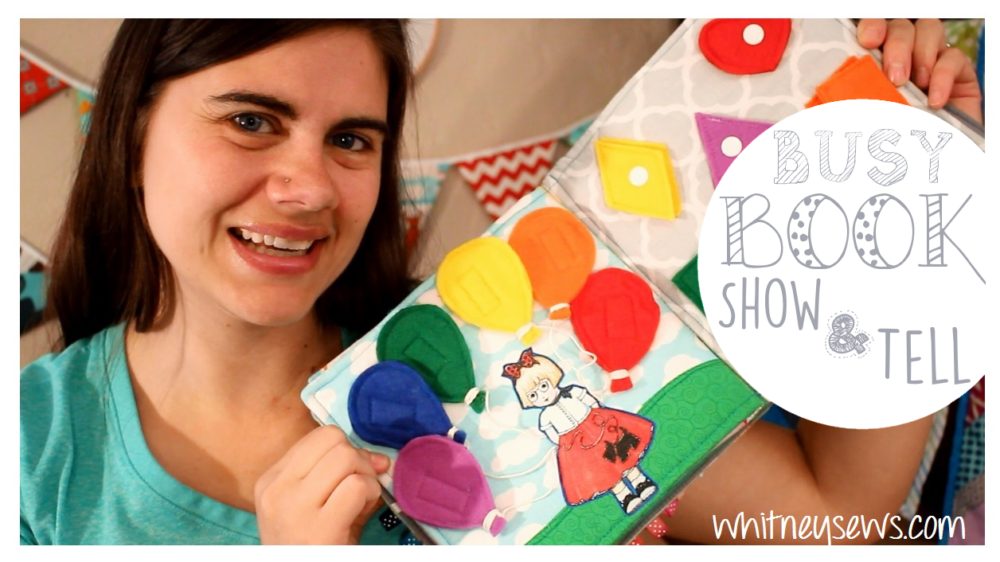
It’s finally finished!!  I started making a busy book long before I even had kids and now that my daughter is 2 I finally finished it! It was a lot of work, but I’m so happy with how the entire book turned out.

I show off every single page and detail in the video HERE!

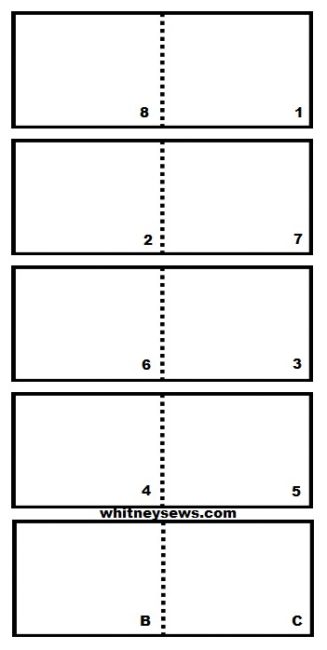
Below is a chart full of measurements and info to use if you want to create your own busy book.

Want to learn how to make the cover??  Watch the full tutorial HERE!

If you want to make a busy book the same size as mine use the measurements listed below:

Cover and Inside of Cover - 9 x 9 1/2 inches (working space 8 x 8 1/2)
Pages 1/8 & 2/7 - 9 x 9 1/4 inches (working space 8 x 8 1/4)
Pages 3/6 & 4/5 - 9 x 9 inches (working space 8 x 8)

The pages have to be sewn together in a specific order so they are on the right sides. The chart shows those layouts.

Use a 1/2 inch seam allowance to attach the pages in pairs. Then add a layer of fusible fleece (here’s the one I recommend)

Pair up your page spreads according to the sets shown above (Ex. 1/8 & 2/7) and place them right sides together.  Sew around the outer edges to attach leaving a few inches open to turn through.  Turn right sides out and top stitch all the way around.

Sew the first set to the cover with two straight lines of stitching about 1/4 inch to either side of the center line.  Then add the center page spread on top and sew a line down the center to attach.  Be very careful because you will be sewing through a LOT of layers!

I hope you enjoyed seeing my completed busy book and gained some inspiration for your own!  Until next time, Happy Sewing!

-Whitney-
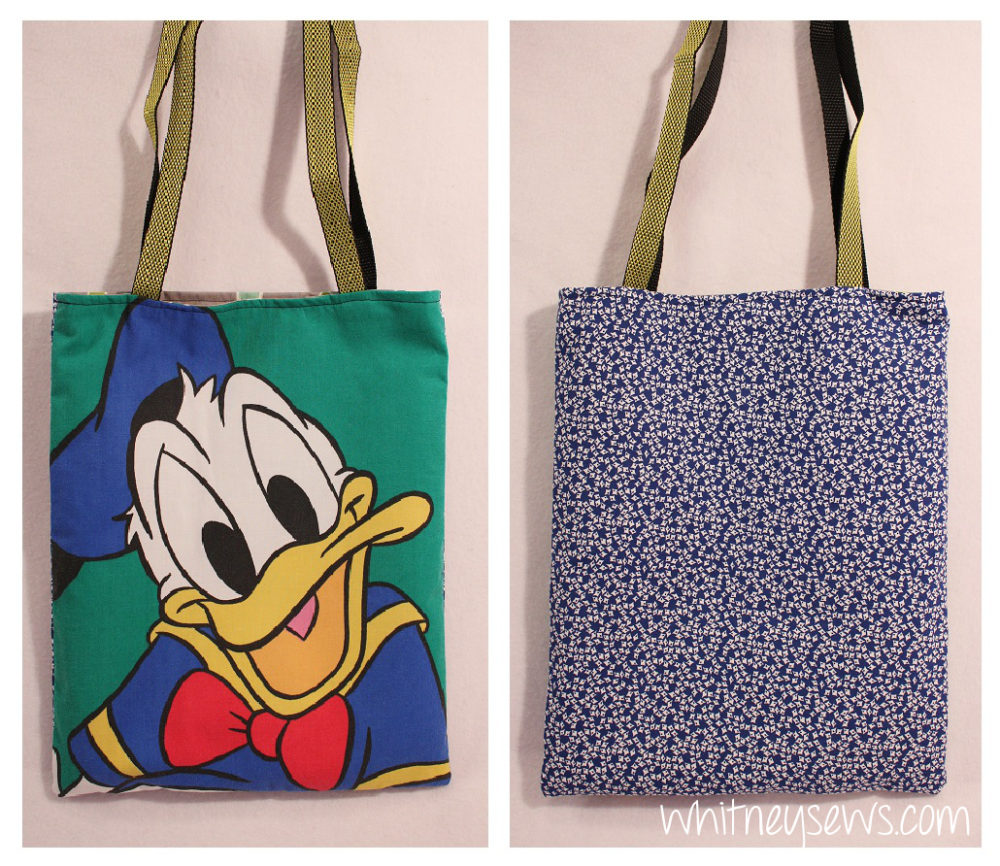
Lined Tote Bags – 2 EASY Ways!


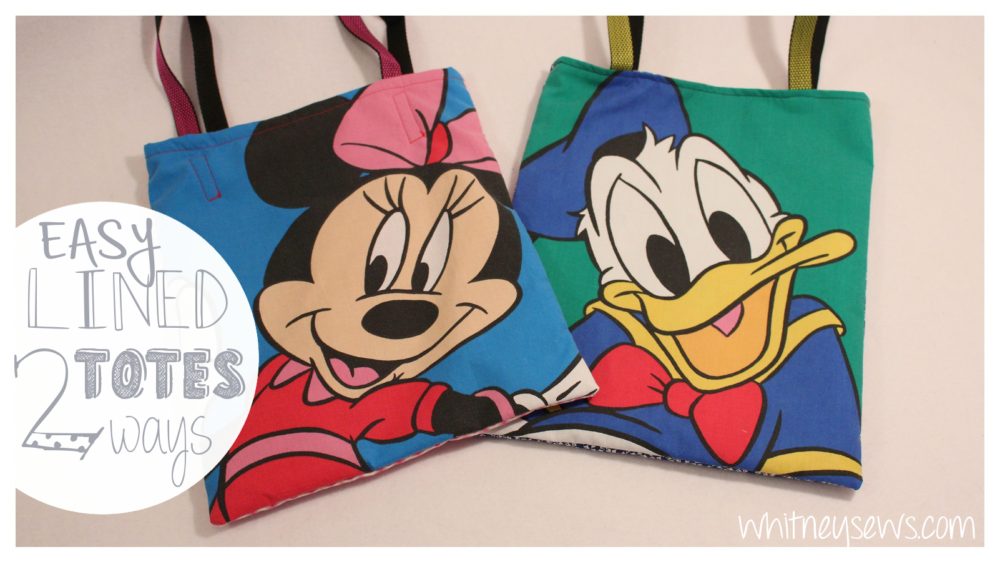
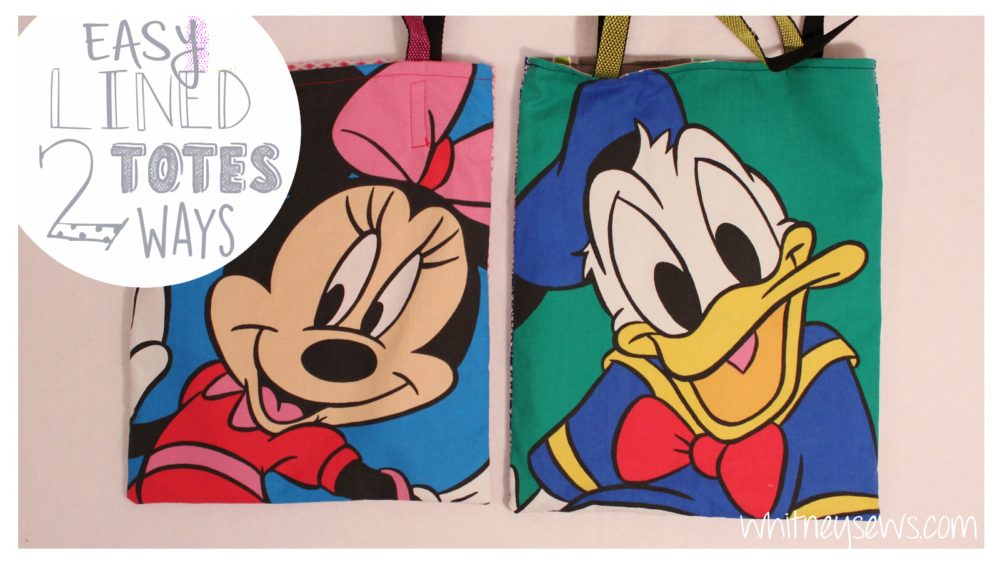
Last week someone asked me a question about tote bags in the Sew Your Stash facebook group.   I quickly realized that I had never made a tutorial for lined tote bags that did not have boxed corners.  So I decided what is better than one tutorial for a basic lined tote bag….two lined tote bags!

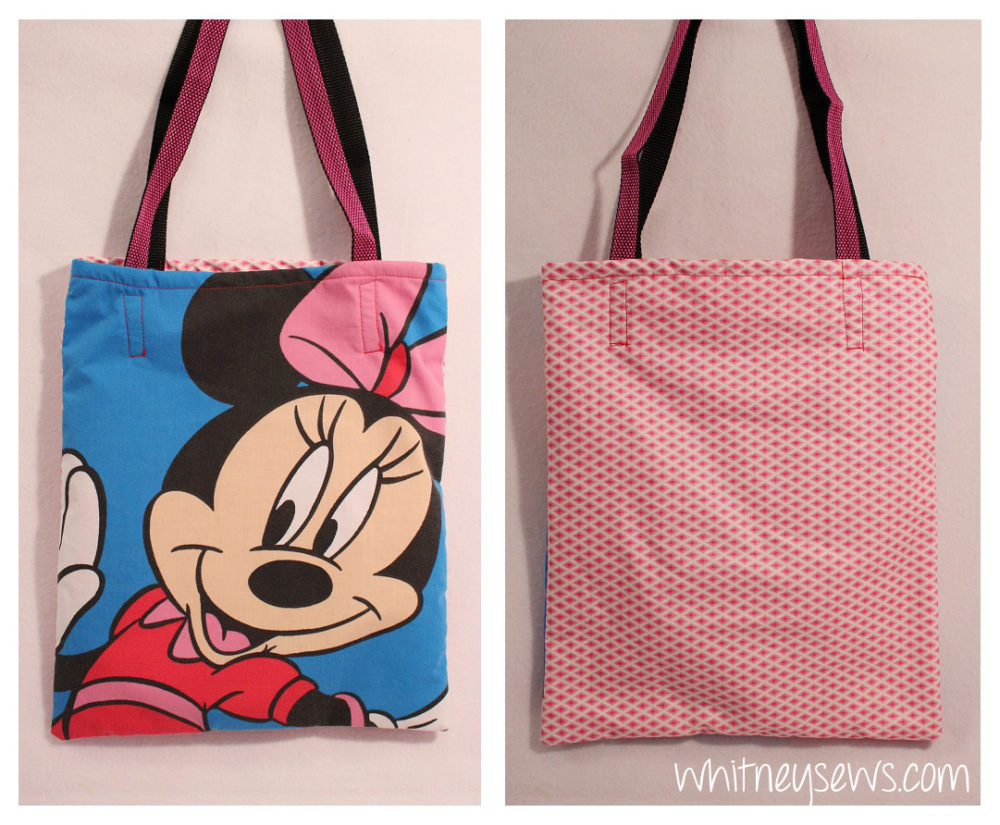
I show two very easy ways to create tote bags.  This is a great project for sewers of any skill level.

For the first method you sew the lining and outer together and turn over the top edge to take care of the raw edges, then add the straps.  This way is best for basic cotton fabrics and store bought strap materials.

This second method is sewn together with the outer and lining right sides together then flipped through an opening in the lining.  The straps are added when the outer and lining are sewn together.  This version is the one to use if you have heavier fabrics and want to make your own fabric straps.

Click HERE to learn how to make both versions in the step-by-step video tutorial!

Want to see how easy bag how tos??  Check out the entire playlist HERE!

Let me know in the comments what other tutorials you would like to see on Whitney Sews and until next time, Happy Sewing!

-Whitney-
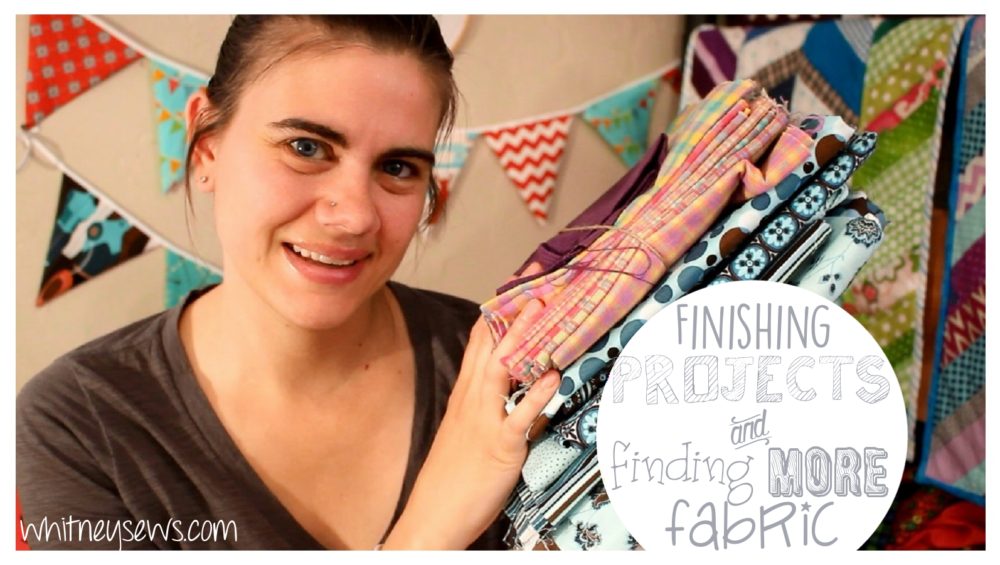
Finishing UFOs and Finding More Fabric!


It’s amazing what taking one week off can accomplish!  Since my last Sew Your Stash update I took one week away from youTube and found my mojo!  I completed several projects, including two WIPs, two costumes, and much more.

I decided to treat myself to a few new sewing supplies as well to keep me motivated and more efficient! Check out the goodies I treated myself to HERE!

And lastly, I somehow managed to find ‘new’ fabrics in my stash.  I opened up a tub of fabric that I see every single day and had forgotten about EVERY SINGLE fabric in there!  That means I have lots more fabrics to play with than I thought I did.

Check out my completed projects and newly found fabrics HERE!

How is your stash busting going??  What projects have you completed?? I would love to hear about them in the comments below!  Until next time, Happy Sewing!

-Whitney-
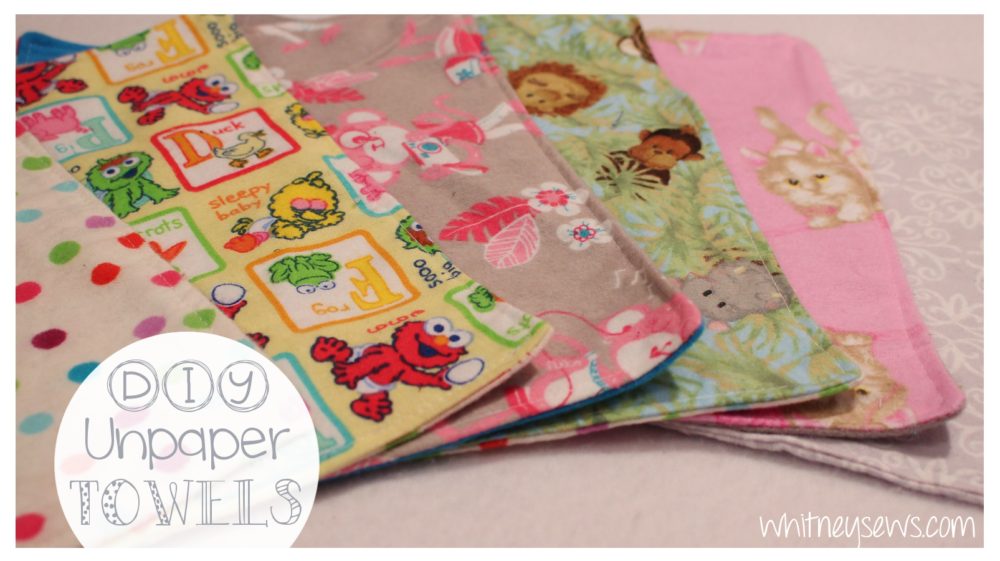
The EASIEST Sewing Project EVER – Unpaper Towels


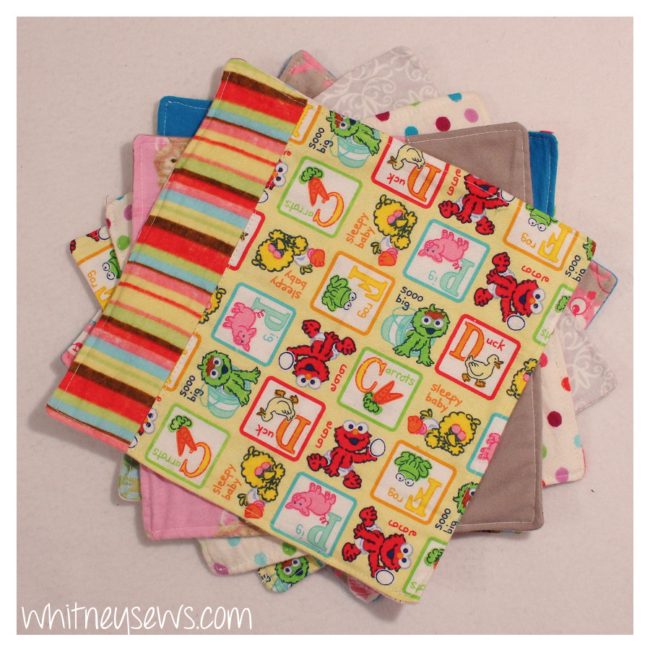
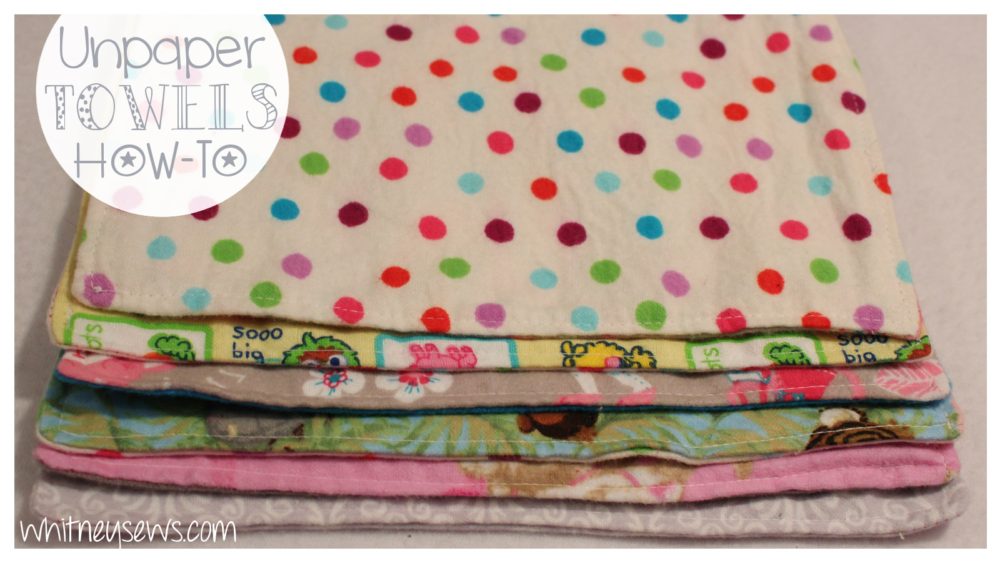
This project truly is one of the easiest you will ever come across! You may be wondering what unpaper towels are, they are the fabric equivalent of paper towels.  They are not cloth napkins to be nicely folded and used to dab your chin during dinner, but a towel that is intended for any kind of mess or clean up you would use a paper towel or wash rag for.

These in particular are for my daughter.  She is very into napkins right now and wants a new one at each meal. That can quickly add up to a lot of paper napkins.  So I decided to make some she can use and reuse over and over again.  I made sure they are fabrics and a size that will work well for her.  They are flannel on both sides and finish about 8.5 x 8.5 inches. Some of the pieces I used were scraps, so I simply sewed two pieces of flannel together and then cut it down to the right size to use.

You  can make smaller ones with flannel on one side and a soft minky on the other for face cleaning cloths.  Or try using microfiber or terry cloth for some nice cleaning cloths!

Ok, so what makes them so easy and beginner friendly?!?  I’m glad you asked!  You can make this project in any size.  Use whatever seam allowance you are comfortable with.  Sew as fast or slow as you want.  Use whatever materials you want.  Sew only two seams (all straight lines!) and they are done!  They don’t have to be pretty because it’s all about function.  That is truly as easy as it gets!

Watch the full step-by-step tutorial HERE!

Like the supplies I used??  You can check them all out in the links below.

**These are affiliate links which means if you order anything after clicking the links I earn a small percentage that helps me keep bring you more tutorials like this one. **

Fiskars Rotary Cutter – http://amzn.to/2ohf1C5

Dritz Cutting Mat – http://amzn.to/2onxtWJ

Omnigrid Rulers – http://amzn.to/2oF4bSH

Microfiber Towels – http://amzn.to/29ZsveU 

Craft Clips – http://amzn.to/2mUu6JD

I hope you enjoyed this project!  It’s great for beginners to get comfortable with their sewing machine or a quick afternoon of productive sewing for a more experienced sewer.  

Make sure to leave a comment if you want to see more easy, beginner friendly projects like this one. Or are you attracted to the eco friendly aspect and want to see more tutorials for reusable cloth alternatives for every day products??

Since starting my Sew Your Stash Challenge I have starting sewing and using cloth alternatives for feminine hygiene pads and paper towels and am looking for others to try!  Let me know if you have some cloth alternatives you think I should try!

Whew, I think that is it for today!  Make sure to come back next Wednesday for another new tutorial!  Until then, Happy Sewing!

-Whitney-
Pillow Sham with French Seams


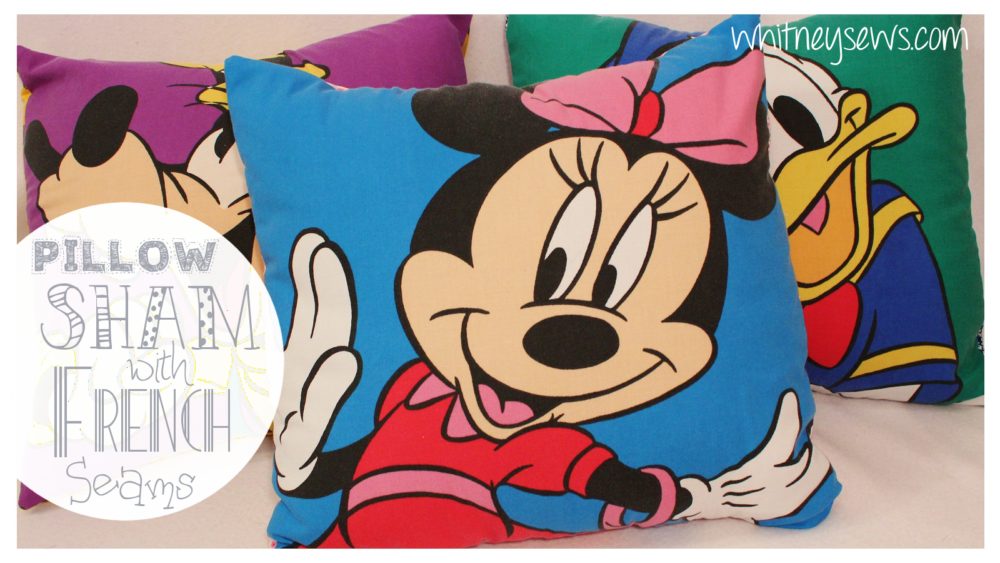
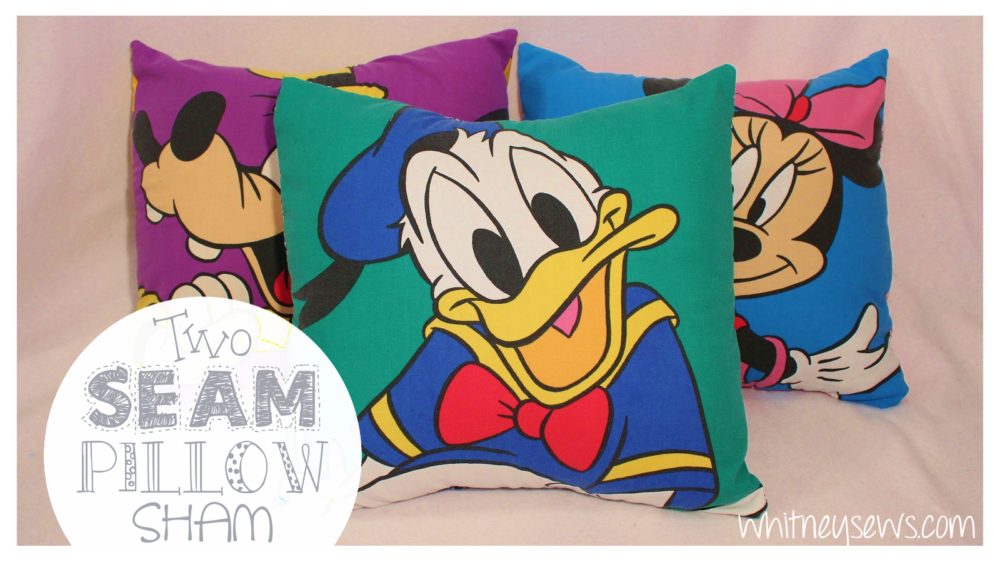
For the past few months I’ve been having a lot of trouble with my serger.  This means I’ve needed to come up with creative ways to finish off some of my go-to projects.  I love making pillow shams and normally finish them by serging the seam allowances on the inside.  But now I have a fun new way to fully finish my pillow shams (that I like even better than the serged version) that only takes two seams!.

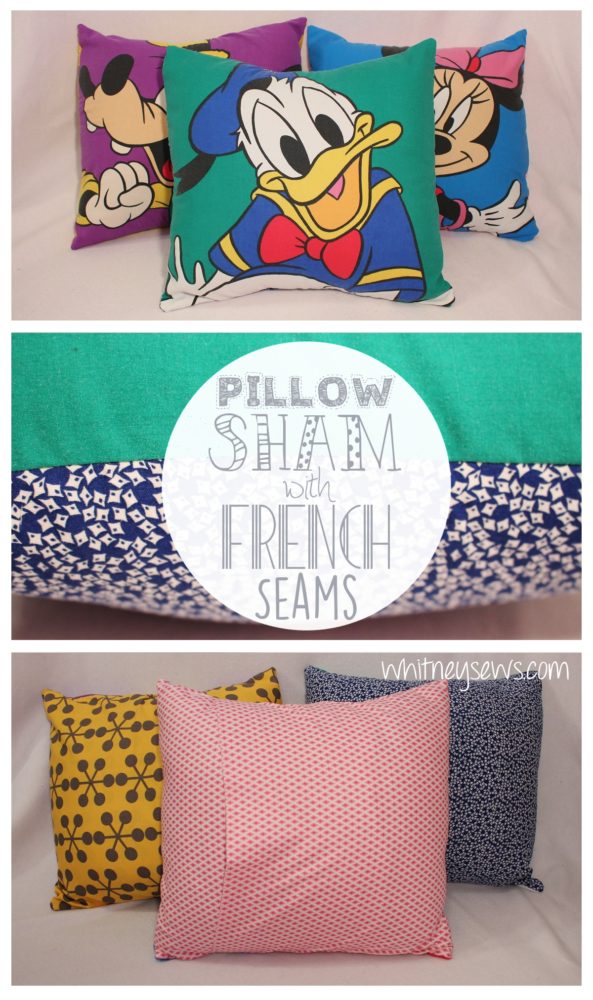
The new method is FRENCH SEAMS!  I have fallen in love with french seams and use them as often as I can now.  If you’re new to french seams you basically sew the item together with the right sides facing out and then again with the right sides facing in so the raw edges are all enclosed inside when it’s done.

This pillow sham is a great stash buster as well!  The backing takes about 2/3 yard of fabric and the front is the perfect size for using a fat quarter or large print.  I have an amazing vintage Disney sheet I found at the thrift store a little while back with a different character in each square, the perfect size for this sham!  You can also add a lining if your front fabric isn’t opaque enough on its own.

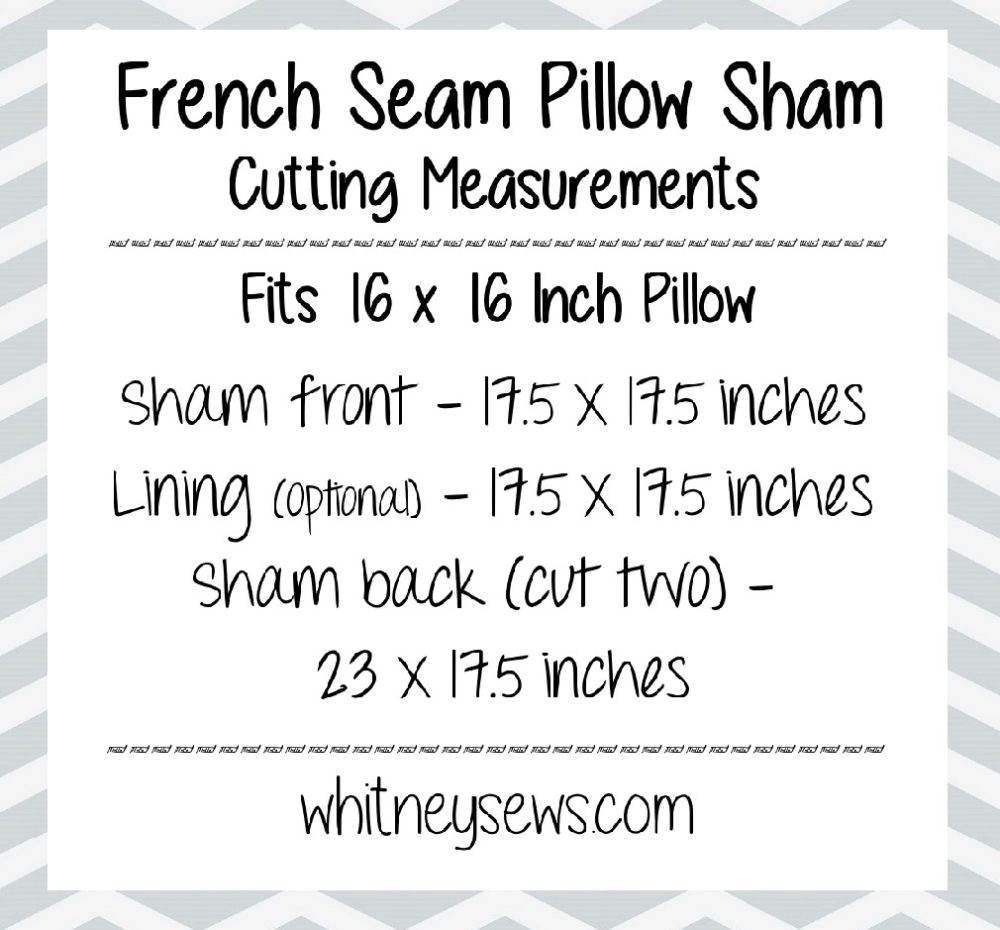
Below are all the measurements you need to cut the materials for your own pillow sham.

Now that you know exactly what you need, check out the full tutorial HERE!

Super easy, isn’t it?!?  This method will give you easy and beautiful pillow shams with a completely professional finish!  Don’t forget to pin this project and share it with your friends if you enjoyed it!

I’ll be back next Wednesday with a new tutorial!  Until then, Happy Sewing!

-Whitney-