Star Wars Family Costumes

Star Wars Family Costumes by Whitney Sews

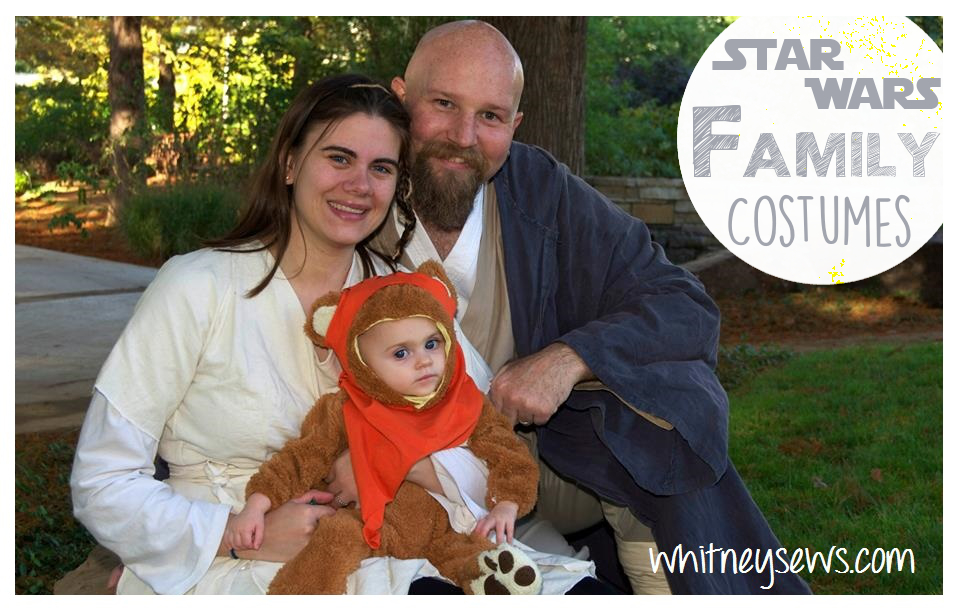
Since I’m on a Star Wars buzz from making my Rey costume and all the Rouge One details I wanted to share the Star Wars costumes we made and wore last Halloween!

I’ve been a Star Wars fan for years, but my hubby LOVES Star Wars, so when our first Halloween idea didn’t work out we decided to throw together some Star Wars costumes.

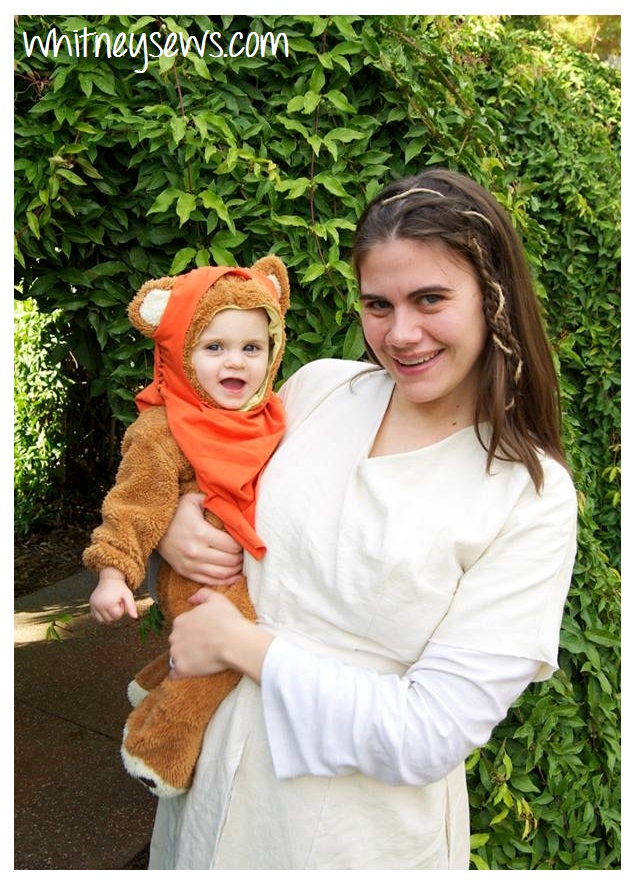
I chose to create Leia’s outfit from when she was on Endor in Return of the Jedi.  I used a duvet cover I thrifted for under $6 for the materials!

Princess Leia and Ewok DIY Costumes by Whitney Sews

You can check out all the Leia costume details and progress photos HERE!

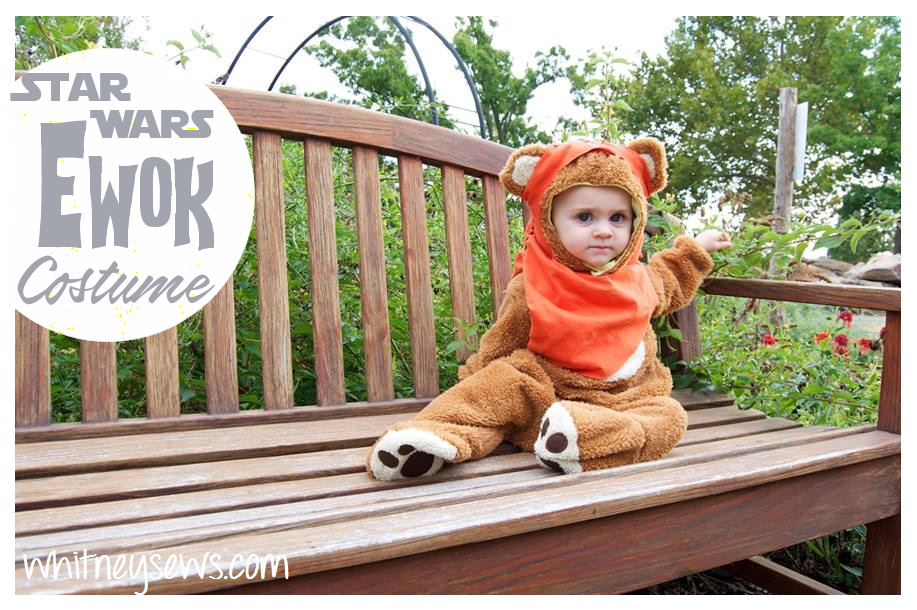
We of course HAD to dress Peyton up as Wicket the Ewok!

Wicket the Ewok Costume How to from Whitney Sews

She was the cutest ewok ever if you asked me (though I might be a bit bias)!  It was super easy to make starting with a store bought bear costume.  HERE is the exact one that I used.


After we had the bear costume I created the hood using some orange stretchy fabric (you can use an old t-shirt).  I did a full how to on it that you can find HERE!

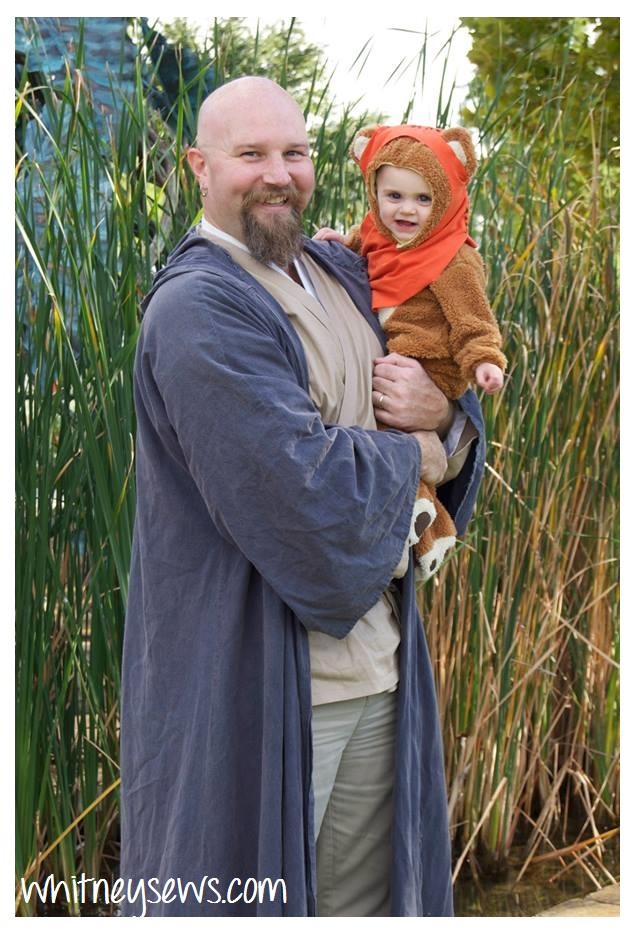
Once mine and Peyton’s costume were done we just had to worry about Jeremiah’s.  Since there aren’t many people in Star Wars that are bald with facial hair, he decided to go as a generic Jedi.  He made a Jedi top using THIS Simplicity pattern.

He paired it with a gi top, cloak, khaki pants, and boots, all things he already owned.

Jedi and Ewok DIY Costumes

We had such a fun time dressing up as a family and I look forward to doing so many, many, many more times!  I posted a little vlog about Peyton’s first Halloween with more details about out costumes.  You can find it HERE!

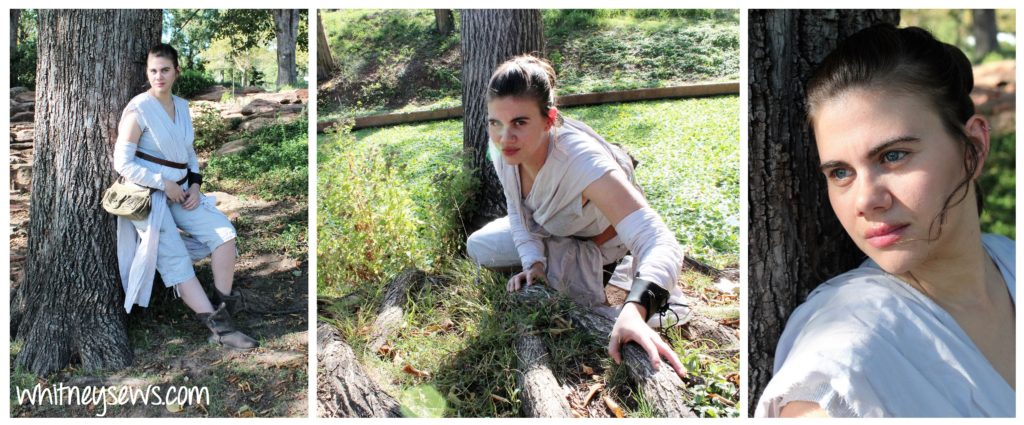
In January I decided I just HAD to create a Rey costume from The Force Awakens and it took everything in me to wait until Halloween (it did help that I was pregnant and nothing fit at the time).  I made the costume and LOVE it so much!  I can’t wait to wear it to some local Star Wars events!

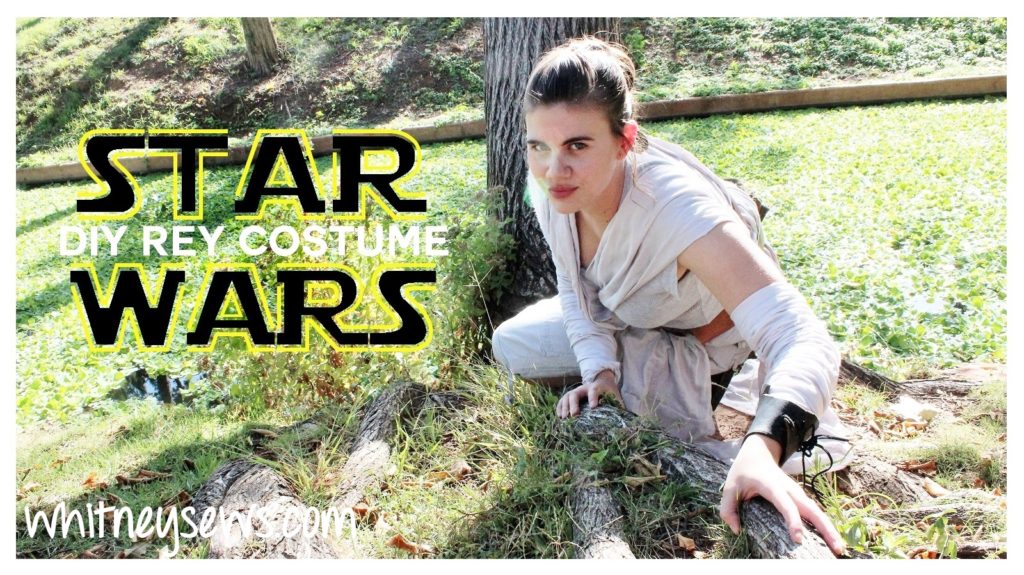
DIY Rey Star Wars Costume How to from Whitney Sews

Want to learn how to make your own Rey costume?  Check out the full FREE how to HERE!

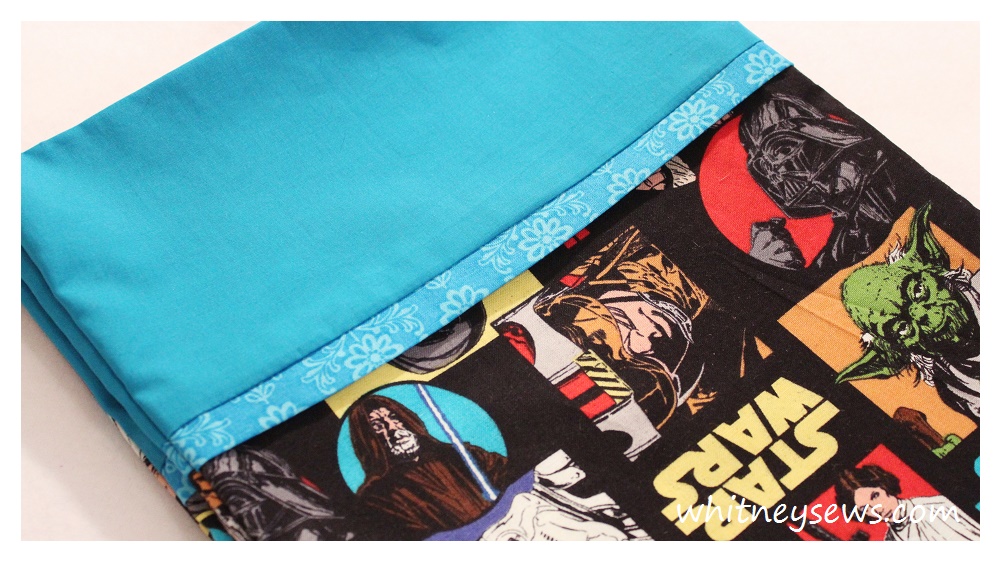
My hubby loves Star Wars so much I made him a Star Wars pillowcase!  It is a super easy and quick project to sew together with only 3 seams.  You can find the full pillowcase how to HERE!

Star Wars Pillowcase How to from Whitney Sews

Do you dress up for Halloween as an entire family?  What are your plans for this year?  I want to hear all about them!  Until next time, Happy Sewing!

-Whitney-
 

DIY Rey Costume – Star Wars: The Force Awakens

DIY Rey Star Wars Costume How to from Whitney Sews

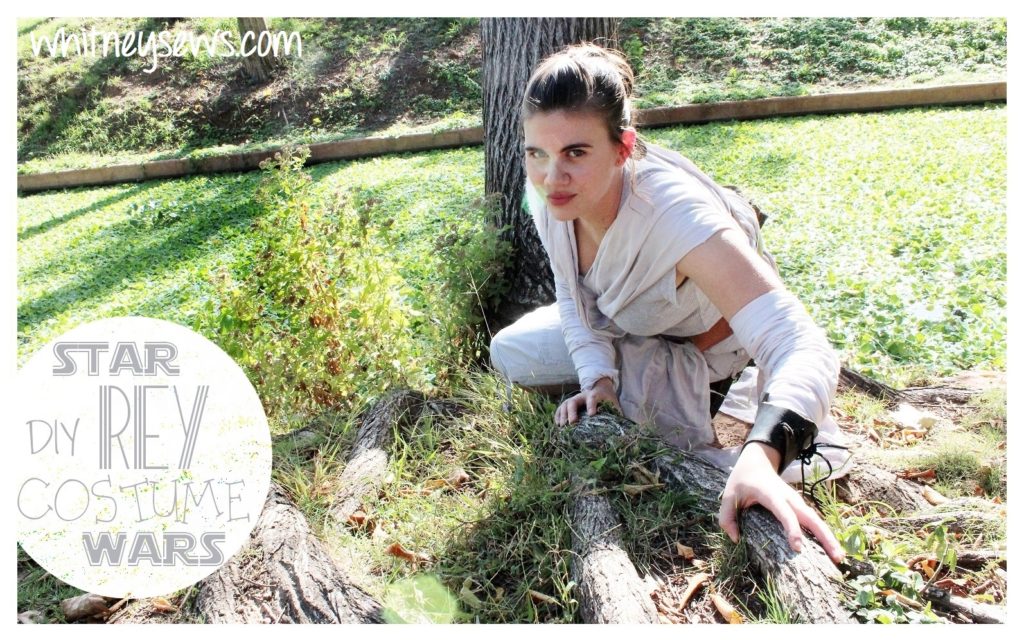
I’m so excited to finally get to share the Rey costume from Star Wars: The Force Awakens!  I have been planning this costume for 10 months and it turned out exactly like I wanted!

In my last post I showed all the supplies I picked up for the costume for under $10.  If you haven’t seen that post already you can check it out HERE!

Once you have your basic supplies from the thrift store throw them in the wash and you’re ready to DIY.  The costume involves minimal sewing (can be no sew if you prefer to use fabric glue!) and limited crafting skills.

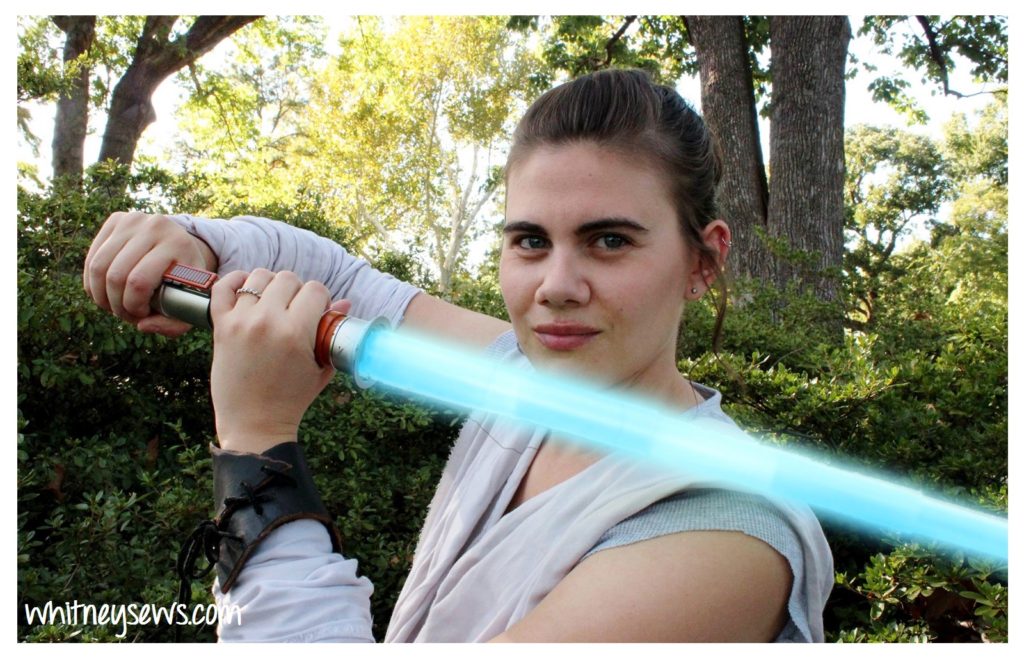
Rey costume with light saber from Whitney Sews

The costume is really as simple as cutting the sleeves off your shirt.  Cutting a sheet into strips and sewing them end to end. Then cut belts down to size and add plastic buckles with a strong glue.

Check out the full DIY video HERE!  In the video I show step-by-step how to create your own Rey costume from thrifted supplies and offer suggestions for a few variations.

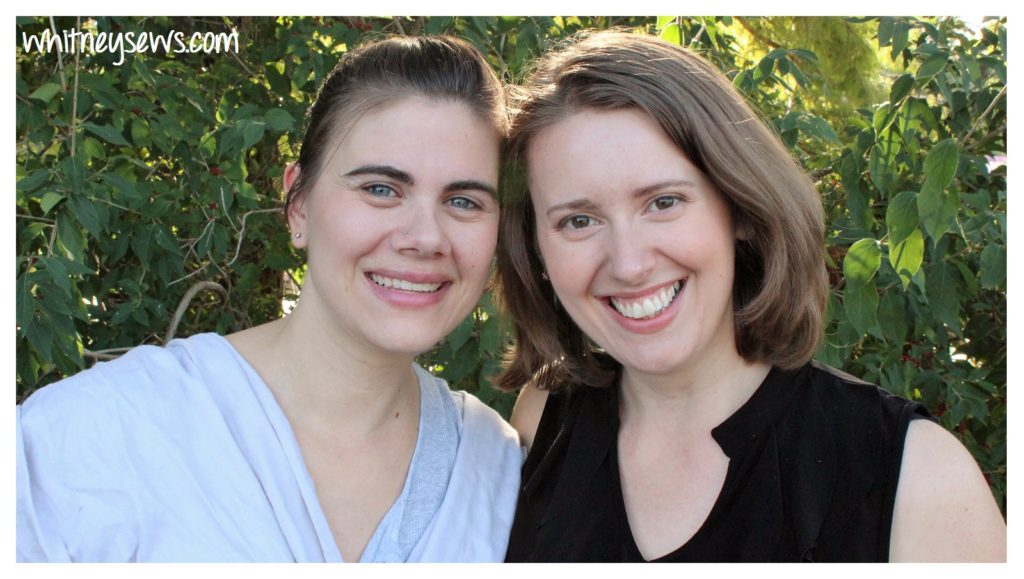
After your costume is complete it’s time for some hair and makeup.  The is NOT my area of expertise, so I had my friend Angela come over to help.

Rey costume and stylist

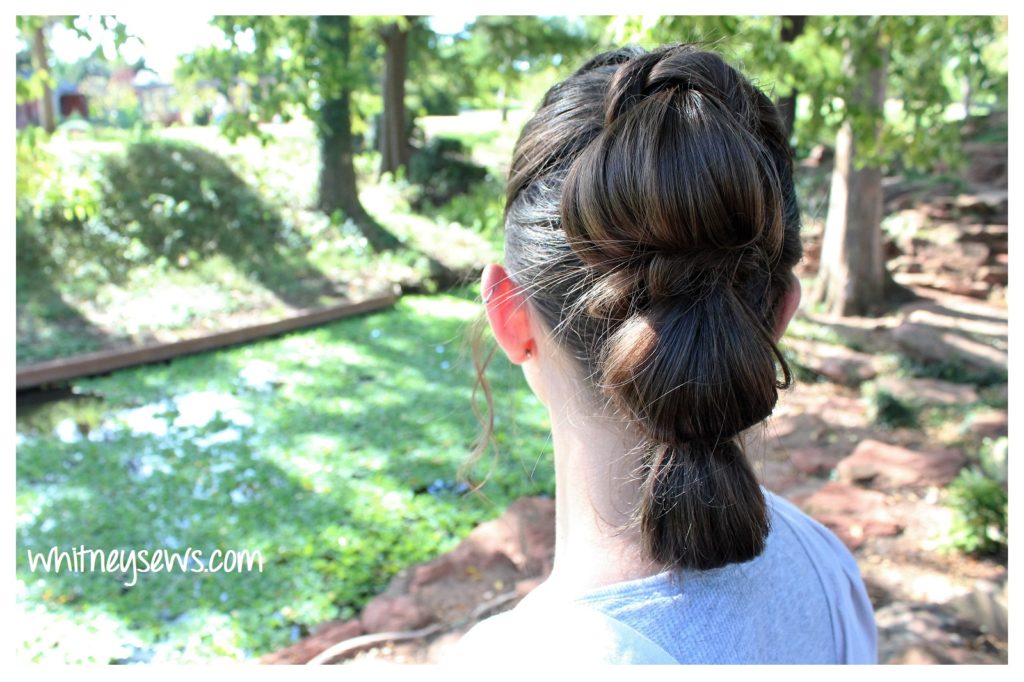
We used THIS tutorial to help use get the hairstyle just right.  We also added a couple of loose curls to the hair that frames my face. If you don’t already have brown hair you can opt for an affordable wig instead.  Then you can style it once and wear as many times as you want.

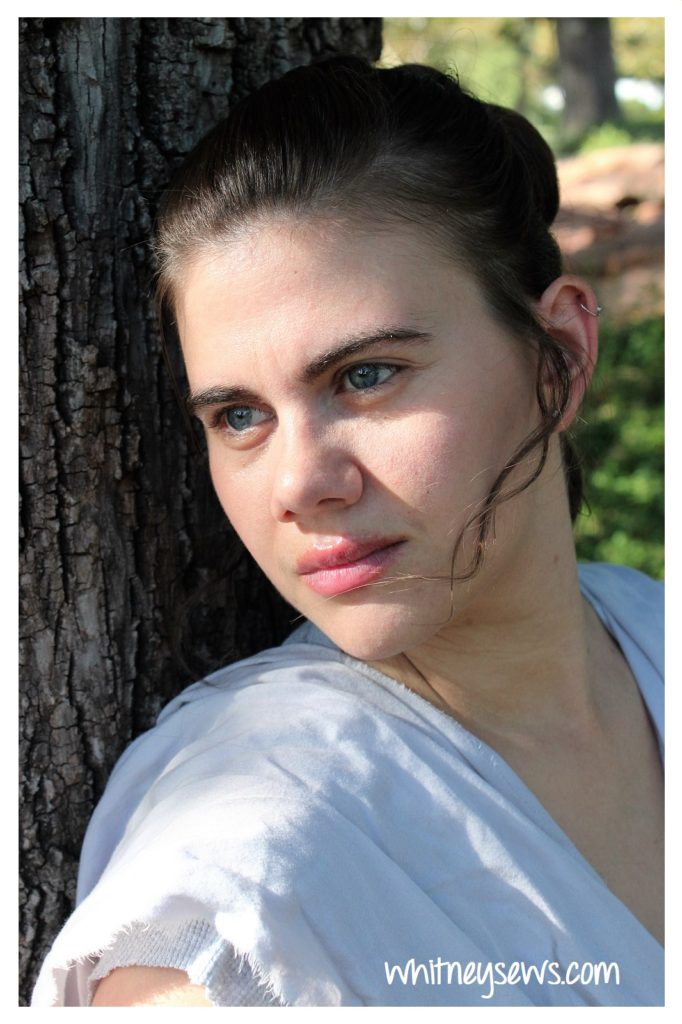
Rey triple bun Star Wars hair from Whitney Sews

For the makeup we did a very light layer of foundation then some highlighting on my upper cheeks as well as on the inner corners of the eyes.  We used a very neutral eyeshadow and blush then a nice pinkish lipstick, making sure to apply more in the center.  Rey has a very natural look so you want your makeup to have that ‘no makeup’ look to it.

Rey hair and makeup

I wanted to share some exciting news really quick, my friend Angela recently published her second book!  It is the first in a series of fairy tale adaptations.  I LOVE these types of books and have read a ton of them so I was super excited when I got to read Angela’s!  It’s a adventures retelling of the classic fairy tale The Princess and the Pea.  You can check out the book HERE!

Anyway, back to Rey!  We had an awesome photoshoot at a local park!  My hubby, Jeremiah, took the pics while Angela helped out with the kiddos.  I wore my costume for several hours (for the photoshoot and then we ended up going shopping and out to dinner before I had a chance to change).  We ended up at the Disney Outlet Store and some of the employees liked the costume.

Before wearing it again I will probably add either a little strip of elastic to the drapes at the shoulders or sew a gathering stitch then attach a little velcro to the drapes and shoulders of the shirt.  I will probably also add some velcro to the arm wraps to make it easier to keep them in place.DIY Rey costume from Star Wars: The Force Awakens. Full FREE how to from Whitney Sews

There is a large local group that dresses up in Star Wars costumes and goes to local events (mostly for charities), so I do plan on wearing this costume several more times.  But for a one time use such as Halloween you can make and wear the costume exactly as shown in the video.

Next week I have one last Halloween themed video all about the costume my youngest daughter Skyler will be wearing for her first Halloween.  It is super cute so you definitely want to see it!  Until then, Happy Sewing!

-Whitney-
DIY Rey Costume: Supply Haul

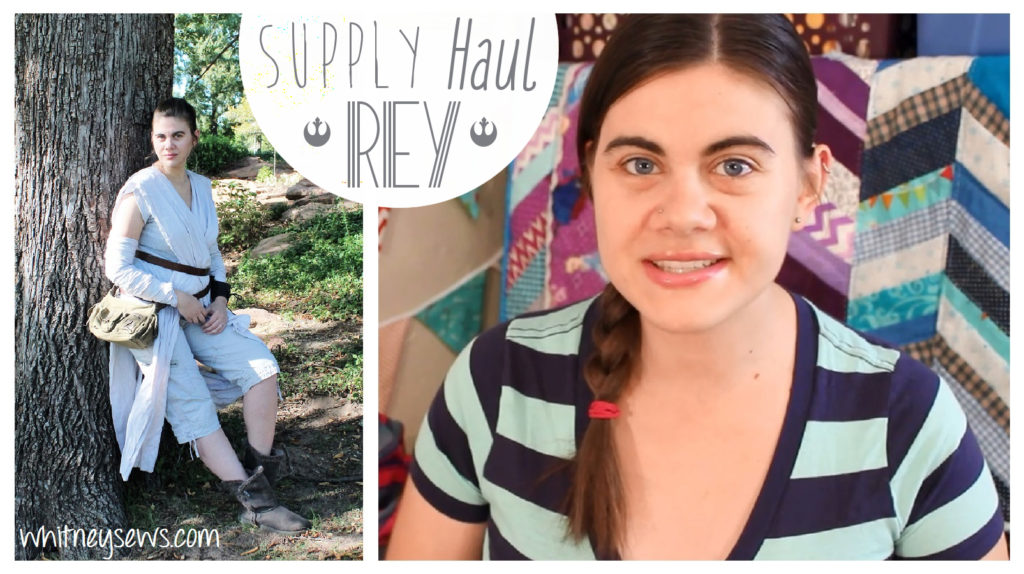
$10 DIY Rey Star Wars Costume Haul from Whitney Sews

As soon as I watched Star Wars: The Force Awakens I KNEW I had to make a Rey costume!  Rey is a strong female character who isn’t afraid to work hard and go on an adventure.  She’s a fantastic role model for young girls!

I originally planned this costume back in January.  (I was hoping to prefilm several Halloween videos…the only one I got done at the time was my TMNT Treat Bag).  That is actually when I went shopping for all my supplies for this costume.  I was 6 months pregnant and had no idea what would fit me postpartum.  I was going to make and photograph the costume on my mannequin.  I ended up not getting the costume done while I was pregnant and I’m so glad!  It turned out way better since I waited and was able to make it custom to fit me.

Anyway, back to the point!  I headed to the thrift store with several reference photos of Rey saved on my phone.  My goal was to find all my basic supplies in one trip so I could make sure they coordinated…and I did!

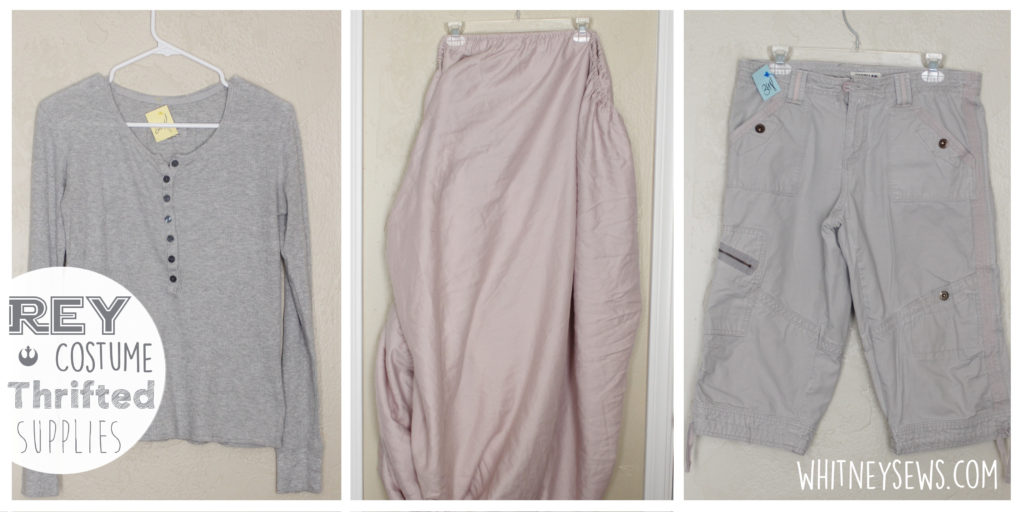
$10 DIY Rey Costume Supplies

I focused on finding a shirt with an opening at the collar, capris, and a twin sized sheet.  I ended up going around and around the store with a few different options until I found the exact ones I wanted.  In a separate trip I found a small purse with several zippered and cargo pockets and three leather belts (only needed two).  I made sure to go on half price day to get the most for my money and was able to get everything for under $10!

Check out the video HERE to see exactly what I bought and why!

COST BREAKDOWN:

Shirt - $1.50
Capris - $2.00
Sheets - $2.50
Bag - $2.00
Belts - $0.75

I also ended up using a few supplies I already had including a piece of brown scrap leather, two plastic buckles (cut off an old backpack) and some one inch wide elastic.

Once you have all the components the costume is really easy to put together!  I will show exactly how in tomorrow’s post!

DIY Rey Star Wars The Force Awakens Costume from Whitney Sews

If you haven’t already, make sure to enter your email address in the box on the right side of the page to subscribe to my posts so you don’t miss any!

**UPDATE**

The Rey costume how to is now up!  Check out that post HERE!

Happy Sewing!

-Whitney-
Halloween Quilt – DIY Inspiration

Halloween Quilt Inspiration from Whitney Sews

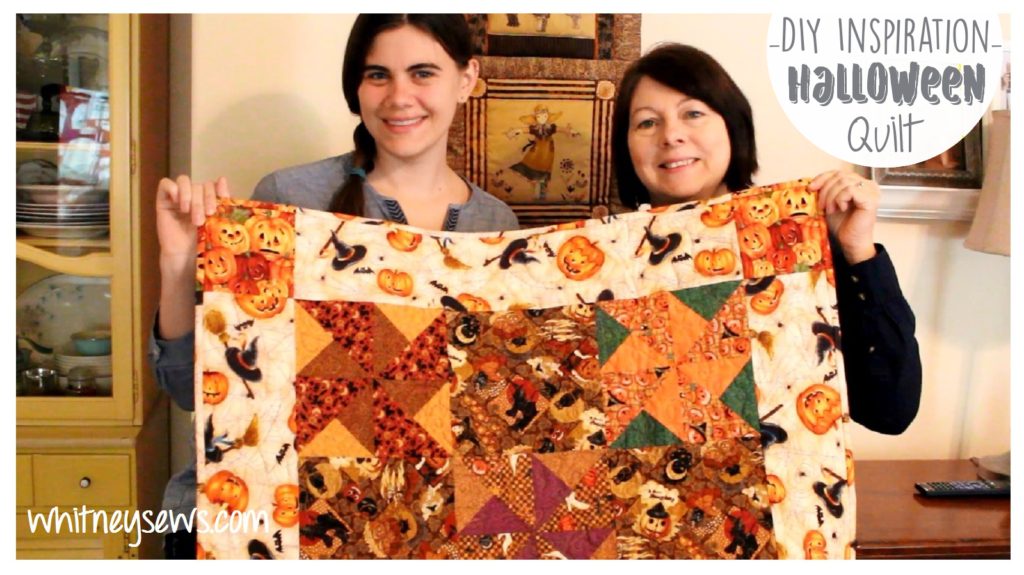
I’ve never really decorated much for Halloween.  In fact, the first year I was married I convinced Jeremiah to let me put up Christmas decorations in October!  My mom however is way better at it than I am.  She put up several adorable Halloween decorations this year.  One of them is a wall quilt she made a few years ago.

My mom is trying to make a mini quilt to fit with every major holiday/season.  She has completed several already and one I wanted to show off today is her Halloween quilt.

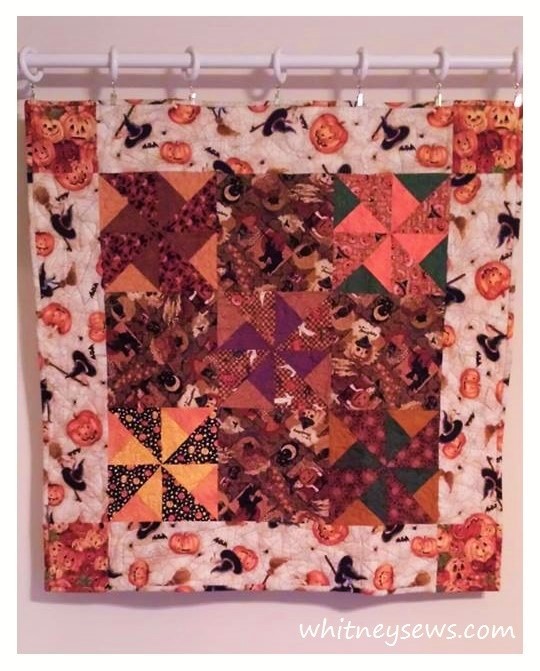
My mom collected several cute Halloween fabrics before starting and paired them with some coordinating far quarters.  She saw a similar design in a magazine and it inspired the blocks and layout for this quilt.

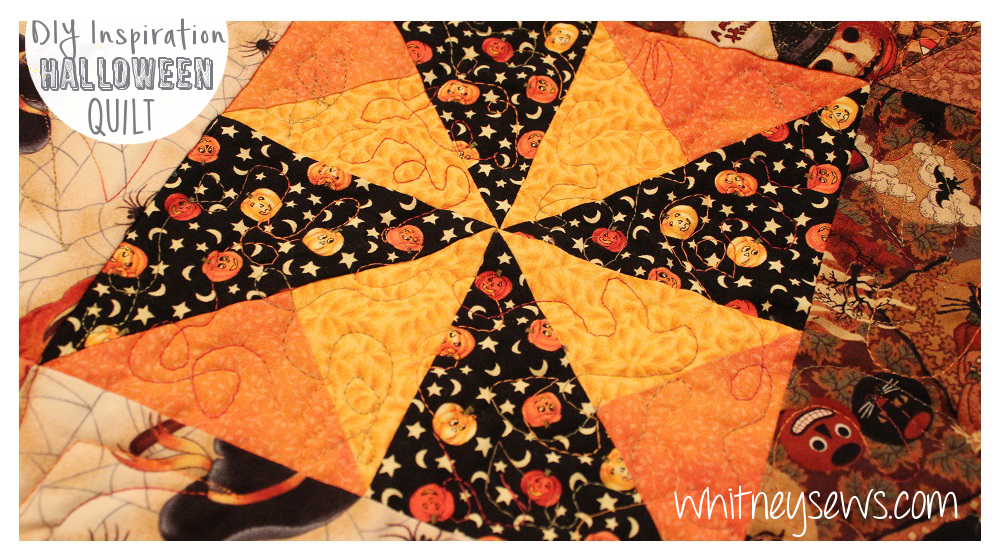
Halloween Quilt Block from Whitney Sews

She did some free motion quilting using her regular sewing machine and a free motion foot.  This was only her second time free motion quilting a quilt, but I think she did great!  The adorable little pumpkins on the corner blocks are my favorite!

Then she finished off the quilt with binding that matched the piecing along the edges.  It looks so amazing and compliments the quilt design perfectly!  I’m not sure I have the patience to piece together binding to match all the fabrics along the edge like this, but I do love how it looks!

After the 9 blocks were sewn together and the borders and binding were added the quilt finished right at 33 inches square.

Check out the video HERE to see more details of the quilt!

I found a how to from Sew Mama Sew that shows how to create the pinwheel style blocks in the quilt since we didn’t cover it in the video.  You can find that tutorial HERE!

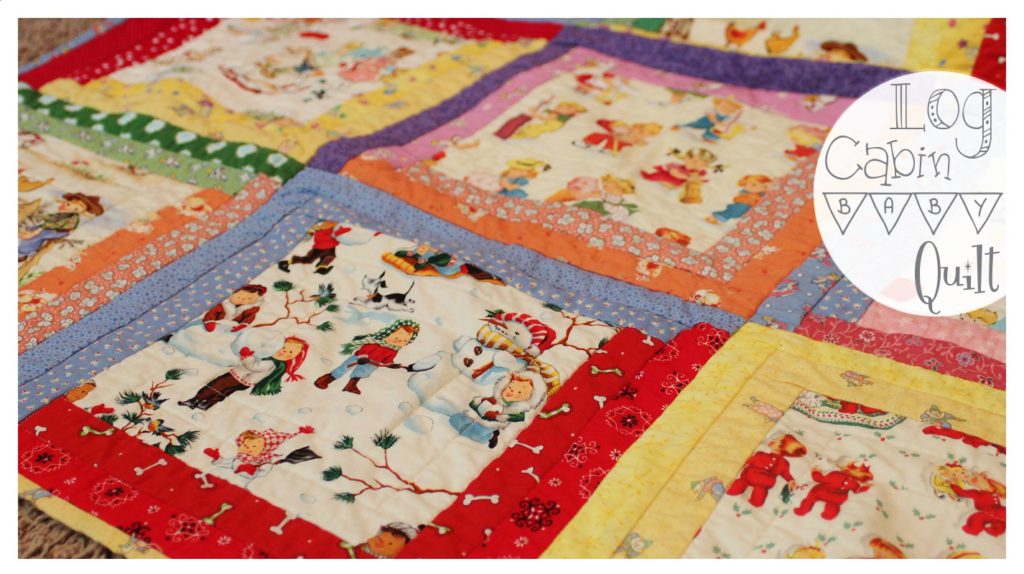
Want to see another quilt my mom made?  Check out the log cabin style quilt she made for my oldest daughter HERE!

Log Cabin Baby Quilt Whitney Sews

You do not want to miss next week’s post!  I’ll be showing how I created a Rey Halloween costume from Star Wars: The Force Awakens for under $10!  Until then, Happy Sewing!

-Whitney-
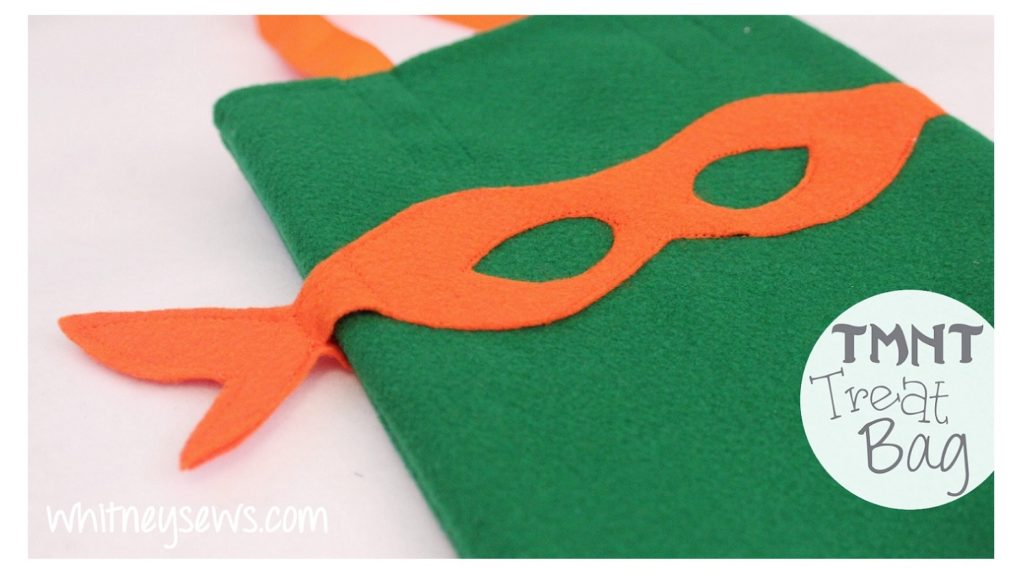
TMNT Treat Bag

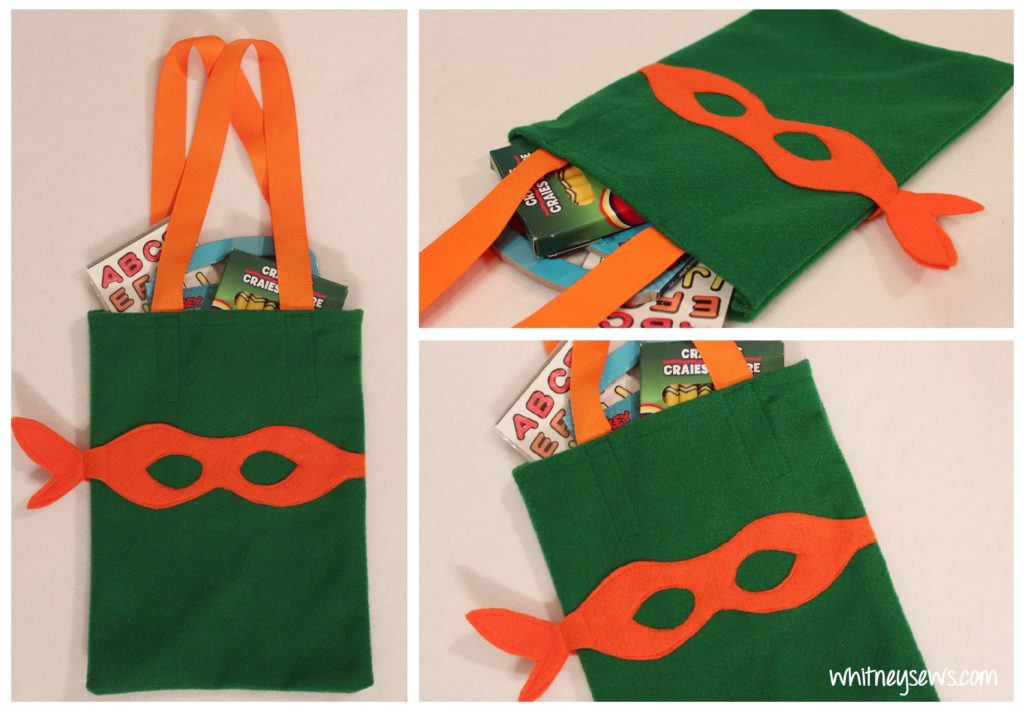
TMNT Treat Bag FREE How to from Whitney Sews

I’m so excited about this post because it kicks off my Halloween projects for 2016!  I have several great videos planned that I think you all are going to like.

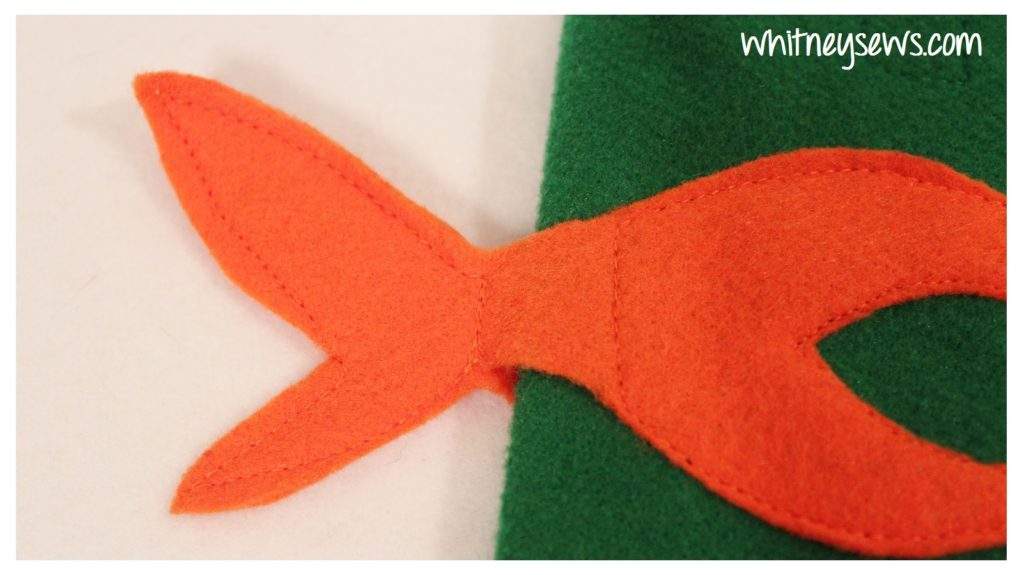
The first is this fun Teenage Mutant Ninja Turtle treat bag inspired by the 80s cartoon version.  I wanted to challenge myself to create a bag that is budget friendly and an easily recognized character.  I really love how the bag is designed and it turned out exactly like I wanted…especially how the mask ‘ties’ look hanging off the side.

TMNT Mask Bag by Whitney Sews

To make your own bag the only supplies you need are three pieces of felt and about one yard of ribbon.  The ribbon and one felt piece’s color will depend on which turtle you want your bag to represent.  I went with orange for Michelangelo.

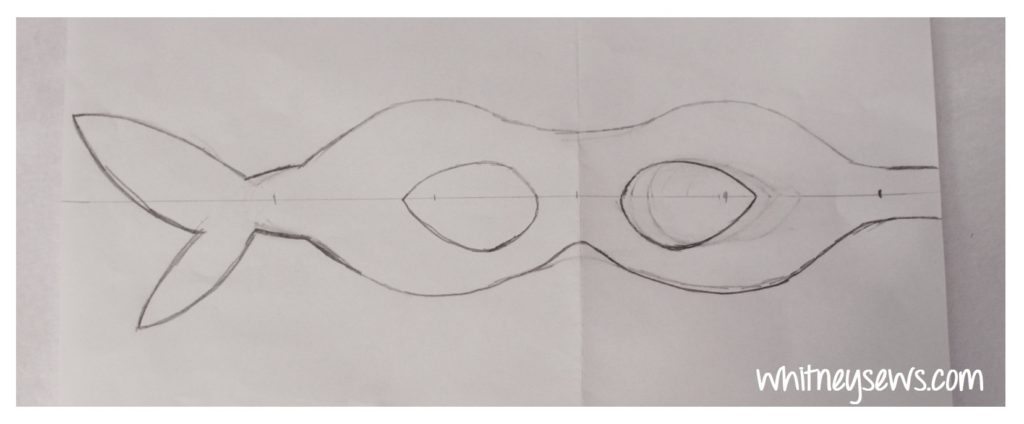
The first thing you need to do is create your mask template.  You can try to save the one pictured below and resize until it measures 10.5 inches from the left tip to the right edge.  But if that doesn’t work I have measurements listed below to sketch out your own.

TMNT Mask Template by Whitney Sews

From the top tip to the flat edge - 10.5 inches
Top tip to bottom tip - 2.75 inches
Tallest section near eye openings - 2.5 inches
Left tip to left edge of the left eye - 4 inches
Each eye opening - 1.5 inches
Space between eyes - 1 inch
Right side of the right eye to edge - 2.5 inches

Once you have your template ready cut two mirror image versions from your felt and start sewing your bag together.  I show how to in my step-by-step video tutorial.  Click HERE to watch the video!

This bag is perfect for your little trick-or-treater or you can make a whole batch of them to give as party favors full of goodies at your next party.

TMNT Party Favor Bags with Full Free Tutorial by Whitney Sews

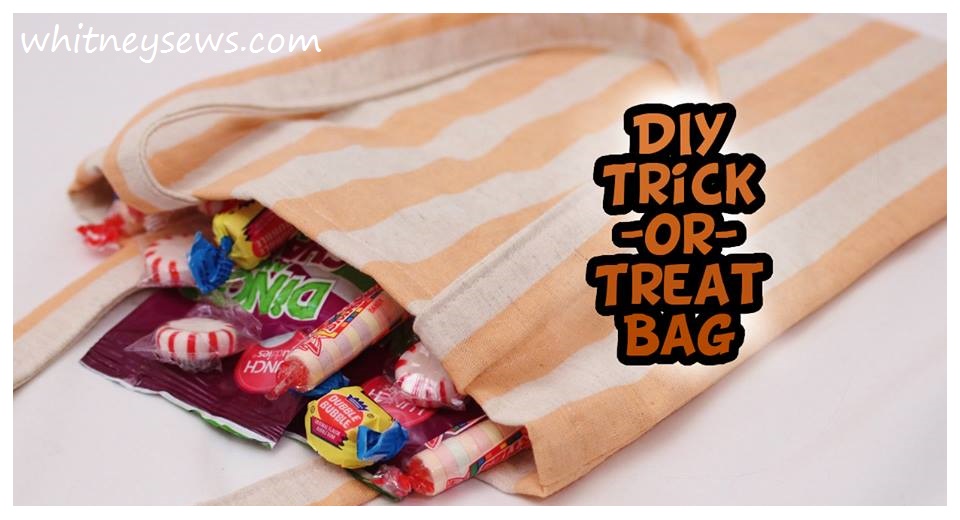
If this bag isn’t exactly what you’re looking for check out the other trick-or-treat bag tutorial I posted a few years ago. It can be made in any fabric to match whatever costume you (or your kiddo) are wearing.  The bag features french seams so all the raw edges are tucked away inside.

Trick or Treat French Seam Bag How to from Whitney Sews

Click HERE to find the tutorial!

Want to learn how to make other types of simple bags??  Check out my entire playlist HERE!

Next week I’ll have a new DIY Inspiration for you all featuring a beautiful Halloween quilt my mom made!  Until then, Happy Sewing!

-Whitney-
Quilted Sewing Machine Cover

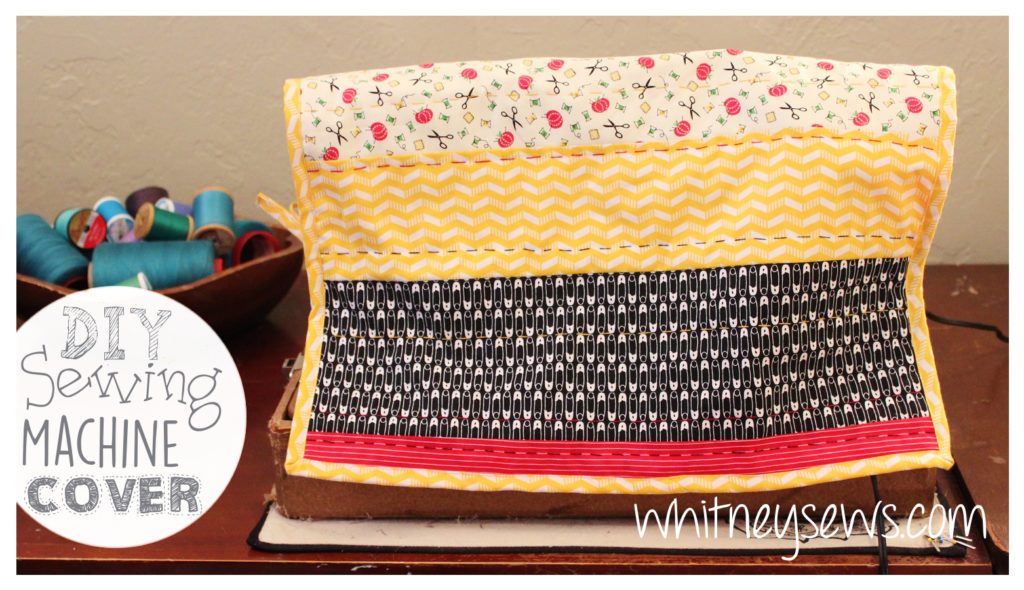
Quilted Sewing Machine Cover Full FREE How to from Whitney Sews

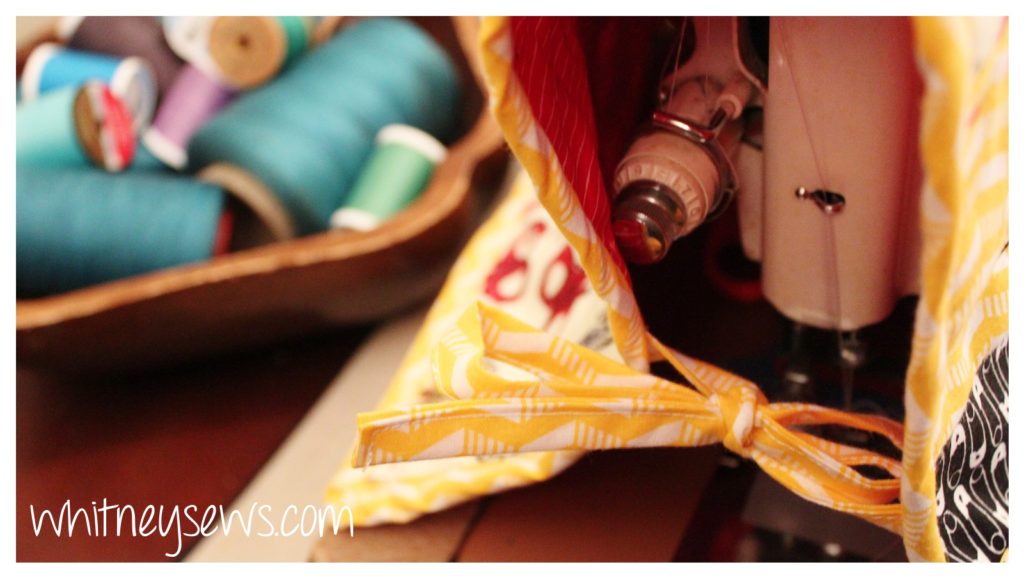
I’ve been meaning to make covers for my vintage sewing machines for years…but just never got around to it.  I saw a few covers on Pinterest that tied on the sides instead of being completely closed up (like an upside down tote bag).  I really liked the style and decided it was time to finally make my own.  (BTW if you aren’t already following me on Pinterest…you should!  Click HERE to see my pins!)

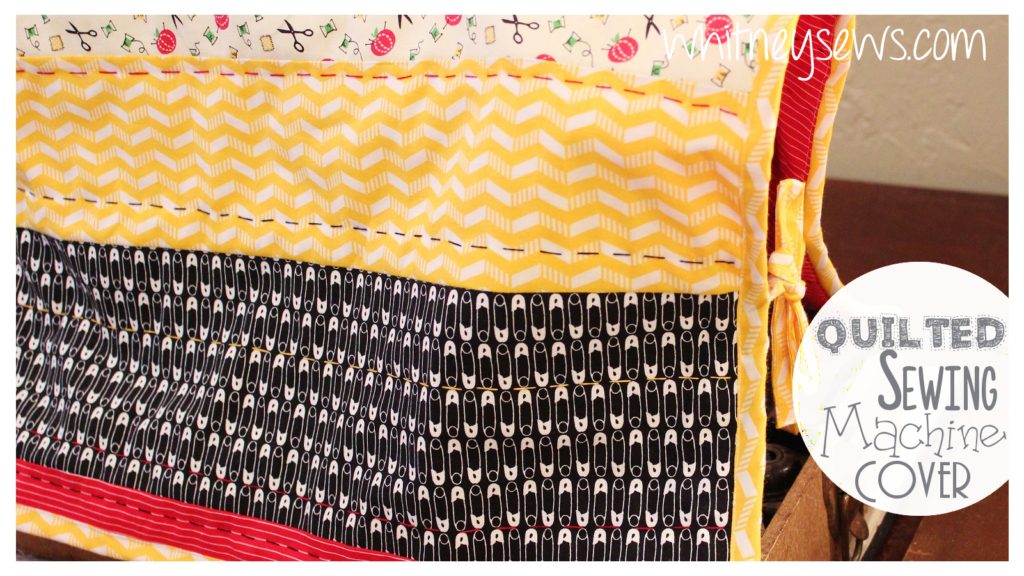
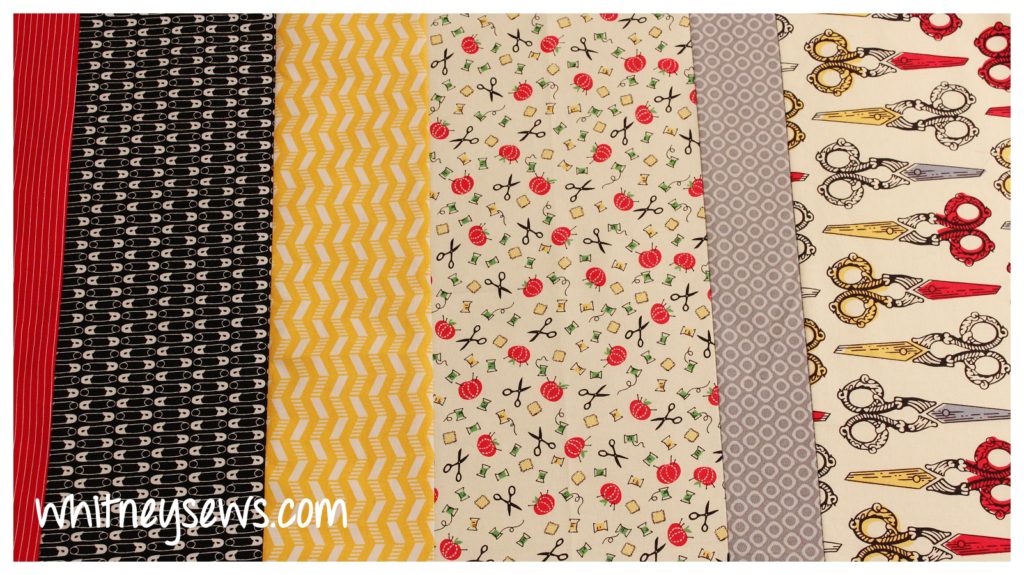
What’s funny is when I designed this project I couldn’t even remember what the cover on Pinterest looked like except that it had side ties (I went back and found it- HERE’s the original inspiration).  So I went ahead and just designed my own.  I wanted to keep it simple so I cut strips of varying sizes and pieced them together.  I used some sewing themed fabrics I had been given along with a few small prints.

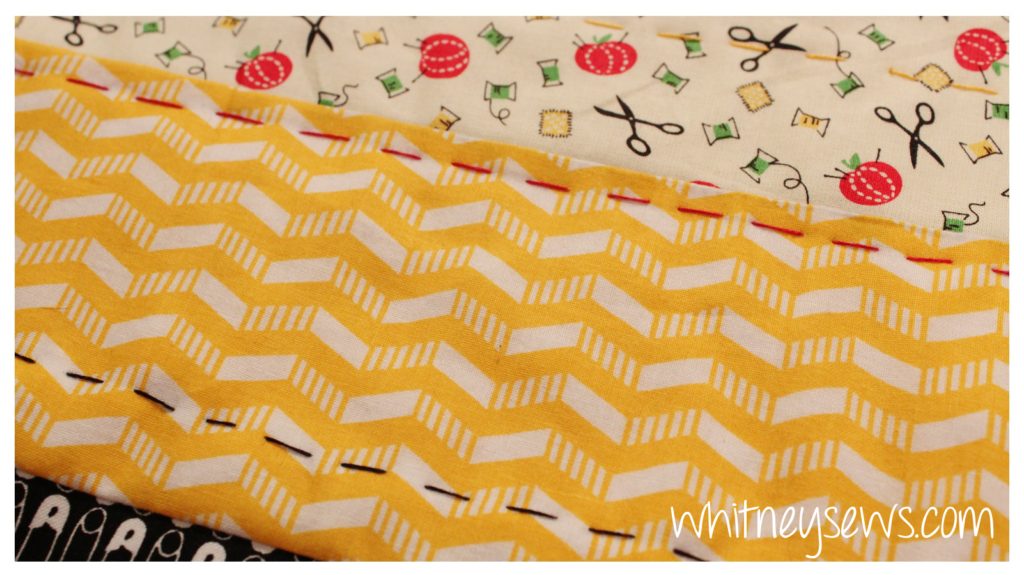
Big Stitch Hang Quilting by Whitney Sews

I made this to fit the size of my vintage machine, so you’ll need to measure your own machine before deciding on your measurements.  I wanted mine to finish about 18 x 25 inches.  The cutting measurements I chose will be listed below in case you have a similar sized machine to mine.

Sewing Machine Cover with Ties

Measurements I used for Pieced Cover:
2 x 18 inches Red Stripe
5 x 18 inches Black Pins
4 x 18 inches Yellow and White
6.5 x 18 inches Sewing Notions
2.5 x 18 inches Grey dots
8 x 18 inches Vintage Scissors

Quilted Sewing Machine Cover Tutorial from Whitney Sews

Backing and batting - approx. 23 x 30 inches
Binding - Three strips 2 1/4 inch by the width of fabric
Ties - One strip 1 3/4 inch by width of fabric (then cut into four equal pieces)

Once the pieces were all sewn together I added a batting and backing, did a little bit of big stitch hand quilting, and added the straps and binding.   You can definitely leave off the tie straps and you have a cute mini quilt.

Click HERE to watch the full video tutorial!

This sewing machine cover serves a double purpose.  You can lay it flat and set your sewing machine on top to protect your table while sewing.

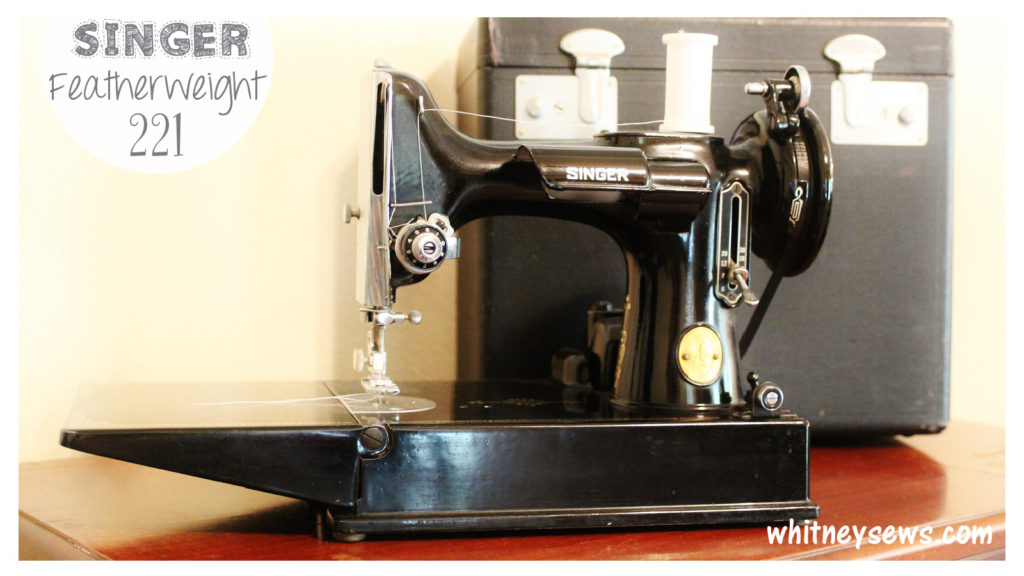
Want to see more vintage sewing machines??  Check out my Sewing Machine Showcase series where I feature beautiful vintage sewing machines that my mom and I own!  Find that series HERE!

Singer Featherweight Sewing Machine Showcase by Whitney Sews

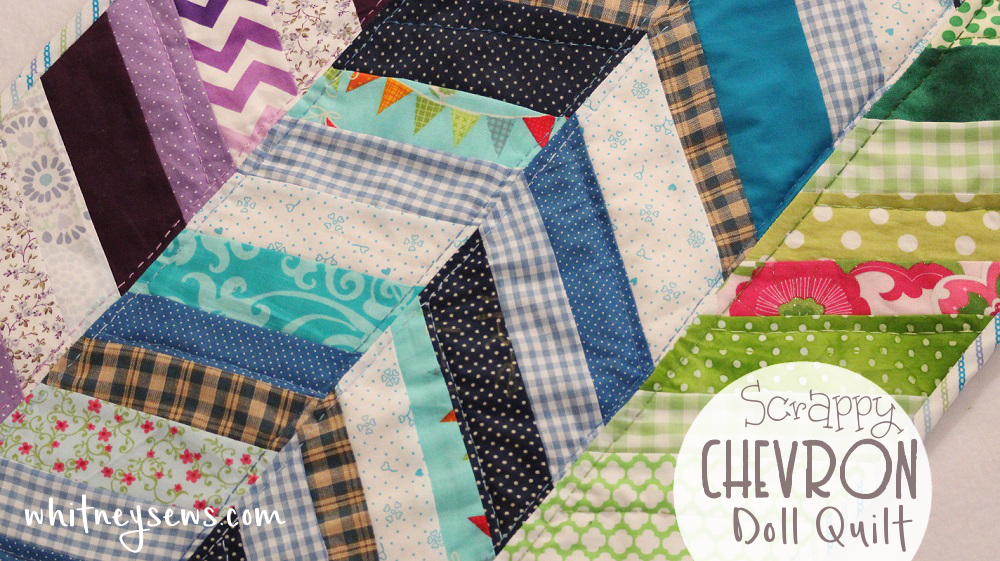
Looking for other quilting projects? Here’s one of my favorites, the Scrappy Chevron Mini Quilt!  Click HERE to find it!

Scrappy-Chevron-Doll-Quilt-Whitney-Sews

Well, I hope this post has inspired you to make some new quilted projects!  You can definitely do any kind of piecing you like on the sewing machine cover instead of strips like I did.  If you make your own please share a pic with the #WhitneySews so that I can see it and subscribe for more tutorials!

I’m super excited about the projects that will be coming up and I think you are will be too!  Happy Sewing!

-Whitney-
Midweek Sneak Peek

Midweek Sneak Peek from Whitney Sews

I’m trying something new this week!  While both kids were napping (at the same time!) I filmed a quick little update and sneak peek of the project I’m working on for next Wednesday.

Click HERE to see the Midweek Sneak Peek!

Let me know in the comments below if this is something you would like to see more often!  Come back next Wednesday for this project’s tutorial!  Happy Sewing!

-Whitney-
Homemade Burritos – Freezer Meal

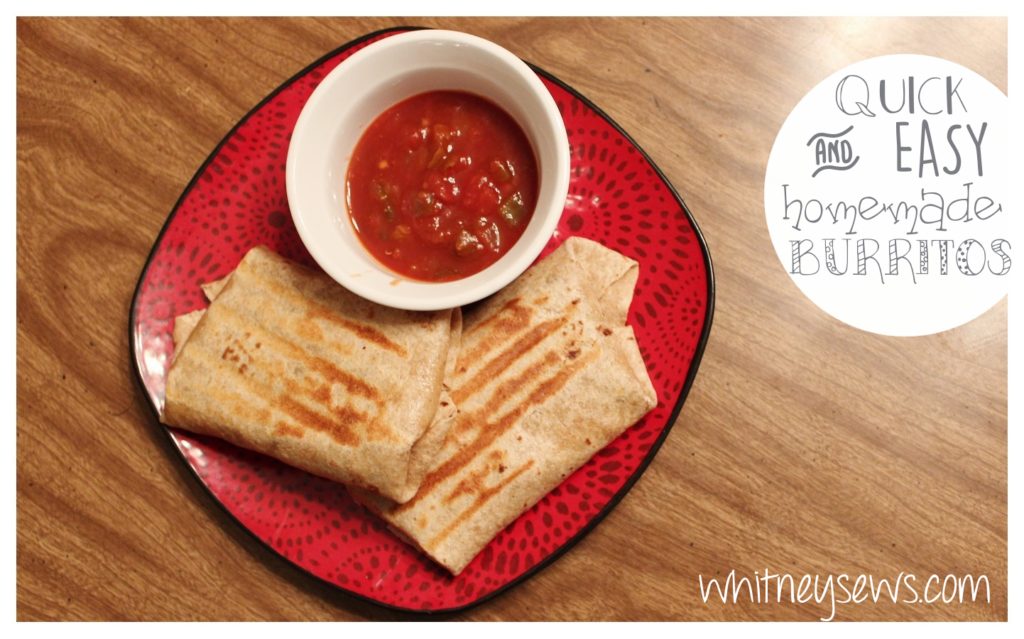
There are always days when we can all use a quick and easy recipe.  I love to cook, but sometimes no matter how much I plan and prep I just need to throw together and get food on the table.  For those times I like to have some of my homemade burritos in my freezer.

I make a large batch of burrito filling around a meal time and make as many burritos as I can.  Then whatever isn’t eaten goes straight into the freezer for the next busy day.

I started making this type of burritos a few months ago.  I had a ton of tortillas and beans that I wanted to use up.  I had also recently organized my kitchen cabinets and came across our George Foreman grill (a wedding gift I rarely remembered to use) and was determined to put it to more use.  I came up with a quick and easy, but tasty, meal.

Click HERE to see how to make these easy burritos!

I’ve probably made 7 or 8 batches of burritos in the past few months!  Each batch has been different because I like to throw in leftovers to help stretch the meal.  There’s a list below of some ingredients that are perfect to throw in.

INGREDIANT IDEAS:
Ground beef
Beans (black beans are my favorite!)
Rice
Corn
Chicken
Shredded pork
Onions
Cheese
Leftover thick chili
Leftover goulash

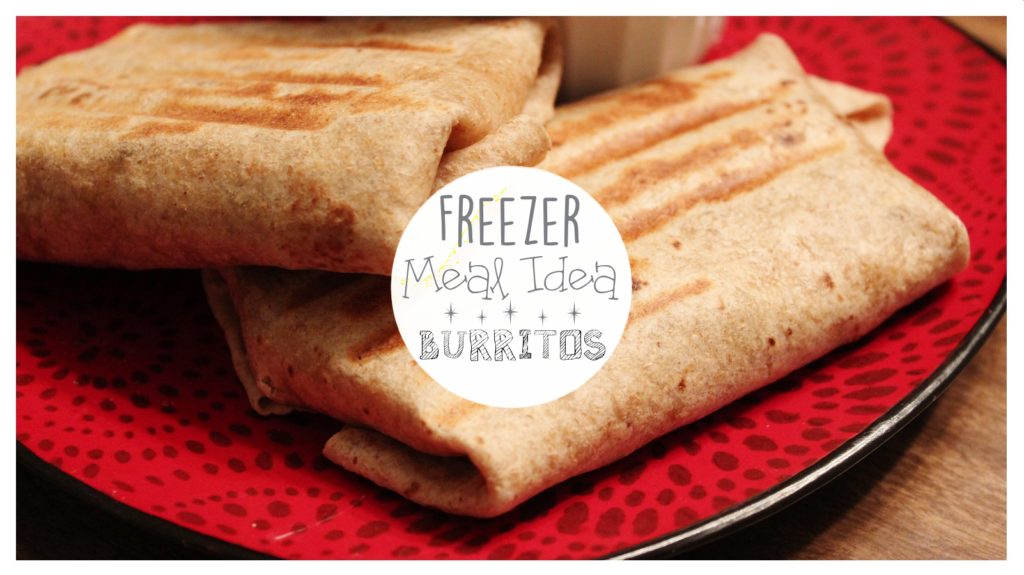
Easy and delicious burritos - GREAT FREEZER MEAL!

Here’s the grill I use – George Foreman G Broil.  It is quick to heat up and only takes about 5 minutes to give the burritos their crispy grilled marks!

Ok, after all this talk about food I’m starting to get hungry!  I really do hope you will make a batch of these burritos…you won’t regret it!  I’m going to find myself a snack then do a little bit of sewing.  Coming up next week is a project made using your sewing machine, for your sewing machine.  Until then, Happy Sewing!

-Whitney-
*Amazon links are affiliates*

Skyler’s Birth Story

Skyler Aurora's Birth Story

I know, I know…you’re probably thinking, “but wasn’t she born like 4 months ago?!?”  Yes, yes she was.  But better late than never!

I wrote out about 2/3 of the birth story within the first month, but kept putting off filming because I wanted it to go really well, with no interruptions.  I finally realized that wasn’t going to happen!  I ended up filming while baby-wearing Skyler and she woke up part way through.  But later when we look back at the video it will be fun to see her taking a part 🙂

Click HERE to watch Skyler’s Birth Story!

In the video I refered to a few moments that were really sweet, but didn’t get a chance to actually insert any photos in the video.  So here are some of those precious memories!

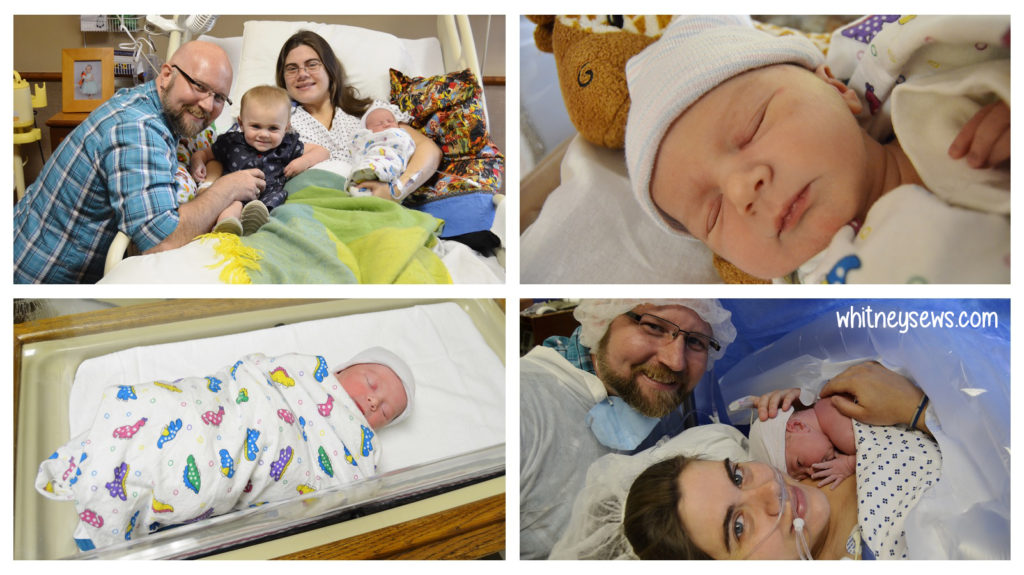
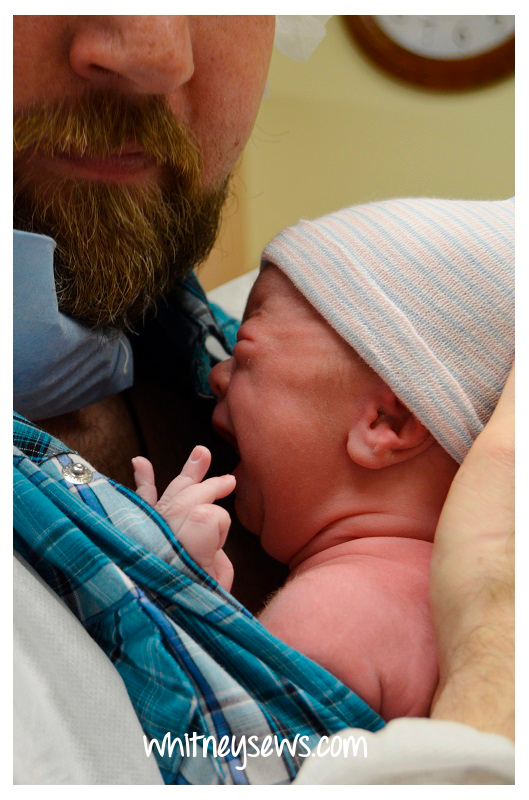
This first one is a favorite of mine!  It was taken by an OR nurse when Skyler was only about 10 minutes old.  She was doing skin-to-skin time with Daddy while I was still being stitched up from the c-section.

Skyler and Daddy

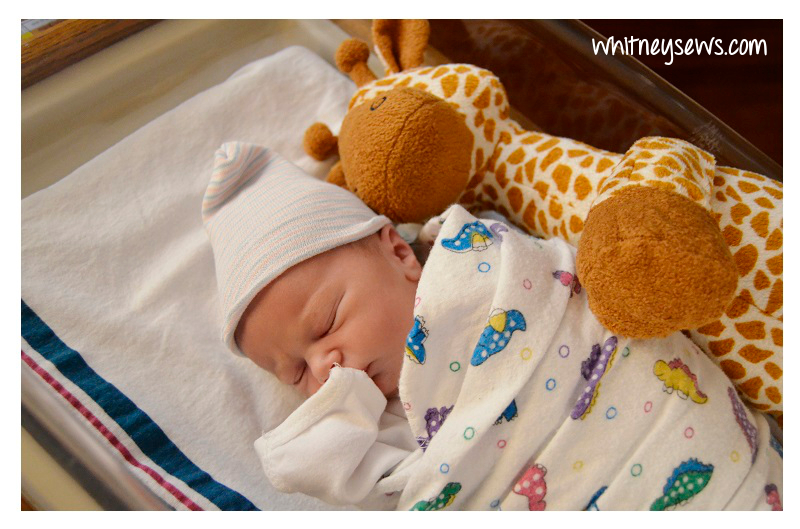
When Peyton was born we took photos of her with a stuffed fox when she was only a day or two old.  That fox is now known as Mr. Fox and is Peyton’s best friend.  We wanted to do the same thing with Skyler, so here she is with her giraffe.  I hope her giraffe is as loved and treasured as Mr. Fox is!

Skyler's Giraffe Friend

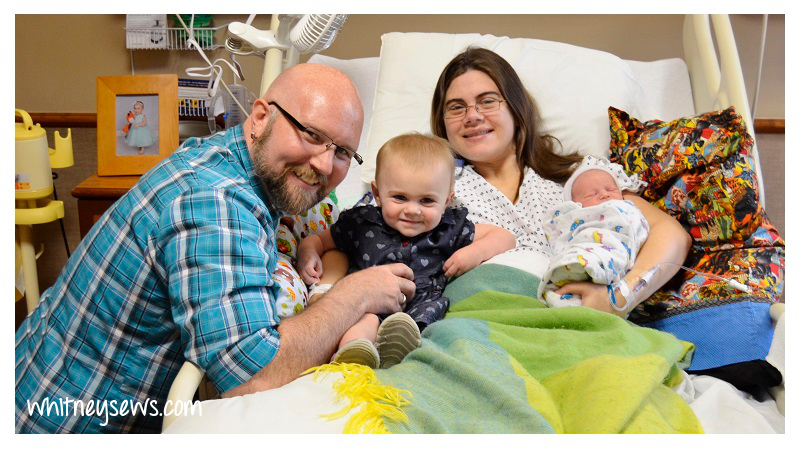
One of my favorite family photos was taken when Peyton came to the hospital to meet Skyler.  She was fairly standoffish at first, but after a little while was willing to sit on the bed with me and take some pics.

First Photo as a Family of Four

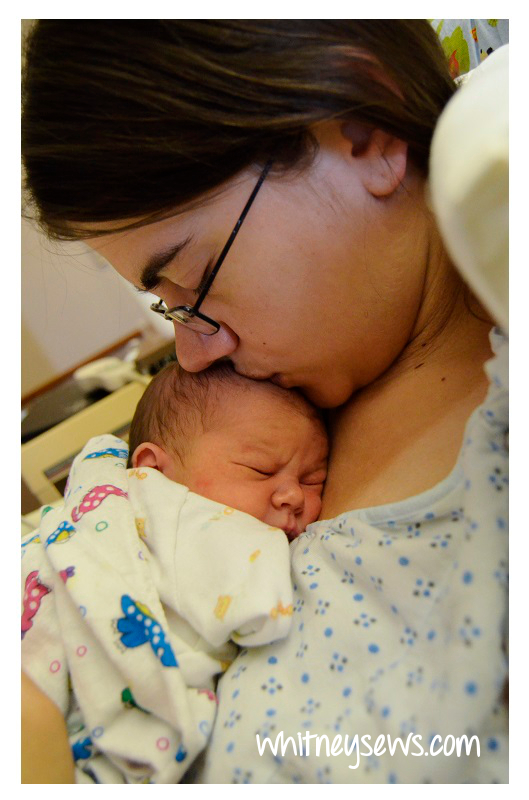
The next day I had Jeremiah take a few photos of me snuggling Skyler and this is one of my favorites.

Skyler and Mommy

And lastly, our going home photo!  Skyler was so little that we couldn’t get the carseat straps tight enough.  I ended up taking the straps out and putting them back on in a way that is usually only needed for preemies.

Going Home with Skyler

Skyler will be 5 months old on September 25th and is doing great!  She has a great big smile that she shares when she isn’t busy being cranky.  She is in the 30th percentile for weight and 50th for height.  She can roll over and is trying to learn to crawl already…I’m not ready for that!

Anyway, I hope you enjoyed hearing about Skyler’s birth and seeing some of our favorite photos!  I’ll be back next week with a quick freezer meal idea.  Have a wonderful weekend and happy sewing!

-Whitney-
This entry was posted in Blog and tagged .

Denim Jacket Refashion

burlap-denim-jacket-refashion-whitney-sews

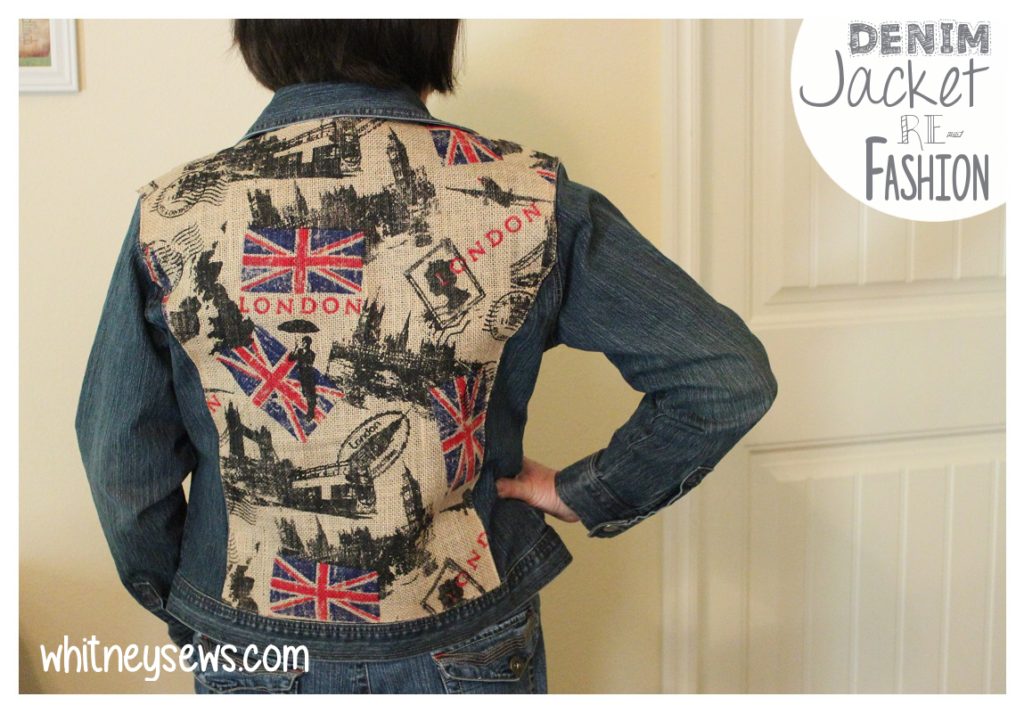
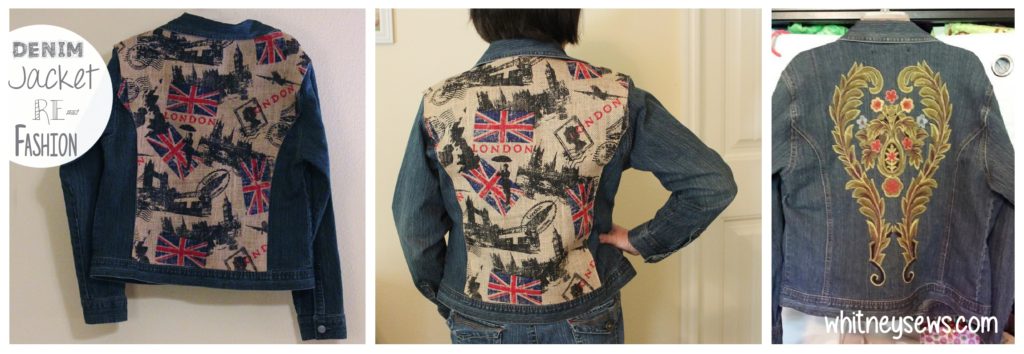
This weeks video is a quick little DIY Inspiration sharing a denim jacket refashion!  My mom had a jacket with a large embroidered design on the back that didn’t really match anything else in her closet.  Mom decided it was time to give the jacket a new life.  She used a fun printed burlap to completely cover the embroidery and it turned out super cute!

denim-jacket-refashion-whitney-sews

Mom plans to wear the jacket with a thrifted red skirt (that she’s going to shorten) and some tall boots this Fall.  I think it will look adorable!

So anyway, HERE is the DIY Inspiration video where we explain exactly how the refashion was done.

I hope this video inspires you to rethink some items that you haven’t worn in a long time!  Happy sewing!

-Whitney-